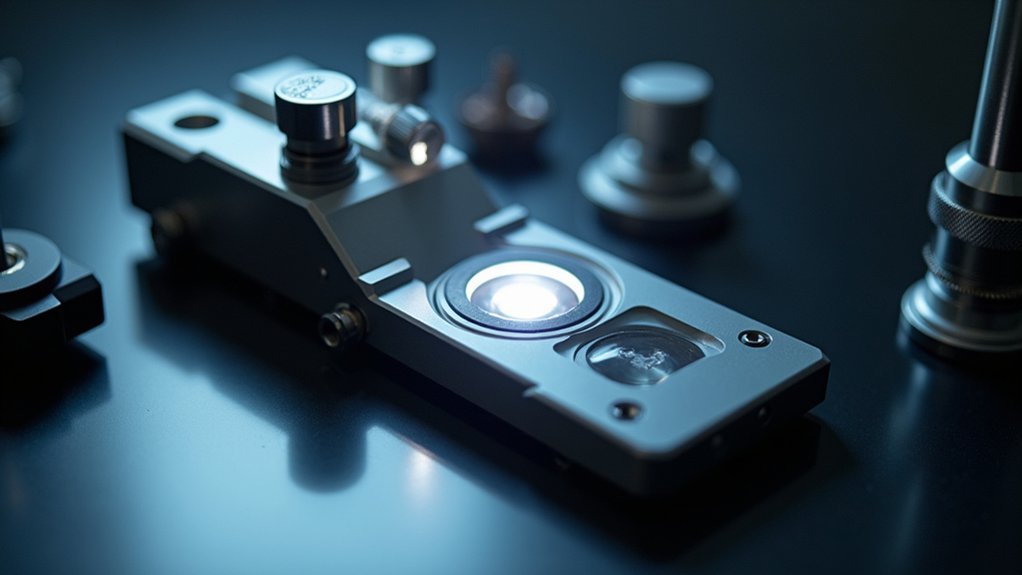
To perfect Köhler illumination, start by focusing on your specimen, then close and center the field diaphragm using XY adjustment knobs until you see sharp octagonal edges. Next, adjust your aperture diaphragm to fill about 75% of the field of view for ideal contrast and resolution. Finally, fine-tune your light intensity and condenser position to match your specimen’s focal plane. These adjustments guarantee superior image clarity and will transform how you observe microscopic structures.
Achieving Perfect Field Stop Positioning

When setting up Köhler illumination, proper field stop positioning forms the foundation of ideal microscope performance. To achieve perfect alignment, first focus on your sample, then completely close the field diaphragm until you see sharp octagonal edges in your view.
Use the XY adjustment knobs on the condenser to center this octagon precisely in your field of view. The field stop’s edges should be clearly visible but not intrusive.
After centering, gradually open the field diaphragm until its edges just reach the boundaries of your view—don’t open it completely, as this degrades image quality.
Finally, adjust your condenser aperture to optimize contrast and resolution while maintaining even illumination. This careful positioning guarantees your light source is properly aligned, maximizing the benefits of Köhler Illumination for superior microscopic observation.
Mastering Aperture Diaphragm Adjustments
With your field stop perfectly positioned, the aperture diaphragm now becomes your primary tool for fine-tuning image quality. This critical component of Köhler alignment controls the light cone’s angular aperture, directly affecting both contrast and resolution. You’ll want to adjust the condenser’s diaphragm to fill approximately 75% of your field of view for ideal illumination.
| Aperture Setting | Image Quality | Best Use Case |
|---|---|---|
| Closed (25%) | High contrast, lower resolution | Transparent specimens |
| Medium (75%) | Balanced quality | Most routine work |
| Wide open (100%) | Maximum resolution, lower contrast | Detailed structures |
For precise adjustments, use a Bertrand lens to visualize the back focal plane of the objective. Compare different settings to find the perfect balance that eliminates shading artifacts while maintaining focus clarity for your specific specimen.
Fine-Tuning Light Intensity for Specimen Clarity

After establishing proper aperture diaphragm settings, you’ll need to carefully balance light intensity for ideal specimen visualization. Proper light management is the cornerstone of Köhler alignment, directly impacting your ability to capture quality images.
For critical work with maximum specimen clarity:
- Use the Bertrand lens to check that your light cone fills approximately 75% of the field, ensuring even illumination without washing out delicate structures.
- Adjust the field iris diaphragm until its edge just disappears from your field of view, minimizing glare while maintaining brightness.
- Focus the condenser precisely to match your specimen’s focal plane, adjusting as you change objectives.
- Monitor and regulate light intensity throughout your session, especially when switching between magnifications or specimens.
Frequently Asked Questions
How to Achieve Kohler Illumination?
To achieve Kohler illumination, you’ll need to place your specimen, focus at low power, close and focus the field diaphragm, center it, adjust the condenser height, and optimize the aperture diaphragm for contrast.
How to Align Kohler Illumination?
To align Köhler illumination, you’ll focus on your sample at low power, close the field stop, adjust condenser height for sharpness, center it using XY knobs, then open it slightly beyond view.
What Procedure Ensures the Correct Alignment of Light Onto the Specimen in Microscopy?
To correctly align light onto your specimen, you’ll need to follow Köhler illumination procedures: start with low magnification, focus your sample, adjust the condenser height, center the field stop, and open it appropriately.
Why Is Kohler Illumination Technique Important?
Köhler illumination is important because it gives you even lighting across your entire specimen, reduces glare, improves contrast, prevents sample damage from heat, and optimizes your microscope’s optics for higher quality images.
In Summary
You’ve now mastered the three critical steps for perfect Köhler illumination. By properly positioning your field stop, adjusting the aperture diaphragm, and fine-tuning light intensity, you’ll consistently achieve superior microscope images with ideal contrast and resolution. Don’t rush these adjustments—they’re essential for quality microscopy. With practice, this alignment process will become second nature, enhancing all your microscopic observations and photomicrography results.


Leave a Reply