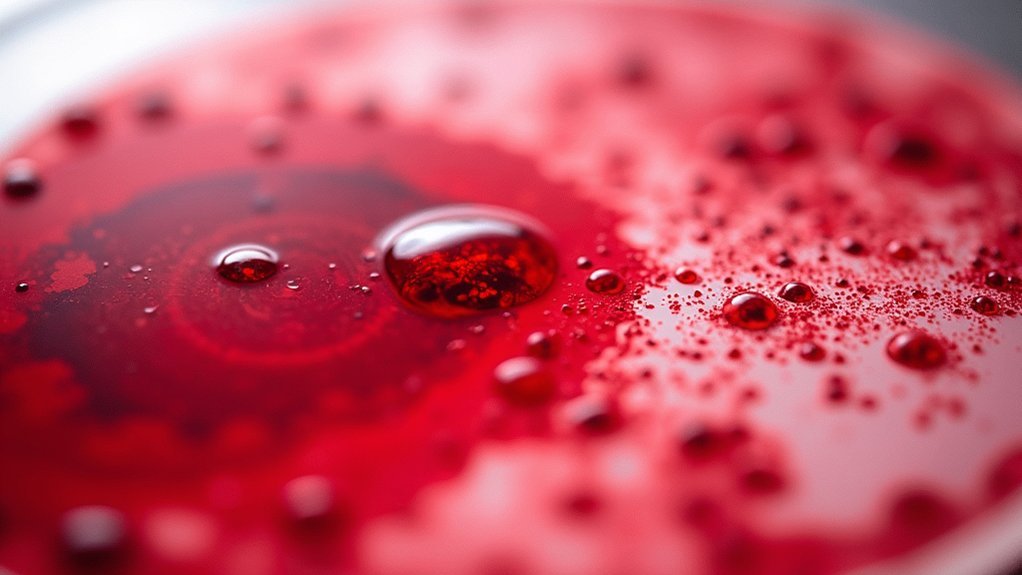
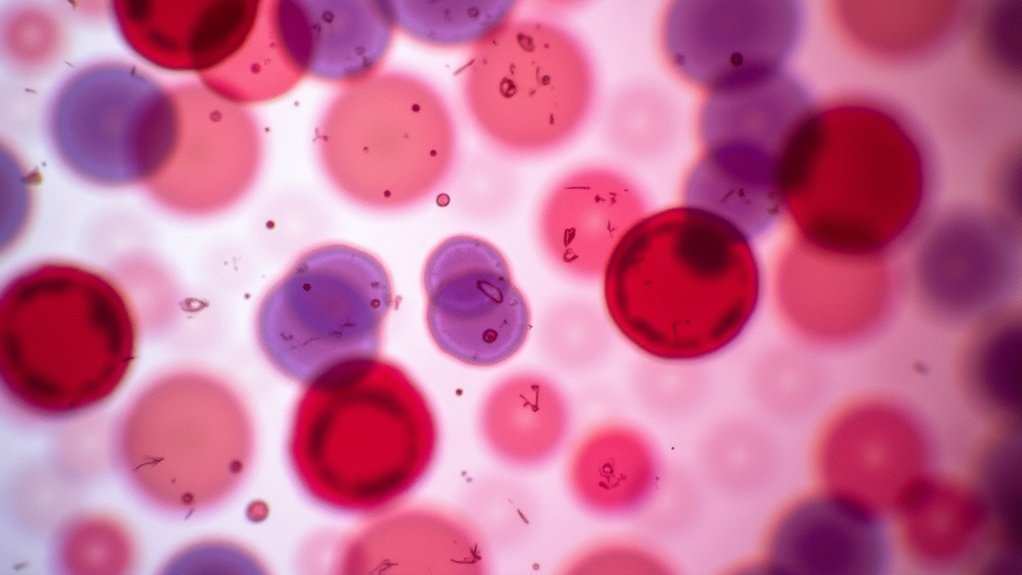
Blood smear photos often appear blurry due to multiple technical challenges: improper focus, lens quality issues, inadequate sample preparation, and uneven staining. You’ll notice blur when microscopes aren’t properly calibrated or when vibrations occur during imaging. Even slight movement can disrupt clarity when using high-power oil immersion lenses. Depth of field limitations also make it difficult to capture all cells in focus simultaneously. The following solutions can transform your blurry smears into diagnostic-quality images.
Second-Level Headings for “Why Are Blood Smear Photos Always Blurry?”

Why do laboratory professionals constantly struggle with blurry blood smear images? This persistent challenge stems from multiple technical factors that can be organized into several key categories.
When examining why your blood smear photos appear blurry, you’ll need to take into account “Technical Microscopy Issues,” where improper focus and lens quality directly impact image clarity.
Another critical heading is “Sample Preparation Variables,” as uneven spreading creates inconsistent results.
Inconsistent sample preparation dooms blood smear clarity before the microscope even comes into play.
“Equipment Limitations” addresses how the quality of your microscope affects resolution, while “Environmental Interference” covers how dust and vibration compromise image sharpness.
Finally, “Motion and Stability Factors” explains how movement during capture creates that frustrating blur you’re seeing.
Understanding these categories helps you systematically address the specific causes behind your blurry blood smear images.
Common Technical Challenges in Blood Smear Microscopy
You’ll face multiple technical hurdles when capturing clear blood smear images, including focus drift that occurs during extended microscopy sessions.
Staining technique problems, such as over-staining or inadequate fixation, can greatly compromise cellular detail and diagnostic accuracy.
Even with perfect technique, microscope quality limitations like inferior optics or poor camera integration will restrict your ability to produce the sharp, detailed images needed for thorough blood cell analysis.
Focus Drift Issues
Although properly prepared blood smears are essential for accurate analysis, even the best specimens can be compromised by focus drift during microscopy.
When you’re examining blood smears, you’re working with an extremely shallow depth of field where even minor vibrations or temperature changes can cause the focal plane to shift unexpectedly.
You’ll notice your microscopic images suddenly becoming blurry as the focus drifts, often without any obvious cause.
This problem worsens when optical components aren’t properly aligned or when there’s dirt on your lens.
To combat focus drift, you should regularly calibrate and maintain your microscope.
Consider investing in automated focusing systems that continuously adjust during examination.
These systems can greatly improve image sharpness by compensating for the subtle movements that would otherwise ruin your blood smear analysis.
Staining Technique Problems
When blood smear photos appear blurry or unclear, improper staining techniques are often the culprit. Your staining process greatly impacts image quality and diagnostic accuracy. Over-staining or under-staining obscures vital cellular details, making morphological assessment challenging.
The clarity of your blood smear photos depends on several staining-related factors:
- Uneven application creates variable contrast across the specimen, resulting in areas that appear sharp while others remain frustratingly blurry.
- Poor-quality or expired reagents fail to properly differentiate cell components, producing washed-out or overly dark blurry images.
- Improper drying techniques introduce artifacts and distortions that no amount of microscope adjustment can correct.
Consistent staining techniques require attention to reagent quality, application method, and proper drying time—all essential elements for producing clear, diagnostically valuable blood smear photographs.
Microscope Quality Limitations
Even the most perfectly stained blood smear can appear blurry if your microscope lacks the necessary optical quality. When capturing microscopic details of blood cells, the resolution of your equipment directly affects diagnostic accuracy.
Subpar lenses and inadequate illumination sources create optical aberrations that compromise image clarity. You’ll notice blurred images when your microscope’s components can’t resolve fine cellular structures. This limitation becomes particularly problematic when attempting to distinguish between closely related cell types.
Environmental factors like laboratory vibrations or air currents compound these issues by introducing motion blur during imaging. Your focus settings are equally critical—even high-quality microscopes produce unclear results if improperly adjusted.
To achieve sharp blood smear photographs, you need both excellent optics and proper technique, as no digital enhancement can fully compensate for fundamental quality limitations.
The Impact of Slide Preparation on Image Clarity
Since the quality of blood smear images directly depends on proper slide preparation techniques, even minor errors can greatly reduce clarity and diagnostic value.
Proper slide preparation is the cornerstone of diagnostic accuracy—small errors cascade into major clinical limitations.
When you’re examining blood samples, the thickness of your smear plays a significant role in image quality. Too thick a smear causes cells to overlap, making individual cell identification nearly impossible.
Your preparation process affects clarity in several important ways:
- Inadequate drying time introduces moisture artifacts that distort cellular structures, creating a hazy appearance in your final images.
- Uneven staining creates contrast variations that obscure important cellular details and boundaries.
- Improper spreading technique results in inconsistent cell distribution, causing varying focus levels across the slide.
Quality slide preparation requires patience and precision—rushing through this process almost guarantees the blurry images that frustrate both technicians and clinicians alike.
Staining Techniques and Their Effect on Visual Definition

The quality of your blood smear photos depends heavily on the staining techniques you employ during preparation. When you’re working with blood smears, using high-quality stains like Wright’s or Giemsa is essential for enhancing visual definition and differentiating between cell types.
If you’ve noticed blurry images, improper staining might be the culprit. Over-staining or under-staining creates artifacts that distort cell morphology, making accurate assessment impossible. The contrast and clarity of cellular structures directly correlate with your staining technique’s precision.
Before applying stains, verify your blood smear is properly prepared and fixed. An uneven spread or inadequate drying leads to poor focus during microscopy.
Remember that staining isn’t just about adding color—it’s about revealing structural details that would otherwise remain invisible or poorly defined.
Microscope Calibration: A Critical Factor in Image Quality
Your microscope’s calibration directly impacts the quality of blood smear photos through proper focal plane alignment, which prevents the blurring that can lead to misdiagnosis.
You’ll need to regularly optimize your light source settings to achieve the ideal illumination for cellular detail visualization.
Maintaining your objective lenses through proper cleaning and alignment checks guarantees consistent magnification accuracy and prevents the equipment wear that degrades image quality over time.
Proper Focal Plane Alignment
When examining blood smears under a microscope, proper focal plane alignment stands as the cornerstone of achieving crystal-clear images. Your microscopic examination results depend heavily on this often-overlooked aspect of laboratory technique.
The limited depth of field in microscopy means even minor misalignments can render your entire specimen blurry. You’ll need to regularly calibrate your equipment to guarantee the specimen plane perfectly aligns with your objective lens.
- Imagine viewing a red blood cell with perfectly defined edges, its biconcave structure clearly visible.
- Picture leukocytes with distinct nuclear patterns, granules sharply defined against cytoplasm.
- Envision platelets appearing as distinct elements rather than undefined smudges.
Advanced imaging systems with automated focus capabilities can dramatically improve your results when manual adjustments prove challenging.
Light Source Optimization
Microscope calibration begins with proper light source optimization, as even the finest specimens appear mediocre under inadequate illumination.
When examining blood smears, you’ll find that selecting bright, even illumination sources like LED or halogen lights greatly enhances contrast and cellular detail.
To achieve high image quality, you should implement the Köhler illumination technique, which guarantees uniform light distribution across your specimen. This reduces glare and markedly improves image sharpness.
Don’t overlook the importance of choosing objective lenses with higher numerical apertures, as these improve resolution and make cellular structures more distinguishable.
Remember to maintain your equipment regularly—clean lenses and check alignment to prevent distortion.
These steps aren’t just recommendations; they’re essential practices that transform those frustratingly blurry blood smear photos into clear, diagnostically valuable images.
Objective Lens Maintenance
Maintaining objective lenses properly transforms the quality of your blood smear photos from mediocre to exceptional. Regular calibration guarantees your optical system remains perfectly aligned, delivering the sharp, clear images needed for accurate analysis.
Remember that even minor misalignments can result in frustrating blurriness that compromises your work.
- Dust particles clinging to your objective lens create hazy patches across your field of view, obscuring critical cellular details.
- High numerical aperture (NA) lenses gathering maximum light to reveal delicate structures within blood cells.
- A precisely calibrated focus mechanism capturing cells in perfect clarity, with distinct boundaries and internal structures.
Don’t underestimate routine maintenance’s impact on image quality.
Understanding Depth of Field in Hematological Imaging
As you examine blood smear photographs, you’ll quickly discover that depth of field presents one of the most significant challenges in hematological imaging. This narrow range of acceptable sharpness becomes particularly problematic when viewing blood smear microscopic samples with high-power objectives.
The physics works against you—when using 100x oil immersion lenses for detailed cellular examination, your depth of field dramatically decreases. Larger apertures further narrow this focal range, causing areas of the sample to appear blurry if they’re even slightly outside the focal plane.
The inconsistent thickness of blood smears compounds this problem, as uneven spreading creates varying focal distances across a single slide.
You can mitigate these effects by optimizing illumination and camera settings, but achieving uniform clarity requires precise adjustment during image acquisition.
Movement Artifacts: Causes and Prevention Methods

Movement artifacts represent another significant challenge in blood smear photography, compounding the depth of field issues previously discussed.
When your microscope experiences vibrations or motion during image capture, the resulting blur can seriously compromise image analysis. These artifacts typically stem from microscope instability, technician adjustments, or patient movement during sample preparation.
To minimize movement artifacts in your blood smear photos:
- Use vibration-dampening tables and secure slide clamps to create a stable imaging platform
- Guarantee proper training for all technicians on movement minimization techniques during critical capture moments
- Implement automated imaging systems with advanced stabilization features to eliminate human-induced motion
Lighting Considerations for Optimal Blood Cell Visualization
Proper illumination serves as the foundation for successful blood smear photography, directly impacting your ability to identify cellular details essential for accurate diagnosis.
When your lighting is insufficient or uneven, you’ll notice shadows and glare that obscure critical blood cell features, resulting in those frustratingly blurry images.
For ideal blood cell visualization, adjust your light source to an oblique angle, which enhances the three-dimensional appearance of cells and reveals important morphological characteristics.
Choose a light with a color temperature around 5500K to mimic natural daylight, making the various hues of blood components easier to distinguish.
Consider upgrading to advanced lighting techniques like dark-field or phase contrast microscopy, which greatly reduce blurriness and improve your ability to detect subtle abnormalities in blood smears.
Digital Camera Settings for Microscopic Blood Analysis

Beyond getting your lighting just right, mastering your digital camera settings will dramatically impact the quality of your blood smear photos. Proper configuration plays an important role in ensuring clear, detailed images suitable for accurate analysis and image segmentation.
The difference between mediocre and publication-quality blood smear photography lies in mastering your camera’s technical parameters.
To prevent the all-too-common blurriness in your microscopic blood photos:
- Set your exposure time between 1/30 and 1/125 seconds, depending on your lighting conditions, to avoid over or underexposure.
- Keep your ISO low (100-200) to minimize noise and maximize detail in cellular structures.
- Choose a higher f-stop (f/8-f/16) to increase depth of field, ensuring more of your blood smear remains in focus.
Don’t forget to enable image stabilization features and secure your camera to a tripod or mount to eliminate motion blur entirely.
Frequently Asked Questions
Can Atmospheric Conditions Affect Blood Smear Image Clarity?
Yes, atmospheric conditions can affect blood smear image clarity. High humidity can cause condensation on lenses, while temperature fluctuations may alter sample consistency. You’ll get clearer images in controlled laboratory environments.
How Do Different Blood Disorders Impact Photo Quality?
Blood disorders can alter your sample’s cellular morphology, making focusing difficult. You’ll see abnormal cell sizes, irregular shapes, and clustering that create depth variations, reducing your photo’s clarity and sharpness.
Are Blurry Images More Common With Specific Blood Cell Types?
Yes, you’ll notice blurry images occur more frequently with white blood cells, especially when they’re actively moving or changing shape. Red blood cells and platelets typically capture more clearly due to their stable structure.
Can Software Enhance Already Captured Blurry Blood Smear Photos?
Yes, you can use deconvolution algorithms, AI-based enhancement software, and specialized medical imaging tools to improve already captured blurry blood smear photos. These technologies can sharpen edges and enhance cellular details for better analysis.
Does Patient Hydration Status Influence Blood Smear Image Quality?
Yes, your hydration status affects blood smear quality. When you’re dehydrated, your blood becomes more concentrated, making cells appear closer together and potentially creating smears that are harder to interpret clearly.
In Summary
You’ll find that clear blood smear photos require mastering multiple factors simultaneously. By ensuring proper slide preparation, optimizing your staining technique, calibrating your microscope correctly, and using appropriate camera settings, you’ll dramatically improve image quality. Don’t forget to minimize movement and adjust your lighting. With practice and attention to these details, you’ll overcome the common challenges that make blood smear photos appear blurry.


Leave a Reply