
To create long-lasting specimen slides, you’ll need to master five essential techniques: proper fixation with formaldehyde to preserve tissue integrity, precise sectioning at 3-5µm thickness, strategic staining using H&E or immunohistochemical methods, careful application of Canada Balsam without air bubbles, and controlled storage in cool, dark environments between 15-25°C. These foundational practices guarantee your specimens remain viable and clear for years, revealing microscopic worlds that might otherwise remain hidden from view.
Proper Fixation Methods for Specimen Preservation
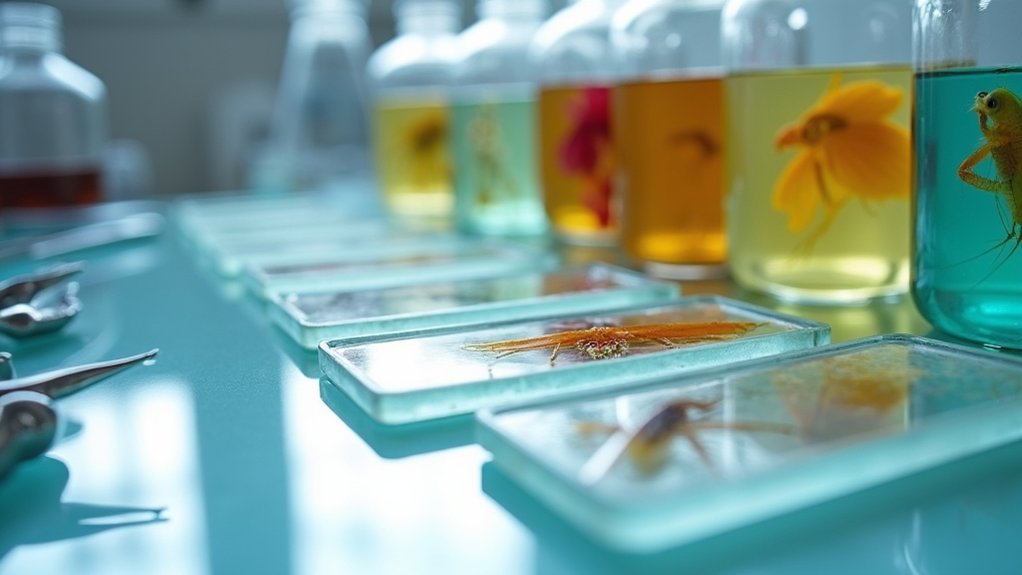
When preparing specimen slides, proper fixation serves as the foundation for all subsequent work. You’ll need to apply fixation methods immediately upon receiving fresh specimens to prevent decay and maintain their life-like appearance.
By immersing your samples in an appropriate fixative solution like formaldehyde, you’re halting enzymatic activity and eliminating microorganisms that cause degradation.
Proper fixatives like formaldehyde protect specimens by stopping decay at the cellular level, preserving tissue integrity for examination.
The fixative you choose impacts your staining techniques later—formalin-fixed specimens work well with most histological stains. Immersion time varies from hours to overnight, depending on tissue size and type.
Don’t rush this step; adequate fixation guarantees structural integrity and preserves cellular structures in their natural state. This careful preservation directly influences the quality of your accurate microscopic examination, allowing you to observe specimens that closely resemble living tissue.
Achieving Optimal Specimen Thickness and Sectioning
After proper fixation, the quality of your microscopic examination depends greatly on how well you section your specimens. For maximum optical clarity, you’ll need to cut sections to 3-5µm thickness using a microtome. How you orient your specimen during embedding directly impacts which structures will be visible in your final slides.
| Process Step | Key Consideration | Common Error | Solution |
|---|---|---|---|
| Dehydration | Complete removal of water | Incomplete process | Extend alcohol series time |
| Embedding | Proper orientation | Wrong cutting plane | Use indicators for direction |
| Sectioning | Uniform thickness | Inconsistent pressure | Maintain steady cutting speed |
| Mounting | Section flatness | Edge curling | Use warm water bath properly |
Before sectioning, verify specimens are thoroughly dehydrated and cleared before embedding in paraffin wax. This prevents moisture pockets that can disrupt cutting. Your sectioning technique should maintain consistent pressure to achieve uniform thickness for reliable staining results.
Strategic Staining Techniques for Enhanced Visibility
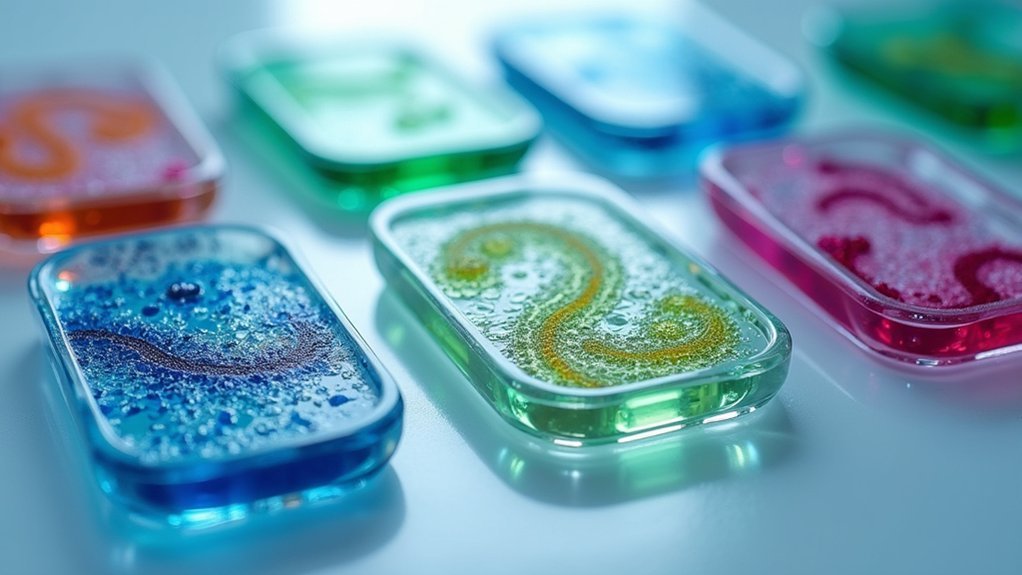
Since unstained specimens appear nearly transparent under the microscope, effective staining becomes the cornerstone of meaningful microscopic examination.
You’ll achieve exceptional visibility of cellular structures by selecting appropriate staining techniques for your specific specimens. Hematoxylin and eosin (H&E) staining reveals essential tissue morphology, while differential staining distinguishes between cellular components, improving diagnostic accuracy.
For targeted visualization, consider immuno-histochemical staining, which uses antibodies to identify specific proteins—particularly valuable when examining potential malignancies.
Don’t overlook the importance of mordants to enhance dye adherence before applying your mounting medium.
Mastering Canada Balsam Application for Clear Mounting
The perfect Canada Balsam application transforms your microscope slides from ordinary specimens to crystal-clear, permanent preparations.
Transforming ordinary specimens into permanent masterpieces through the art of perfect Canada Balsam application.
Begin by ensuring your dry specimens are completely dehydrated and cleared in xylene before applying approximately 0.05 ml of Canada Balsam to the center of a clean slide. Lower your cover glass at an angle over the mounting medium to prevent those frustrating air bubbles from forming.
- Always match your mounting medium with the same solvent used in your clearing agent (typically xylene) for ideal transparency.
- Allow slides to dry horizontally in a thermostat for 30-40 minutes for proper adhesion.
- Store your completed slides in a cool, dark place to maintain clarity and extend the lifespan of your meticulously mounted specimens.
Environmental Controls for Slide Storage and Longevity
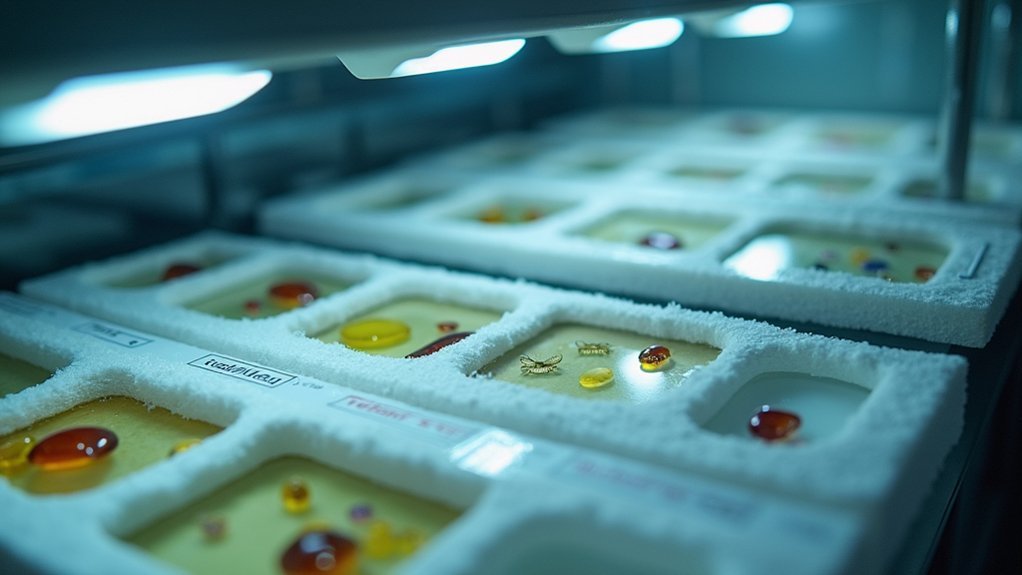
Your beautifully mounted specimens deserve proper storage conditions to maintain their quality for years to come. Store prepared microscope slides horizontally with the specimen side up in a cool, dark environment between 15°C and 25°C. This positioning prevents shifting that could damage the cover glass and preserves specimen integrity.
Never expose slides to direct sunlight, as this accelerates fading of stained specimens and deteriorates mounting media. Use designated slide storage containers to shield your collection from harmful environmental factors, particularly humidity and temperature fluctuations.
Establish a routine for inspecting your slides, as even minor exposure to unsuitable conditions can compromise the longevity of specimens.
With these precautions, you’ll guarantee your carefully prepared microscopic treasures remain viable and vibrant for research and study.
Frequently Asked Questions
How Do You Prepare a Permanent Slide of Bacteria?
You’ll transfer bacteria with a sterile loop, heat-fix on a slide, apply Gram stain, rinse with water, dry completely, add mounting medium like Canada Balsam, and cover with a coverslip.
How to Prepare Permanent Slide Ppt?
To prepare a permanent slide PPT, you’ll need to dehydrate your specimen, apply Canada Balsam, carefully place the cover glass without bubbles, cure in a thermostat, and store horizontally in a cool, dark place.
What Are the Different Slide Preparation Techniques?
You can prepare microscope slides using five main techniques: dry mount for preserved specimens, wet mount for living samples, smear for blood/thick liquids, staining to enhance visibility, and professional prepared slides for permanent study.
Which Solution Is Used to Prepare a Permanent Slide?
You’ll use Canada Balsam as the mounting medium for permanent slides. It provides clarity, preserves specimens effectively, and works well when xylene is used in the clearing process. It solidifies after drying.
In Summary
By implementing these five preservation techniques, you’ll considerably extend the life of your specimen slides. Remember that proper fixation, precise sectioning, strategic staining, and expert mounting with Canada balsam all work together to create lasting preparations. Don’t underestimate the importance of environmental controls—maintaining appropriate temperature and humidity levels will protect your valuable slides for years, ensuring they remain valuable teaching and research tools.


Leave a Reply