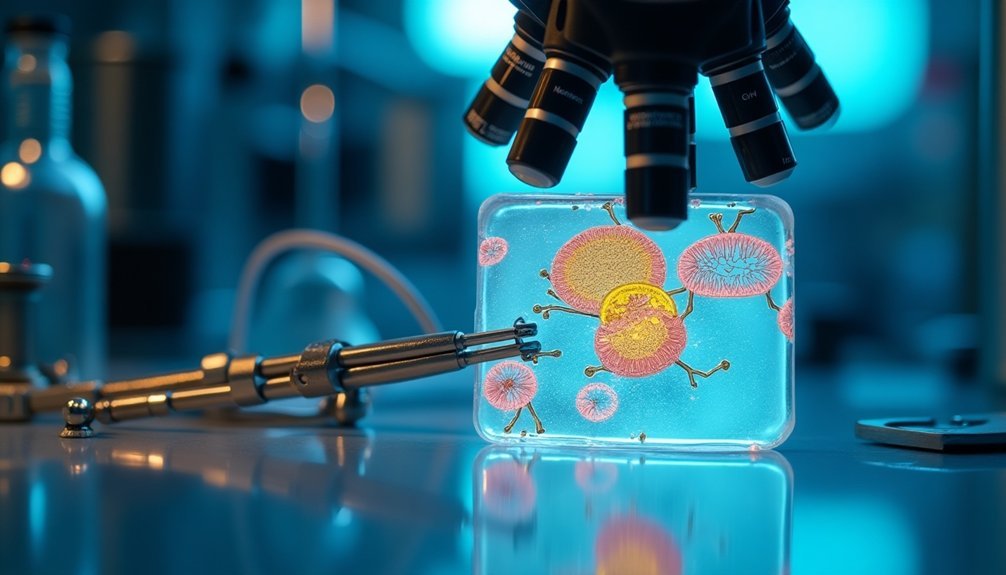
To achieve perfect lab images, you'll need precise optical alignment of your camera system. Start by mounting your camera on stable XY-slides with pan/tilt units for fine positioning control. Use a collimated laser to establish the optical axis, then make iterative adjustments while monitoring through adjustable irises. Position lights at 45-degree angles for even illumination, and verify alignment with test charts. Mastering these fundamental techniques will open up professional-quality results in your laboratory imaging.
Camera Mounting Hardware and Stability Requirements
When setting up a camera system, proper mounting hardware serves as the foundation for achieving precise optical alignment. You'll need stable mounts to prevent unwanted vibrations that can compromise your image quality during critical imaging sessions.
To maximize your alignment process, incorporate XY-slides and pan/tilt units into your camera mount setup. These components give you the precise control you'll need for fine-tuning your camera's position and orientation.
While simple mounts might seem adequate, they won't provide the adjustment capabilities required for perfect alignment.
Don't forget to utilize available calibration resources in the Service menu to enhance your setup's stability. By combining the right mounting hardware with proper stability requirements, you'll create an ideal imaging environment that guarantees consistent, high-quality results in your lab work.
Optical Axis Alignment Techniques
Since precise optical axis alignment forms the cornerstone of high-quality imaging, you'll need to master several key techniques to achieve ideal results.
Start by using a collimated laser to establish your optical axis, which serves as your reference point for aligning optical components.
A collimated laser beam provides the foundational reference axis needed for precise optical component alignment.
Mount your lenses and mirrors using kinematic mounts, which allow for precise positioning during the alignment process. You'll need to make iterative adjustments between components while monitoring the beam path with adjustable irises to spot any off-center alignment.
To verify your collimation quality, incorporate shearing interferometers into your setup – they'll provide valuable feedback for fine-tuning.
Remember that proper perpendicular alignment between your camera's lens and the imaging target is essential for maximizing imaging accuracy and preventing unwanted perspective distortion in your final results.
Focus Calibration and Fine-Tuning Methods
Start your focus calibration by positioning your calibration target at ideal working distances to establish precise depth settings for your camera system.
You'll need to make incremental adjustments while using live view zoom features to confirm edge-to-edge sharpness across the entire field of view.
Check your results by examining specific areas of interest at various magnification levels, ensuring consistent focus quality throughout your intended inspection range.
Optimizing Focus Precision Steps
Because precise focus calibration directly impacts image quality, mastering the focus precision steps requires systematic attention to detail.
You'll need to start with mirror verification, positioning your camera so the lens center perfectly aligns with the reflected image for ideal optical alignment.
Fine-tune your aperture settings while monitoring the mirror's reflection to enhance clarity. Use your camera's live view and zoom capabilities to make real-time adjustments, ensuring you achieve the sharpest possible focus precision.
Different lenses may require specific calibration methods, so always follow the manufacturer's guidelines for your equipment.
Don't forget to perform regular recalibration checks, especially after moving your camera or when environmental conditions change. This consistent monitoring helps maintain superior image quality throughout your shooting session.
Calibration Target Distance Methods
Proper calibration target distance plays an essential role in achieving precise camera focus. You'll need to position your high-contrast target at a distance that matches your lens focal length for ideal results.
Using a depth of field calculator helps guarantee your entire subject remains sharp and clear during focus calibration.
For systematic verification of your camera's focus, follow these essential steps:
- Place a target with known measurements at the calculated distance based on your lens specifications.
- Capture test images while making fine adjustments to verify image sharpness at various distances.
- Compare the captured images to the target's actual dimensions to confirm accurate calibration.
This methodical approach lets you achieve consistent, precise focus across your imaging setup while minimizing distortion and maintaining ideal clarity in your lab photography.
Lighting Configuration for Optimal Image Quality
To achieve professional-quality images, lighting configuration plays a pivotal role in your camera setup.
You'll want to position your lamps at a 45-degree angle to create even illumination across your subject, greatly reducing unwanted shadows. Use diffused lighting sources to reduce reflections and glare, ensuring clearer image capture with better contrast.
Combine backlighting and front lighting techniques to enhance texture and depth in your subjects.
You'll find that adjustable lighting setups, particularly LED panels with dimming capabilities, allow you to fine-tune brightness for specific imaging needs.
Don't forget to maintain your equipment's ideal performance by regularly checking and cleaning your lights – dust and smudges can compromise image quality.
This attention to lighting detail will help you capture precise, high-quality images every time.
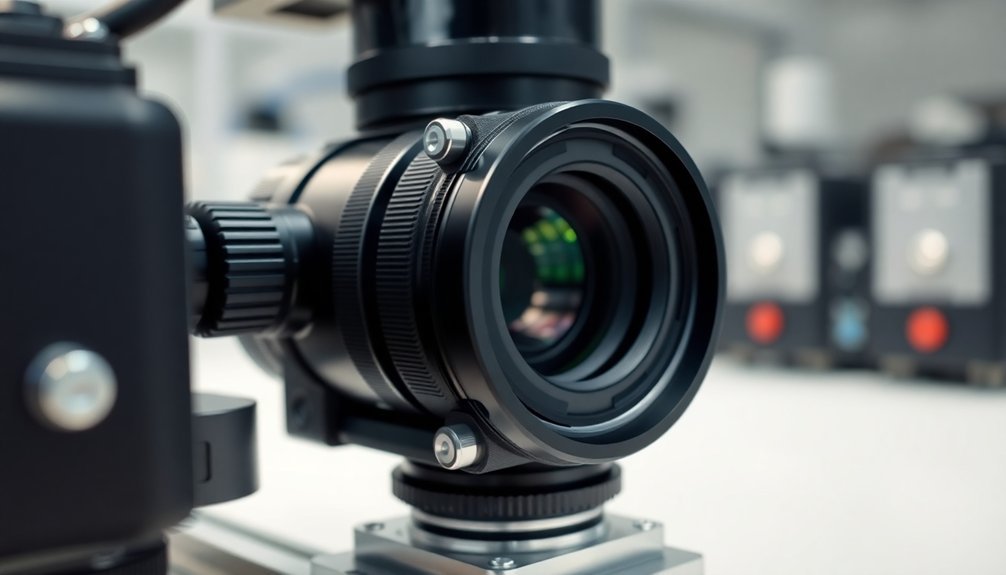
Digital Image Sensor Positioning Strategies
To achieve ideal sensor positioning, you'll need to mount your digital image sensor perpendicular to the optical axis using adjustable kinematic mounts for precise alignment.
You can verify proper alignment by employing a collimated laser beam as a reference guide through your optical system.
For consistent performance, make sure to implement regular calibration checks using reference points or shearing interferometers to maintain accurate sensor positioning and prevent drift over time.
Precision Mounting Placement Methods
Successful camera alignment depends heavily on precise digital image sensor positioning techniques.
You'll need adjustable mounts and a systematic approach to achieve ideal optical axis alignment. Using XY-slides and kinematic mounts lets you fine-tune sensor positioning while minimizing alignment errors.
For the best image clarity, follow these essential steps:
- Start with a defined reference point and use a laser or collimated beam to verify your sensor's initial position.
- Make iterative adjustments using adjustable mounts while monitoring the beam's alignment.
- Perform regular calibration checks using tools like shearing interferometers or electronic levels.
Precision mounting isn't just about initial placement – it's about maintaining alignment over time.
Your lab's image quality depends on consistent monitoring and adjustment of the sensor's position relative to the optical axis.
Sensor Calibration Best Practices
Three fundamental principles govern effective sensor calibration: precise optical axis alignment, consistent position verification, and contamination control.
To achieve ideal sensor calibration, you'll need to align your camera sensor perpendicular to the optical axis. Use a collimated laser to define this axis and verify proper alignment. Install adjustable kinematic mounts for precise positioning adjustments, which will help minimize measurement errors during image capture.
You should regularly check your sensor's position using reference points, such as a clean dot or crosshair, to maintain alignment consistency.
Keep your sensor free from dirt and contaminants, as these can degrade image quality and compromise calibration accuracy. By following these practices, you'll guarantee your sensor maintains proper alignment with the optical axis, resulting in accurate and distortion-free images.
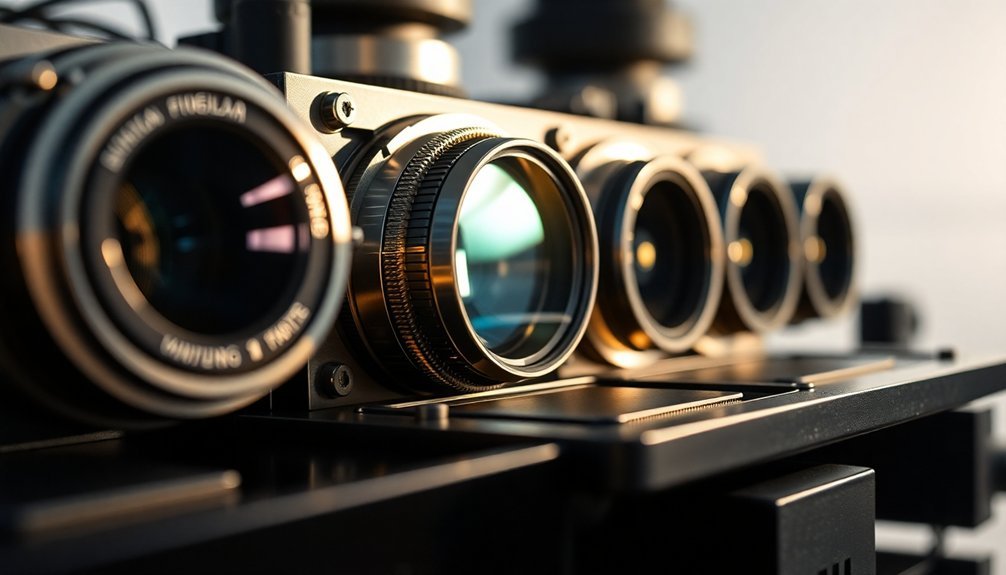
Mechanical Adjustment Systems and Tools
Precise camera alignment relies on a range of mechanical adjustment systems and specialized tools that enable fine-tuned positioning control.
You'll find that XY-slides and turntables offer essential capabilities for adjusting camera positioning with high precision, while pan/tilt units and ball heads give you the flexibility needed for smooth optical alignment adjustments.
For ideal image quality in your lab setup, you'll want to implement:
- Stable mounts with kinematic features for precise positioning of optical elements
- Adjustable irises that allow for fine control over light exposure and depth of field
- Electronic levels to guarantee your camera maintains perfect horizontal alignment throughout imaging sessions
Don't rely on basic mounting solutions that can limit your adjustment options.
Instead, invest in quality mechanical systems that'll help you achieve consistently superior results in your laboratory imaging work.
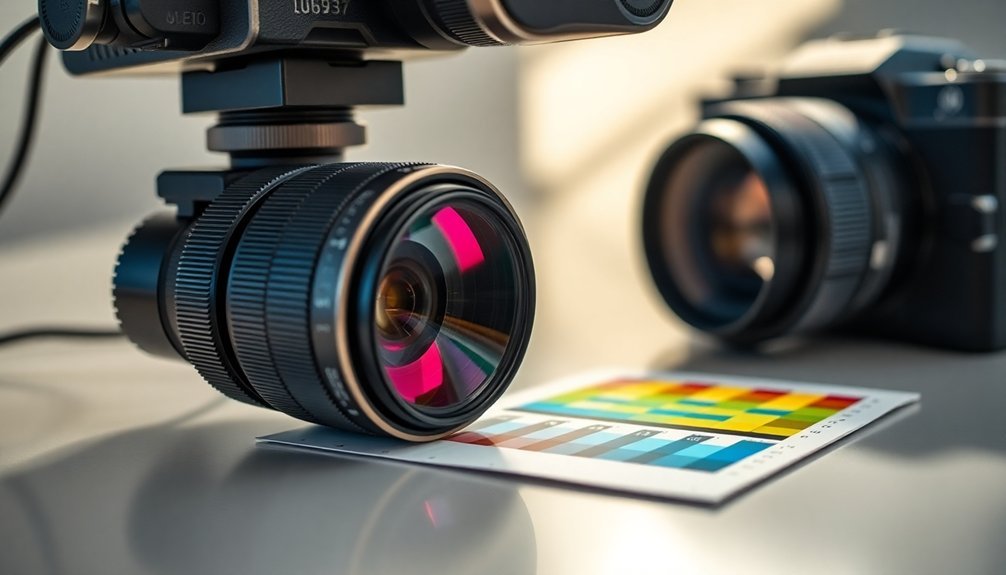
Performance Testing and Verification Procedures
After setting up your mechanical alignment systems, proper testing and verification guarantee your camera optics perform at their best.
Begin performance testing by capturing images at multiple focal lengths and apertures, examining sharpness, contrast, and distortion across your field of view.
Thorough performance testing across varied focal lengths reveals your system's true capabilities in sharpness, contrast and field distortion.
Use a calibrated grid or test chart to verify optical alignment accuracy, ensuring your optical axis remains centered and perpendicular to your target.
Compare your captured images against reference standards to identify any misalignments. You'll want to analyze image quality metrics using specialized software – focus on modulation transfer function and signal-to-noise ratio for objective evaluation.
Don't forget to schedule regular maintenance checks and recalibration of your optical system.
Environmental changes and mechanical wear can affect alignment over time, so staying proactive helps maintain peak performance.
Frequently Asked Questions
How to Align Optical Lenses?
You'll need to use shearing interferometers to check collimation, adjust kinematic mounts for precise positioning, and utilize pinholes for centering. Don't forget to clean lenses and make iterative adjustments between steps.
How Do You Align a Laser Optical Path?
You'll want to establish a straight beam path using pinholes, maintain consistent beam height, and make iterative adjustments with fold mirrors. Clean components first and use stable mounts for precise alignment.
Is It Best to Use Optical Zoom on a Digital Camera to Ensure That Magnified Images Do Not Become Blurry and Pixelated?
Yes, you'll get better results using optical zoom instead of digital zoom. It preserves image quality by using the camera's lens system rather than digitally cropping, which helps prevent blurriness and pixelation in magnified shots.
What Are the Techniques of Optical Alignment?
You'll need to use mirror reflection for lens centering, adjust with live view and zoom features, employ kinematic mounts, make iterative collimation adjustments, and always follow safety protocols with protective eyewear.
In Summary
You'll find that proper camera alignment is essential for capturing high-quality lab images. By following these mounting, calibration, and testing procedures, you've learned to optimize your optical setup. Remember to regularly check your alignment, maintain stable lighting conditions, and verify your results through performance testing. When you've mastered these techniques, you'll consistently produce clear, precise, and publication-ready laboratory images.


Leave a Reply