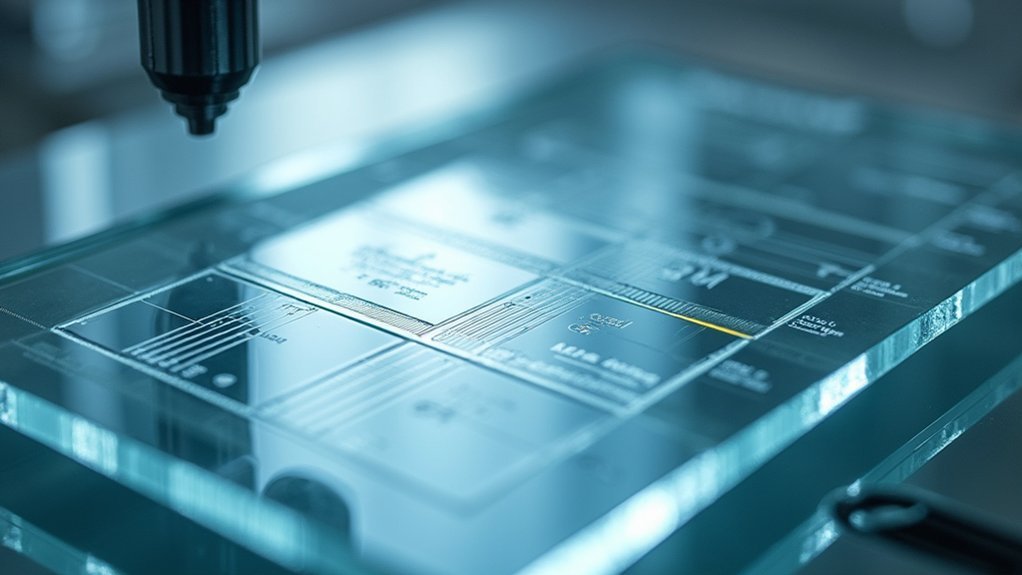
Calibration slides are essential tools for creating accurate scale bars in microscopic photography. You’ll need them to establish precise measurements down to 0.01mm in your images. Stage micrometers provide direct measurements while eyepiece micrometers superimpose scales onto your view. To create proper scale bars, calibrate at each magnification level and calculate the pixel-to-micrometer relationship for your software. Proper calibration transforms your photomicrographs from mere images into scientifically valid visual evidence that maintains credibility among peers.
Calibration Slides: Accurate Scale Bars for Micro-Photography
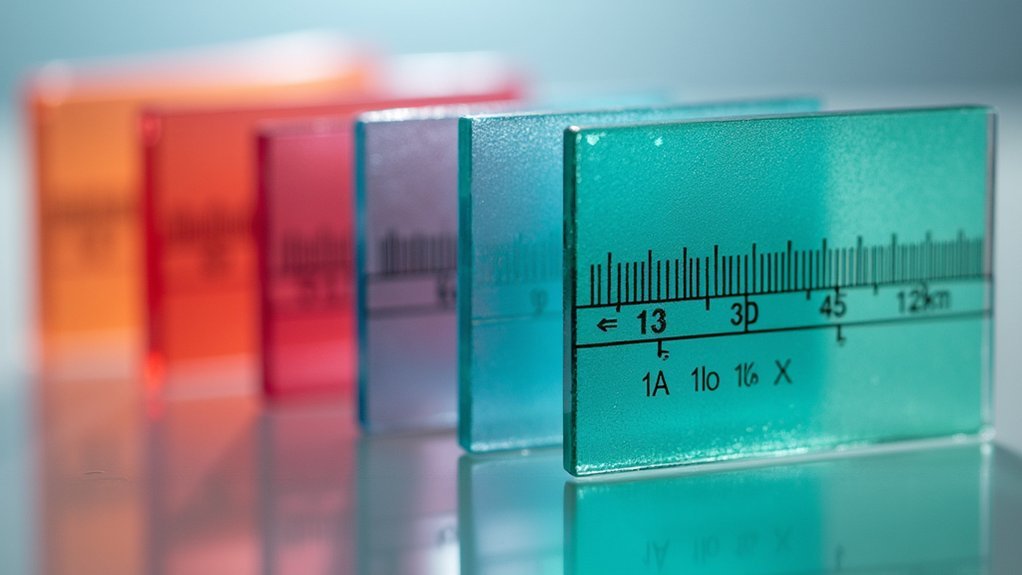
The precision of microscope photography hinges on accurate measurement. When you’re capturing microscopic specimens, calibration slides serve as essential tools that enable precise measurements down to 0.01 mm (10 microns).
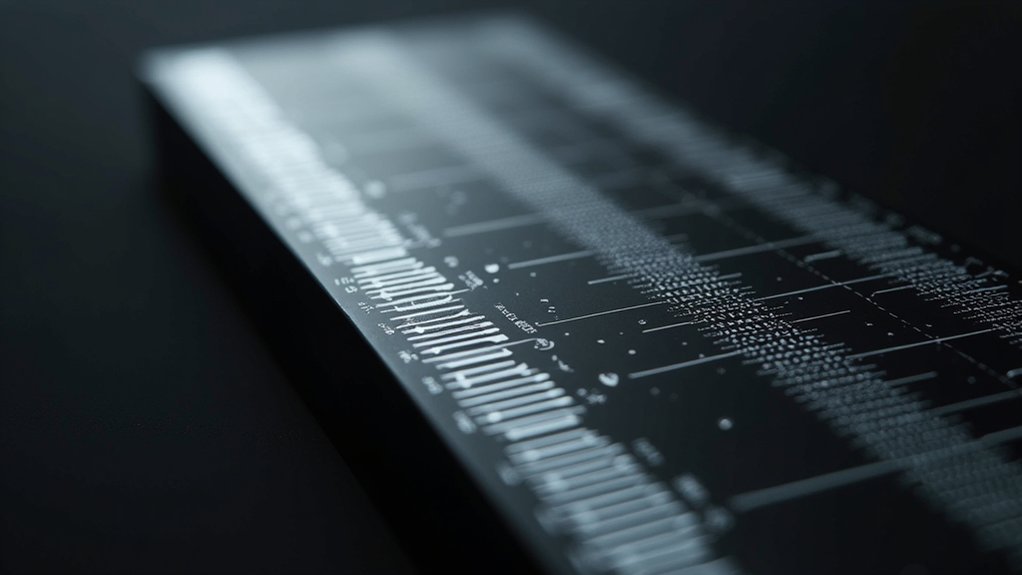
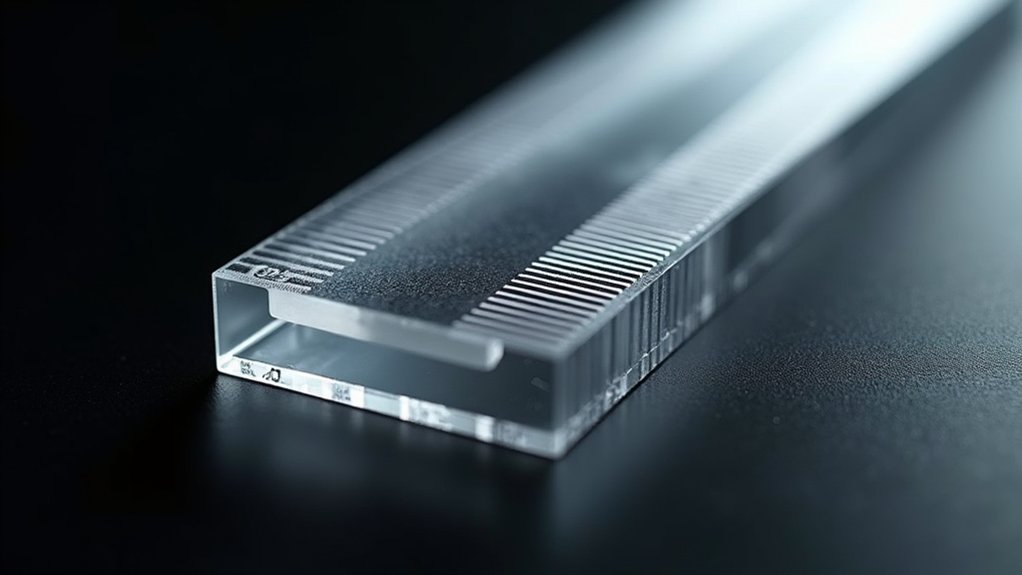
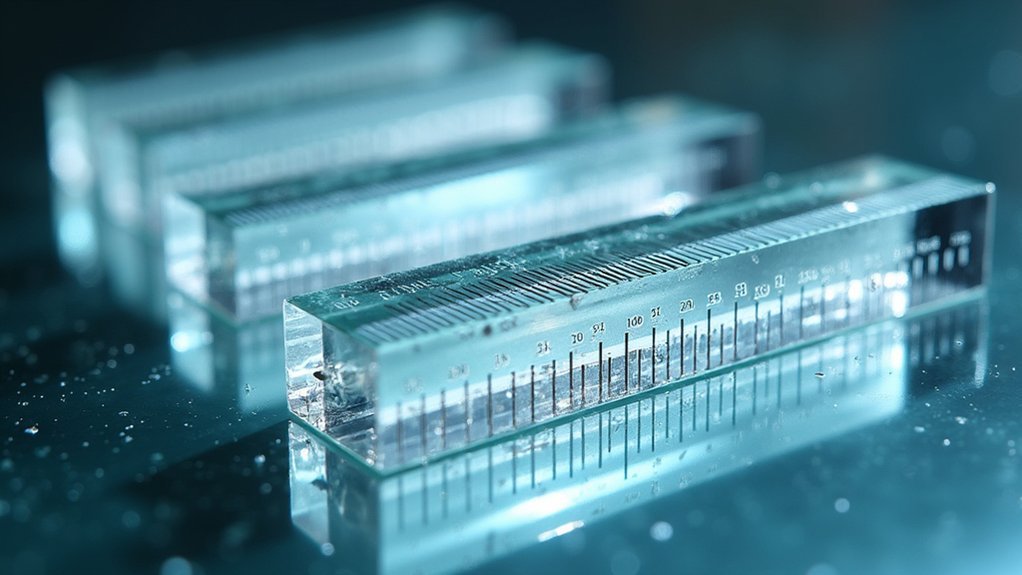
These specialized rulers feature carefully etched scales with divisions at 0.1 mm and 0.02 mm increments, allowing you to calibrate your microscope accurately across different magnifications.
For the best results, pair your Reticle Calibration Slide Ruler with software like Image J to add scale bars that truly represent your specimen’s dimensions in microns.
You’ll find this particularly valuable when preparing images for scientific publications. By combining calibrated eyepiece reticles with your calibration slide, you’ll achieve measurement accuracy within ± 10% margin of error, ensuring your photomicrographs maintain scientific integrity and reliability.
The Importance of Scale in Microscopic Imaging
Scale bars transform your microscopic images from mere visual data into scientifically meaningful records by contextualizing the true size of specimens.
You’ll maintain scientific integrity in your research when you properly calibrate and display accurate measurement references alongside all photomicrographs.
Your audience can instantly grasp relative dimensions between different microscopic structures, making your findings more accessible and comparable across the scientific community.
Contextualizing Microscopic Discoveries
When examining the microscopic world, you’ll quickly discover that without proper scale references, even the most stunning images lose much of their scientific value.
Accurate scale bars provide vital context that transforms interesting visuals into meaningful scientific communications.
By calibrating your microscope with a Stage Micrometer, you’ll convert abstract reticle divisions into precise measurements in microns.
Consider how a ciliate occupying half the field at 20X magnification can be accurately measured at approximately 575 microns—information that’s essential for proper specimen interpretation.
For professional publications, you’ll need to incorporate scale bars using tools like Image J or Photoshop.
These visual references don’t just improve your images’ aesthetics; they guarantee your audience correctly interprets the size relationships within your microscopic discoveries, enhancing both clarity and scientific credibility.
Scientific Measurement Integrity
Scientific integrity in microscopy hinges on your ability to provide accurate size references. When you’re working with an optical microscope, converting what you see into meaningful data requires proper calibration.
Without a precise scale bar in pixels, your photomicrographs lose critical context for peers reviewing your work. You’ll need to measure your field of view at each magnification level, from the wider 10,000 microns at 2.5X to the narrower 560 microns at 40X.
Using calibration slides with divisions as fine as 0.01 mm guarantees your scale bars reflect true specimen dimensions. For consistent results, calibrate your eyepiece reticle for each objective lens.
Comparative Size Reference
Three essential elements define professional microphotography: focus, lighting, and scale.
When you’re measuring the size of microscopic specimens, accurate scale bars provide vital context that transforms abstract images into scientifically valuable data. Your audience needs these visual references to comprehend actual dimensions of observed structures. Without them, viewers can’t determine if they’re looking at something 5 or 500 microns across.
Proper microscope measurements using calibrated eyepiece reticles allow you to convert optical divisions into precise micron values. For instance, if a specimen spans half your field of view at 20X magnification (1,150 microns), you’d mark your scale bar at approximately 575 microns.
This practice not only enhances your images’ professionalism but also facilitates meaningful comparisons between different specimens, improving scientific communication and understanding.
Types of Calibration Slides and Their Applications
When choosing calibration tools for your micro-photography setup, you’ll find several options including stage micrometers that attach to the microscope stage and eyepiece micrometers that fit into the ocular lens.
Resolution test targets like the USAF 1951 pattern help you determine your microscope’s ability to distinguish fine details and establish its resolving power.
Modern digital calibration options now complement these traditional slides, offering automated measurements and analysis that can enhance your workflow and improve measurement consistency.
Stage vs. Eyepiece Micrometers
Accurate microscopic measurement depends on choosing the right calibration tool for your specific application.
Stage micrometers are precision slides placed directly on the microscope stage, featuring calibrated markings in millimeters or microns that guarantee your magnification settings are correctly calibrated for measurement accuracy.
In contrast, eyepiece micrometers (reticles) are glass discs inserted into your microscope’s eyepiece, superimposing measurement scales directly onto your specimen view.
You’ll need to calibrate these reticles against a stage micrometer for each objective lens you use.
For specialized applications, consider alternatives like the USAF 1951 resolution test target to assess your microscope’s resolving power, or high-precision calibration slides with 0.01mm accuracy for detailed research work.
Color calibration slides can also help you adjust image color balance and intensity.
Resolution Test Targets
Essential for evaluating your microscope’s true capabilities, resolution test targets reveal the smallest details your optical system can distinguish. The USAF 1951 target, a widely used example, features progressively smaller line patterns that help you determine your microscope’s resolving power at different magnifications.
Unlike other calibration slides that focus on measurement or color correction, resolution test targets specifically assess your instrument’s ability to separate fine details.
You’ll typically observe these targets under your working conditions to identify where distinct lines begin to blur together.
Regular use of resolution test targets alongside other calibration slides greatly improves your microscope images’ quality and scientific value.
For consistent results in research and diagnostics, incorporate these targets into your routine microscopy workflow to maintain peak performance.
Digital Calibration Options
Modern microscopy has embraced digital solutions that complement traditional glass calibration slides, giving you more versatile options for system calibration. While physical calibration slides offer unmatched precision with divisions as fine as 0.01 mm, digital alternatives provide convenience and flexibility.
You’ll find that eyepiece micrometers remain essential even in digital workflows, allowing you to superimpose measurement scales directly in your field of view.
| Digital Option | Application |
|---|---|
| Software rulers | Quick on-screen measurements |
| Digital micrometers | Virtual replacements for glass scales |
| Pixel calibration tools | Convert pixels to physical units |
| Image overlays | Add scale bars to photomicrographs |
| Automated calibration | AI-assisted measurement systems |
For professional publications and research, combining both digital and physical calibration methods guarantees your micro-photography maintains scientific credibility while benefiting from technological advancements.
Step-by-Step Guide to Microscope Calibration
Five key steps form the foundation of proper microscope calibration for micro-photography.
First, place a precision micrometer scale slide with 0.010 mm divisions under your microscope to calibrate your eyepiece reticle at each objective magnification, including 60X and 100X if available.
Second, measure the field of view diameter at each magnification using the micrometer scale, recording values in microns (1 mm = 1000 microns).
Third, create a reference chart documenting these measurements for quick consultation during future work.
Fourth, practice estimating specimen sizes by comparing them to your calibrated field of view—for example, an organism occupying half of a 1,150-micron FOV would measure approximately 575 microns.
Finally, regularly use your calibrated system to measure known specimens like red blood cells (9-12 microns) to verify accuracy.
Converting Reticle Divisions to Microns
You’ll need to calculate a calibration factor for each objective by dividing your field of view measurement in microns by the number of reticle divisions.
Create conversion tables specific to each magnification level, noting how many microns each division represents at 4X, 10X, 40X, and 100X objectives.
Cross-check your calculations with standard-sized specimens to verify your conversion accuracy before beginning your micro-photography project.
Calibration Factor Calculation
When working with microscopy measurements, you’ll need to convert abstract reticle divisions into actual micron measurements to obtain meaningful data. This conversion requires calculating a calibration factor for each objective lens.
Start by determining the field of view (FOV) diameter in microns using micrometer slides. For example, a 2.5X objective typically yields a 10,000-micron FOV, while a 40X objective might show 560 microns.
Next, divide the FOV by the number of reticle divisions to find your calibration factor. If your reticle has 100 divisions with a 560-micron FOV, each division equals 5.6 microns.
Record these calibration factors for all objectives you use. This systematic approach guarantees accurate measurements across different magnifications during your microscopic analysis and photography work.
Objective-Specific Conversion Tables
Creating objective-specific conversion tables streamlines your microscopy workflow by eliminating repetitive calculations during specimen analysis.
You’ll need to record the precise relationship between reticle divisions and microns for each magnification level you use. Start by calibrating your most frequently used objectives. For example, at 2.5X, your FOV might span 10,000 microns, while at 40X, it could measure just 560 microns.
Document these conversion factors in a simple table format for quick reference. Don’t neglect higher magnifications like 60X and 100X—these require especially careful calibration.
When properly calibrated, you can instantly determine specimen size by counting reticle divisions and applying the corresponding conversion factor. A specimen occupying half the FOV at 20X translates to approximately 575 microns, demonstrating how essential these conversion tables are for accurate measurements.
Precision Through Cross-Checking
Although initial calibration provides a foundation for microscopic measurements, cross-checking your reticle divisions against standard calibration slides guarantees exceptional accuracy.
When converting reticle divisions to microns, remember that consistency across different magnifications is essential.
- Compare your eyepiece reticle against a calibration slide with precise 0.010 mm (10 micron) divisions to verify your measurements.
- Convert all field of view measurements to microns (multiply millimeters by 1000) for uniformity across different objectives.
- Record calibration values for each objective (2.5X through 100X) in a reference table for quick access.
- Calculate specimen size as a fraction of the total field of view, using your calibrated micron measurements.
This cross-checking process guarantees your reticle divisions provide reliable micron measurements for all your microphotography work.
Measuring Moving Specimens With Calibrated Scales
Because moving specimens present unique challenges under the microscope, precise calibration becomes essential for accurate measurements. Start by calibrating your microscope with a precision calibration slide, guaranteeing your eyepiece reticle is properly scaled for each objective lens, including higher magnifications like 60X and 100X.
To measure moving specimens, calculate the Field of View (FOV) diameter for each objective. When a specimen moves through your view, estimate its size by determining what fraction of the FOV it occupies. For example, if a ciliate fills half your FOV at 20X (approximately 1,150 microns), its size is about 575 microns.
For greater precision, use a filar or stage micrometer with accurate division markings. Proper calibration improves photomicrograph clarity and guarantees professional documentation of your microscopic subjects.
Adding Scale Bars to Photomicrographs Using Software
Once you’ve properly calibrated your microscope, you’ll need to incorporate scale bars into your photomicrographs to provide critical size context.
Scale bars transform abstract images into meaningful scientific data by communicating specimen dimensions.
To add accurate scale bars using software like ImageJ or Photoshop:
- Measure your subject in pixels, establishing the relationship between pixel size and actual micrometers.
- Calculate the scale bar length by converting your desired micrometer measurement to equivalent pixels.
- Create a visible bar of the calculated pixel length and position it in a non-intrusive area of your image.
- Add a text label (e.g., “100 µm”) to clearly indicate the scale’s real-world measurement.
This process guarantees your scientific images contain proper size references—essential for publication and accurate interpretation of microscopic structures.
Manual Calculation Methods for Scale Bar Integration
When software automation isn’t available or you prefer greater control over your scientific imagery, manual calculation methods provide a reliable alternative for scale bar integration. You’ll need to accurately measure your specimen in pixels and apply a simple formula to calibrate your scale bar properly.
| Step | Action | Result |
|---|---|---|
| 1 | Measure subject in pixels | Establish pixel count |
| 2 | Determine subject’s true size | Record in microns |
| 3 | Decide scale bar length | Choose appropriate size |
| 4 | Apply calculation formula | Pixels = (Measured Pixels/Subject Size) × Desired Scale |
| 5 | Add text label | Include unit (e.g., “50 µm”) |
For example, if your specimen measures 500 pixels and equals 100 microns, a 50-micron scale bar would be 250 pixels long. This manual approach guarantees your photomicrographs convey precise dimensional context to viewers.
Enhancing Scientific Credibility Through Proper Calibration
Scientific credibility hinges on meticulousness, particularly in microscopy where the smallest measurement error can undermine entire studies. When you properly calibrate your microscope using precision slides, you’re not just following protocol—you’re establishing the foundation for trustworthy research.
Calibration directly impacts your scientific credibility through:
- Converting abstract pixels into concrete measurements of 0.01mm precision with calibrated eyepiece reticles
- Creating consistent reference points that guarantee reproducibility across multiple sessions
- Generating professional photomicrographs with accurate scale bars that meet publication standards
- Producing reliable size estimations (like precisely measuring a 575-micron ciliate) that other researchers can verify
Selecting the Right Calibration Slide for Your Microscope
Choosing the perfect calibration slide requires understanding both your microscope’s specifications and your measurement needs. Your microscope type—whether standard light or stereo—dictates the appropriate calibration slide selection for ideal measurement accuracy.
Consider the precision options available: standard slides offer 0.1mm divisions, while precision models provide 0.01mm increments for more detailed work. Most quality slides measure approximately 3 inches by 1 inch, with a 1mm measurement range divided into 100 precise units.
For maximum versatility in your micro-photography, select a slide featuring both English and Metric measurement divisions.
The right calibration slide isn’t just about numbers—it’s about enhancing your photomicrographs’ professionalism and strengthening research credibility through consistent, accurate scaling that matches your specific microscope’s optical properties.
Frequently Asked Questions
How to Calibrate a Microscope Scale?
You’ll need a precision calibration slide with 0.010 mm divisions. Measure each reticle division at different magnifications, record the field of view in microns, and calculate conversion factors for all objectives you use.
What Measures Can You Use to Guarantee That Specimens Are Accurately Focused Under the Microscope?
You’ll guarantee accurate focus by using calibration slides, performing regular focus adjustments, checking resolution with USAF targets, employing eyepiece micrometers, and maintaining consistent focal planes across different magnifications during observations.
What Is Calibration in Micrometry?
Calibration in micrometry is how you determine the exact measurement value of your eyepiece reticle divisions in microns. You’ll need to do this for each objective lens to accurately measure microscopic specimens.
What Is a Scale Bar Used for in Microscopy?
You’ll use scale bars in microscopy to provide size references in your images. They help you accurately convey specimen dimensions, allowing others to interpret the true size of microscopic objects you’re presenting.
In Summary
Properly calibrated scale bars aren’t just technical details—they’re essential for your scientific credibility. By selecting the right calibration slide and following the methods outlined, you’ll guarantee your microphotographs communicate precise dimensional information. Whether you’re using software tools or manual calculations, you’ve now got the knowledge to implement accurate scale representation in all your microscopic imaging work.


Leave a Reply