To calibrate your camera’s pixel size quickly, use the formula: 206 × (pixel size in microns ÷ focal length in mm) to determine arcseconds per pixel. For direct measurement, use reference diffraction gratings with known spacings (2-4 microns). Enable experimental calibration in settings, center your fiducial, and collect parameters by moving along radial lines. Verify against known standards to assess accuracy. The right pixel scale setting guarantees precise guiding and sharper astronomical images.
Understanding Pixel Scale Fundamentals
Pixel scale lies at the heart of astrophotography calibration. It represents the angular measurement of sky captured by each pixel on your camera sensor, typically measured in arcseconds per pixel.
To calculate this essential value, you’ll need to know both your camera’s pixel size and your telescope’s focal length using the formula: 206 × (pixel size in mm ÷ focal length in mm).
When properly calibrated, your pixel scale directly impacts how effectively you can track a guide star during long exposure times. A smaller pixel scale provides finer resolution and more precise guiding corrections.
For instance, a ZWO ASI 120mm camera with 3.75 micron pixels on a 270mm guide scope yields approximately 2.9 arcseconds per pixel. Understanding this relationship guarantees you’ll capture sharper, more detailed images of celestial objects.
Essential Tools for Camera Calibration
Three critical tools form the foundation of accurate camera pixel size calibration.
First, reference diffraction gratings with precise 2 or 4-micron spacings establish your baseline measurements. These gratings guide camera calibration by providing known distances to convert pixel values into real-world units.
Reference diffraction gratings provide essential baseline measurements, translating abstract pixel values into concrete physical dimensions for precise camera calibration.
Second, peak detection software helps you identify edges and patterns in your diffraction images. You’ll need to adjust contrast settings appropriately to enhance measurement accuracy across different calibration steps.
Finally, calibration VIs enable you to define pixel size in millimeters through Simple Calibration settings. These tools let you specify X and Y scaling precisely, accounting for the non-linear relationship between pixels and physical dimensions.
Document your entire calibration process meticulously to guarantee consistent measurements across different setups and experiments.
Step-by-Step Calibration Protocol
Once you’ve gathered all necessary tools, you’ll need to follow a precise sequence to calibrate your camera’s pixel size accurately.
Begin by enabling the experimental calibration option in the Machine Setup tree, which allows adjustments to existing image transforms.
Set the cropped width and height for your raw images, focusing on areas that contain your guide stars for calibration. Center the calibration fiducial in the camera view, adjusting the detection diameter at your Primary Calibration Z height for stable readings.
Move your camera along radial lines from center to edges, collecting a thorough set of parameters. Repeat this process using both primary and secondary fiducials for cross-validation.
Once complete, process the calibration data and apply the new pixels-to-real-world conversion settings if the results are satisfactory.
Verification and Error Assessment
After completing the calibration protocol, you’ll need to verify the accuracy of your camera’s pixel size measurements to assure reliable operation. Compare your calibration results against known reference standards to confirm proper pixel-to-real-world unit conversion.
Focus on error assessment by analyzing residual errors—the differences between predicted and actual positions of detected features. Look for trends or clustering in these errors, as they often indicate calibration problems.
Detecting systematic patterns in residual errors reveals underlying calibration issues that simple averaging might miss.
Create a scatter plot to visualize your residual error distribution, which helps identify areas requiring adjustment.
If you notice consistent errors, review your data collection process and check for external factors that might’ve influenced your measurements.
Regular verification and calibration refinement based on observed errors will maintain measurement reliability and guarantee your camera’s pixel size accurately represents real-world dimensions.
Advanced Techniques for Precise Measurements
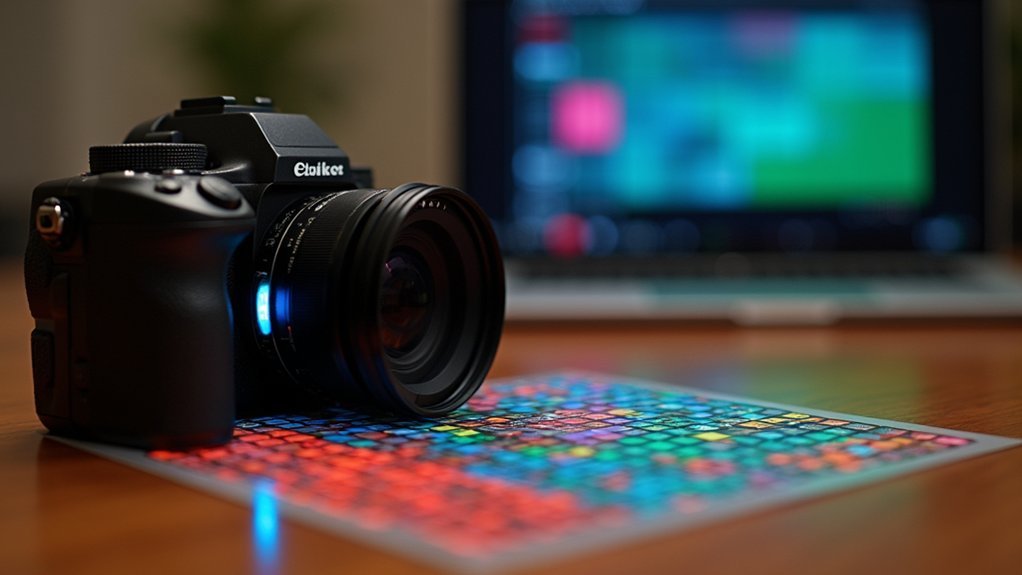
Achieving high-precision measurements requires more sophisticated approaches beyond basic calibration methods. You’ll need to utilize reference diffraction gratings with known spacings to establish accurate pixel-to-millimeter conversions. Set your image scale by implementing peak detection techniques that identify the edges of diffraction patterns.
| Technique | Purpose | Benefit |
|---|---|---|
| Contrast adjustment | Enhance pattern visibility | Improved edge detection |
| Calibration VIs | Define pixel size in mm | Consistent measurements |
| Peak detection | Identify pattern edges | Precise spacing calculation |
Remember that grating spacing and diffraction patterns have a non-linear relationship. Develop a calibration equation to properly relate your pixel measurements to actual dimensions. When setting your pixel calibration parameters, specify both X and Y scaling to guarantee reliable measurement outcomes across different images.
Troubleshooting Common Calibration Issues
Despite careful preparation, camera pixel calibration often encounters several common issues that can compromise measurement accuracy. When calibration results appear warped, check if your internals confidence setting is too low, which may cause unnecessary parameter adjustments and skew your camera pixel size measurements.
Accurate pixel calibration requires proper confidence settings to prevent warping and measurement errors.
If you’re experiencing unstable detections, review your detection diameter settings in guide frames. Improper settings directly affect signal-to-noise ratio and lead to erroneous pixel measurements.
When calibration errors persist, reoptimize both internal and external camera parameters while ensuring all GCPs are correctly marked. Always verify that your camera pixel size is accurately specified in configuration settings, as this forms the foundation for all subsequent calculations.
For measurement discrepancies, utilize known grating spacings as a reference to convert pixels to real-world units.
Frequently Asked Questions
What Is the Best Calibration Pattern for a Camera?
You’ll find checkerboard or grid patterns work best for camera calibration. They provide clear, high-contrast features that are easily detectable and should be captured at various angles to account for lens distortion.
What Is Calibrated Pixel Size?
Calibrated pixel size is the measurement of how much real-world space each pixel represents in your image. You’ll use this value to convert pixel measurements into actual physical dimensions like millimeters.
How Can I Improve My Camera Calibration?
Regularly verify your calibration with reference gratings, refine peak detection methods, optimize contrast settings, implement non-linear correction factors, and frequently update your calibration VIs. You’ll achieve more accurate pixel-to-real-world measurement conversions using these practices.
How Many Images Do You Need to Calibrate a Camera?
You’ll need about 10-20 images of your calibration target from different angles and distances. For complex setups or higher precision, capture more photos under consistent lighting conditions to guarantee accurate pixel-to-real-world mapping.
In Summary
You’ve now mastered the essentials of camera pixel calibration. With the right tools and techniques, you’ll accurately measure objects in your images every time. Remember to verify your calibration regularly and troubleshoot any issues immediately. This skill won’t just improve your measurement precision—it’ll save you time and frustration in all your imaging projects.

Leave a Reply