To calibrate image scale bars: 1) Capture your image with a consistent reference object; 2) Access the “Set Scale” function in your software and measure known reference distances; 3) Input the actual physical measurement value; 4) Customize your scale bar’s appearance and position; 5) Adjust visibility by selecting contrasting colors and appropriate thickness. Proper calibration guarantees accurate measurements across all your scientific images. The following steps will transform your approach to image analysis.
Calibrate Image Scale Bars in 5 Simple Steps

Five key steps will help you accurately calibrate image scale bars for precise measurements in your scientific or technical work.
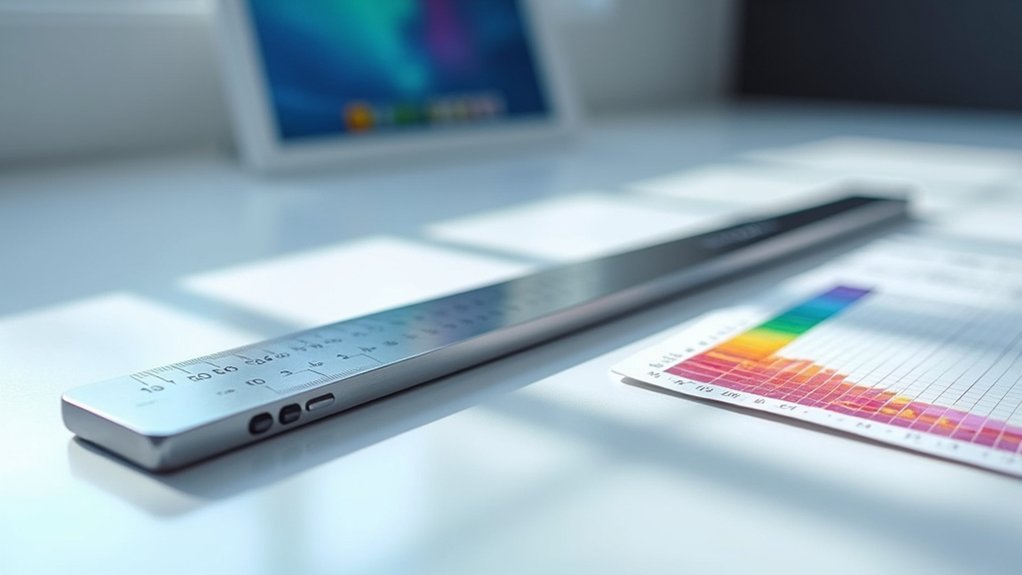
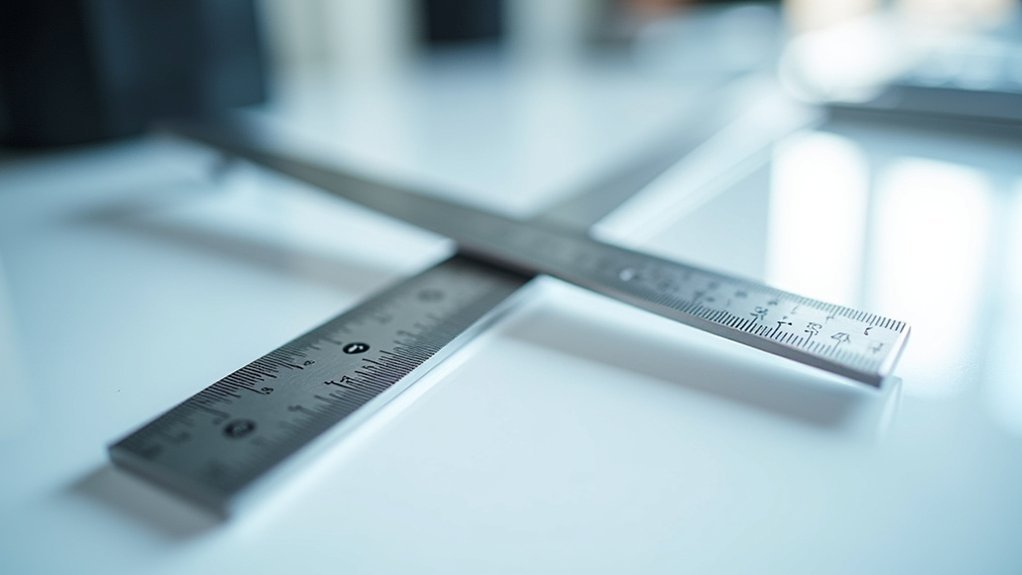
First, capture your raw image with a known reference object like a ruler—it’s best to use this consistently across all images.
Consistently include a ruler or standard reference object in all raw images for reliable scale calibration.
Second, access the scale bar feature through your software’s Analyze menu.
Third, select Analyze > Set Scale to input the pixel length and actual distance your reference represents, ensuring you choose appropriate units.
Fourth, customize your scale bar’s appearance by adjusting color, thickness, and font size to stand out against your image background.
Finally, document all scale measurements and preserve the original image metadata to maintain accuracy for future analysis and reproducibility.
Capturing Your Image With a Reference Standard
Before you even touch the scale bar controls in your software, proper image capture with a reference standard creates the foundation for all subsequent measurements.
Always include a ruler or scale reference within your frame, positioned on the same plane as your subject to prevent perspective distortion.
Ensure your reference standard remains clearly visible and in focus throughout the capture process. This visibility directly impacts the accuracy of your scale bar measurements later.
Consistent lighting is essential—minimize shadows and reflections that might obscure measurement markings on your reference.
For ideal results, capture your images in RAW or TIFF formats, which preserve important metadata needed for precise calibration.
These file formats maintain the image integrity necessary for accurate scaling and measurement during post-processing.
Setting Up the Measurement Scale in Your Software

With your properly captured reference image ready, you’ll now need to establish an accurate measurement scale in your software.
Begin by opening your raw image and traversing to the Analyze menu where you’ll find the Set Scale option for calibration.
Select a known reference distance in your image, such as a scale bar or ruler, and measure its pixel length. In the Set Scale dialog, enter this pixel value alongside the actual physical distance it represents.
Don’t forget to select the appropriate unit of measurement (microns, centimeters, etc.).
Verify your calibration by measuring other objects in the image to confirm their dimensions match expected sizes.
Always save your calibrated image to preserve the scale metadata for future analyses.
Selecting Your Scale Bar Position and Appearance
Once you’ve properly calibrated your measurement scale, strategic placement and appearance of your scale bar become essential for effective image interpretation.
Choose either the top or bottom position of your image, ensuring the scale bar doesn’t obscure critical details in your sample.
Use drawing tools to pinpoint the exact placement location for precision.
Customize your scale bar’s appearance by selecting a color that contrasts well with your image background from the drop-down options. Adjust the thickness to enhance visibility against complex backgrounds.
Don’t overlook text readability—increase the font size of your scale measurements and consider using bold formatting for emphasis.
These simple adjustments will transform your scale bar from a mere reference mark into a clear, professional element that enhances your scientific presentation.
Adjusting Scale Bar Visibility for Different Backgrounds

The effectiveness of your scale bar largely depends on how well it can be seen against your image background. Choose colors that create sharp contrast—bright colors stand out against dark backgrounds and vice versa.
Contrast is key—bright scale bars on dark backgrounds, dark bars on light images ensure instant measurement visibility.
You’ll want to adjust the thickness of your scale bar to at least 10% of its length, making it noticeable without overwhelming your image. For complex or busy backgrounds, add shading behind the scale bar to improve readability.
Don’t neglect the text accompanying your scale bar. Increase the font size to a minimum of 30 points, especially for smaller images. Using bold font options further enhances visibility and emphasizes the size indication.
These simple adjustments guarantee your scale bar serves its purpose effectively regardless of background complexity.
Frequently Asked Questions
How Do I Adjust My Scale Bar?
To adjust your scale bar, go to the Analyze menu, select Scale Bar, set your desired length and thickness, change the color for contrast, and position it where needed on your image.
How Do I Put a Scale Bar in an Image?
To put a scale bar in your image, access Analyze > Tools > Scale Bar, set the length and thickness, choose a contrasting color, position it on your image, and include text showing the size.
What Is the Scale Bar for 40X Magnification?
For 40X magnification, your scale bar typically represents 0.25 microns (250 nanometers) per unit, though it varies by microscope. You’ll need to calibrate it specifically for your imaging system for accuracy.
How Do You Determine Scale Bars?
To determine scale bars, you’ll need to use raw microscope images with metadata or include a ruler in non-microscope shots. Then use “Analyze > Set Scale” to input the actual distance and corresponding pixel length.
In Summary
Now you’re ready to add accurate scale bars to any image with confidence. By following these five steps, you’ve learned to properly calibrate and position scale indicators that establish credibility in your scientific or technical images. Remember, a well-calibrated scale bar isn’t just for aesthetics—it’s essential for reproducibility and precise measurement interpretation in your work. Keep practicing to perfect your technique!


Leave a Reply