For better scientific photos on the go, use portable LED ring lights to eliminate shadows and provide even specimen illumination. Soften harsh light with translucent diffusers to enhance intricate details. Choose battery-powered systems with adjustable brightness for fieldwork versatility. Position lights at a 45-degree angle to emphasize texture and contours. For microscope work, smartphone attachments with dedicated LEDs deliver surprisingly clear results. These lighting fundamentals will transform your scientific documentation immediately.
Portable LED Ring Lights for Microscope Clarity

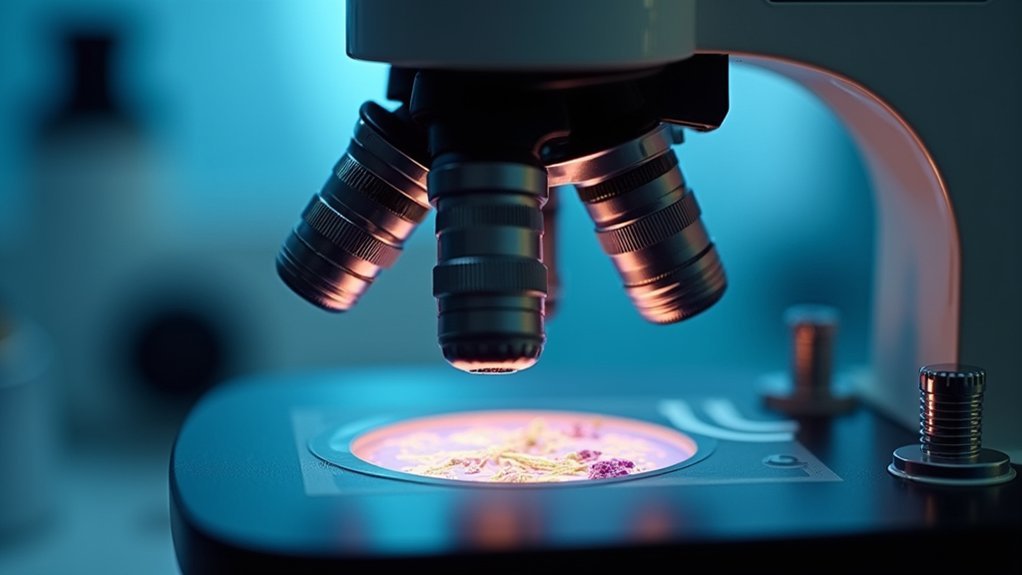
When capturing microscopic specimens with precision, portable LED ring lights stand as essential tools in your scientific photography arsenal.
These specialized lights provide even illumination around your subject, effectively eliminating shadows that can obscure critical details.
Uniform light distribution creates shadow-free visibility, revealing microscopic elements that might otherwise remain hidden from scientific observation.
You’ll appreciate the adjustable brightness features that let you control light intensity based on your specimen’s characteristics.
For true-to-life representation, look for models with color temperature settings that help you achieve accurate visual documentation.
Most designs mount securely to your microscope without interfering with your viewing process.
Battery-operated options are particularly valuable for fieldwork, allowing you to capture high-quality images anywhere without external power sources.
This mobility guarantees you’ll never miss documenting important discoveries, regardless of location, while maintaining the clarity necessary for scientific analysis.
Diffused Light Techniques for Specimen Detail
Although direct lighting works for some applications, diffused light proves essential for capturing intricate specimen details that might otherwise be lost in harsh shadows or glare.
You’ll find translucent panels or specialized fabric diffusers particularly effective at softening harsh light and eliminating unwanted shadows in your scientific photography.
Position reflectors strategically to bounce soft light onto your specimen, enhancing texture while minimizing glare.
For smaller subjects, try a light tent to create consistent lighting conditions and eliminate distractions.
Don’t hesitate to experiment with different light distances—closer sources produce softer shadows, while farther ones create more defined edges.
When working with natural light, incorporate natural diffusers like frosted glass or sheer curtains to reduce intensity of direct sunlight.
This simple lighting setup adjustment will dramatically improve your ability to document fine specimen details.
Battery-Powered Illumination Options for Fieldwork

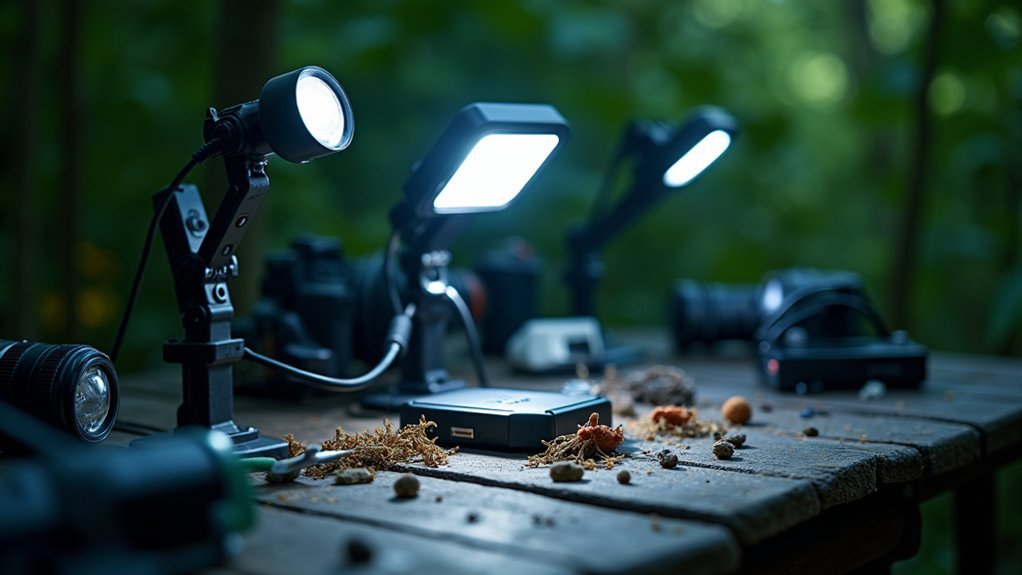
Since reliable lighting becomes critical when working beyond laboratory walls, battery-powered LED systems offer the ideal solution for scientific fieldwork photography.
Portable LED systems transform fieldwork photography, bringing lab-quality illumination to dynamic research environments.
You’ll find these portable lighting options combine efficiency with versatility, allowing you to capture detailed specimen photos in diverse environments.
When selecting mobile lighting for your scientific photography kit, consider these essential features:
- Adjustable brightness settings to customize illumination for different subjects and ambient conditions
- Rechargeable battery packs that provide hours of continuous light during extended field sessions
- Weather-resistant housings that protect your equipment in unpredictable outdoor environments
- Variable color temperatures that help you accurately document specimen characteristics in their natural state
Compact options like mini softboxes and LED panels won’t burden your field kit while ensuring professional-quality illumination wherever your research takes you.
Smartphone Attachments for Enhanced Microscope Lighting
Transforming your smartphone into a powerful microscopic imaging tool requires specialized lighting attachments that overcome the limitations of standard phone cameras.
LED ring lights provide consistent lighting that reduces shadows, vital for capturing clear macroscopic photography of specimens.
You’ll achieve more stable images by using a dedicated smartphone adapter that secures your device to the microscope, minimizing movement during capture.
Consider clip-on macro lenses to enhance magnification capabilities for detailed specimen imaging.
Many attachments include built-in filters that improve color contrast and visibility of translucent specimens.
For ideal results, use compatible software applications to fine-tune exposure and focus, giving you precise control over lighting conditions.
These adjustments are essential when working with specimens that require specific illumination to reveal their microscopic details.
Light Positioning Strategies for Optimal Contrast

When capturing scientific specimens, strategic light positioning dramatically impacts image quality and data interpretation. By manipulating your light source, you’ll create dynamic lighting that reveals essential details invisible under flat illumination.
- Position your light at a 45-degree angle to generate shadows that emphasize texture and contours, instantly adding depth to flat subjects.
- Experiment with side lighting to highlight specimen edges and surface irregularities, enhancing contrast between different structural elements.
- Try backlighting for translucent samples to reveal internal structures and create striking silhouettes that showcase morphological features.
- Combine diffused and direct lighting to control highlights and shadow intensity, allowing for balanced exposure that captures fine details.
Remember to adjust light height and distance to fine-tune shadow characteristics, creating the ideal contrast needed for scientific documentation and analysis.
Frequently Asked Questions
What Is the 3 Lighting Rule?
The 3 lighting rule refers to using three light sources: key light (primary illumination), fill light (softens shadows), and backlight (adds depth). You’ll create more dimensional, professional-looking images when you implement this triangular lighting setup.
How Can I Set My Mobile Camera to Take Good Pictures?
Adjust your phone’s exposure manually by tapping and sliding down, lock focus with a tap-hold, use portrait mode, try different angles, and edit photos immediately after taking them for the best results.
What Is the Most Flattering Lighting for Photos?
The most flattering lighting for photos is during golden hour—just after sunrise or before sunset—when you’ll get warm, soft light. You can also use diffused light on overcast days or window light with reflectors.
What Is the Best Shutter Speed for Mobile Photography?
For mobile photography, you’ll want a shutter speed between 1/60 and 1/200 seconds in normal light. Use 1/30 or slower in dim conditions and 1/500+ for fast subjects to freeze motion effectively.
In Summary
You’ve now got a complete mobile lighting toolkit for your scientific photography needs. Remember, you’ll achieve the best results when you’re combining these techniques—pairing diffused lighting with strategic positioning and using the right portable solutions for your field conditions. Don’t hesitate to experiment with angles and intensities. With practice, you’ll capture specimen details that were previously invisible to your camera’s eye.


Leave a Reply