Oblique lighting is ideal for specimen photography because it directs light at shallow angles across your specimens, creating shadows that reveal intricate surface textures invisible under direct illumination. You’ll capture enhanced contrast, improved depth perception, and up to twice the resolution compared to standard brightfield methods – all without staining or modifying your samples. This technique particularly excels with transparent specimens and textured microfossils, highlighting delicate structures that would otherwise remain hidden. Discover how proper setup transforms ordinary specimens into extraordinary images.
What Makes Oblique Lighting Ideal For Specimen Photography?

When observing transparent specimens under standard illumination, many essential details remain hidden from view.
That’s where the oblique illumination technique transforms your specimen photography. By directing the light path at an angle rather than straight through transparent specimens, you’ll create shadows that highlight surface textures and structural details that would otherwise be invisible.
The technique dramatically improves contrast without requiring stains, preserving specimens in their natural state—particularly valuable when working with live cells and tissues.
You’ll notice a striking three-dimensional effect that enhances your depth perception, making complex structures easier to analyze. This approach minimizes background interference while accentuating surface contours, allowing you to observe and photograph biological specimens more efficiently in both research and teaching environments.
The Science Behind Oblique Illumination Techniques
Oblique illumination works by directing light at shallow angles across your specimen, creating shadows that reveal surface textures invisible under direct lighting.
You’ll notice markedly enhanced contrast as the angled light interacts with microscopic ridges and depressions without producing the overwhelming glare common in traditional lighting methods.
This technique transforms ordinarily transparent features into visible elements by leveraging the way light scatters and reflects at oblique angles, enabling you to capture intricate details without staining or altering your specimen.
Shadow-Revealing Reflective Properties
The remarkable ability of oblique lighting to reveal otherwise invisible surface details relies on fundamental principles of optical physics. When you position your light source at a low angle to your specimen, you’re creating shadows that accentuate texture and topography, particularly in transparent specimens that might appear featureless under direct illumination.
This technique works because the glancing light rays interact with surface irregularities, generating contrast through constructive interference patterns.
You’ll notice considerably improved resolving power as the oblique illumination effectively doubles the angular aperture by capturing higher-order diffraction components.
Textural Detail Enhancement
Understanding how oblique illumination dramatically enhances textural details requires exploring its fundamental optical principles. When you direct light at a low angle across your specimen, you create shadows that reveal surface contours invisible in standard brightfield microscopy.
This technique works by capturing higher-order diffracted light sidebands, effectively doubling the angular aperture and markedly improving resolution. By blocking direct light with an opaque stop and allowing only oblique rays to enter your objective, you’ll create a pseudo-3D effect that emphasizes depth.
For transparent specimens that typically show little contrast, oblique illumination transforms subtle structural variations into visible textural details. Quantitative studies confirm this method can distinguish minute features that would otherwise remain hidden.
You’ll find this approach particularly valuable when examining delicate biological structures where surface textures contain vital diagnostic information.
Contrast Without Glare
Through careful manipulation of light angles, you’ll achieve remarkable contrast without the distracting glare that plagues standard illumination methods. When you position your light source at an angle, you’re effectively redirecting illumination to highlight surface irregularities while minimizing reflection.
Oblique illumination employs sector stops or slits in the condenser that block direct light while allowing angled rays to strike your specimen. This technique captures higher-order diffracted light, creating shadowed areas that generate a pseudo-3D effect. The result is greatly enhanced contrast compared to standard brightfield microscopy.
This approach proves especially valuable when examining transparent specimens that would otherwise appear nearly invisible. You’ll see intricate structures without staining or altering your sample.
Enhanced Contrast and Detail Visibility With Angled Light
When you position your light source at an oblique angle, you’ll immediately notice how low relief structures that were previously invisible become clearly defined against the background.
You’re able to amplify surface textures by creating controlled shadows that accentuate even the most subtle variations in specimen topography.
The strategic placement of angled light enhances depth perception, giving your photographs a three-dimensional quality that reveals structural relationships impossible to capture with direct illumination.
Low Relief Structure Revelation
The revelation of minute topographical features emerges as one of oblique lighting’s greatest strengths in specimen photography. When you direct light at a low glancing angle across your specimen, you’ll notice how shadows form around even the subtlest surface variations, making previously invisible structures apparent.
This oblique illumination technique proves especially valuable when working with transparent specimens that typically appear featureless under standard lighting.
The contrast enhancement achieved creates a pseudo three-dimensional effect, allowing you to visualize delicate cell membranes and surface textures with remarkable clarity.
You’ll find that adjusting the angle of illumination lets you highlight specific low relief features of interest while minimizing background interference. This selective emphasis on diffracted light from edges effectively doubles your resolution compared to conventional axial lighting methods.
Surface Texture Amplification
Despite appearing ordinary under standard brightfield illumination, specimens reveal remarkable textural complexity once you apply oblique lighting techniques. This method strategically angles light to create shadows and highlights that emphasize surface texture, producing a pseudo-relief effect that makes fine details pop.
When you direct light obliquely across transparent specimens, you’ll capture higher order diffracted light, greatly boosting contrast without additional staining agents. This enhanced contrast makes subtle variations in structure immediately apparent, especially in thin biological samples where details might otherwise remain hidden.
The technique’s greatest advantage lies in its ability to effectively double resolving power compared to axial illumination. You’ll observe intricate features with striking clarity as the angled light transforms seemingly flat specimens into three-dimensional landscapes rich with previously invisible information.
Depth Perception Enhancement
By positioning your light source at a low glancing angle, you’ll dramatically enhance depth perception in specimen photography, transforming flat-appearing samples into structures with remarkable dimensionality.
Oblique illumination captures higher-order diffraction light, revealing fine details invisible under standard brightfield microscopy. This technique is particularly powerful when working with transparent specimens, as it doubles the angular aperture of illumination, considerably improving resolution without introducing color artifacts often seen with other methods.
- Creates directional shadows that accentuate relief and surface textures
- Enhances contrast by producing gradient-free illumination
- Gives unstained biological samples a striking three-dimensional appearance
You’ll notice living cells and thin tissue sections reveal intricate structural details that remain hidden under axial lighting, making complex microscopic features instantly recognizable and analyzable.
Comparing Brightfield vs. Oblique Lighting Methods
While standard brightfield microscopy remains widely used in laboratory settings, its limitations become immediately apparent when examining specimens with minimal natural contrast.
When light passes directly through transparent specimens in brightfield microscopy, you’ll often see flat, low-contrast images that obscure critical details.
Oblique illumination addresses these shortcomings by directing light at an angle, creating shadow effects that dramatically enhance contrast.
You’ll achieve up to twice the resolution compared to brightfield methods, revealing fine structures in diatoms and histological sections that would otherwise remain invisible.
Rather than producing the flat, washed-out images common with brightfield techniques, oblique lighting creates directional shadows that emphasize depth and texture—all without staining or complex preparation.
This makes it particularly valuable for observing live or delicate transparent specimens with minimal disruption.
Essential Equipment for Effective Oblique Microscopy
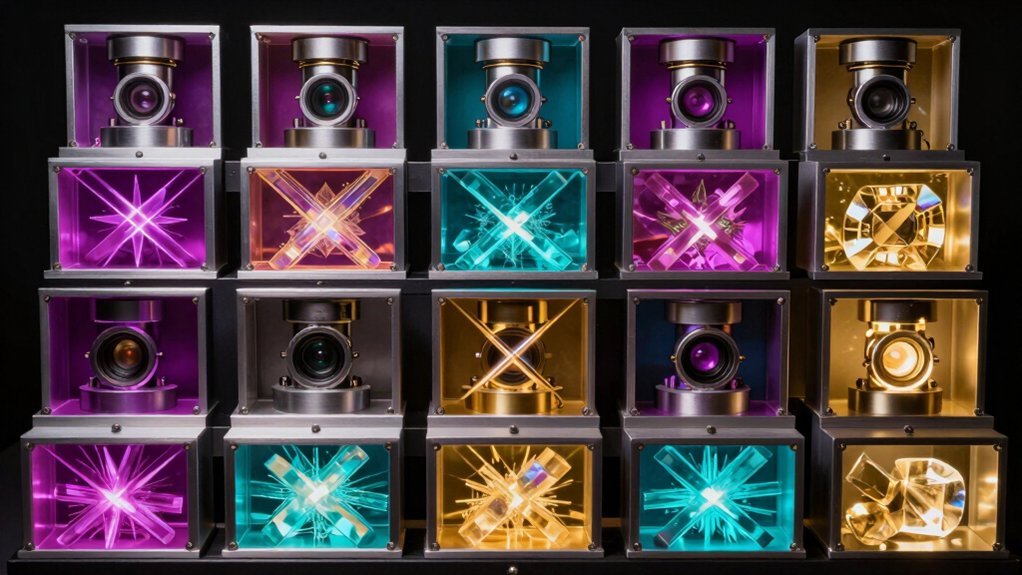
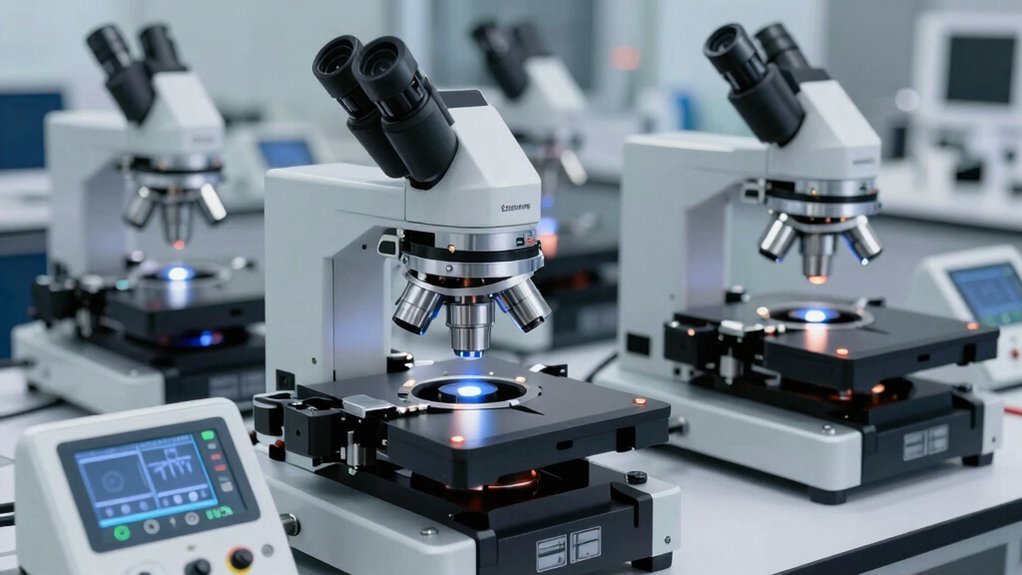
To achieve the striking contrast enhancements that oblique lighting provides, you’ll need specific equipment configured properly in your microscopy setup. The foundation of effective oblique illumination begins with an oblique condenser that directs light at precise angles across your specimen, greatly improving detail visibility.
Precise angular lighting through an oblique condenser reveals microscopic details invisible to conventional illumination techniques.
Your equipment arsenal should include:
- A high-quality infrared or visible light source that can be positioned strategically to create ideal illumination patterns
- An aperture diaphragm or sector stop to block direct light while allowing only oblique rays to pass through
- A field lens that can be positioned asymmetrically to refine the illumination path
Remember to adjust both your condenser position and filament alignment regularly—these fine-tuning steps notably impact the contrast and three-dimensionality that make oblique microscopy so valuable for specimen photography.
Step-by-Step Guide to Setting Up Oblique Illumination
Setting up oblique illumination for specimen photography requires methodical precision to achieve the dramatic contrast that reveals otherwise hidden details.
Begin with proper Koehler illumination, then adjust your condenser stop to allow oblique light entry while blocking direct light.
Choose the appropriate condenser type—either a decenterable aperture iris diaphragm or sector stop—to create your desired illumination angle.
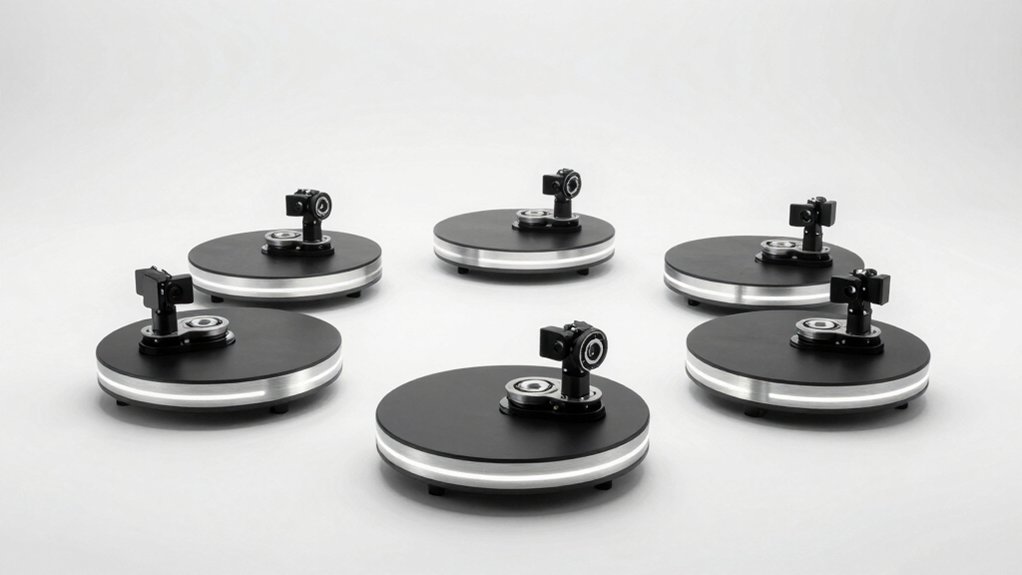
Position your light source at a low glancing angle to the specimen, creating shadows that highlight fine structures.
Fine-tune both the light source angle and condenser position while observing your specimen in real-time.
You’ll need to adjust until you achieve ideal contrast and resolution.
Document your successful settings for future sessions—this will save you time when photographing similar specimens later.
Optimizing Camera Settings for Oblique Light Photography

Capturing the dramatic shadows and textures revealed by oblique lighting requires specific camera adjustments that complement this specialized illumination technique.
Oblique lighting unveils specimen details through dramatic shadows, demanding precise camera settings to preserve its revealing nature.
When working with oblique illumination, set your ISO between 100-400 to reduce noise and preserve the fine details your technique reveals.
- Configure your aperture between f/2.8 and f/4 to create shallow depth of field, emphasizing the three-dimensional qualities that make specimen details pop.
- Select a slower shutter speed (1/30-1/60 seconds) to compensate for reduced light intensity, allowing the sensor to capture sufficient illumination.
- Employ manual focus for precise control over your focal point, and experiment with white balance settings around 5000K-6000K to maintain accurate color reproduction.
These adjustments will maximize the contrast and textural benefits that oblique lighting naturally provides to specimen photography.
Best Specimen Types for Oblique Lighting Techniques
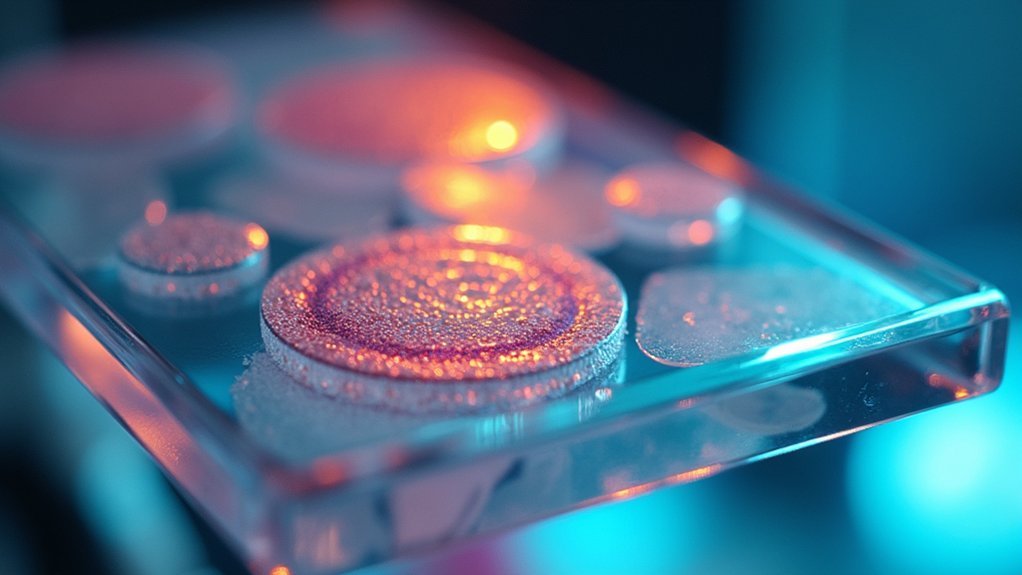
Textured microfossils showcase remarkable detail under oblique lighting, as the angled illumination highlights their intricate surface features and microscopic structures that would remain invisible with direct lighting.
You’ll find that low-relief archaeological artifacts similarly benefit from this technique, with subtle engravings, wear patterns, and surface textures becoming dramatically more visible when light strikes at carefully chosen angles.
These specimens, though vastly different in scale, share the common characteristic of having subtle topographical features that transform into clearly defined, contrast-rich subjects when you employ strategic oblique lighting techniques.
Textured Microfossil Specimens
Microfossils with intricate surface textures represent prime candidates for oblique lighting photography. When you’re examining diatoms or foraminifera, oblique illumination creates a three-dimensional effect that standard brightfield illumination can’t achieve. This technique enhances visibility of taxonomically important features without requiring stains or additional preparation.
- Transparent samples benefit most—oblique lighting captures delicate surface patterns while minimizing background interference.
- The dramatic contrast produced helps differentiate fine morphological details critical for accurate identification.
- Thin sections of microfossil specimens reveal subtle textures that would otherwise remain invisible under direct illumination.
You’ll find this approach particularly effective for educational demonstrations and research documentation, as it transforms seemingly flat microfossil specimens into visually striking objects with clearly defined ornamentation and structural features.
Low-Relief Archaeological Artifacts
Low-relief archaeological artifacts present another ideal application for oblique lighting techniques.
When you’re examining coins, pottery shards, or similar items, oblique illumination reveals surface textures and inscriptions that remain hidden under standard brightfield conditions—all without damaging the specimens with stains.
The technique creates a pseudo-3D effect by casting shadows along raised areas, dramatically enhancing contrast on subtle features that define an artifact’s cultural context.
You’ll notice that oblique lighting minimizes glare on reflective surfaces while accentuating minute differences in depth that are essential for accurate analysis.
Whether you’re working with ceramics or metals, you can easily adjust the lighting angle to highlight specific details.
This versatility makes oblique illumination invaluable for documenting and studying archaeological artifacts that might otherwise appear flat in conventional photographs.
Common Challenges and Troubleshooting Oblique Illumination
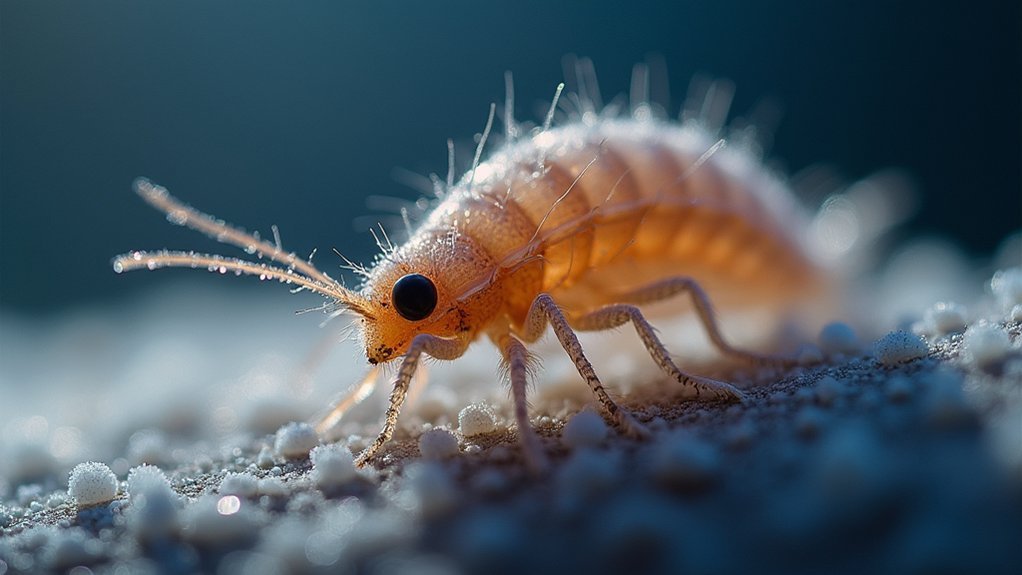
Despite its benefits for revealing surface textures, oblique lighting presents several challenges that you’ll need to overcome for best specimen photography. When working with oblique illumination, you’ll find that varying light angles can introduce artifacts that distort your images.
Overexposure frequently occurs with highly reflective or brightly colored specimens, requiring careful light intensity adjustments.
For ideal results:
- Work with thinner specimens when possible, as they allow less light scattering and produce clearer images
- Adjust your light angle methodically to minimize distortion while maximizing surface detail
- Consider hybrid approaches by combining oblique illumination with brightfield or phase contrast techniques for enhancing internal structures
Remember that specimens with complex internal components may appear obscured with oblique lighting alone, as this technique primarily highlights surface details rather than internal features.
Advanced Oblique Methods for Professional Microphotography
While basic oblique illumination serves most specimen photography needs, professional microphotography demands more sophisticated techniques for capturing the finest details. You’ll achieve superior results by implementing sector stops and field lens techniques to control lighting angles and reduce harsh contrasts.
| Technique | Benefit | Application |
|---|---|---|
| Sector stops | Enhanced texture | Transparent specimens |
| Field lens methods | Subtle lighting effects | Fine detail preservation |
| Phase contrast condensers | Increased contrast resolution | Professional microphotography |
Combine phase contrast condensers with oblique illumination techniques to dramatically improve visibility of transparent samples. Don’t forget to adjust your aperture diaphragm to minimize color artifacts while enhancing image sharpness. For truly professional results, you’ll want to pair these advanced oblique methods with digital editing to correct any faintness and optimize detail visibility.
Frequently Asked Questions
What Does Oblique Light Do?
Oblique light illuminates specimens from a low angle, creating shadows that enhance surface textures. You’ll see improved contrast, better resolution, and a pseudo-3D effect without staining, revealing fine details that would otherwise remain invisible.
How Does Oblique Lighting Work?
Oblique lighting works by illuminating your specimen from a low angle. You’ll see enhanced surface details through shadows and highlights as only angled light rays enter the objective, creating contrast through interference patterns.
What Is the Oblique Illumination of a Microscope?
In a microscope, oblique illumination is when you shine light at your specimen from an angle, creating shadows that enhance details and contrast. It’s ideal for transparent samples you’d struggle to see otherwise.
What Is the Oblique Contrast in Microscopy?
Oblique contrast in microscopy is when you light specimens from a low angle, creating shadows that reveal surface textures. You’ll see enhanced resolution and detail as it captures diffracted light normally lost in brightfield methods.
In Summary
You’ll find oblique lighting transforms your specimen photography by revealing texture and detail impossible to see with direct illumination. It’s not just about better contrast—it’s about discovering hidden features through strategic shadow placement. With proper equipment and technique, you’ll capture the true essence of your specimens. Master this approach, and you’ll elevate your microscopy from mere documentation to revealing scientific artistry.


Leave a Reply