Seven professional lighting angles for perfect lab photography include front-facing for clarity, 45-degree for balanced illumination, side lighting for texture, overhead for flat specimens, backlighting for translucent samples, ring lighting for shadow elimination, and multi-angle techniques for complex subjects. You’ll achieve publication-quality results by matching the lighting approach to your specimen’s characteristics. Each technique serves a specific purpose—mastering these angles will transform your scientific documentation from adequate to exceptional.
Front-Facing Illumination: Capturing Clear Specimen Details
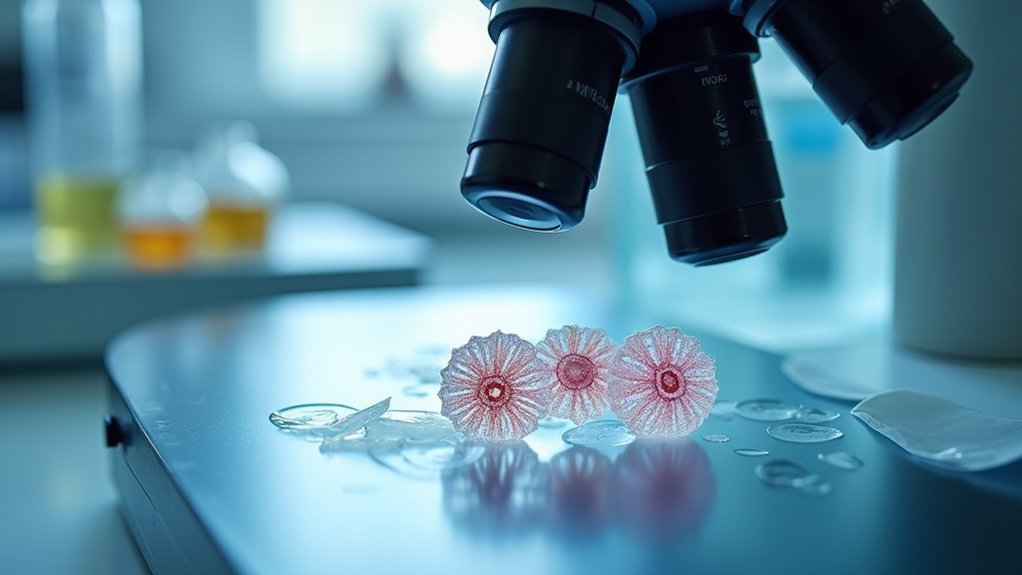
Five key elements make front-facing illumination crucial for high-quality lab photography. When you position your light source directly facing the specimen, you’ll minimize shadows that could obscure important details. This straight-on approach creates clarity that’s essential for scientific documentation.
Consider using a white background to complement your lighting setup—it reflects light back onto your subject, reducing contrast problems that often plague lab photos.
Even when you can’t access natural light, maintaining consistent illumination across your specimen prevents distortion of features.
Don’t forget to employ a diffuser to soften harsh light and eliminate glare. Position your camera at eye level with the specimen to guarantee accurate detail capture.
These techniques will transform your lab photography from merely functional to professionally precise.
45-Degree Lighting: The Versatile Lab Photography Workhorse
The strategic positioning of your light source at precise angles forms the foundation of degree lighting, a technique that’s indispensable in laboratory photography. When you place lights at a 45-degree angle, you’ll achieve balanced illumination that reveals texture and depth without unwanted glare or shadows.
| Angle | Best For | Result |
|---|---|---|
| 30° | Delicate specimens | Subtle textures |
| 45° | General lab work | Balanced shadows |
| 60° | Equipment details | Enhanced contrast |
You can enhance your degree lighting setup by incorporating reflectors for softer, more diffused illumination. By adjusting the height and angle of your light sources, you’ll emphasize specific features of your subjects. Mastering degree lighting techniques guarantees your images meet scientific documentation standards while telling a compelling visual story of your lab work.
Side Lighting: Revealing Texture and Depth in Microscopic Samples
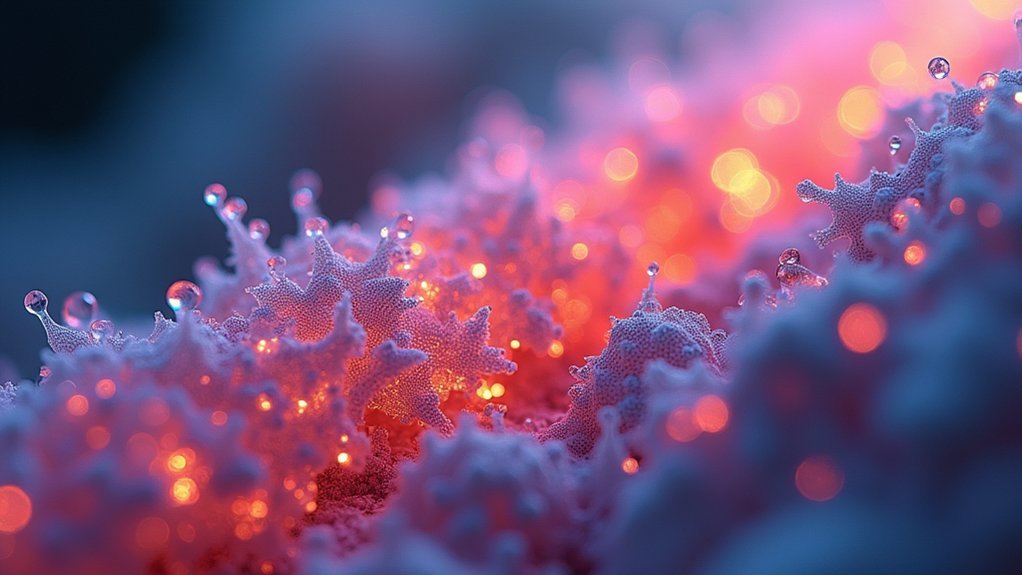
You’ll notice an immediate transformation when you position your light source at the side of microscopic samples, creating dramatic shadows that reveal otherwise hidden textures.
These shadows highlight surface irregularities and structural details, effectively turning flat specimens into three-dimensional objects worthy of examination.
Dramatic Shadow Highlight
When capturing microscopic samples, side lighting emerges as a powerful technique that transforms ordinary specimens into visually striking images with remarkable depth.
By positioning your light source at a 90-degree angle to the subject, you’ll create dramatic shadows that reveal intricate textures otherwise invisible under direct illumination.
The side view lighting approach excels at accentuating surface contours and variations, bringing three-dimensionality to seemingly flat specimens.
You can fine-tune your results by adjusting the light’s distance and angle, giving you precise control over shadow intensity and highlight placement.
This manipulation isn’t merely aesthetic—it reveals critical information about your sample’s structure and composition.
For scientific and educational photography, this technique proves invaluable as it simultaneously enhances visual appeal while accurately conveying the sample’s physical characteristics.
Enhancing Surface Features
Unlike direct overhead lighting that flattens microscopic specimens, strategic side lighting at a 45-degree angle transforms ordinarily invisible details into clearly defined features.
You’ll notice how shadows cast across the sample reveal texture and depth that would otherwise remain hidden.
For ideal results, use a diffused light source to soften harsh shadows while still preserving the three-dimensional aspects of your specimen.
Don’t hesitate to adjust the distance between your light and the sample—this controls shadow intensity and better showcases the unique characteristics of your subject.
Consider adding reflectors to enhance your side lighting setup.
These modifiers fill in shadows while maintaining emphasis on surface details.
With these techniques, you’ll capture microscopic textures with remarkable clarity, providing more informative visual documentation of your specimens.
Overhead Lighting: Maximizing Visibility for Flat Specimens
Proper overhead illumination serves as the foundation for capturing clear, detailed images of flat laboratory specimens. You’ll achieve ideal results by positioning your light source at a 90-degree angle to the subject, creating that essential bird’s-eye view that eliminates shadows and guarantees even visibility across the entire specimen.
For best results, maintain consistent height and distance between your overhead lighting and samples to achieve uniform exposure.
You’ll want to use diffused light sources directly above your specimens to evenly illuminate their surfaces, enhancing both detail and texture capture. If you’re experiencing harsh glare or unwanted reflections, consider adding softboxes or umbrella diffusers to soften the light.
This approach particularly benefits flat specimens where shadow elimination maximizes the visibility of critical features.
Backlighting: Creating Contrast for Translucent Lab Samples
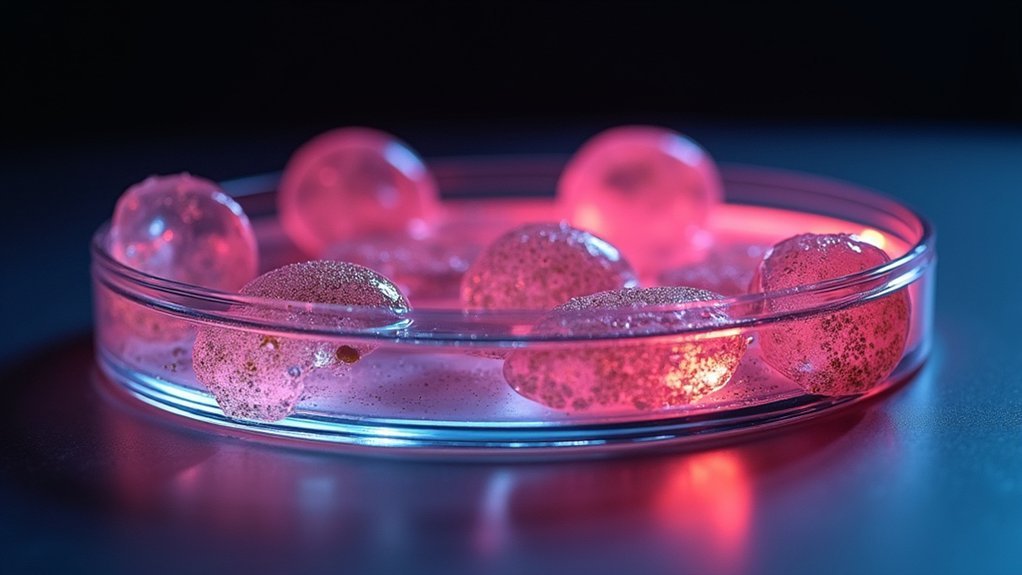
Backlighting transforms translucent lab specimens by allowing light to pass through their structures, revealing intricate details invisible under conventional lighting.
You’ll achieve the most dramatic transparency showcasing by positioning your light source behind samples at a 45-degree angle and using a diffuser to create even illumination.
For effective gradient highlight techniques, experiment with varying distances between light source and specimen while incorporating a dark background to make translucent features dramatically stand out.
Specimen Transparency Showcasing
When examining translucent lab specimens, you’ll find that strategic backlighting transforms ordinary samples into striking visual studies.
Backlighting reveals internal structures and textures that remain hidden under conventional lighting, creating dramatic contrast against dark backgrounds.
For ideal transparency showcasing:
- Position your light source directly behind the specimen to illuminate edges and highlight fine details.
- Use a diffuser to soften harsh light while maintaining the specimen’s translucent qualities.
- Experiment with light angle—lower angles enhance dimensionality while higher angles increase overall glow.
- Control ambient room light to prevent it from competing with your backlighting effect.
You’ll need to adjust your technique based on the specimen’s density and color.
Remember that proper backlighting isn’t just about visibility—it’s about revealing the hidden beauty of your scientific samples.
Gradient Highlight Techniques
Creating stunning gradient effects through strategic backlighting transforms ordinary translucent specimens into visually compelling subjects. Position your light source behind the sample to emphasize edges and internal structures, generating striking contrast against the background.
Your lighting setup should include a diffuser or softbox to soften harsh illumination, producing more pleasing gradients across the specimen. Control the effect by adjusting the light source’s distance—move it closer for sharper contrasts or further away for subtler shifts.
Don’t settle for your first attempt. Experiment with different angles and distances to discover the ideal configuration for each unique sample.
This methodical adjustment reveals textures and depth that might otherwise remain hidden, allowing you to capture the intricate details that make your lab specimens scientifically valuable and visually impressive.
Ring Light Techniques: Eliminating Shadows in Critical Documentation
Anyone working with laboratory documentation knows that shadows can obscure critical details and compromise the integrity of visual records.
Ring light techniques offer the perfect solution by providing uniform illumination around your subject. Their circular design distributes light evenly, highlighting important details without creating distracting shadows.
Ring lights eliminate documentation shadows with their circular design, ensuring even illumination that preserves critical details in laboratory specimens.
For ideal results with ring lights:
- Position your ring light at eye level to minimize reflections and glare on glossy lab materials.
- Adjust the distance between light and subject to control illumination intensity.
- Utilize adjustable color temperature settings to match ambient lab conditions.
- Place specimens centrally within the ring for the most even lighting effect.
Multi-Angle Lighting: Combining Sources for Complex Specimen Photography
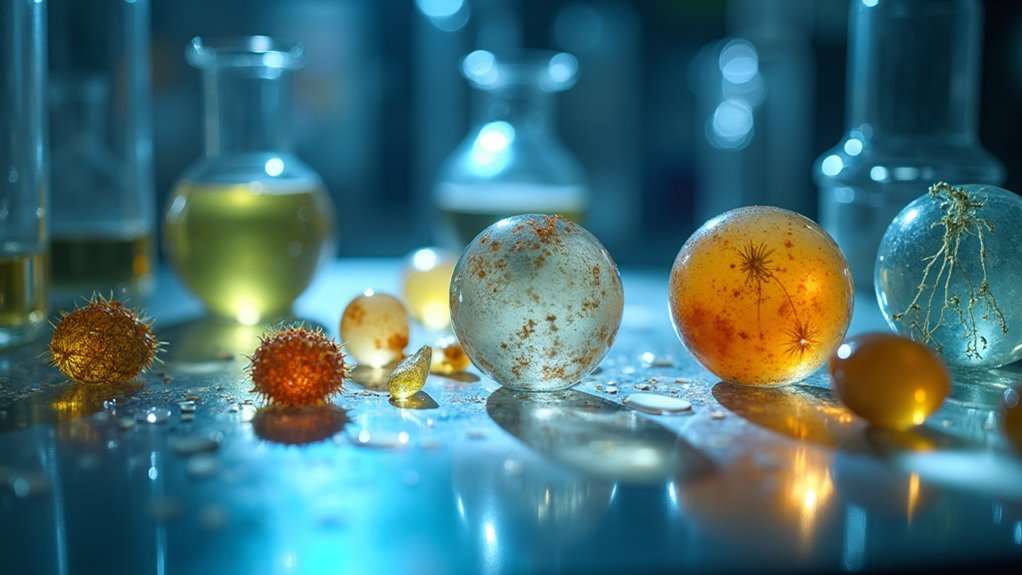
While ring lights excel at shadow elimination, complex specimens often require more sophisticated lighting approaches. Multi-angle lighting techniques allow you to reveal intricate details that would otherwise remain hidden with single-source illumination.
When photographing complex lab specimens, try combining diffused softboxes with directional spotlights to enhance texture and depth without creating overwhelming glare. Position front and side lights strategically to make features pop while maintaining clarity across all perspectives.
You’ll find that adjusting light intensity and angle helps achieve your desired scientific emphasis—making specimens appear more dynamic or flat as documentation requires.
This approach not only eliminates harsh shadows but guarantees reproducibility in your lab photography, allowing for reliable comparisons across experiments or over time.
Frequently Asked Questions
What Is the Most Flattering Angle for Photos?
The most flattering photo angle is eye level or slightly above, with a 45-degree perspective that adds dimension. You’ll look your best when you’re lit with soft, diffused light from an elevated position.
What Is the 3 Lighting Rule?
The 3 lighting rule uses key, fill, and backlights to create dimension in your photos. You’ll get balanced illumination when you position these three sources strategically to control shadows and highlight your subject effectively.
What Is the Best Lighting Angle for Photography?
The best lighting angle depends on your subject. You’ll get different effects with front lighting (even illumination), side lighting (texture emphasis), 45-degree lighting (natural perspective), backlighting (dramatic silhouettes), or overhead lighting (pattern highlighting).
What Is the 3 4 Camera Angle?
The 3/4 camera angle positions your camera at a 45-degree angle to your subject, showing both front and side simultaneously. You’ll capture more depth and dimension than straight-on shots, creating more natural, engaging compositions.
In Summary
You’ve now mastered seven essential lighting angles for your lab photography. Remember, it’s not just about capturing images—it’s about documenting critical scientific evidence. Whether you’re highlighting textures, eliminating shadows, or creating contrast, you’ll get better results by choosing the right illumination for each specimen type. Experiment with these techniques to transform your scientific documentation from basic snapshots to professional-quality visual data.



Leave a Reply