Effective lab photography starts with proper lighting setup: use LED lights (5000-6500K) for consistent illumination, position key lights at 45-degree angles to minimize shadows, and incorporate diffusers to reduce glare on specimens. For microscopy, guarantee proper alignment and intensity control to capture fine details. Use reflectors to balance contrast and employ polarized filters for glass slides. Master these fundamentals to transform your scientific documentation into compelling visual evidence.
Understanding Light Properties for Microscopy
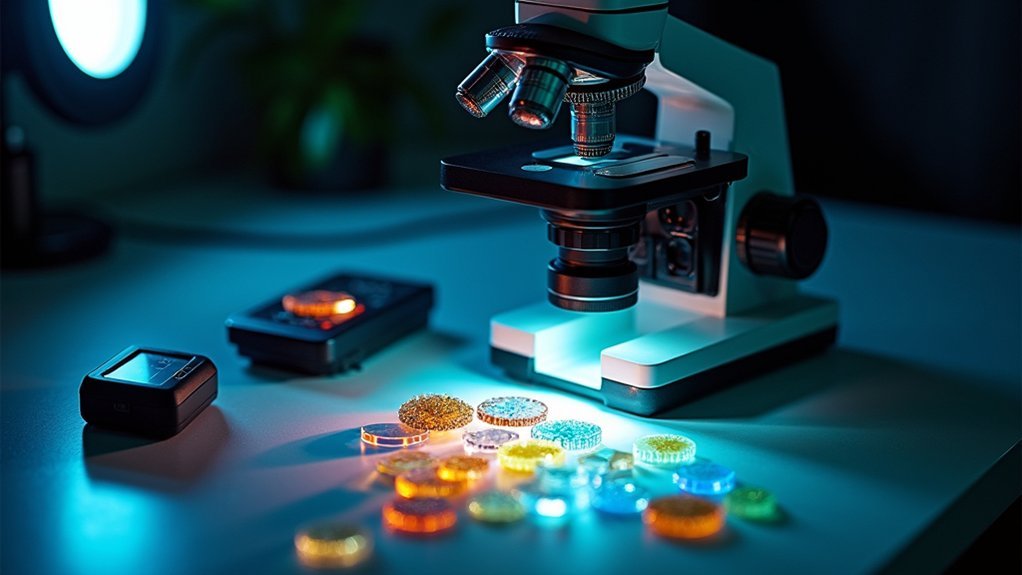
When capturing accurate microscopic images, you’ll need a thorough understanding of light’s fundamental properties. Wavelength directly impacts resolution—shorter wavelengths like ultraviolet light reveal finer details than visible light.
You’ll achieve better results by adjusting intensity using various light sources such as LEDs or halogen lamps to optimize visibility of different specimens.
Coherence, the phase relationship between light waves, is critical for advanced techniques like interferometry that enhance contrast and structural detail.
Phase coherence of light waves enables specialized microscopy methods that reveal hidden structural details invisible to conventional techniques.
Don’t overlook proper light alignment when setting up your microscope; it minimizes aberrations and maximizes clarity of microscopic structures.
Essential Lighting Equipment for Lab Photography
Equipping your lab with quality continuous lighting systems provides the consistent illumination you’ll need for capturing clear, detailed specimen images without the flash-induced glare that can compromise scientific documentation.
You’ll find LED options particularly valuable due to their adjustable color temperature, energy efficiency, and minimal heat production—essential qualities when photographing temperature-sensitive samples.
Light modifiers like softboxes and diffusers will transform harsh direct light into soft, even illumination that reveals subtle textures and eliminates distracting shadows that might obscure important details.
Continuous Lighting Systems
Three primary types of continuous lighting systems form the backbone of effective lab photography: LED, tungsten, and fluorescent lights. These systems provide steady light output that guarantees consistent exposure throughout your photography sessions.
You’ll find LED lights particularly valuable in scientific settings due to their energy efficiency, long lifespan, and precise control over light quality and color temperature.
While tungsten lights offer warm illumination beneficial for certain specimens, they generate more heat, requiring careful handling.
The major advantage of continuous lighting systems is that you’ll see lighting effects in real-time, allowing immediate adjustments to eliminate harsh shadows.
Pair your lights with diffusers, softboxes and umbrellas to create softer, more balanced illumination for your specimens. This combination delivers professional-quality results while maintaining the accuracy needed for scientific documentation.
Light Modifiers Matter
Although direct light illuminates your specimens, it often creates harsh shadows and unwanted reflections that obscure critical details.
Light modifiers are essential tools in your lab photography arsenal, transforming harsh light into even illumination that reveals rather than conceals important features.
Your lighting setup should include several key light modifiers:
- Softboxes – Reduce glare on reflective surfaces like glassware and shiny equipment while providing soft, diffused light.
- Umbrellas – Offer affordable versatility, allowing quick adjustments to achieve desired lighting effects.
- Reflectors – Available in multiple finishes (silver, gold, white, black) to manipulate light quality and direction.
- Diffusers – Soften light output to capture better detail and prevent overexposed highlights.
Optimal Light Positioning Techniques
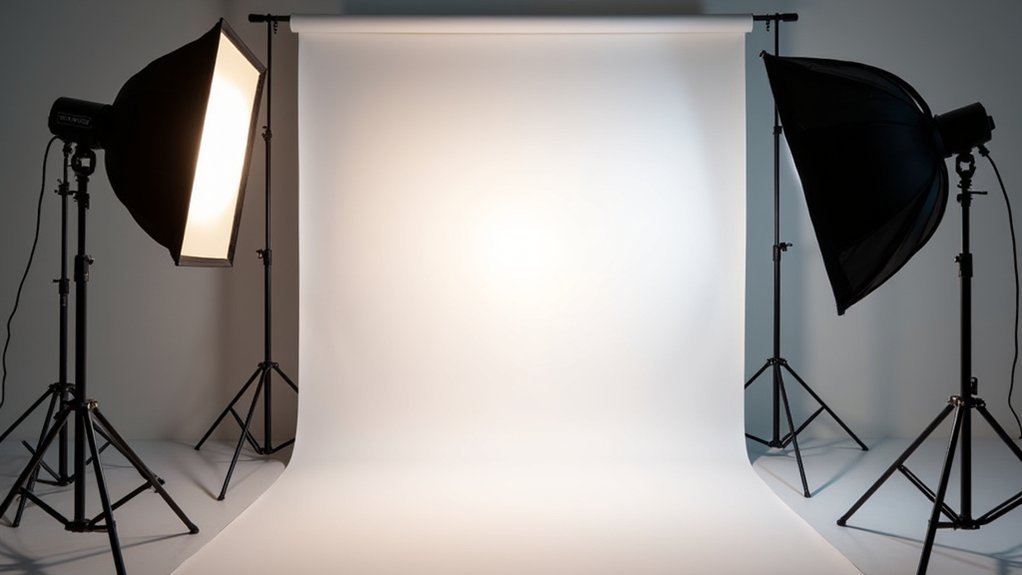
When you master light positioning in lab photography, you’ll dramatically improve the quality and professional appearance of your images.
Position key lights at a 45-degree angle to create depth and define features for ideal lighting in your composition. Place fill lights opposite the key light to soften shadows while maintaining natural exposure.
You’ll achieve better photo composition by adjusting accent lights to highlight specific lab elements or details that need emphasis.
Control intensity by experimenting with light distance—closer placement creates defined shadows, while greater distance produces softer, diffused illumination.
Don’t forget to incorporate reflectors opposite your light source. They’ll bounce light back onto your subject, effectively reducing harsh shadows and enhancing the overall light quality in your lab photographs.
Managing Light Intensity and Exposure
Mastering exposure settings is crucial for capturing lab specimens with accurate detail and color representation.
You’ll need to understand how ISO, aperture, and shutter speed work together to achieve proper exposure in your lab photography. Using a light meter helps measure intensity accurately, guaranteeing your camera settings align with the lighting conditions.
- Adjust the distance between light source and subject to increase or decrease light intensity for precise exposure control
- Deploy light modifiers like diffusers and reflectors to manage light intensity and create soft shadows
- Monitor your camera’s histogram regularly to guarantee highlights and shadows are properly balanced
- Experiment with different exposure settings while maintaining consistent lighting to determine best combinations
Remember that proper light management creates the foundation for professional-quality lab photographs that accurately represent your specimens.
Diffusion Methods for Microscope Illumination
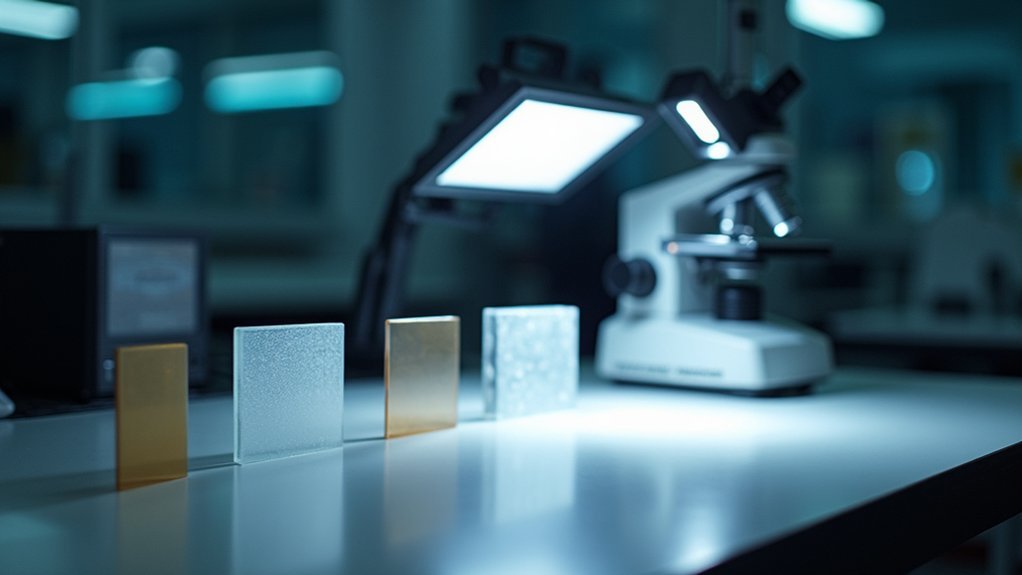
When using translucent panels for microscope illumination, you’ll achieve softer shadows and more even light distribution by placing these materials at appropriate distances from your light source.
You can create custom-sized translucent panels from frosted acrylic sheets or professional diffusion materials to match your specific microscope setup requirements.
Modified ring diffusers offer another excellent option, allowing you to surround your specimen with uniform, shadow-free illumination that enhances fine details while minimizing reflective glare.
Translucent Panel Techniques
The art of microscope illumination transforms dramatically with translucent panels. By introducing materials like frosted acrylic or diffusion film between your light source and specimen, you’ll soften the light and eliminate harsh shadows that obscure fine details.
The lighting quality depends greatly on your panel’s thickness—thicker panels provide softer illumination but reduce light intensity.
To control contrast and maximize clarity of the image:
- Position panels at ideal distances from both light source and specimen
- Layer multiple panels for greater diffusion and enhanced depth of field
- Adjust panel distance to modify light angle and spread
- Experiment with specialized photographic diffusion fabrics or silk for tailored effects
Finding the perfect balance requires experimentation, but the improved visibility of specimen details makes mastering translucent panel techniques worthwhile for serious microscope photography.
Modified Ring Diffusers
While translucent panels offer excellent general diffusion, specialized ring diffusers bring precision lighting directly to your microscope objectives. Modified ring diffusers evenly distribute light around your specimens, reducing glare and enhancing image clarity by eliminating shadows and hot spots.
Constructed from frosted glass or plastic materials, these diffusers soften light from your microscope’s illumination source. For ideal results, verify proper alignment between the diffuser and light source to achieve uniform illumination across your sample.
Select a ring diffuser with a diameter matching your objective lens to maximize light coverage while maintaining focus.
You’ll notice greatly improved image quality when using these specialized diffusers, resulting in more accurate representations of your specimens with enhanced detail and contrast—critical for precise scientific documentation and analysis.
Contrast Enhancement Through Strategic Lighting
Creating dramatic visual impact in lab photography requires mastering contrast, a critical element that separates ordinary documentation from compelling scientific imagery.
Mastering contrast transforms routine lab documentation into powerful visual narratives that captivate scientific audiences.
You’ll achieve superior results by implementing directional light techniques that emphasize your subject’s three-dimensional qualities.
- Position side lighting to cast defined shadows that highlight textures and structural details of specimens or equipment.
- Experiment with high contrast lighting setups like split lighting to divide subjects into distinct light and shadow areas.
- Utilize backlighting for silhouettes that emphasize outlines and shapes against darker backgrounds.
- Deploy reflectors strategically to redirect light, controlling shadow depth and enhancing contrast without additional equipment.
Color Temperature Considerations for Specimen Accuracy
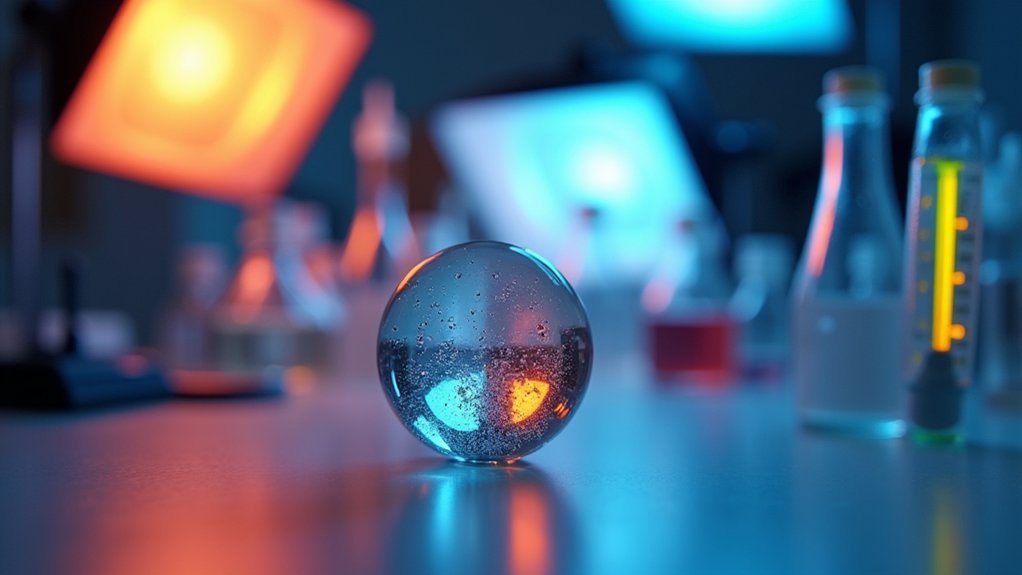
You’ll need to master true color rendering by selecting light sources with 5000-6500K color temperature that mimic natural daylight for accurate specimen representation.
Your white balance methods should include using calibration tools like gray cards to compensate for varying lighting conditions and guarantee consistency across all your lab photographs.
Consider incorporating spectrum analysis tools to evaluate your light sources’ spectral distribution, helping you identify and correct any color casts that might compromise the scientific integrity of your specimen documentation.
True Color Rendering
Three critical factors determine whether your lab specimens appear true-to-life in photographs: color temperature, color rendering index (CRI), and lighting consistency.
When documenting specimens, you’ll need lighting sources that accurately reproduce their natural colors without introducing unwanted color casts.
- Choose daylight-balanced lights (5500K-6500K) for neutral white light that mimics natural sunlight.
- Select lighting with a CRI of 90+ to guarantee accurate color representation of your specimens.
- Avoid fluorescent lights that typically emit greenish hues due to their lower CRI values.
- Maintain consistency in color temperature across your entire lighting setup to prevent uneven color casts.
Your lighting setup directly impacts how colors translate in the final image.
LED lights offer the advantage of specific color temperature selection to match your specimen types, providing reliable true color rendering for scientific documentation.
White Balance Methods
Accurate white balance represents the foundation of truthful specimen documentation in laboratory photography.
When working in lab conditions, you’ll need to recognize that artificial lighting creates color temperature variations that affect your results. While the standard daylight reference sits at approximately 5500K, your lab lighting may differ considerably.
Don’t rely on automatic white balance (AWB), which often misinterprets lab environments. Instead, use a gray card to establish custom white balance during your shooting session. This simple tool helps neutralize color casts from fluorescent or LED lighting systems.
For optimum color accuracy, implement manual adjustments tailored to your specific lighting conditions.
If issues persist, you can fine-tune your images with post-processing software—but remember that achieving proper white balance during capture will always yield superior results than attempting extensive corrections later.
Spectrum Analysis Tools
While visual assessment may seem sufficient for everyday photography, laboratory documentation requires precise spectrum analysis tools to guarantee specimen color accuracy. Your lighting conditions greatly impact accurate color rendition, particularly when working with specimens that demand meticulous documentation.
Color temperature meters help you verify that your light sources properly match the 5500K daylight balance needed for true-to-life representation.
- Use dedicated color temperature meters to analyze your lighting setup before capturing critical specimens
- Select adjustable LED lights that can mimic natural daylight for maximum flexibility across different specimens
- Apply filters or gels to modify existing light sources when color temperature adjustments are necessary
- Consider how different specimens might require specific color temperatures—some biological samples appear most accurate under slightly cooler or warmer lighting
Eliminating Shadows and Glare in Microscope Images
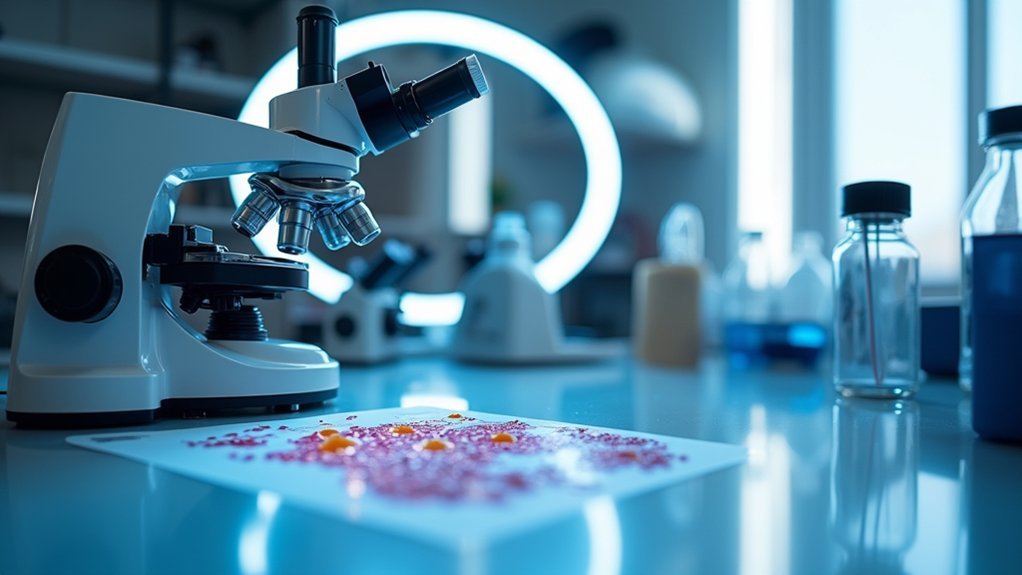
Capturing clear, detailed microscope images requires proper lighting techniques to overcome common obstacles like shadows and glare.
To reduce glare, attach a polarized filter to your camera lens when photographing glass slides and reflective surfaces.
Position your light source at an angle to the specimen rather than directly above it. This simple adjustment minimizes reflections while maintaining detail visibility.
For even illumination, incorporate diffusers like frosted glass to soften the light across your specimen.
Don’t overlook your microscope’s light intensity settings—overexposure leads to washed-out areas and lost details.
You’ll need to experiment with both transmitted and reflected lighting techniques to find what works best for your specific specimens. The right approach will highlight important features while eliminating shadows that obscure critical details.
Fiber Optic Systems for Precision Illumination
For highly detailed laboratory subjects, fiber optic lighting systems represent the gold standard in precision illumination. They utilize thin glass or plastic strands that transmit light with minimal loss, delivering controlled illumination exactly where you need it.
In your studio environment, you’ll find these systems invaluable for capturing accurate colors and intricate details.
- Choose from LED, halogen, or xenon light sources to achieve specific lighting effects for different specimens
- Position flexible cables in tight spaces to illuminate complex subjects without creating unwanted shadows
- Benefit from uniform light output that minimizes hotspots and guarantees even illumination across your entire subject
- Fine-tune the adjustable intensity to match your specimen’s requirements, preventing overexposure of delicate samples
LED vs. Halogen Sources for Laboratory Applications
When selecting light sources for your fiber optic systems, the choice between LED and halogen illumination greatly impacts your laboratory photography results.
LED lighting sources offer exceptional energy-efficiency with lifespans reaching 50,000 hours, while halogen lights typically require replacement after just 2,000 hours.
Though halogen lights produce a higher color temperature (3,000-3,200K) that enhances visibility in certain applications, LED options provide customizable color temperatures from warm to cool white.
You’ll find LEDs generate minimal heat, protecting sensitive samples that halogen sources might damage.
Consider your specific application needs—LEDs can be tailored to emit precise wavelengths for specialized procedures like fluorescence microscopy.
While halogen systems deliver a broad spectrum of light, they come with higher operational costs and increased maintenance requirements.
For most modern labs, LEDs offer the ideal balance of performance and efficiency.
Customizing Light Setups for Different Specimen Types
Each specimen type in laboratory photography demands a tailored approach to lighting that highlights its unique characteristics.
Successful specimen documentation relies on customized lighting strategies that accentuate defining features and scientific details.
When designing your studio lighting setup, consider both the specimen’s physical properties and your documentation goals. Your lighting kit should adapt to various challenges presented by different materials.
- For translucent specimens, position backlighting to reveal internal structures while controlling ambient light that might reduce contrast.
- When photographing items with reflective surfaces, employ polarizing filters and diffusers to minimize glare and unwanted reflections.
- Use ring lights or fiber optic illuminators for even illumination of small specimens, creating shadow-free documentation.
- Implement color temperature adjustments appropriate to your specimen – tungsten for warmer tones or daylight-balanced lighting for scientific accuracy.
Troubleshooting Common Laboratory Lighting Challenges
Even the most carefully designed lighting setups will encounter obstacles in laboratory environments. When you notice unwanted shadows, adjust your three-point lighting configuration, ensuring your key light, fill light, and backlight work together for even illumination.
If you’re dealing with glare on glass or metallic specimens, don’t increase brightness—instead, reposition lights at 45-degree angles and use diffusers to soften light.
For inconsistent exposure between images, check that your LED lamps maintain adjustable brightness settings across sessions.
Color inconsistency often indicates problems with color temperature consistency between light sources. Calibrate all lamps to the same temperature setting and use white balance cards before each imaging session.
Remember that different specimens require different approaches—transparent samples need backlighting while textured ones benefit from side lighting.
Frequently Asked Questions
How Does Humidity Affect Laboratory Lighting Performance?
High humidity can fog your lenses, cause condensation on cold equipment, and affect light diffusion. You’ll notice reduced clarity and potential damage to your lighting gear if you don’t control moisture levels.
Can Smartphone Ring Lights Work for Basic Lab Photography?
Smartphone ring lights can work for your basic lab photography needs. They’ll provide adequate illumination for simple specimens or documentation, but you’ll face limitations with detail, color accuracy, and consistent lighting for professional results.
How Often Should Lighting Equipment Be Calibrated?
You should calibrate your lighting equipment every 3-6 months for consistent results. Don’t wait for visible issues – regular maintenance prevents color drift and guarantees your lab photos maintain accurate color representation and quality.
Are Lighting Requirements Different for Living Versus Fixed Specimens?
Yes, you’ll need different lighting for living versus fixed specimens. Living specimens require cooler lights to prevent damage, while fixed specimens can tolerate stronger, more direct lighting for enhanced detail capture.
What Safety Precautions Are Needed When Photographing Light-Sensitive Materials?
When photographing light-sensitive materials, you’ll need to use low-intensity lighting, limit exposure time, utilize UV filters, wear protective gloves, and store specimens properly between shots to prevent deterioration or damage.
In Summary
You’ve now mastered the fundamentals of lab photography lighting. By applying these techniques and choosing the right equipment for your specific specimens, you’ll capture clearer, more detailed images. Remember, proper illumination isn’t just about brightness—it’s about control and precision. Don’t hesitate to experiment with different setups as you refine your approach. Your microscopy work will benefit tremendously from well-executed lighting.



Leave a Reply