Cold light tools transform your scientific photography by preserving specimen integrity while delivering exceptional images. Consider LED ring lights for shadowless illumination, fiber optic sources for precision, adjustable goose-neck illuminators for targeted lighting, polarized adapters for enhanced details, diffusion filters for glare reduction, and multi-wavelength LED systems for customizable output. You’ll also find DIY diffusion solutions effective for balancing illumination. These seven tools will revolutionize how you capture microscopic worlds.
7 Cold Light Tools For Better Scientific Photography
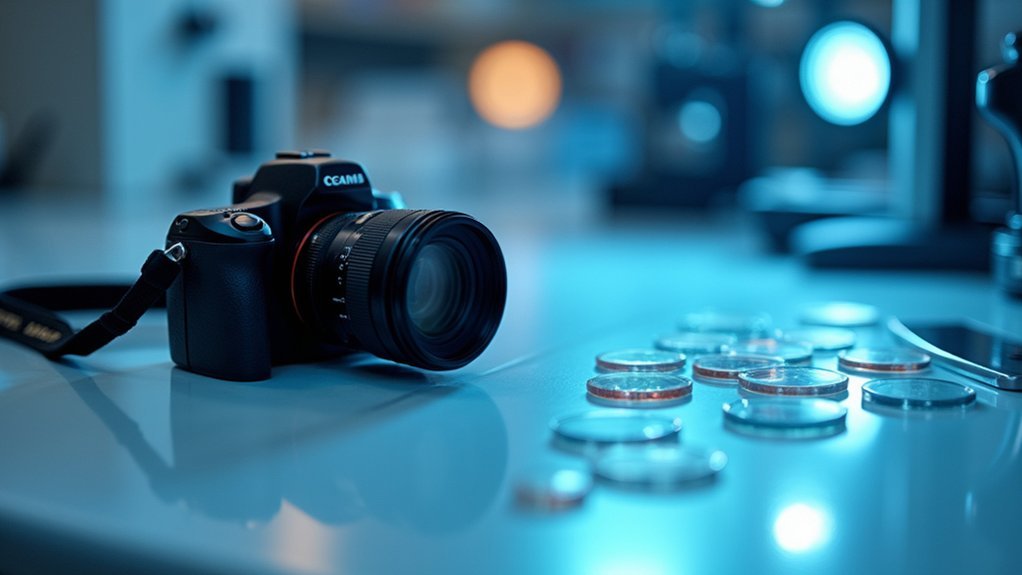
When capturing precise scientific imagery, your choice of lighting can make or break the results. Cold Light sources offer superior illumination without the heat that can damage sensitive specimens or alter their properties during documentation.
LED lights stand out as ideal Cold Light tools, providing consistent, even lighting that reveals fine details and preserves true colors in your scientific photography.
You’ll appreciate their energy efficiency and impressive lifespan of thousands of hours, making them cost-effective for extended research sessions.
Whether you’re conducting microscopy, inspecting delicate materials, or documenting experiments, these lighting systems guarantee reproducible results.
Their minimal heat output protects your subjects while maintaining their integrity throughout the imaging process, allowing you to capture accurate visual data every time.
LED Ring Lights: Shadowless Illumination for Microscopy
Because microscopic specimens demand perfect lighting to reveal their intricate details, LED ring lights have revolutionized scientific imaging with their shadowless illumination capabilities.
When you’re analyzing microscopic specimens, these lights distribute illumination evenly around your sample, enhancing visibility of fine structures that shadows might otherwise obscure.
You’ll appreciate the adjustable Color Temperature range (3150K-6300K) that allows you to customize lighting conditions for specific specimens.
With CRI values exceeding 95, these LED lights guarantee what you see is truly accurate in color and detail. They’re also safe for heat-sensitive materials, as they operate at low temperatures unlike traditional lighting.
For long-term efficiency, you’ll find these lights consume minimal power while offering an impressive 50,000+ hour lifespan—dramatically reducing replacement frequency and operating costs.
Fiber Optic Cold Light Sources: Flexible Precision Lighting
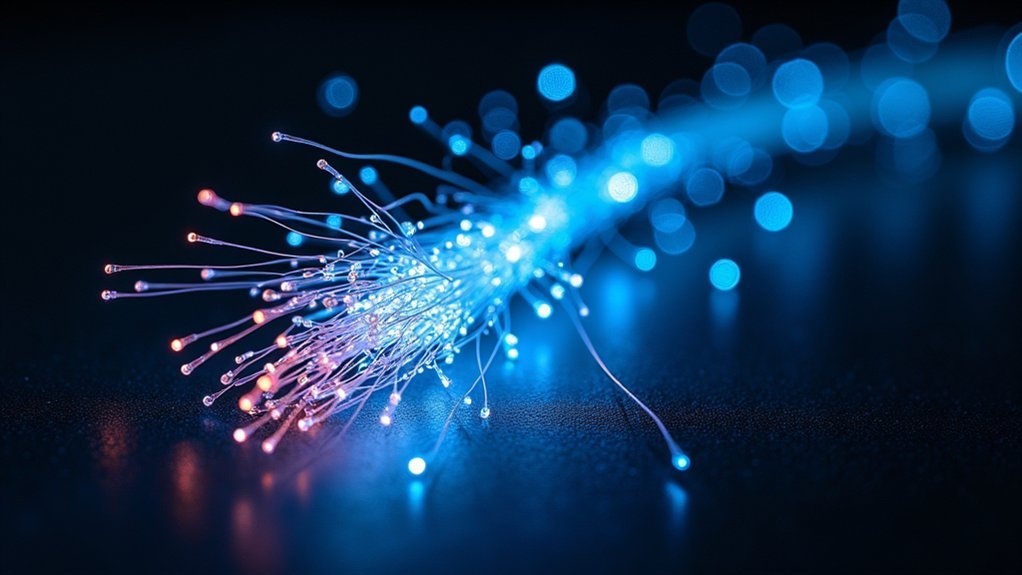
Precision is the hallmark of fiber optic cold light sources in scientific photography. You’ll find these systems deliver focused, high-quality continuous light exactly where you need it, with minimal heat generation to protect your sensitive specimens during extended examination periods.
The flexible fiber optic cables allow you to position light with unprecedented accuracy, giving you superior control for intricate setups. This versatility proves invaluable when photographing delicate materials that traditional lighting would damage.
You’ll appreciate the energy efficiency of fiber optic cold light sources, which translates to lower operational costs and extended equipment lifespan.
Whether you’re conducting laboratory research, medical imaging, or scientific documentation, these lighting tools guarantee your subjects remain intact while providing the consistent illumination your precision work demands.
Adjustable Goose-Neck Illuminators: Targeted Specimen Lighting
When you’re capturing detailed specimen images, adjustable goose-neck illuminators offer unmatched positioning control, allowing you to direct light precisely where it’s needed without creating unwanted shadows.
You’ll find their multi-angle capabilities essential for highlighting specific textures or features while maintaining shadow control that reveals rather than obscures important details.
The intensity adjustment features on these cold light tools let you fine-tune brightness levels to match your specimen’s reflective properties, ensuring properly exposed images without washing out subtle characteristics.
Precise Positioning Advantages
Flexibility defines the core benefit of adjustable goose-neck illuminators in scientific photography.
You’ll gain unprecedented control over precise positioning of light sources, allowing you to highlight even the most minute details in your specimens.
By easily manipulating the angle and distance of illumination, you can emphasize textures and colors that might otherwise remain hidden.
The cold light technology prevents heat damage to delicate materials during extended sessions, preserving specimen integrity while you work.
You’ll notice immediate improvements in image clarity as you fine-tune the lighting setup to minimize unwanted shadows and reflections.
This level of control transforms ordinary documentation into professional-quality visual data.
The ability to direct light exactly where needed guarantees your scientific photographs accurately represent the subject’s true characteristics, enhancing the value of your research materials.
Multi-Angle Shadow Control
Multi-angle shadow control emerges as a powerful capability of adjustable goose-neck illuminators in scientific photography.
You’ll find that these flexible light sources allow you to precisely direct illumination where it’s most needed, revealing essential specimen details that standard lighting often obscures.
By positioning goose-neck illuminators at various angles around your subject, you can deliberately manipulate shadows to highlight textures and structural features.
This control proves invaluable when documenting specimens with complex topography or subtle surface characteristics.
The adaptable nature of these illuminators accommodates subjects of all shapes and sizes, letting you customize your lighting setup for each unique specimen.
When paired with cold light sources, you’ll achieve exceptional image clarity without introducing heat that might damage sensitive materials—a vital advantage in scientific documentation work.
Intensity Adjustment Features
Precise control over light intensity stands as an essential feature of adjustable goose-neck illuminators in scientific photography. You’ll find these tools allow for targeted illumination that captures the finest details of your specimens.
Unlike traditional incandescent lights that generate heat, goose-neck illuminators typically use cold light sources, keeping your sensitive samples safe during extended photography sessions.
| Feature | Benefit |
|---|---|
| Variable intensity | Prevents overexposure of delicate specimens |
| Cold light source | Minimizes heat damage to samples |
| Flexible positioning | Eliminates unwanted shadows |
| Targeted illumination | Highlights specific specimen features |
| Brightness control | Adapts to different specimen materials |
The intensity adjustment capabilities let you fine-tune brightness levels precisely for each subject, ensuring ideal contrast and clarity in your scientific documentation without compromising specimen integrity.
Polarized Light Adapters: Enhancing Structural Details
When examining specimens under traditional light sources, researchers often struggle with unwanted glare and reflections that obscure essential structural details.
That’s where polarized light adapters become invaluable. These specialized tools filter light waves to allow only those vibrating in specific directions to pass through, revealing textures and features otherwise invisible.
You’ll achieve superior results by pairing these adapters with cold light sources. This combination maintains minimal heat output, protecting delicate samples from thermal damage during extended imaging sessions.
The setup delivers high-contrast images with remarkably accurate color representation—crucial for precise documentation across biology, materials science, and forensic examination.
Diffusion Filters: Minimizing Glare on Reflective Specimens
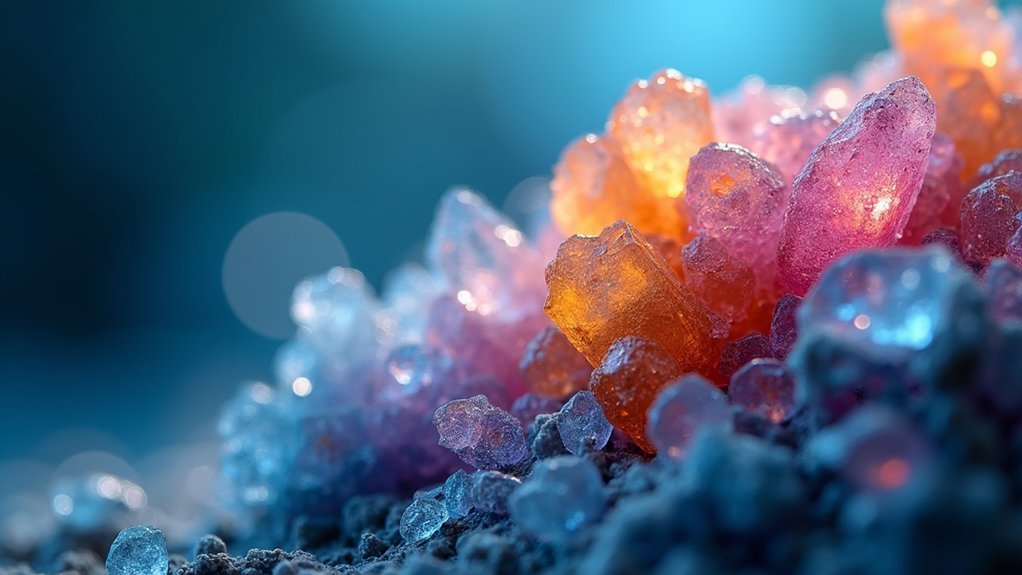
When working with reflective specimens, you’ll need to choose from various diffusion materials including frosted glass, white fabric, or specialized silicone sheets, each offering different levels of light scatter.
Position your diffusion filter between the light source and specimen, experimenting with distance to find the ideal balance between glare reduction and maintaining detail clarity.
If commercial options aren’t available, you can create effective DIY diffusers using tracing paper, white shower curtains, or food-grade parchment paper attached to a simple frame.
Types of Diffusion Materials
Although many scientific specimens present challenging reflective surfaces, the right diffusion materials can effectively minimize unwanted glare while maintaining detail clarity. When selecting diffusion filters, you’ll need to evaluate your specimen’s reflective properties and your specific lighting conditions.
| Material Type | Light Diffusion Level | Best Application |
|---|---|---|
| Frosted Glass | Moderate | Highly reflective metals |
| Soft White Plastic | High | Wet specimens |
| Textile Fabric | Variable | General purpose |
| Opal Diffusers | Very High | Crystals and gems |
| Translucent Paper | Low | Delicate biological samples |
These materials work by scattering light particles before they reach your specimen, creating more even illumination. You’ll find that properly diffused light reveals textures and colors that might otherwise be lost in harsh reflections, dramatically improving the scientific value of your photographic documentation.
Optimal Placement Techniques
Where you position your diffusion filters can make or break your scientific photography of reflective specimens. For best results, place your filter at a 45-degree angle to the bright light source—this effectively diffuses direct light while maintaining image clarity and brightness.
When working with transparent or translucent specimens, diffusion filters help enhance color accuracy by minimizing specular highlights that often obscure critical details.
You’ll find that positioning filters closer to your light source creates softer illumination, while greater distance preserves more contrast.
Don’t hesitate to experiment with different filter thicknesses to achieve the ideal balance between glare reduction and image brightness.
DIY Solutions
Creating your own diffusion filters doesn’t require expensive equipment or specialized training. With various modifiers available, you can easily reduce glare on reflective specimens and achieve more even illumination, even when using incandescent lighting.
For best results, consider these DIY approaches:
- Cut frosted plastic sheets to fit your lighting setup, placing them 12-18 inches from the source to balance diffusion and brightness.
- Use sheer fabrics as an inexpensive alternative—thicker materials provide greater diffusion but reduce light intensity.
- Experiment with specialized diffusion gels that can be layered for customized effects.
- Test different angles and distances to fine-tune your lighting setup for maximum detail visibility.
Multi-Wavelength LED Systems: Customizable Spectral Output
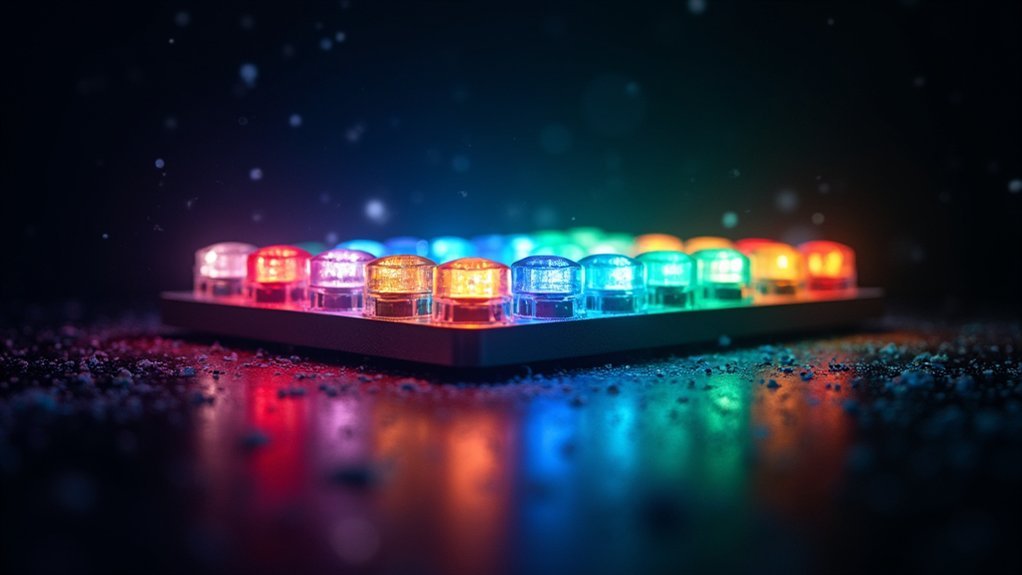
Multi-wavelength LED systems represent a significant advancement in scientific photography by offering users the ability to customize spectral output with precision.
You’ll gain complete control over your lighting conditions, tailoring specific wavelengths to excite fluorescent dyes or highlight particular features of your specimens.
These versatile systems blend multiple wavelengths in a single unit, eliminating the need for various light sources and streamlining your workflow.
Consolidate your imaging tools into one powerful platform that delivers precise spectral control without sacrificing quality.
With adjustable intensity and color temperature settings, you can optimize image quality for each unique application.
The efficiency of multi-wavelength LED systems extends beyond their functionality—their low power consumption and extended operational life make them cost-effective investments for laboratory environments.
You’ll enjoy consistent, reliable lighting for years while reducing your energy costs and maintenance requirements.
Frequently Asked Questions
How Long Do Cold Light Sources Typically Last Before Replacement?
The lifespan of cold light sources varies widely. You’ll typically get 5,000-50,000 hours depending on the type—LED cold lights last longest, while fluorescent options need replacement sooner. Regular maintenance extends their life considerably.
Can Cold Light Tools Be Safely Used With Live Specimens?
Yes, you can safely use cold light tools with live specimens. They don’t emit much heat, which prevents damage to sensitive organisms. They’re ideal for observing living subjects without disturbing their natural behaviors.
What Power Requirements Do Portable Cold Light Systems Have?
Portable cold light systems typically run on batteries or low-voltage adapters. You’ll need either rechargeable lithium-ion batteries (6-12V) or AC adapters providing 5-24V DC, depending on your specific unit’s requirements and brightness level.
How Do You Calibrate Cold Lights for Accurate Color Reproduction?
You’ll need to use color calibration cards, set white balance, adjust color temperature settings, and create custom profiles for your cold lights. Regular testing with color checkers guarantees accurate reproduction in your photographs.
Are There Waterproof Cold Light Options for Aquatic Specimen Photography?
Yes, you’ll find waterproof cold light options specifically designed for aquatic specimen photography. Look for LED-based underwater lighting systems with IP68 ratings, sealed housings, and color-accurate outputs that won’t heat or disturb your aquatic subjects.
In Summary
You’ve now seen the seven cold light tools that can transform your scientific photography. Whether you’re examining microscopic structures or documenting specimens, these lighting solutions will help you capture sharper, more detailed images. Don’t underestimate the impact of proper illumination on your research documentation. With these tools in your arsenal, you’ll produce clearer evidence and more compelling visual data for your scientific work.



Leave a Reply