You'll get superior image quality and workflow efficiency by mounting your camera on a trinocular port. This dedicated optical pathway maintains parfocal alignment with your eyepieces, enabling simultaneous viewing and image capture without complex adapters. You won't sacrifice field of view or resolution, and the ergonomic setup reduces physical strain during extended microscopy sessions. Discover how this professional configuration can transform your microscope into a powerful imaging system.
Understanding Trinocular Port Architecture
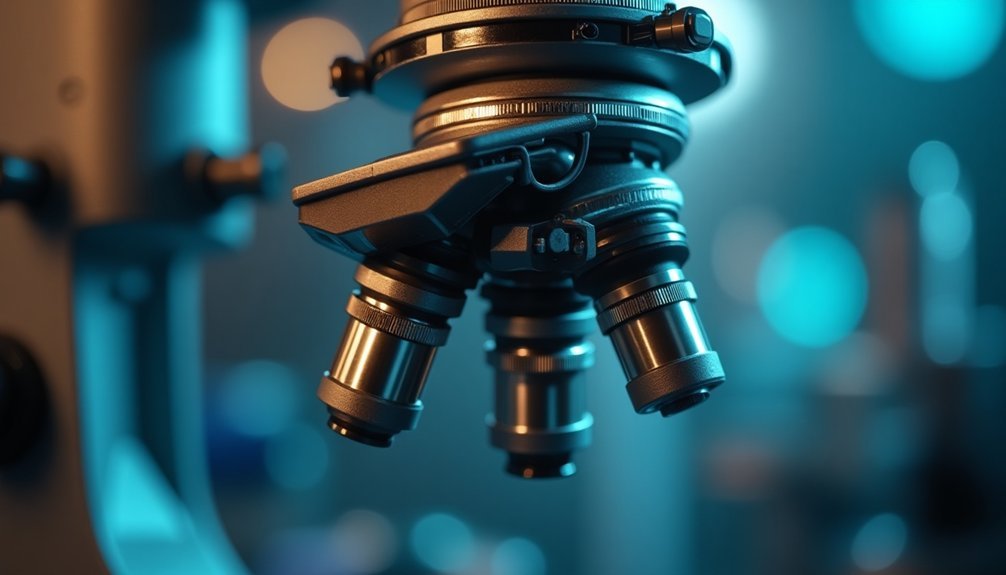
When exploring microscopy imaging, understanding the trinocular port's architecture is essential for successful camera integration. You'll find that this specialized port offers a dedicated optical pathway that maintains image quality equivalent to what you see through the eyepieces. This design allows you to simultaneously view your specimens directly while capturing high-quality photos or videos.
The trinocular port's architecture incorporates standardized components, most prominently the C-mount adapter, which guarantees your camera system will fit properly and function effectively.
You'll appreciate the ability to focus your camera independently through the port, letting you fine-tune your imaging without compromising your direct viewing experience. This versatile design means you're not limited to specific camera types, as the standardized threading accommodates various digital imaging systems.
Benefits of Direct Camera Integration
Building upon the standardized architecture of trinocular ports, direct camera integration offers several compelling advantages for microscopy work.
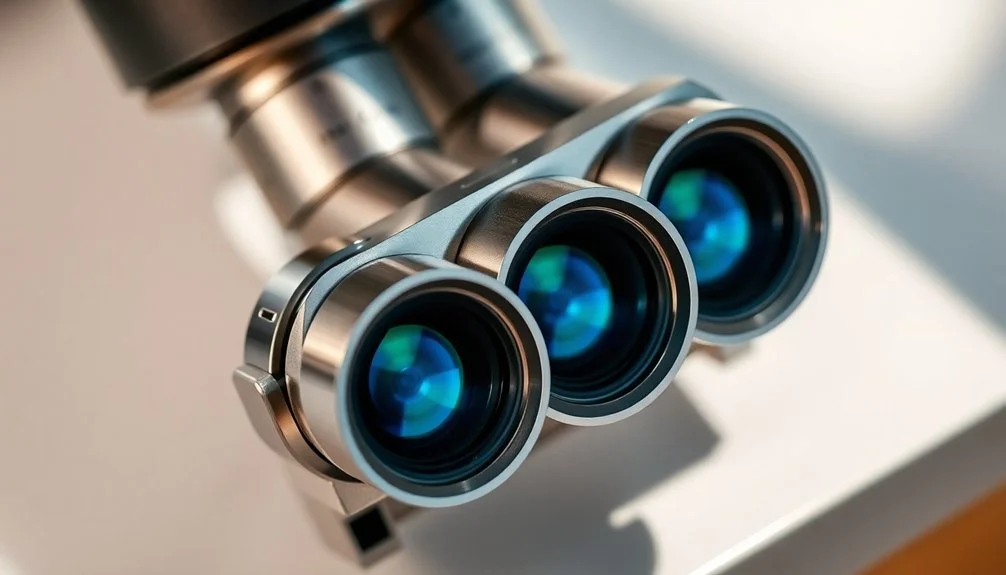
When you mount your camera directly to the trinocular port, you'll maintain parfocal alignment with the eyepieces, ensuring consistent focus across all viewing methods. This setup eliminates the need for complex camera adapter configurations while providing a wider field of view that better matches your camera's sensor shape.
You'll appreciate the ability to simultaneously view specimens through both the eyepieces and camera, making collaborative work and teaching sessions more effective.
The direct integration streamlines your documentation process, allowing you to capture high-quality images and videos without compromising microscope functionality. This straightforward approach enhances your overall microscopy experience while ensuring reliable, professional-grade results in scientific and educational settings.
Equipment Requirements for Mounting
The essential cornerstone of camera mounting is a C-mount adapter designed specifically for your microscope brand. You'll need to confirm your adapter has the standard 1-inch thread diameter that properly fits your trinocular port. This component isn't just a simple connector – it's vital for maintaining proper alignment and achieving peak focus.
When selecting your C-mount adapter, you'll need to take into account your camera sensor size and match it with appropriate reduction lenses. These lenses help enhance the field of view and improve overall image quality.
Don't forget to verify compatibility between your microscope's trinocular port and the C-mount adapter before making a purchase. This careful matching process will help you avoid focus issues and guarantee you're getting the sharpest, clearest images possible during your microscopy work.
Proper Alignment Techniques
Successful camera mounting hinges on precise alignment between your camera and the trinocular port. You'll need to guarantee your camera and microscope maintain parfocal alignment, allowing seamless shifts between eyepiece and camera viewing. Using the correct eyepiece adapter and adjusting the camera height properly will help you capture the full field of view.
| Alignment Step | Action Required |
|---|---|
| Height Check | Position camera sensor in optical path |
| Focus Test | Compare eyepiece and camera focus |
| Adapter Fit | Verify C-mount compatibility |
| Sliding Focus | Make precise sensor adjustments |
| Calibration | Test and maintain alignment regularly |
For best results, use a sliding focus adapter to fine-tune your camera's position. Regular calibration checks will help you identify and correct any alignment issues before they affect your imaging quality. Remember to verify that your C-mount adapter matches your microscope's specifications.
Image Quality Considerations
When choosing your camera setup for a trinocular port, you'll need to balance field coverage against resolution, as using a 0.5x C-mount dramatically increases your field of view to 77% compared to a 1x C-mount's 10%.
Your camera's sensor size directly affects image quality and field coverage, making it essential to match the sensor specifications with your microscope's optical capabilities.
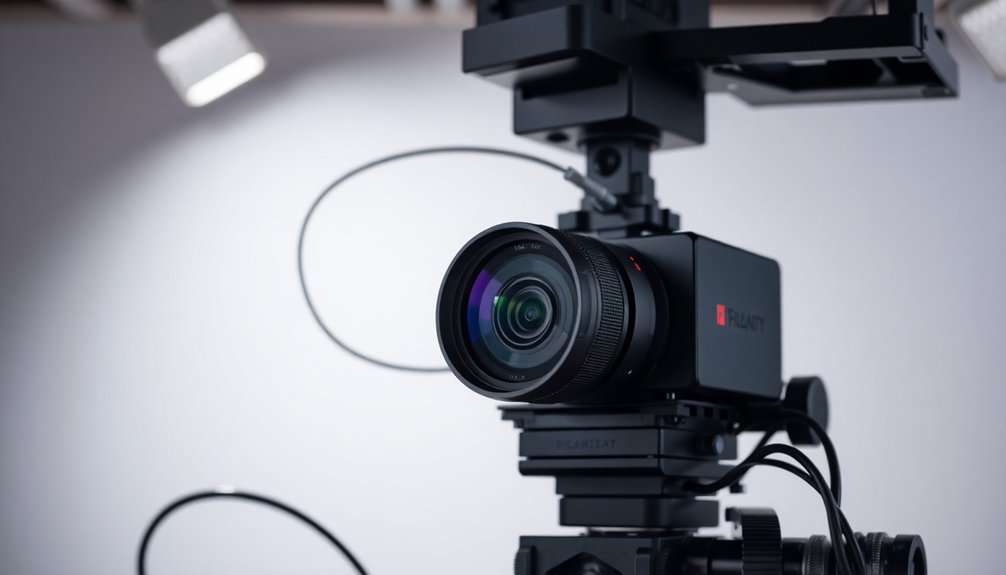
The light path through your trinocular port affects overall performance, so you'll want to use a dedicated microscope camera that's optimized for capturing detailed microscopic images rather than a standard camera.
Field Coverage Vs Resolution
Choosing between field coverage and resolution presents an essential balancing act when mounting a camera on your microscope's trinocular port.
You'll need to evaluate how C-Mount Adapters affect your field of view, as 0.35x or 0.5x adapters capture considerably more area than 1x versions.
Here's what you need to know about maximizing your setup:
- Lower magnification C-mounts (0.35x, 0.5x) capture up to 77% of the total field of view.
- Higher magnification adapters offer better resolution but limit your viewing area.
- Your camera's sensor shape (square) must be properly matched with the C-mount to avoid focus issues.
- Stronger C-mount adapters reduce field coverage while potentially improving detail capture.
Remember that the right balance depends on your specific imaging needs – whether you're prioritizing wide-field observation or maximum detail in a smaller area.
Sensor Size Impact
Beyond the field coverage decision, your camera's sensor size plays a major role in determining overall image quality through the trinocular port. Larger sensors capture more light and detail, producing clearer, higher-resolution images of your specimens.
When matching your camera to the trinocular port, you'll need to take into account the appropriate C-mount adapter magnification. For example, if you're using a 1/4" sensor, you'll want a 0.265x to 0.3x adapter, while a 1/2" sensor requires 0.45x to 0.6x magnification.
APS-C sensors offer superior performance for microscopy by providing a wider field of view and enhanced detail capture.
Remember that proper sensor size and adapter pairing guarantees your camera maintains focus alignment with the eyepiece, preserving image quality across all viewing methods.
Light Path Performance
Since image quality directly depends on light path efficiency, trinocular ports offer distinct advantages over traditional eyepiece adapters.
When you use a trinocular microscope, you'll benefit from optimized light path performance that's specifically engineered to enhance image clarity and resolution.
- You'll achieve better alignment between your camera's sensor and the optical path, resulting in reduced distortion and more accurate specimen representation.
- Your camera will remain parfocal with the eyepieces when using a C-mount adapter, ensuring consistent focus across viewing methods.
- You'll capture a wider field of view compared to eyepiece adapters, giving you more extensive specimen coverage.
- The trinocular port's design lets you view through both eyepieces and camera simultaneously, maintaining image quality consistency while improving your overall observation experience.
Common Mounting Challenges
While mounting a camera on a trinocular port might seem straightforward, several technical challenges can complicate the process. When you connect a microscope camera to see through the trinocular port, you'll need to address specific compatibility issues with C-mount adapters for your microscope brand.
| Challenge | Impact | Solution |
|---|---|---|
| Parfocality | Inconsistent focus | Brand-specific adapters |
| Sensor alignment | Image distortion | Precise adjustments |
| Field of view | Zoomed-in view | proper magnification setup |
You'll notice the camera's field of view differs from your eyepiece view, making it harder to frame specimens. Barlow lenses can further complicate focus achievement, often requiring additional adapters. The key is selecting the right combination of equipment to maintain stable focus and consistent image size across your setup.
Professional Vs Amateur Setup Options
Your choice between professional and amateur camera mounting setups largely depends on whether you'll need simultaneous viewing capabilities and your budget constraints.
Professional systems offer superior workflow with simul-focal viewing and precision-matched components, but you'll pay considerably more for dedicated C-mount adapters and high-quality sensors.
While amateur setups with generic adapters and basic cameras can save you money, you'll sacrifice image quality and versatility, particularly when documenting specimens or conducting detailed inspections.
Cost-Benefit Equipment Analysis
The decision between professional and amateur microscope camera setups represents a vital investment choice that extends beyond initial costs. While you might be tempted by amateur options starting at £80, professional setups offer superior value through enhanced capabilities and longevity.
Consider these key factors when evaluating your investment:
- Professional setups with high-quality C-mount adapters deliver ideal brand compatibility and superior image quality.
- Advanced features like simul-focal viewing boost workflow efficiency, saving valuable time in research.
- Professional-grade cameras with larger sensors provide markedly better resolution and detail.
- Long-term reliability and manufacturer support offset the initial £800-£2,000 investment.
When weighing costs against benefits, professional setups typically prove more economical over time, especially if you're conducting serious research or industrial applications where image quality is vital.
Mounting Technique Comparisons
Professional and amateur microscope mounting techniques differ greatly in their approach to camera installation.
When you're selecting a mounting method, you'll find that C-mount adapters offer superior alignment and parfocality in professional setups, ensuring your camera stays perfectly focused alongside the eyepieces.
While amateur setups often rely on basic eyepiece adapters, you'll face limitations in simultaneous viewing and image capture. These adapters typically capture only a portion of what you'd see through the microscope.
In contrast, C-mounts are specifically designed to match digital camera sensors' square shape, providing you with a wider field of view.
If you're serious about microscopy, you'll want to invest in brand-specific C-mount adapters and a trinocular port, which lets you view and capture images simultaneously, enhancing your overall observation experience.
Image Quality Trade-offs
When comparing image quality between professional and amateur mounting solutions, you'll find significant differences in both visual clarity and documentation capabilities.
Professional setups using C-mount adapters on trinocular ports deliver superior image quality through precise optical alignment and proper parfocality.
- You'll achieve better focus consistency with a trinocular setup, as it maintains alignment directly with the optical path.
- Your field of view remains complete without edge cropping, unlike amateur eyepiece adapters.
- You'll need to match your camera's sensor size with the right C-mount adapter magnification for ideal results.
- Professional cameras offer higher resolution and frame rates, improving your documentation quality.
These advantages make trinocular mounting the preferred choice for serious microscopy work, despite the higher initial investment compared to amateur solutions.
Calibration and Focus Optimization
Achieving ideal focus through proper calibration marks a critical step in setting up your camera-microscope system.
You'll need to verify parfocality between your camera and eyepieces, which means both viewing methods remain in focus simultaneously.
To optimize your setup, you'll want to use a sliding focus adapter for fine-tuning adjustments.
A sliding focus adapter enables precise calibration, ensuring your microscope setup achieves optimal image clarity and performance.
Pay close attention to the alignment of your camera's sensor with the microscope's projected image – even minor misalignments can affect your results.
Make certain you're using the appropriate C-mount adapter that matches your camera's chip size to capture the correct field of view.
Don't forget to perform regular calibration checks as you work, especially when switching between different magnifications.
These checks help maintain consistent focus quality throughout your imaging sessions.
Workspace Ergonomics
A well-designed trinocular setup transforms your microscopy workspace into an ergonomic environment. By mounting your camera on the trinocular port, you'll maintain better posture while seamlessly switching between the camera view and eyepieces. This configuration reduces strain on your neck and back, allowing you to work more comfortably for extended periods.
Key ergonomic benefits you'll experience:
- Less physical strain from reducing constant head movements between eyepieces and screen
- Improved posture maintenance with flexible viewing options
- Enhanced productivity through comfortable image capture without repositioning
- Better collaboration potential as multiple team members can view specimens on-screen
With this setup, you're creating an ergonomic workspace that not only protects your physical well-being but also promotes efficient workflow and team interaction during microscopy sessions.
Maintenance and Care Guidelines
You'll need to clean your microscope's optical components daily using appropriate lens solutions and microfiber cloths to maintain ideal image quality through the trinocular port.
Keep your camera and microscope setup in an environment where temperatures remain between 68-77°F (20-25°C) to protect sensitive electronics and prevent condensation on optical surfaces.
Don't skip your daily cleaning routine, as dust and debris can quickly accumulate and compromise both your camera's sensor and microscope's optical performance.
Cleaning Optical Components Daily
Proper cleaning of optical components represents one of the most critical daily maintenance tasks for your microscope's trinocular port and camera setup.
You'll need to establish a consistent cleaning routine to maintain ideal image quality and protect your investment.
- Start each day by inspecting your microscope eyepieces and lenses for dust, fingerprints, or oil deposits that could affect image clarity.
- Use only pH-balanced cleaning solutions specifically designed for optical components, avoiding harsh chemicals that might damage protective coatings.
- Gently clean surfaces with a microfiber cloth or lens tissue, using minimal pressure to prevent scratching.
- Store your microscope in a dust-free environment when not in use, and always cover the trinocular port and camera to reduce cleaning frequency.
These simple steps will help guarantee crisp, clear images and extend your equipment's lifespan.
Storage Temperature Guidelines
Temperature control plays an essential role in preserving your microscope camera's performance and longevity. When storing your Digital Camera, maintain an environment between 10°C to 30°C (50°F to 86°F) to prevent temperature-related damage. You'll need to follow proper storage temperature guidelines to protect your investment.
| Condition | Action Required |
|---|---|
| Cold Storage | Allow camera to reach room temperature before use |
| High Humidity | Keep below 60% to prevent moisture damage |
| Not in Use | Store in protective case |
| Temperature Fluctuation | Monitor and maintain stable conditions |
Before using your camera after cold storage, let it acclimate to room temperature to prevent condensation from forming on internal components. Always store your equipment in a protective case when not in use, and maintain consistent environmental conditions to guarantee peak performance and extend your camera's lifespan.
Troubleshooting Connection Issues
When connecting a camera to a trinocular port, several issues can arise that affect image quality and functionality. To guarantee peak performance, you'll need to verify proper alignment and compatibility between your camera and microscope components.
- Check that your C-mount adapter matches your microscope brand specifications, as this guarantees correct alignment with the objective lens.
- Position your camera sensor properly within the adapter to avoid image cropping and achieve clear focus.
- Confirm that your C-mount adapter's magnification matches your eyepiece magnification to prevent field of view issues.
- Consider your workflow needs when choosing between direct mounting and eyepiece adapters, as some methods may limit simultaneous viewing while imaging.
For best results, always consult your manufacturer's guidelines for specific mounting requirements and troubleshooting recommendations.
Advanced Imaging Applications
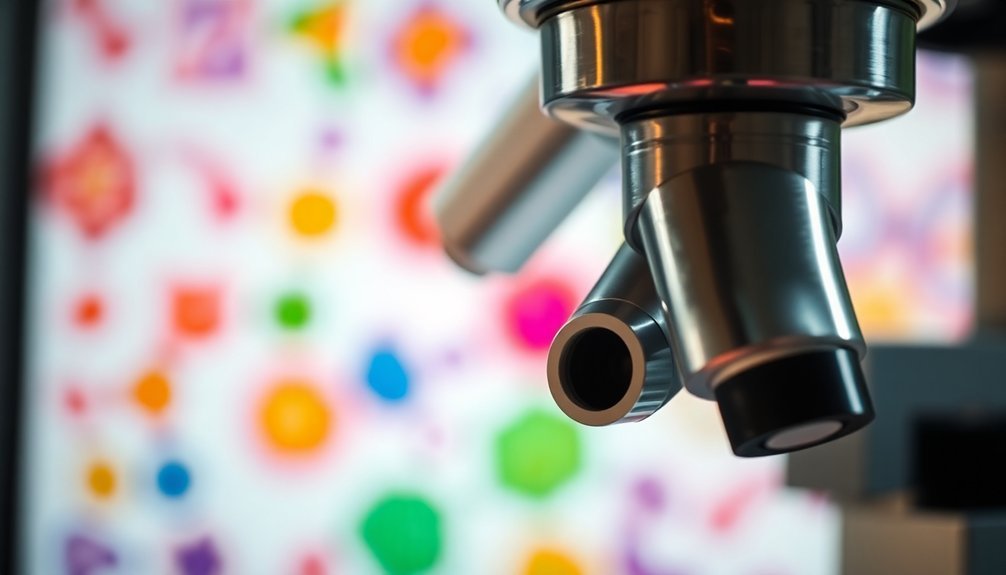
Advanced imaging through a trinocular port opens up powerful research possibilities that extend far beyond basic microscopy.
You'll be able to perform sophisticated techniques like time-lapse photography and focus stacking while maintaining clear visual access to your specimen through the eyepieces.
With your camera mounted on the trinocular port, you can capture high-resolution images and videos without disrupting your view or workflow.
This setup's stability makes it ideal for fluorescence imaging and digital processing applications.
You'll appreciate how the C-mount connection guarantees proper alignment with the optical path, delivering consistently sharp results.
Whether you're conducting research or documenting specimens, the trinocular configuration lets you integrate various imaging tools efficiently.
This flexibility enhances your ability to analyze and document findings with professional precision.
Frequently Asked Questions
What Does Trinocular Port Do?
A trinocular port lets you attach your camera to your microscope while still using the eyepieces. You'll be able to capture images and videos without interrupting your viewing through the dedicated optical pathway.
What Is the Function of the Camera Mount?
Your camera mount securely attaches your microscope camera to the trinocular port. It'll maintain proper alignment and focus while ensuring parfocality between your eyepieces and camera, letting you capture clear, professional microscopic images.
How to Attach Camera to Trinocular Microscope?
You'll need to attach the C-mount adapter to your camera first, then secure it to the microscope's trinocular port. Guarantee proper alignment and adjust focus until your camera view matches the eyepiece view.
What Is a Trinocular Microscope Used For?
You'll use a trinocular microscope for both visual observation and digital imaging simultaneously. It's perfect for research documentation, teaching demonstrations, micro-soldering work, and analyzing specimens while capturing high-quality photos or videos.
In Summary
You'll find that mounting your camera on a trinocular port transforms your microscopy experience through superior image stability and consistent documentation. When properly aligned and maintained, it's an investment that pays off in better ergonomics and professional-quality results. If you're serious about microscopy imaging, the trinocular setup lets you capture and share your observations with confidence while protecting your equipment long-term.


Leave a Reply