Mastering lab photography exposure requires understanding the exposure triangle: ISO, aperture, and shutter speed. Use lower ISO (100-200) in bright conditions to minimize noise, adjust aperture to control depth of field (f/2.8 for isolation, f/16 for overall sharpness), and select appropriate shutter speeds for your specimen’s movement. Check your histogram regularly to prevent detail loss in highlights and shadows. Proper light source selection and exposure bracketing techniques will transform your scientific documentation from merely functional to exceptionally precise.
Master Photo Exposure Through Your Lab’s Lens
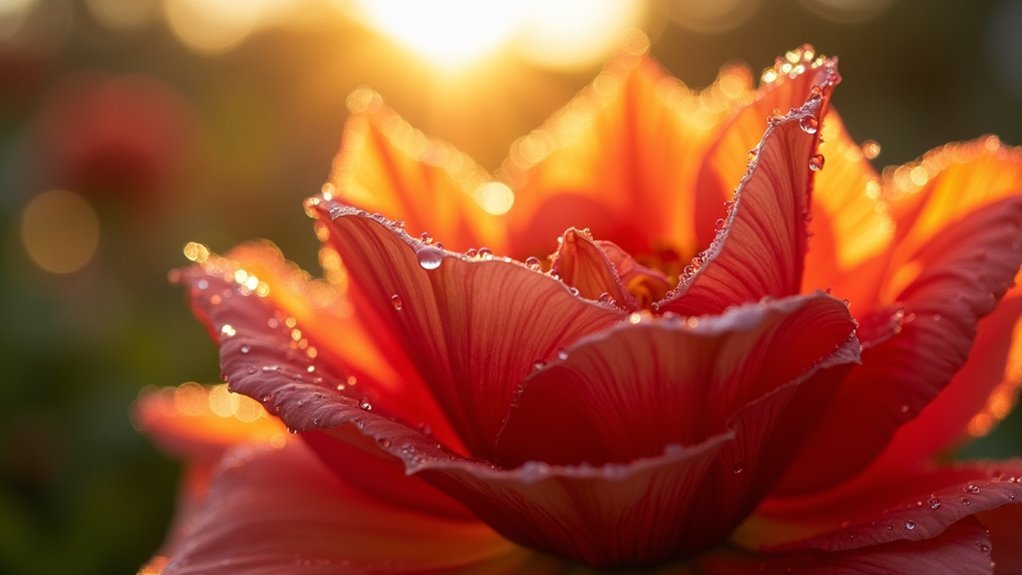
While mastering photography feels like an endless journey, understanding exposure is your essential first step. The exposure triangle—comprising ISO, aperture, and shutter speed—forms the foundation of every well-exposed photograph you’ll create in your lab.
Adjust your ISO based on available light: lower values (100-200) for bright conditions, higher settings (800+) when light is scarce.
Control your aperture to manipulate depth of field; choose wider apertures (f/1.8) to isolate subjects or narrower ones (f/16) to keep everything sharp.
Select shutter speeds that complement your subject’s movement—fast to freeze action, slow to capture motion blur.
Don’t forget to check your histogram after each shot. This graphical representation helps you quickly identify if your exposure is balanced, preventing disappointment when you review images later.
The Science Behind Exposure in Microscope Photography
The light path in microscope photography follows a complex journey from illumination source through your specimen and multiple lenses before reaching your camera’s sensor.
You’ll need to master the exposure triangle—balancing ISO, aperture, and shutter speed—to compensate for the typically low light levels while maintaining detail in your microscopic subjects.
Your camera’s sensor responds differently to the concentrated light from a microscope than to conventional photography, requiring you to adjust exposure settings more precisely to capture the subtle contrast variations that reveal a specimen’s structure.
Light Path Fundamentals
Three essential principles govern the path of light in microscope photography, forming the foundation of proper exposure techniques. Your aperture and ISO settings directly control how much light reaches your specimen, while shutter speeds determine exposure duration. Using a light meter helps you achieve proper exposure by balancing these elements effectively.
When light travels through your microscope, it follows a predictable path that you can manipulate for ideal results:
| Component | Effect on Light Path |
|---|---|
| Aperture | Controls light quantity and depth of field |
| Shutter | Determines exposure duration |
| ISO | Adjusts sensor sensitivity |
| Filters | Modifies light wavelength and intensity |
| External Lights | Supplements illumination for specific needs |
Exposure Triangle Principles
Understanding the scientific interplay between aperture, shutter speed, and ISO forms the cornerstone of effective microscope photography exposure.
When you adjust your exposure settings, remember that a wider aperture (lower f-stop) captures more light but reduces depth of field, which affects how much of your specimen appears in focus.
Your shutter speed choice depends on specimen movement—faster speeds freeze motion for crisp details, while slower speeds gather more light but may blur moving samples.
Always aim for a low ISO (around 100) to minimize noise and maximize image clarity, only increasing when absolutely necessary in darker conditions.
For highly reflective specimens or bright backgrounds, use exposure compensation to prevent overexposure.
Mastering these three elements guarantees you’ll capture the microscopic world with scientific precision and visual impact.
Sensor Response Dynamics
Why does your camera capture different levels of detail under identical microscope settings? The answer lies in your sensor’s response dynamics—how it reacts to light striking its surface.
Your camera’s sensor sensitivity (ISO setting) fundamentally affects microscope image quality. When you increase ISO for dimly lit specimens, you’ll capture more detail but potentially introduce noise that obscures fine structures.
The sensor’s dynamic range determines its ability to simultaneously record both bright and dark areas within your specimen.
Mastering exposure requires understanding how aperture controls light volume while shutter speed determines light duration. For peak microscope photography, experiment with these variables to find your sensor’s sweet spot.
A properly exposed image balances these elements, revealing delicate cellular structures without blown highlights or muddy shadows.
Balancing Light: The Exposure Triangle for Lab Imaging
When capturing precise lab images, mastering the exposure triangle becomes essential for achieving ideal results. This fundamental concept combines aperture, shutter speed, and ISO—three elements you’ll need to balance for correct exposure in your scientific photography.
Your aperture setting (f-stop) controls light entry and depth of field; lower values like f/2.8 allow more light but narrow your focus area, while higher values like f/16 capture greater detail throughout your specimen.
Shutter speed determines how you’ll capture motion—fast speeds freeze dynamic processes, while slower speeds can illustrate movement.
Meanwhile, your ISO setting adjusts sensor sensitivity; keep it low (around 100) in well-lit conditions for crisp images, increasing only when necessary despite the resulting grain.
Aperture Techniques for Enhancing Specimen Detail
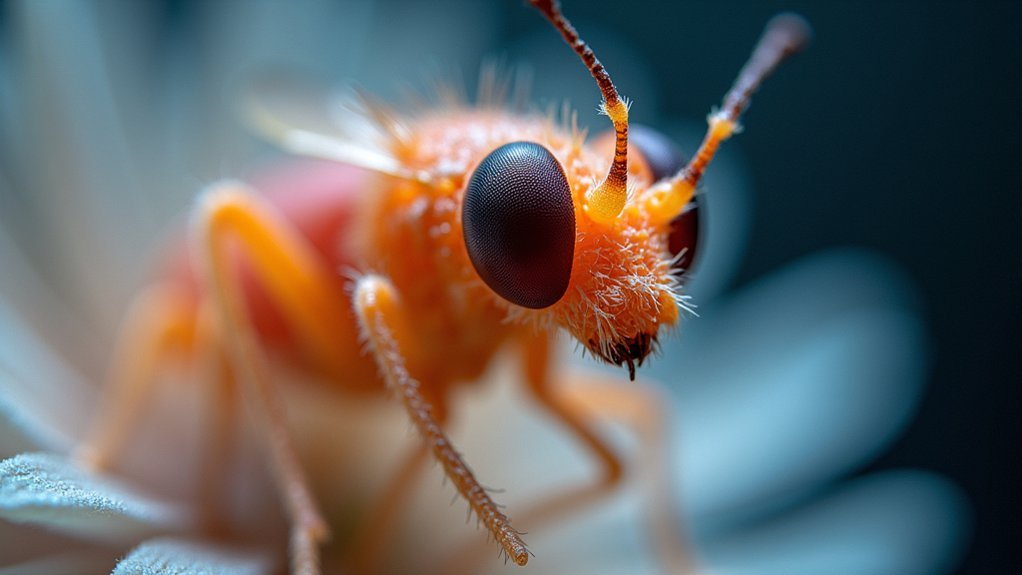
The power of aperture settings lies in their ability to transform ordinary specimen images into detailed scientific records. When shooting lab specimens, your f-stop choice dramatically affects what details get emphasized.
Using a wide aperture (lower f-stop like f/2.8) creates a shallow depth of field, isolating specific features while artistically blurring backgrounds. This technique works perfectly for highlighting particular structures or focal points.
For thorough documentation, choose a narrower aperture (higher f-stop like f/16) to extend your depth of field, keeping more of your specimen in focus.
Remember that aperture adjustments impact your overall exposure—when opening up to capture fine details, you’ll need to compensate with shutter speed or ISO adjustments.
Don’t hesitate to experiment with different aperture settings; you’ll discover the perfect balance between artistic presentation and scientific accuracy.
Shutter Speed Strategies for Microscope Stability
Achieving tack-sharp microscope images depends critically on your shutter speed selection, particularly as magnification increases. For stable results, use a minimum shutter speed of 1/200 second, but don’t hesitate to increase to 1/1000 second for high magnifications where even minor vibrations can cause blur.
Always mount your camera on a tripod or stable surface to eliminate camera shake, especially when working with slower shutter speeds. Even with proper support, touching the camera can introduce vibrations, so employ a remote shutter release or your camera’s self-timer function.
If you’re working in well-lit conditions, you can experiment with longer exposures for creative effects, but make certain your microscope setup remains absolutely motionless to maintain clarity throughout the exposure.
ISO Sensitivity and Noise Management in Lab Conditions
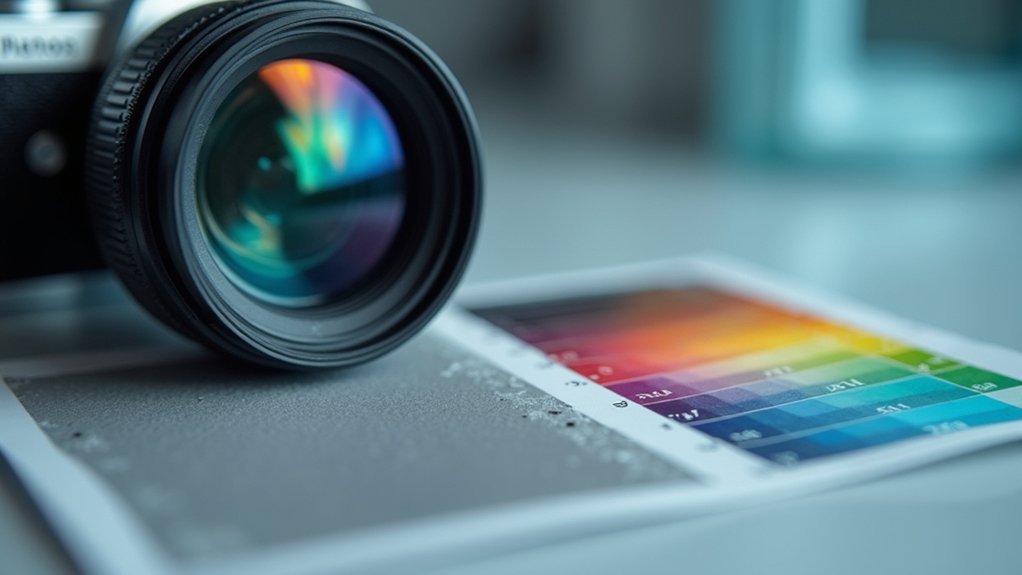
Understanding ISO sensitivity provides the foundation for capturing clear, usable lab images in various lighting conditions.
When working in well-lit lab environments, opt for a lower ISO number (100-200) to minimize noise and maximize image clarity. Each time you double the ISO number, you’ll halve the required exposure time—crucial when documenting fast-moving reactions.
In dimmer lighting situations, you’ll need to increase ISO sensitivity, but be aware that settings above 800 typically introduce noticeable grain.
To manage noise effectively, consider using a tripod with lower ISO settings rather than boosting sensitivity in poor light. Test different ISO configurations with your specific lab equipment to determine ideal balance points.
This systematic approach to noise management will greatly improve your documentation quality across all experimental conditions.
Depth of Field Control for Multi-Layer Specimens
When examining complex multi-layer specimens, precise depth of field management becomes essential for capturing meaningful photographic data. You’ll need to balance aperture size, focal length, and subject distance to achieve your desired results.
| Aperture | DoF Effect | Best For |
|---|---|---|
| f/2.8 (large) | Shallow | Isolating specific layers |
| f/8 (medium) | Moderate | Balancing focus areas |
| f/16 (small) | Deep | Capturing multiple layers |
For maximum clarity across complex specimens, consider using focus stacking techniques. By capturing multiple images at different focal points and combining them in post-processing, you’ll achieve sharp detail throughout the entire specimen. Remember that shorter focal lengths inherently provide deeper depth of field, giving you more flexibility when documenting multi-layered structures in your research.
Exposure Bracketing for Complex Laboratory Subjects
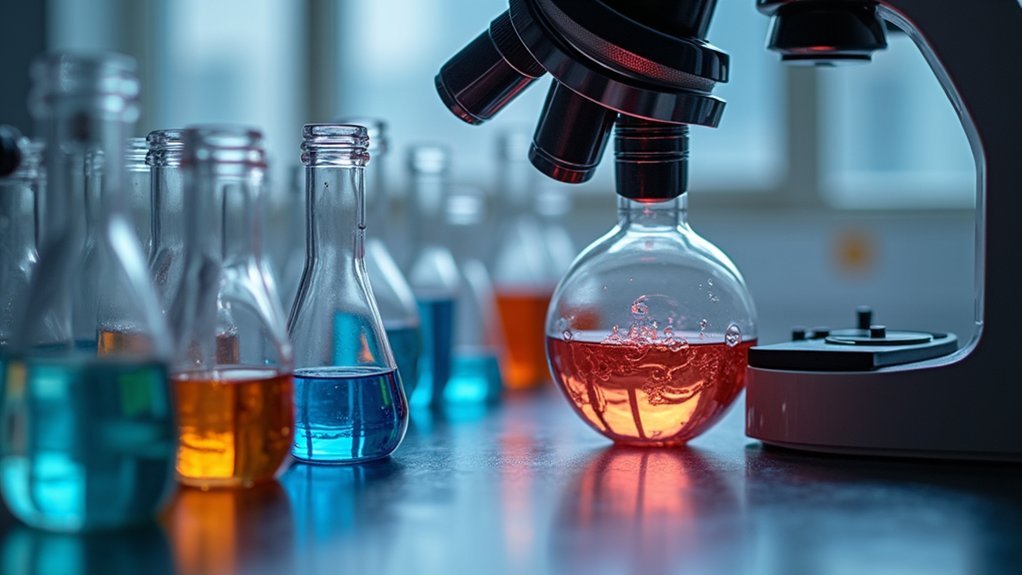
Complex laboratory specimens often feature challenging lighting conditions with bright highlights and deep shadows that exceed a camera’s single-exposure capabilities. For these high dynamic range subjects—like transparent fluids or reflective surfaces—exposure bracketing guarantees you’ll capture all necessary detail.
Take multiple shots in order of varying exposures, typically adjusting just one parameter: shutter speed, aperture, or ISO. Use increments of 1/3 or 2/3 stops for precise control. A tripod is essential to maintain identical framing across your bracketed series, eliminating alignment issues when combining images later.
After shooting, review your histograms to confirm you’ve captured both highlight and shadow details adequately. This methodical approach assures ideal results when photographing complex specimens that would otherwise lose critical information in a single exposure.
Histogram Analysis for Precise Microscope Exposure
When examining your microscope images’ histograms, look for peaks that indicate where most pixel data concentrates—central peaks suggest proper exposure while peaks at extremes signal potential detail loss.
You’ll want to prevent clipping by adjusting your microscope’s illumination intensity or camera settings when you notice the histogram touching either edge of the graph.
Peak Distribution Interpretation
Histograms serve as essential diagnostic tools for achieving precise exposure in microscopy photography. When analyzing peak distributions, you’ll notice that properly exposed images display a balanced spread across the histogram without significant clipping at either end. This helps you maintain correct exposure while avoiding detail loss in critical specimen areas.
To effectively interpret histogram peaks:
- Central peaks indicate mid-tone dominance – ideal for specimens with moderate light requirements.
- Left-shifted distributions suggest underexposure – consider adjusting light intensity rather than increasing high ISO.
- Right-leaning histograms indicate potential highlight clipping – reduce exposure to preserve detail.
- Multiple distinct peaks reveal contrast between different specimen structures – verify the histogram contains data across all important tonal ranges.
Remember that RGB histograms provide more detailed information than luminosity-only readings when color fidelity matters.
Clipping Prevention Techniques
Four essential techniques help prevent destructive clipping in microscopy imaging.
First, routinely check your histogram before finalizing each capture, looking for telltale spikes at the extreme ends that indicate detail loss.
Second, adjust your exposure settings incrementally when you spot potential clipping—reduce ISO in bright samples or increase it for darker specimens while monitoring histogram changes.
Third, use your microscope’s live RGB histogram feature to identify color channel clipping that might be invisible in the composite display.
Particular stains and fluorescent markers can easily clip in single channels while appearing properly exposed overall.
Fourth, capture slightly darker than ideal when preserving highlight detail is essential, as you can recover shadow information more effectively than blown-out bright areas during post-processing.
Light Source Selection and Its Impact on Image Exposure
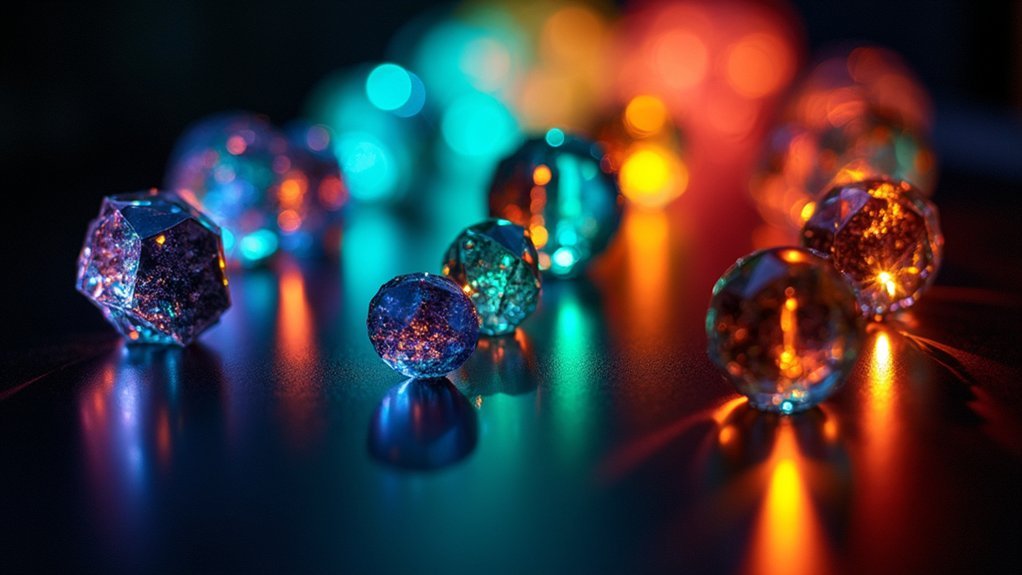
Understanding light sources stands at the core of mastering photo exposure. Your camera responds differently to natural sunlight versus artificial lighting, requiring you to adjust exposure settings accordingly. The type of light source you select will dictate not only the available light but how shadows and highlights interact with your subject.
- Color temperature varies between light sources, affecting your image’s overall tone and requiring proper white balance adjustments.
- Soft light from overcast skies creates fewer harsh shadows, giving you better exposure control.
- Directional lighting dramatically alters mood and may require exposure compensation.
- Light quality determines contrast levels—diffused sources allow for more forgiving exposures while direct light demands more precise settings.
Mastering exposure means understanding how your chosen light source interacts with your camera’s capabilities.
Advanced Focus Stacking for Complete Specimen Clarity
While light source selection determines your exposure quality, properly showcasing fine details requires mastering advanced techniques beyond basic exposure.
Focus stacking addresses the challenge of limited depth of field in macro photography, allowing you to capture every intricate detail with remarkable clarity.
Set your camera on a sturdy tripod and choose a mid-range aperture (f/8-f/11) to minimize diffraction while maximizing image quality.
Take multiple shots, adjusting your focus point incrementally across your specimen. The key is ensuring each critical area appears sharp in at least one frame.
Post-processing brings everything together—software like Helicon Focus, Zerene Stacker, or Photoshop analyzes your sequence and merges the sharpest portions of each image.
The result? A single composite with extraordinary detail that wouldn’t be possible with conventional single-exposure techniques.
Frequently Asked Questions
How Do You Master Exposure in Photography?
To master exposure in photography, you’ll need to understand the exposure triangle: ISO, aperture, and shutter speed. Balance these elements, learn to read histograms, and practice adjusting settings for different lighting conditions.
What Is the Sunset 4 Rule?
The Sunset 4 Rule is your go-to sunset formula: set aperture to f/4, shutter speed to 1/4 second, and ISO to 400. You’ll capture vibrant sunset colors without overexposing the highlights.
What Is the Rule of 100 in Photography?
The rule of 100 suggests you should use a shutter speed of at least 1/100 second when shooting with focal lengths of 100mm or longer to avoid camera shake and guarantee sharp, blur-free handheld images.
What Shutter Speed to Use With ISO 400?
For ISO 400, start with 1/500s in bright sunlight following the Sunny 16 rule. You’ll need 1/250s for slightly darker scenes, and 1/60s or slower in low light. Use 1/1000s+ to freeze action.
In Summary
You’ve now mastered the art of microscope photography by understanding exposure fundamentals. You’re equipped to manipulate the exposure triangle, analyze histograms, and select ideal light sources for your specimens. When you apply focus stacking and exposure bracketing techniques, you’ll capture images with unprecedented clarity and detail. Continue experimenting with these methods in your lab, and you’ll transform routine documentation into truly remarkable scientific imagery.

Leave a Reply