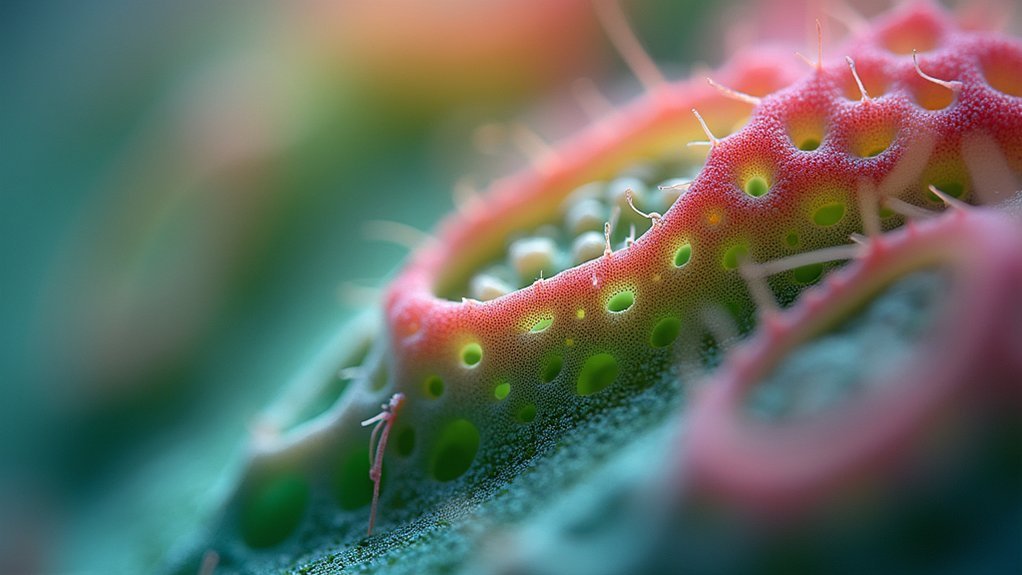
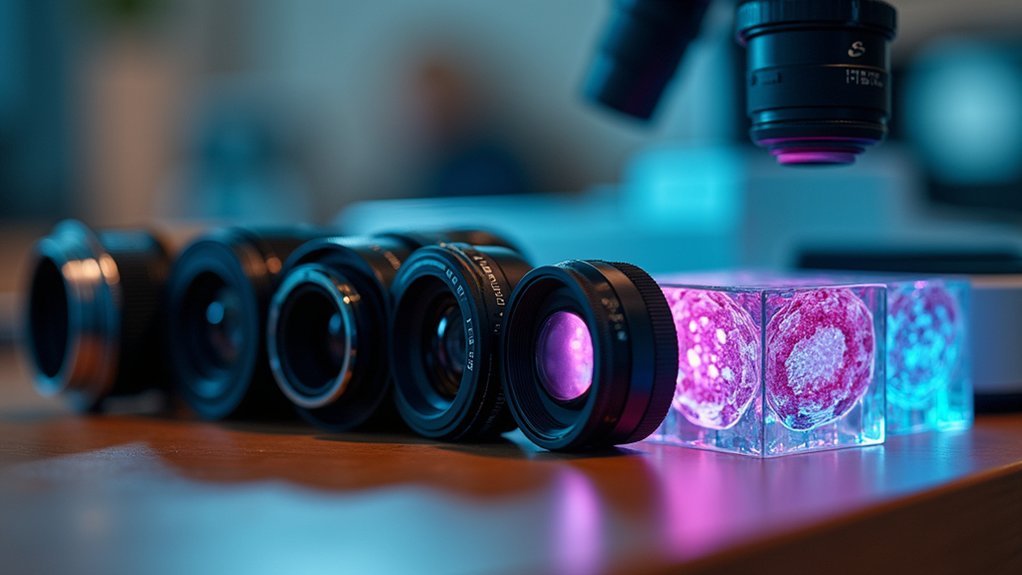
To master depth control in scientific photography, you’ll need to understand aperture settings (f/8-f/11 balances detail and depth) and use focus stacking for complete clarity. Select appropriate objectives based on specimen size, employ tripods for stability, and use directional lighting to enhance depth perception. Consider your camera’s sensor size, document settings consistently, and utilize post-processing techniques like RAW editing. These fundamentals will transform your scientific imagery from flat documentation to dimensional representations of complex specimens.
Understanding Depth of Field in Scientific Microscopy

When capturing microscopic specimens, depth of field represents the vital layer of your sample that remains in focus. Your objective’s numerical aperture (NA) directly influences this DoF—higher NA values yield shallower depth, enabling precise focusing on specific specimen layers.
With high magnification objectives like 100x oil immersion lenses, you’re working with just a few micrometers of DoF. This requires meticulous focus adjustments to achieve clear images of thin specimens.
You can overcome DoF limitations through focus stacking, a technique where you capture multiple images at different focal planes and combine them into one extensive image with extended depth.
Don’t underestimate proper illumination—techniques like Koehler illumination greatly enhance contrast and clarity, helping you distinguish vital details within the limited DoF typical in high-resolution microscopy.
Selecting the Optimal Aperture Settings for Specimen Detail
Your f-stop selection directly determines how much of your specimen remains in focus, with higher numbers (f/8-f/22) capturing greater overall detail and lower numbers (f/2.8) isolating specific features.
You’ll need to adjust your aperture based on specimen size and complexity, using narrower apertures for larger specimens requiring extensive documentation and wider ones for highlighting microscopic structures.
When choosing your ideal aperture, you’re always balancing between sufficient light intake and the necessary depth of field, especially critical when photographing specimens with varied topography or transparent elements.
F-stop Impacts Focus Range
Although seemingly technical, f-stop selection serves as one of the most powerful creative controls in scientific photography.
When you choose smaller f-stop numbers like f/2.8, you’re actually selecting larger apertures that create shallow depth of field—perfect for isolating specific specimen details while blurring distracting backgrounds.
For thorough documentation requiring greater focus range, consider aperture settings between f/8 and f/11, which balance detail sharpness with sufficient depth of field.
This middle ground proves especially valuable when you need to capture multiple planes of a specimen in focus.
In macro photography, don’t hesitate to use large apertures (f/2.8-f/4) when you want to dramatically highlight specific features of insects or plant structures.
Remember that your f-stop choices directly impact clarity and detail—the foundation of effective scientific photography.
Specimen Size Dictates Aperture
The relationship between specimen size and aperture selection forms the cornerstone of effective scientific photography. When working with smaller specimens like insects or flower parts, you’ll want wider apertures (lower f-stops) to create shallow depth of field that isolates intricate details while producing pleasing background blur.
Conversely, larger specimens such as fossils or anatomical models require narrower apertures (higher f-stops) to guarantee more of the subject remains in sharp focus, preserving complex features throughout the frame.
Consider your camera-to-subject distance carefully—closer positioning demands different aperture settings to maintain focus precision. A quality macro lens with wide apertures (around f/2.8) offers excellent flexibility for smaller subjects.
Balancing Light and Detail
Finding the perfect balance between adequate lighting and specimen detail represents one of the most essential challenges in scientific photography.
When selecting your aperture, you’re making a fundamental tradeoff: higher f-stops (f/8-f/16) deliver greater depth of field, keeping more of your specimen in focus, but require more light for proper exposure.
In low-light conditions, you might need to open your aperture wider (f/2.8-f/4) to capture enough light, though this isolates specific areas while creating pleasing bokeh. This approach emphasizes certain details but sacrifices overall sharpness.
For ideal image quality, consider using depth of field calculators to determine the best aperture for your specific subject.
Complement your aperture selection with diffusers or reflectors to enhance detail visibility without compromising exposure. These techniques guarantee you’ll capture specimens with scientific precision.
Focus Stacking Techniques for Complete Specimen Clarity
Achieving perfect clarity throughout an entire specimen presents a significant challenge in scientific photography due to inherent depth of field limitations.
Focus stacking offers a powerful solution, allowing you to merge images captured at different focal points to create exceptional detail from foreground to background.
To implement this technique effectively, mount your camera on a tripod to maintain consistent framing across all shots.
Capture a series of images with 30-50% overlap in focus areas to avoid sharpness artifacts during the merging process.
When your shooting is complete, utilize post-processing software like Adobe Photoshop or specialized programs such as Helicon Focus to combine your images.
These applications use sophisticated algorithms to identify and retain the sharpest areas from each frame, resulting in scientific photography with unprecedented clarity throughout your entire specimen.
Mastering Working Distance for Improved Depth Control

Working distance serves as a fundamental yet often overlooked variable in scientific photography that directly impacts your depth control capabilities.
When you position yourself closer to your subject, you’ll achieve shallower depth of field and enhanced subject isolation, creating more dramatic visual impact.
For consistent scientific photography results, maintain precise working distance measurements. This control becomes especially important when documenting specimens that require replication.
Longer focal lengths allow you to increase your working distance while still decreasing depth of field—particularly useful when photographing sensitive specimens.
Experiment with combining working distance adjustments with aperture settings. A wider aperture at close working distance produces pronounced background blur, emphasizing your main subject.
Practice this relationship regularly, and you’ll develop intuitive control over depth in your scientific imagery.
Lighting Techniques That Enhance Depth Perception
While aperture and working distance provide structural control, lighting strategically transforms scientific photographs from flat representations to three-dimensional revelations.
Implement directional lighting from the side or back to create shadows that accentuate your subject’s contours and improve depth perception. High-contrast lighting effectively separates foreground elements from backgrounds, while soft lighting reduces harsh shadows while maintaining subtle dimensional gradients.
Skillful manipulation of directional light creates shadows that reveal structure and dimension otherwise invisible to the casual observer.
Don’t overlook the power of colored gels to create atmospheric depth that guides the viewer’s eye to specific areas.
For maximum visual separation, deploy multiple light sources at varying angles to achieve layered lighting effects that define different planes within your composition. This technique helps distinguish individual elements while enhancing the overall sense of depth, turning potentially flat scientific imagery into visually compelling three-dimensional representations.
Choosing the Right Microscope Objectives for Your Depth Needs

Proper objective selection forms the foundation of effective microscopic depth control in scientific photography. Understanding the relationship between numerical aperture (NA) and depth of field gives you precise control over your imaging outcomes.
When you need greater spatial depth for thicker specimens, opt for lower magnification objectives with smaller apertures.
- Use 4x or 10x objectives with low NA values to capture broader depth of field for three-dimensional samples.
- Select high-power objectives (100x) with NA values of 1.25-1.4 when resolution of fine detail is more important than depth.
- Apply oil immersion techniques when maximum resolution is required, noting how the 1.515 refractive index affects your depth of field.
- Consider working distance carefully—longer working distance objectives (20x or 40x) accommodate thicker specimens while maintaining acceptable depth.
Digital Post-Processing Methods to Refine Depth Control
Digital post-processing offers powerful tools to overcome depth limitations in scientific photography. Focus stacking software like Helicon Focus and Zerene Stacker allows you to combine multiple images at different focal planes into one fully-sharp composite.
You’ll achieve more precise depth control by working with RAW files, which preserve maximum data for adjustments in software like Adobe Camera Raw or Capture One.
Contrast enhancement techniques, including local contrast adjustments and clarity filters, will help you bring out subtle details at various depths, making previously invisible structures clearly discernible in your scientific images.
Focus Stacking Software Options
Although traditional photography techniques often struggle with depth limitations, focus stacking software has revolutionized scientific imaging by combining multiple shots into one perfectly sharp composite.
When selecting your focus stacking solution, you’ll find Adobe Photoshop offers familiar workflows, while specialized options like Helicon Focus and Zerene Stacker provide more advanced capabilities for scientific applications.
- Capture a sequence of images with incremental focus shifts from foreground to background
- Import your series into your chosen software for automatic alignment
- Adjust blending parameters to control how the software merges overlapping areas
- Fine-tune the final output by selectively enhancing regions that need additional depth of field
These tools transform your standard images into compositions with maximum sharpness throughout the entire depth of field, essential for detailed scientific documentation.
RAW File Editing
While capturing perfect depth in-camera remains ideal, RAW file editing offers powerful refinement options that JPEG processing simply can’t match.
When working with RAW files, you’ll retain considerably more image data, allowing for non-destructive adjustments to exposure, contrast, and clarity that enhance perceived depth.
Using Adobe Lightroom or Photoshop, you can selectively sharpen foreground elements while softening background portions, creating more pronounced separation between subject and surroundings.
Apply targeted clarity and texture adjustments to emphasize important details while reducing distractions.
For scientific photography, gradient filters simulate depth of field changes post-capture, giving you precise control over focus areas.
These post-processing techniques complement your in-camera work, providing flexibility to refine depth effects during editing when perfect capture wasn’t possible in the field.
Contrast Enhancement Techniques
Several contrast enhancement techniques in post-processing can dramatically improve depth perception in scientific photography. By manipulating tonal ranges through histogram adjustments, you’ll guarantee shadows and highlights create balanced dimensionality in your images.
- Apply local contrast enhancement using Clarity or Structure sliders to selectively increase depth in specific areas while preserving detail elsewhere.
- Master dodge and burn techniques to manually sculpt highlights and shadows, enhancing the three-dimensional feel of your subjects.
- Utilize layer masks with different blending modes to refine separation between subject and background elements.
- Implement gradient filters to subtly manipulate brightness across your image, guiding viewers’ eyes through the composition.
These approaches give you precise control over how depth is perceived, transforming flat scientific imagery into visually dynamic representations with clear spatial relationships.
Balancing Magnification and Field Depth in Microscope Photography
When capturing microscopic subjects, you’ll immediately face one of scientific photography’s fundamental challenges: the inverse relationship between magnification and depth of field. As you increase magnification with higher-power objective lenses, your depth of field markedly narrows, potentially leaving portions of your specimen blurry.
To counter this effect, try using smaller apertures (higher f-stops) to extend your depth of field, though you’ll need longer exposure times due to reduced light intake.
Position your specimen strategically—the distance between your objective lens and slide greatly impacts your focus range.
For thorough results, embrace focus stacking techniques. By capturing multiple images at different focus points and combining them in post-processing, you’ll achieve remarkable depth even at high magnifications—giving you the best of both worlds in microscope photography.
Camera Sensor Considerations for Scientific Imaging Depth

Your choice of camera sensor considerably impacts depth control in scientific imaging, with larger sensors naturally producing shallower depth of field that can isolate specimens from distracting backgrounds.
When selecting equipment for precise documentation, you’ll find that sensor size affects not only depth perception but also working distance and magnification capabilities, especially in macro photography scenarios.
The pixel density of your sensor further influences detail resolution within your focused plane, with higher density sensors potentially capturing finer structures while maintaining appropriate depth parameters.
Sensor Size Matters
Although often overlooked by beginners, camera sensor size fundamentally shapes your control over depth of field in scientific photography.
When you’re documenting specimens or experimental setups, larger sensors like full-frame sensors capture more light and detail, giving you precise imaging with naturally shallower depth of field than smaller alternatives.
- Full-frame sensors create dramatic subject isolation, making microstructures stand out against blurred backgrounds.
- Crop factor changes how your lenses behave—a 50mm lens on APS-C produces different depth characteristics than on full-frame.
- Larger sensors enhance background separation, essential when photographing complex scientific specimens.
- Sensor choice directly impacts the clarity and focus of critical details in your photographic documentation.
Understanding this relationship helps you achieve the exact focal precision your scientific work demands.
Pixel Density Effects
Pixel density represents another dimension of sensor technology that shapes your scientific photography outcomes. When capturing microscopic specimens or detailed surfaces, higher pixel density delivers the precision you need, allowing for finer measurements and sharper images at your focus point.
You’ll notice that sensors with higher pixel density produce cleaner images at lower ISO settings, particularly beneficial in dimly lit laboratory environments. However, there’s a tradeoff—smaller sensors with high pixel density often generate more noise than larger sensors with equivalent resolution.
Your depth of field control becomes more critical as pixel density increases. You’ll need to carefully adjust aperture settings to guarantee all essential elements remain sharp and in focus.
For consistent scientific imaging results, consider how pixel density affects your specific research needs when selecting equipment and configuring your setup.
Practical Workflow Tips for Consistent Depth Results
When documenting scientific subjects through photography, establishing a reliable workflow guarantees your depth control remains consistent across multiple sessions.
Maintain a standard aperture setting like f/8 or f/11 to guarantee uniform sharpness and predictable depth of field across your image series.
- Position your camera on a tripod at a consistent distance from subjects to prevent depth of field variations that could compromise your scientific documentation.
- Utilize your camera’s depth of field preview feature before shooting to visually confirm your focus range meets experimental requirements.
- Record detailed camera settings including aperture, focal length, and subject distance in a dedicated log for future replication.
- Make incremental, single-variable adjustments to your setup when troubleshooting depth issues rather than changing multiple parameters simultaneously.
Frequently Asked Questions
How Does Temperature Affect Depth Control in Live Specimen Photography?
Temperature affects your depth control as warmer specimens move faster, requiring faster shutter speeds that limit aperture choices. Cold temperatures slow movement, allowing smaller apertures for greater depth of field in your photos.
Can Smartphone Cameras Achieve Professional-Level Depth Control for Scientific Documentation?
You can achieve decent scientific depth control with smartphones using portrait mode, macro lenses and manual focus apps, but they still can’t match the precision of professional cameras with adjustable apertures.
What Safety Precautions Are Needed When Photographing Hazardous Specimens?
When photographing hazardous specimens, you’ll need proper PPE, ventilation, specimen containment, no flash for light-sensitive materials, and clear labeling. Always follow lab protocols and never compromise safety for better images.
How Do Vibration Issues Impact Depth Control Precision?
Vibrations can ruin your depth control precision by causing motion blur and misalignment. You’ll lose sharpness and accuracy in your focus stacking. Even slight tremors will compromise detailed scientific images during long exposures.
Are There Ethical Considerations When Enhancing Depth in Scientific Images?
Yes, you must maintain scientific integrity when enhancing depth. Don’t misrepresent data, disclose all manipulations, and guarantee enhancements clarify findings rather than distort them. Ethics committees often require transparent image processing documentation.
In Summary
By implementing these depth control strategies, you’ll transform your scientific images from flat data points to revelatory visual narratives. Remember that perfect depth mastery requires practice—each specimen presents unique challenges. Don’t hesitate to experiment with different techniques until you find what works best. Your improved depth control won’t just enhance aesthetic quality—it’ll help communicate scientific findings with unprecedented clarity and precision.


Leave a Reply