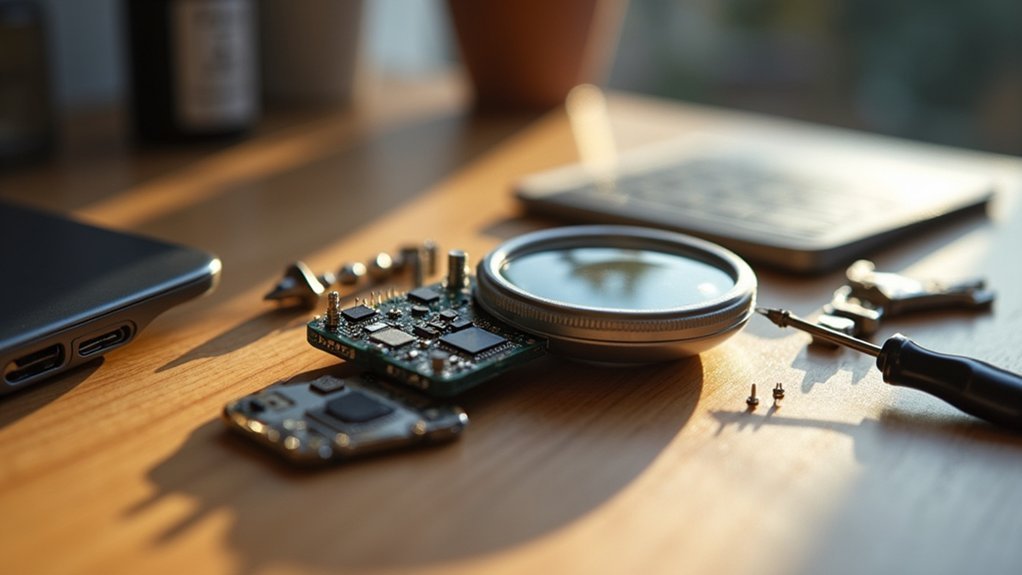
When your photo adapter malfunctions, first verify compatibility with your device before troubleshooting. Restart your device and reconnect the adapter to clear software glitches. Check for dirty or damaged contacts that may affect connections. For “requires too much power” errors, try using a powered USB hub. Confirm proper alignment and secure attachment between devices. Clean optical surfaces regularly with a microfiber cloth for peak image quality. These fundamental fixes address most common adapter issues before more complex solutions become necessary.
Fixing Common Photo Adapter Issues: Expert Solutions
Why do photo adapters often fail when you need them most? These common problems typically stem from compatibility issues, especially after iOS updates that alter how your device interacts with accessories.
To fix the problem, first verify your adapter matches your device specifications. If it’s not responding, disconnect it, restart your device, and reconnect to clear potential software glitches.
Always check adapter compatibility first—simple restart and reconnection often resolves most connectivity issues instantly.
When facing a “requires too much power” error, try using a powered USB hub to provide adequate energy.
Don’t overlook physical maintenance—inspect adapter contacts for dirt or damage that might cause poor connections.
Finally, keep both your adapter and connected devices updated with the latest firmware to prevent communication errors. Regular maintenance and proper troubleshooting will greatly extend your adapter’s reliability and performance.
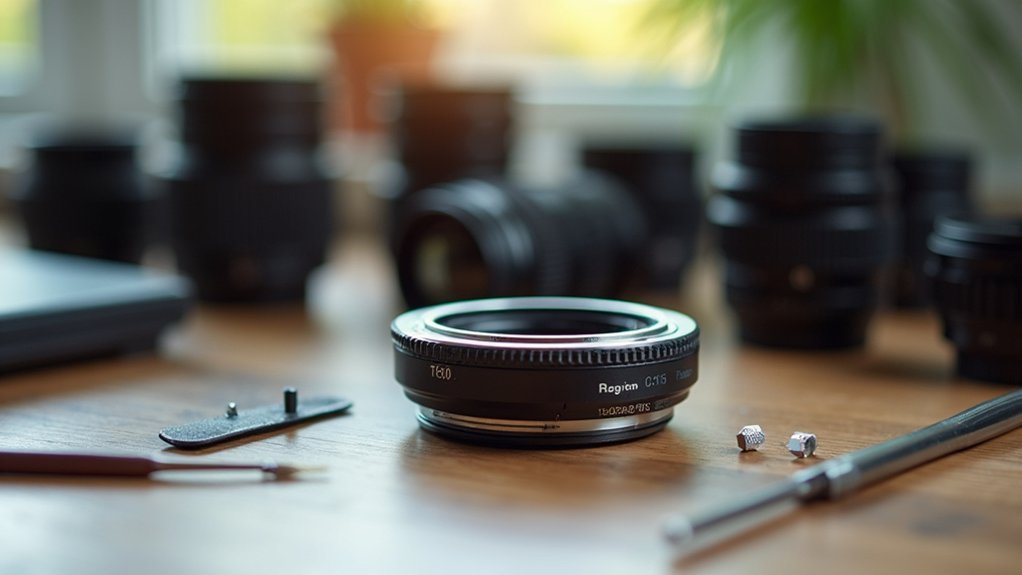
Understanding Microscope Camera Adapters and Their Components
While digital imaging has transformed microscopy, you’ll need a proper camera adapter to capture what you’re seeing through your microscope. These adapters bridge your camera to your microscope, guaranteeing what you observe is accurately documented.
| Adapter Type | Compatibility | Key Feature |
|---|---|---|
| C-mount | Most scientific cameras | Standard thread size (1″ diameter) |
| T-mount | DSLR cameras | Requires additional ring adapters |
| Proprietary | Brand-specific devices | Custom-designed connections |
The optical quality of your adapter directly impacts image clarity and resolution. Look for adapters with built-in corrective optics to maintain image fidelity. Always verify secure attachment between adapter components to prevent focus drift and image instability. Proper alignment is critical—even slight misalignment can compromise your entire imaging workflow.
Diagnosing Connection Problems Between Camera and Microscope
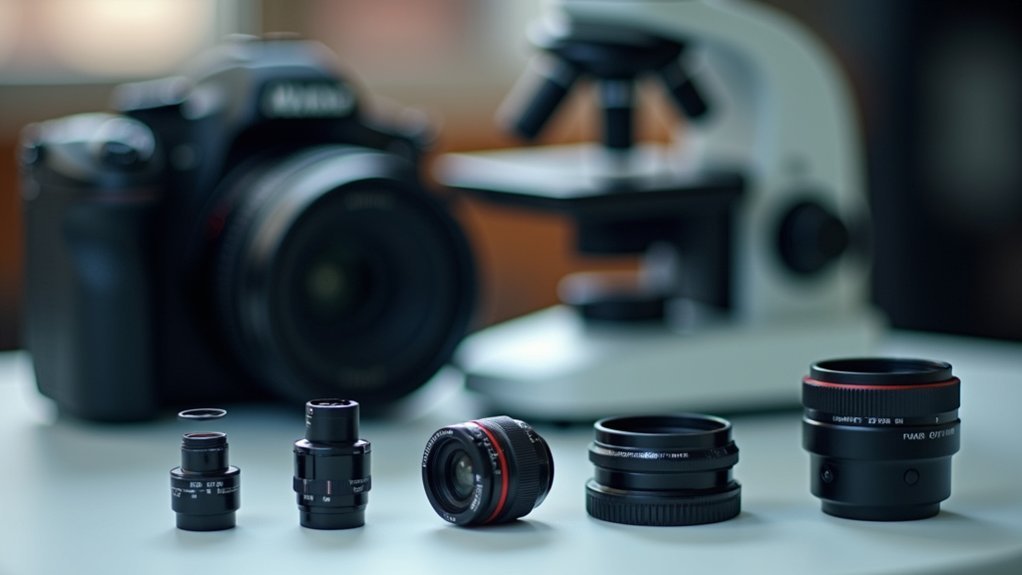
When your microscope camera fails to transmit images properly, connection issues are often the culprit.
You’ll want to first verify your camera and microscope models are compatible, as mismatched equipment frequently requires specific adapters.
Check that your adapter is securely attached to both devices. Even slight looseness can prevent USB signals from transmitting correctly.
Verify that your adapter supports essential electronic features like autofocus that your camera may require.
Carefully inspect the adapter for physical damage or debris, and gently clean the contacts with a soft cloth.
If problems persist, try connecting your camera to another microscope or test a different adapter with your setup.
This systematic approach helps determine whether the issue lies with your camera, microscope, or the adapter itself.
Resolving Image Quality Issues in Microscope Photography
When troubleshooting your camera adapter, first check that all connections are secure and the adapter is properly seated to prevent image deterioration.
You’ll improve sharpness by carefully aligning the optical axis of both your microscope and camera, ensuring they’re perfectly centered.
Regular cleaning of all optical surfaces and experimenting with camera settings like ISO and aperture will greatly enhance your microscope photography results.
Camera Adapter Troubleshooting
Five common issues can degrade image quality when using camera adapters for microscope photography. The most common problem is compatibility—your adapter must match both your microscope and camera models to prevent alignment issues.
Additionally, dust or debris on adapter surfaces greatly impacts image clarity, while incorrect focal length choices can devastate detail reproduction.
- Check manual focus settings, as autofocus often fails through adapters
- Clean all optical surfaces thoroughly before each photography session
- Verify adapter specifications match your equipment before purchasing
- Compensate for light loss by adjusting exposure or using wider apertures
When troubleshooting, remember that even minor adapter issues can dramatically affect your results. By systematically addressing these technical challenges, you’ll avoid the frustration of unclear images and achieve the professional-quality microscope photographs you’re aiming for.
Sharpness Enhancement Techniques
Beyond adapter compatibility issues, the quest for crystal-clear microscope images often hinges on mastering specific sharpness enhancement techniques.
Start by ensuring perfect alignment between your microscope and camera—even slight misalignment can greatly reduce image quality.
Upgrade to higher-quality lenses with appropriate magnification, as they offer reduced aberrations and superior resolution.
Always focus manually rather than relying on autofocus, which typically struggles with microscopy’s narrow depth of field.
When a software problem prevents ideal image capture, utilize post-processing tools to enhance sharpness, but avoid over-sharpening that introduces artifacts.
Finally, experiment with lighting—a ring light or LED illuminator can considerably improve detail visibility by reducing glare.
These adjustments will transform your microscope photography from frustratingly blurry to professionally sharp.
Addressing Alignment and Focusing Difficulties
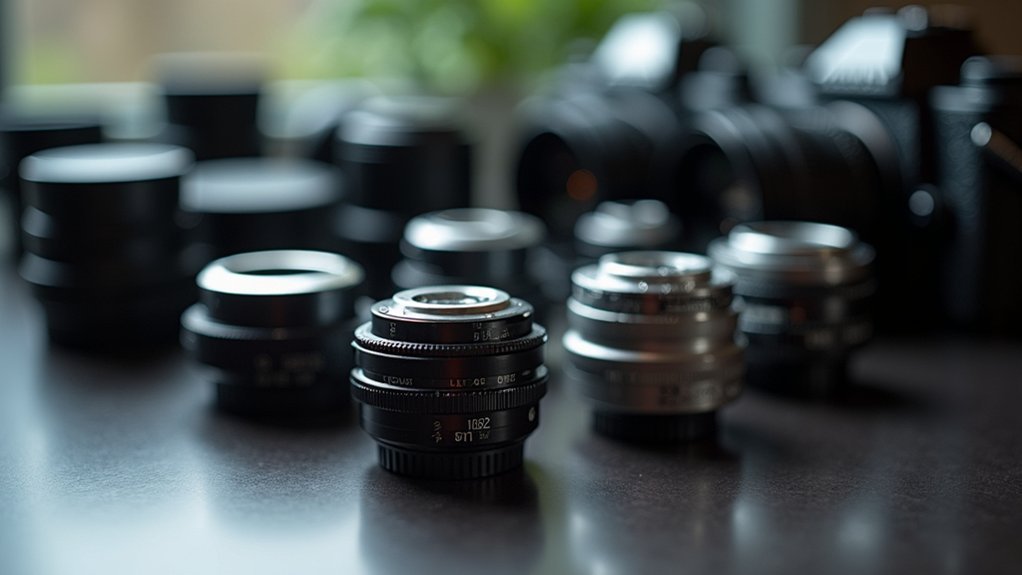
Although adapters allow photographers to use lenses across different camera systems, they often introduce alignment challenges that can compromise image quality.
Adapters expand lens compatibility but may sacrifice precision and sharpness through misalignment issues.
When your images appear consistently soft despite proper technique, alignment issues may be the culprit. To combat these focus problems, you’ll need to take deliberate steps to guarantee peak adapter performance.
- Double-check that your adapter is securely attached to both camera body and lens before shooting
- Consider using smaller apertures (f/8-f/11) to compensate for slight misalignments
- Switch to manual focusing for greater precision, especially when using adapters between different brands
- Test your adapter on a tripod with focus targets to identify any systematic alignment issues that need addressing
These practices will help minimize the frustrating focus inconsistencies that often plague adapted lens setups.
Troubleshooting Compatibility Issues With Different Camera Models
While the promise of using any lens on any camera is appealing, the reality of adapter compatibility is more complex than most photographers anticipate.
One of the most common causes of frustration is brand-specific limitations—not all adapters support cross-brand setups like Nikon lenses on Canon bodies.
What you need to know is that electronic communication often suffers when using adapters. Without proper electronic contacts, you’ll lose autofocus, image stabilization, and automatic aperture control.
Before purchasing, verify your specific lens and camera combination is supported by your chosen adapter.
Always check that your adapter fits securely on both ends. Loose connections lead to alignment issues and unstable shooting conditions.
If you’re experiencing reduced image quality or sluggish performance, try different adapter brands or consult manufacturer guidelines for peak compatibility.
Fixing Adapter Mounting and Stability Problems
Secure mounting of your lens adapter isn’t just for safety—it’s essential for achieving sharp, professional images.
You’ll need to properly align and lock the adapter between your camera and lens, ensuring there’s no wobble that could affect focus accuracy during critical shots.
When you notice connection instability, immediately check for debris in the mounting surfaces and verify that all locking mechanisms are firmly engaged but not overtightened.
Secure Mounting Techniques
Properly mounting your photo adapter forms the foundation for successful image capture, especially when working with different camera and lens combinations.
To guarantee your adapter is working properly, pay careful attention to alignment before securing it to the camera mount. This prevents focus issues and instability that could ruin your shots.
- Always check that contact points are clean, using a microfiber cloth to remove dust that affects connectivity.
- Use a lens support or tripod collar with heavier lenses to distribute weight and reduce strain on the mount.
- Regularly inspect the adapter’s locking mechanism for wear to prevent accidental disconnections.
- When stacking multiple adapters, verify they fit snugly together to eliminate wobbling that compromises image quality.
Preventing Connection Wobble
Even the most premium lenses will deliver subpar results if your adapter connection suffers from wobble. To prevent this common issue, always verify your adapter is properly aligned and firmly attached to both your camera and lens before shooting.
Invest in high-quality adapters known for robust construction and reliability—cheaper alternatives often lead to stability problems and connection issues down the line.
Regularly inspect all mounting points for wear or damage, replacing components at the first sign of deterioration.
For heavier lens setups, add a dedicated lens support or tripod collar to reduce stress on the adapter connection.
Don’t forget to check and tighten all screws and fittings periodically, as they can loosen with regular use.
These simple preventative measures will guarantee consistently sharp images and reliable focusing performance.
Solving Light Path Interference and Vignetting
Many photographers encounter frustrating image quality issues when using lens adapters, with light path interference and vignetting being among the most common problems.
These optical disruptions can greatly degrade your images, resulting in ghosting artifacts and darkened corners that diminish overall quality.
To combat these issues effectively:
- Choose high-quality adapters specifically designed for your lens-camera combination
- Confirm your adapter fits securely and aligns precisely with both your lens and camera mount
- Adjust your aperture settings strategically to minimize light loss when using adapters
- Check that all optical elements remain properly aligned after mounting
Calibrating Adapters for Optimal Magnification
To achieve precise focus adjustment with your adapter setup, you’ll need to carefully align the optical elements with your camera’s sensor while maintaining proper focal distances.
You can verify your calibration by measuring magnification ratios using a ruler or calibration chart in your test shots.
Regular testing with different aperture settings will help you identify the ideal configuration for your specific adapter-lens combination, ensuring maximum sharpness and detail in your magnified images.
Precise Focus Adjustment
When working with photo adapters, precise focus adjustment becomes the defining factor between stunning clarity and disappointing blur. Your lens must be perfectly aligned with your camera sensor, especially at higher magnifications where even minor misalignments can ruin your shots.
Test your focus regularly using calibration tools like focus charts or targets to identify and correct alignment issues. You’ll likely need to rely on manual focus techniques since adapters often disrupt electronic communication between your lens and camera body.
- Check adapter compatibility with both camera and lens before mounting
- Use focus charts to verify proper alignment with your sensor
- Make small, incremental focus adjustments when working at high magnifications
- Recalibrate your setup after any equipment changes or if you notice sharpness issues
Measuring Magnification Ratios
How accurately do you know your lens’s true magnification? Many photographers need to verify their setup’s actual magnification ratio rather than relying on manufacturer claims.
When your adapter isn’t properly calibrated, you’ll face the problem of inconsistent or unexpected magnification results.
Start by ensuring your adapter is compatible with both your lens and camera. Place a precision ruler or calibration grid at your intended working distance and capture an image. Measure the size of known markings in your photo compared to their actual size to calculate your true ratio.
Remember that adjusting lens position changes your magnification—moving closer to your subject increases the ratio.
For ideal image quality, especially at higher ratios, pay attention to lighting and depth of field limitations that might affect sharpness.
Maintenance Tips for Prolonging Adapter Lifespan
Your photo adapter’s lifespan depends largely on how you maintain it throughout its use. Regular maintenance tips include cleaning contacts with a cotton swab and rubbing alcohol to prevent corrosion and guarantee your connections remain fully charged and stable.
Store your adapter in a protective case when not in use to shield it from dust and physical damage.
- Avoid applying excessive force when connecting or disconnecting your adapter to prevent connector wear
- Keep your equipment away from extreme temperatures and humidity that can damage electronic components
- Check periodically for manufacturer firmware updates that improve performance
- Clean contacts regularly with alcohol to prevent oxidation and connectivity issues
Remember that proper care considerably extends your adapter’s functionality and prevents costly replacements down the line.
Software Solutions for Common Digital Interface Problems
While physical maintenance preserves your adapter’s hardware, software issues often cause the most frustrating connection problems. Keeping firmware updated on both your adapter and connected devices is essential for maintaining compatibility. When problems arise, try restarting your iOS device and adapter to clear temporary glitches affecting connections.
| Issue | Cause | Solution |
|---|---|---|
| No Connection | Outdated firmware | Update device software |
| Power Failures | Insufficient power | Use powered USB hub |
| Data Transfer Errors | Software glitch | Restart all devices |
| Device Not Recognized | Setting conflicts | Check device settings |
| Intermittent Connection | USB port problems | Try alternate ports |
After system updates, always verify your device settings haven’t changed. For persistent issues, powered USB hubs can resolve power-related problems. Community forums provide valuable insights for troubleshooting specific device compatibility issues you might encounter.
Frequently Asked Questions
How to Fix Glitching on a Digital Camera?
To fix your digital camera glitching, check connections, update firmware, verify memory card compatibility, reset to factory settings, and inspect for physical damage. You’ll likely resolve most glitches with these targeted troubleshooting steps.
Do Lens Mount Adapters Affect Image Quality?
Yes, lens mount adapters can affect image quality. You’ll notice reduced sharpness, potential light loss, slower autofocus, and may lose electronic features like stabilization. Manual adjustments are often needed for ideal results.
Why Is My Old Digital Camera Not Working?
Your old digital camera might not be working due to outdated firmware, battery issues, incompatible memory cards, physical damage, or water exposure. Try charging the battery, updating firmware, and checking for visible obstructions first.
How to Fix a Digital Camera Not Turning On?
First, make certain your battery is charged and contacts are clean. Try removing the battery for a few minutes to reset the camera. Check for damage to the power button. Update firmware if needed.
In Summary
You’ve now mastered the essentials of troubleshooting microscope camera adapters. By understanding the common issues affecting connections, image quality, alignment, and light path, you’ll save time and capture better microscope images. Remember to maintain your adapters regularly and utilize the software solutions we’ve discussed. With these expert tips in your toolkit, you’re ready to tackle any adapter problem that comes your way.


Leave a Reply