
Installing a C-mount camera adapter requires 7 key steps: identify your microscope type (monocular, binocular, or trinocular), select the appropriate adapter for your brand, measure the eyepiece diameter (typically 28-38mm), prepare your microscope by cleaning optical surfaces, attach the adapter to your camera, mount the assembly onto your microscope, and test for proper focus and image quality. Following these steps guarantees ideal imaging results without vignetting or alignment issues. The detailed process below will transform your microscopy capabilities.
Identifying Your Microscope Type and Camera Mount
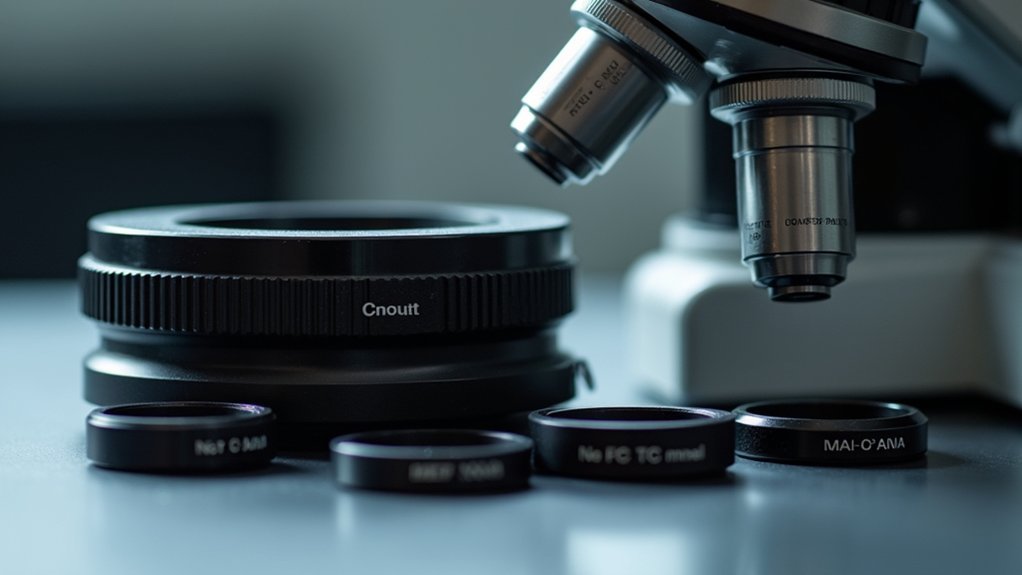
Before installing a C-mount camera adapter, you’ll need to correctly identify your microscope type.
Determine if you have a monocular, binocular, or trinocular microscope by counting the viewing tubes. Only trinocular microscopes feature a dedicated camera port designed specifically for C-mount adapters.
If you have a monocular or binocular microscope, you’ll require an Over-Eyepiece Camera Adapter to attach your C-mount camera.
Measure your eyepiece’s outside diameter (typically 28-38mm) to select the correct adapter size.
Check that your chosen C-mount adapter matches your microscope brand’s specific threading requirements.
Additionally, verify your camera’s chip size (1/2 or 1/3) to confirm the adapter’s built-in focusing lens will produce ideal images through the trinocular port or eyepiece.
Selecting the Appropriate C-Mount Adapter
Why is selecting the right C-mount adapter essential? Using an incompatible adapter can cause serious alignment issues, resulting in poor image quality or complete failure to capture images.
First, identify your microscope brand and choose a camera adapter specifically designed for it.
Then, measure your eyepiece’s outside diameter—common sizes include 28mm, 30mm, 34mm, 35mm, and 38mm—to guarantee a proper fit.
For monocular or binocular microscopes that don’t accept C-mount connections, you’ll need an over-eyepiece microscope adapter with a built-in focusing lens matched to your camera’s chip size (1/2 or 1/3 chip).
This adapter should fit securely over the eyepiece to prevent movement during imaging sessions.
Always verify adapter compatibility before purchase to avoid costly mistakes and guarantee ideal imaging results.
Measuring the Eyepiece Diameter
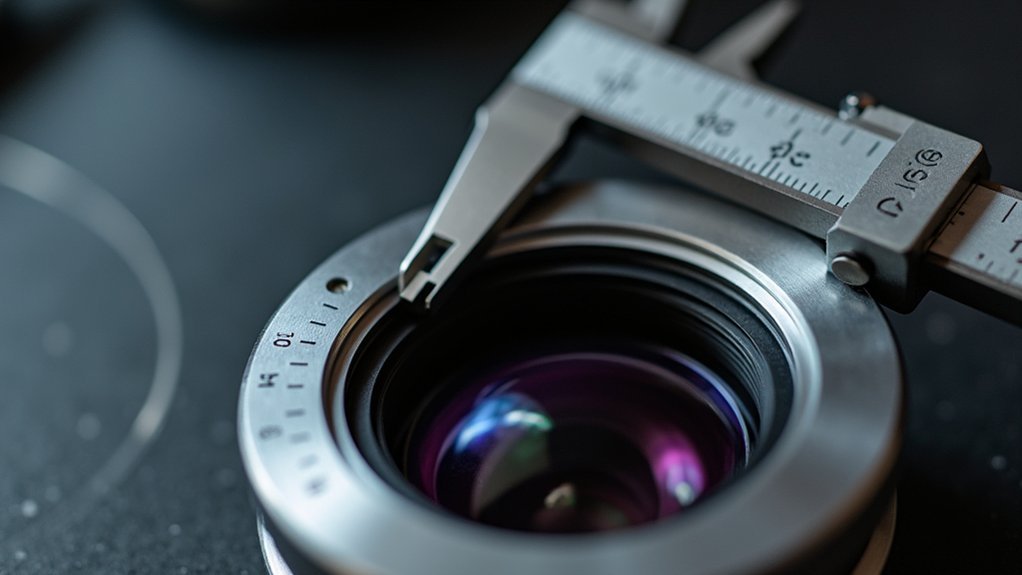
You’ll need a digital caliper or accurate ruler to measure the outside diameter of your microscope’s eyepiece precisely.
Take the measurement at the widest part where the camera adapter will attach, ensuring you get an exact reading in millimeters.
Matching your eyepiece’s diameter (commonly 28mm, 30mm, 35mm, or 38mm) with the appropriate adapter is essential for a secure fit and best image capture.
Subheading Discussion Points
Accurate measurement of your microscope’s eyepiece diameter stands as the critical first step in selecting the right C-mount camera adapter. Using calipers or a ruler, measure the outside diameter where the adapter will attach.
Be mindful that some microscope eyepieces taper, so measure at the exact connection point.
For student monocular microscopes, you’ll typically find diameters between 28mm and 30mm. Stereo microscopes often require larger adapters—usually 35mm or 38mm.
Your c-mount adapter’s inside diameter must precisely match your microscope eyepiece measurement to guarantee proper fitting.
Don’t rush this process—double-check your measurements before purchasing. An incorrectly sized adapter won’t connect securely, compromising image quality and potentially damaging your equipment when you install the camera.
Proper Measurement Tools
Precision instruments make all the difference when measuring your microscope’s eyepiece diameter. When installing a C-mount camera adapter, accurate measurements guarantee proper compatibility and functionality.
| Measurement Tool | Best For |
|---|---|
| Digital Caliper | Most accurate eyepiece diameter readings |
| Manual Caliper | Reliable measurements without batteries |
| Ruler (mm) | Quick estimates when calipers unavailable |
| Sizing Template | Comparing to standard diameters |
| Adapter Ring Kit | Testing fit directly with various sizes |
You’ll need to measure the outside diameter of your eyepiece in millimeters. Student monocular microscopes typically use 28-30mm eyepieces, while stereo microscopes often require 35mm or 38mm adapters. Always check for tapered edges that might affect how your C-mount adapter fits. Double-check your measurements before purchasing to avoid compatibility issues.
Preparing Your Microscope for Adapter Installation
Before installing a C-mount camera adapter, properly preparing your microscope guarantees ideal imaging results and prevents potential damage. First, verify your microscope’s compatibility with C-mount adapters, as they’re brand-specific and won’t work universally.
Power off and unplug your microscope completely before beginning the installation process. This safety step prevents electrical issues and protects sensitive components.
Thoroughly clean the microscope eyepiece to remove any dust or debris that could compromise image quality. Even tiny particles can appear as significant artifacts in your captured images.
Measure the eyepiece’s outside diameter precisely to determine the correct adapter size—these typically range from 28mm to 38mm.
Additionally, confirm your camera’s chip size matches the adapter’s built-in focusing lens (1/2 or 1/3 chip options).
Attaching the C-Mount Adapter to Your Camera
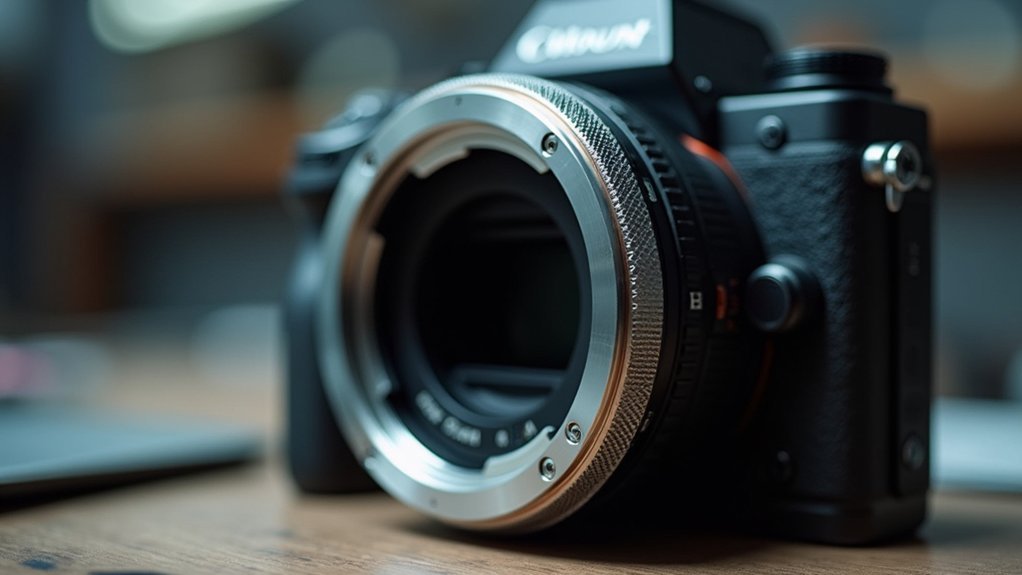
Secure attachment of your C-mount adapter to the camera forms the critical first step in creating a reliable imaging system.
Before proceeding, verify that your C-mount adapter matches your specific microscope brand and model to confirm compatibility with your digital camera.
Position the adapter so its 1-inch-diameter thread aligns perfectly with your camera’s mounting port. Carefully rotate the C-mount adapter clockwise until it’s snug, but avoid excessive force that might damage the threads.
Align the 1-inch thread precisely, then rotate clockwise until secure—never forcing threads beyond their natural stopping point.
If you’re using a recessed adapter designed for your particular digital camera system, confirm it allows full focusing range by checking the flange distance specifications.
Once attached, test the connection’s stability before mounting the entire assembly onto your microscope to guarantee ideal imaging results.
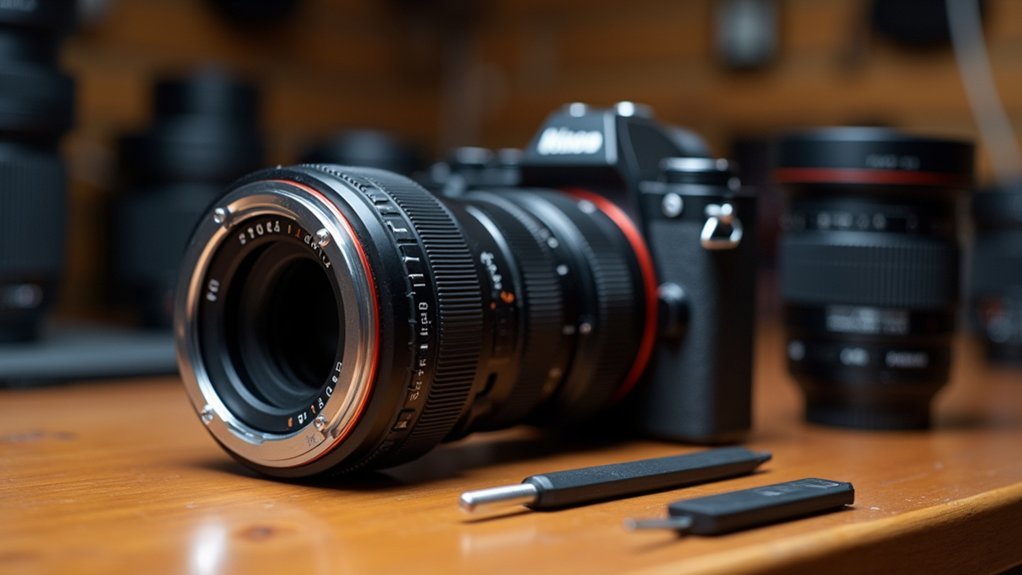
Mounting the Camera Assembly to Your Microscope
The two primary methods for attaching your camera assembly depend on your microscope’s design. If your microscope has a dedicated camera port, you’ll need to make sure you have the correct brand-specific c-mount adapter. Incompatible adapters may prevent you from properly connecting a camera to your microscope, so verify compatibility before installation.
For microscopes without a camera port, use an Over-Eyepiece Camera Adapter that threads directly over the eyepiece. First measure your eyepiece’s outside diameter (typically 28mm or 30mm for student monocular models) to select the appropriate adapter.
Once you’ve secured the camera to your CS mount adapter, align the assembly with either the camera port or eyepiece. Adjust the adapter’s focusing lens to match what you see through the eyepiece on your camera display.
Testing and Adjusting the Camera Setup
Once you’ve completed the physical installation, you’ll need to verify your camera setup performs correctly through systematic testing.
Start by capturing test images of familiar specimens at various magnifications to confirm proper focus, alignment, and image quality throughout the optical path.
You can then fine-tune your camera’s exposure settings and focus parameters to optimize image clarity and compensate for any distortion or vignetting that might occur at the image edges.
Calibrating Focus Parameters
After attaching your C-mount camera adapter to the microscope, you’ll need to calibrate the focus parameters to confirm ideal image quality.
Verify the adapter is securely fastened to the trinocular port or eyepiece, creating a stable connection between your camera and your microscope.
Adjust the focusing mechanism while viewing a sample, making small adjustments until you achieve maximum sharpness.
Remember that slight positioning changes can dramatically affect clarity. Use the built-in focusing lens on over-eyepiece adapters to compensate for any additional magnification.
Test different lens options based on your camera’s sensor size—1/2 chip versus 1/3 chip—to determine which provides best resolution for your specific application.
Check and readjust focus parameters regularly, particularly when switching between samples or optical configurations.
Image Verification Process
Before finalizing your C-mount camera setup, you’ll need to conduct a thorough image verification process to guarantee peak performance.
Start by adjusting the camera’s position to verify focus, ensuring it captures a clear view of your specimen through the microscope eyepiece.
Check for vignetting by examining whether the image corners appear darker than the center. If present, reposition your adapter.
Use the over-eyepiece adapter’s built-in focusing lens to fine-tune image quality, accurately replicating what you see through the eyepiece.
Test various exposure settings to determine ideal lighting conditions that preserve details in both bright and dark areas.
Finally, review your captured images on a computer to assess resolution and clarity, making any necessary adjustments based on your observations.
Frequently Asked Questions
How Do You Attach a Lens Adapter?
You’ll need to align your adapter with your camera’s mount, gently twist clockwise until it clicks into place, and make certain it’s secure without overtightening. Then test that it’s properly functional.
What Is Needed When Connecting an AC Mount Lens to a Cs-Mount Housing?
When connecting a C-mount lens to a CS-mount housing, you’ll need a 5mm recessed adapter to compensate for the flange distance difference. Verify it’s compatible with your specific models for proper infinity focus.
What Is a C-Mount Adapter?
A C-mount adapter is a device you’ll use to connect C-mount cameras to microscopes or other optical systems. It has a standardized 1-inch thread with 32 threads per inch for compatible attachments.
How to Attach a Camera to a Microscope?
To attach a camera to your microscope, you’ll need either a trinocular port or an over-eyepiece adapter. Measure your eyepiece diameter, select the appropriate adapter with focusing lens, and secure your camera firmly.
In Summary
You’ve now successfully installed your c-mount camera adapter! With your camera properly mounted, you’re ready to capture high-quality microscope images. Remember to fine-tune your focus and experiment with different settings to achieve the best results. If you’re experiencing any issues with alignment or image quality, revisit the adjustment steps. Your new setup will enhance your microscopic documentation and analysis capabilities.


Leave a Reply