Cooling system compatibility depends on checking thermal interfaces, connection types, and power supply capacity. Your components must match physically and electronically—from thermal paste compatibility to proper socket mounts. Confirm your coolant type works with your specific hardware and verify your power supply can handle the increased load during peak performance. Regular testing prevents thermal throttling and protects sensitive equipment. Proper component matching creates the foundation for a reliable cooling system that protects your investment.
Cooling System Guide: Will Your Components Work Together?
Why do some engines run perfectly while others constantly struggle with temperature issues? The answer often lies in how well your cooling system components work together.
Your radiator, water pump, and thermostat must function as a team to regulate engine temperature effectively. A malfunctioning water pump that’s improperly sized can’t circulate coolant adequately, leading to overheating.
Similarly, a thermostat that opens at the wrong temperature disrupts coolant flow, causing either excessive heat or inefficient warming.
Don’t overlook your coolant’s specifications—using the wrong type invites corrosion and reduces heat transfer.
Regular cooling system maintenance should include checking hoses and connections for leaks or wear. When these components work harmoniously, you’ll experience fewer temperature-related issues and extend your engine’s life.
Understanding Cooling Requirements for Camera Sensors
Camera sensors require effective heat dissipation methods to maintain performance, with passive heat sinks working well for consumer cameras while professional models may need active cooling systems.
You’ll find that most sensors operate efficiently between 0-40°C (32-104°F), though specific ranges vary by manufacturer and model.
When building your setup, match your cooling solution to your camera’s heat output and environmental conditions to prevent noise artifacts and extend your sensor’s lifespan.
Heat Dissipation Methods
When your camera sensor operates for extended periods, it generates substantial heat that can degrade image quality and reduce the lifespan of your equipment.
Your Cooling System Works most effectively when you implement proper thermal management solutions to maintain temperatures below 60°C.
You’ll find two primary approaches to heat dissipation:
- Active cooling systems (fans or liquid cooling) provide significant temperature reduction during intensive use
- Passive cooling methods like heat sinks require no power source yet effectively disperse heat
- Thermal interface materials (TIMs) enhance heat transfer between your sensor and cooling components
Optimal Temperature Ranges
Three critical temperature thresholds govern your sensor’s performance and longevity. For peak performance, keep your camera sensors within 0°C to 40°C (32°F to 104°F). This range guarantees the best image quality and reliability.
When temperatures rise above this range, you’ll notice increased noise and degraded image clarity.
Watch out for the danger zone above 60°C (140°F), where prolonged exposure can permanently damage sensors and reduce their lifespan. Your Cooling System should include appropriate solutions based on your usage patterns.
For high-performance or continuous operation, consider heat sinks or active cooling components.
Don’t overlook the importance of regular monitoring of temperature ranges. This practice prevents thermal throttling and maintains consistent performance, especially during extended shooting sessions in challenging environments.
Matching Cooling Systems to Microscope Camera Types
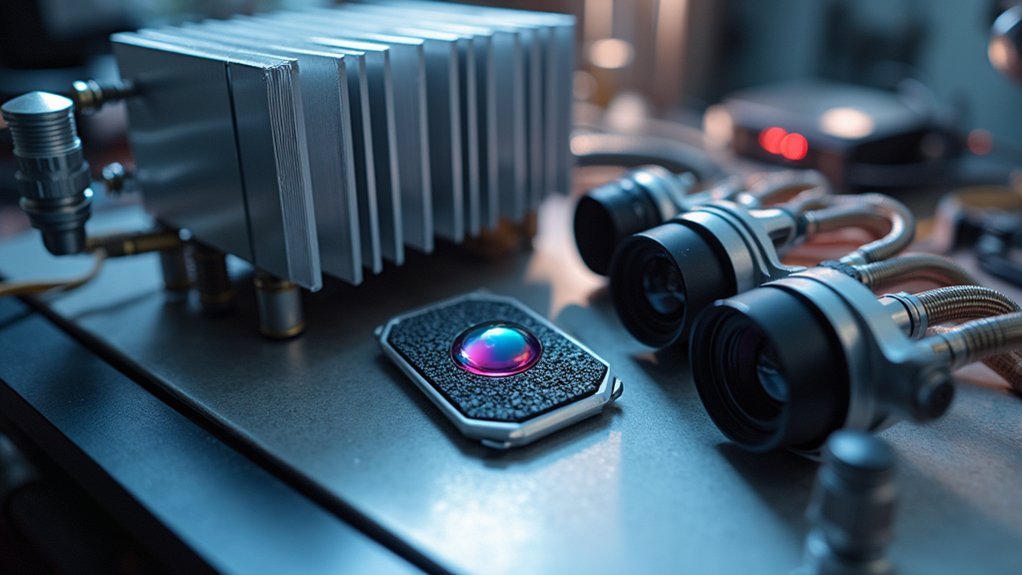
Selecting the right cooling system for your microscope camera requires careful consideration of the specific camera technology you’re using. CCD cameras typically generate higher heat output than CMOS models, often necessitating active cooling systems like Peltier coolers for peak performance.
You’ll need to match your thermal management needs to your camera’s specifications to prevent overheating during extended imaging sessions.
When selecting your cooling solution, prioritize:
- Compatibility with your microscope’s design to avoid interference with the optical path
- Sufficient capacity to handle your camera’s heat output during peak usage
- Appropriate cooling technology (air vs. liquid cooling system) based on your resolution requirements
Always verify thermal specifications of both components before installation to guarantee they’ll work effectively together under your typical operating conditions.
Heat Dissipation Factors in Microscope Photography
Effective heat management during extended imaging sessions protects your microscope’s sensitive optics and preserves sample integrity.
You’ll need to evaluate cooling system hardware options like heat sinks, fans, or liquid cooling solutions based on your imaging intensity and duration.
The temperature of your microscope camera directly impacts resolution quality, as even minor thermal fluctuations can cause focus drift and reduce image clarity.
Heat Management During Imaging
When capturing microscopic subjects, heat generation presents one of the most significant yet often overlooked challenges in achieving high-quality results.
Your microscope’s thermal conductivity directly influences image quality, as excessive heat can distort your specimens and damage sensitive components.
To maintain peak performance during extended imaging sessions:
- Install appropriate cooling systems like Peltier devices or active ventilation to dissipate heat from critical areas
- Select heat-resistant optics and thermally conductive mounting materials to minimize heat accumulation
- Implement regular temperature monitoring to prevent thermal drift and maintain consistent results
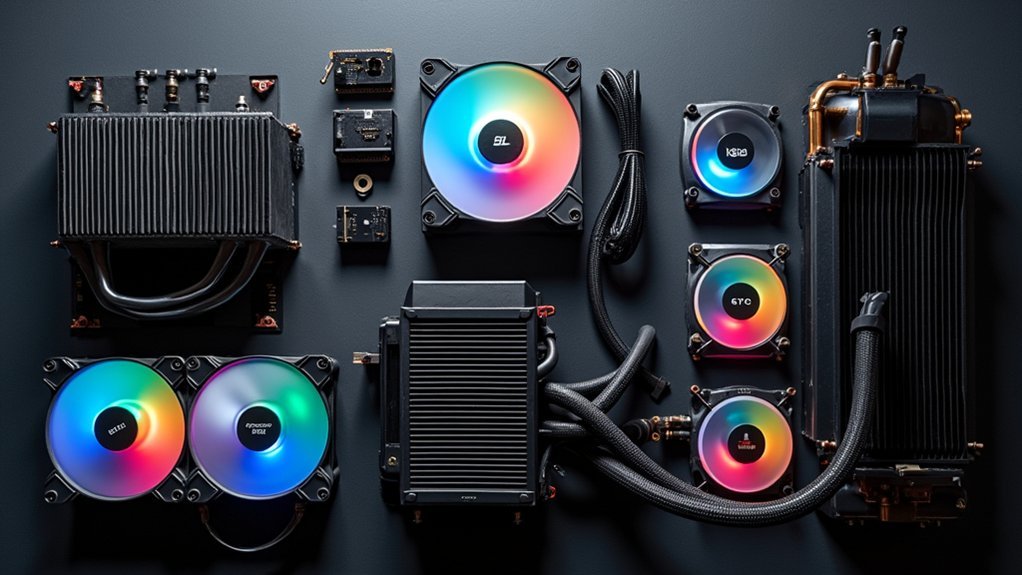
Cooling System Hardware Options
The right cooling system hardware can mean the difference between pristine microscopic imagery and heat-distorted failures. When selecting components for your microscope photography setup, prioritize water-cooled systems over air-cooled alternatives. These systems offer superior thermal conductivity and stability during extended imaging sessions.
Your cooling system should include a high-efficiency radiator that can effectively dissipate heat generated during operation. Apply high-quality thermal paste between heat-generating components and cooling interfaces to maximize heat transfer effectiveness. This small detail greatly impacts overall temperature management.
Don’t overlook regular maintenance of your cooling hardware. Cleaning dust from fans and checking coolant levels guarantees peak performance and extends the lifespan of your equipment.
With proper component selection and care, you’ll achieve the thermal stability necessary for clear, color-accurate microscopic images.
Temperature Impact on Resolution
Now that your cooling hardware is properly configured, let’s examine why temperature control matters for image quality.
Effective heat dissipation is essential for microscope photography, as temperature fluctuations can greatly reduce resolution. When components overheat, thermal expansion causes optical misalignment and lens distortion, directly degrading image clarity.
Your digital sensors are particularly vulnerable to temperature-related issues:
- Higher temperatures increase noise levels, reducing your signal-to-noise ratio
- Excessive heat compromises camera and light source performance
- Thermal expansion of materials can misalign critical optical components
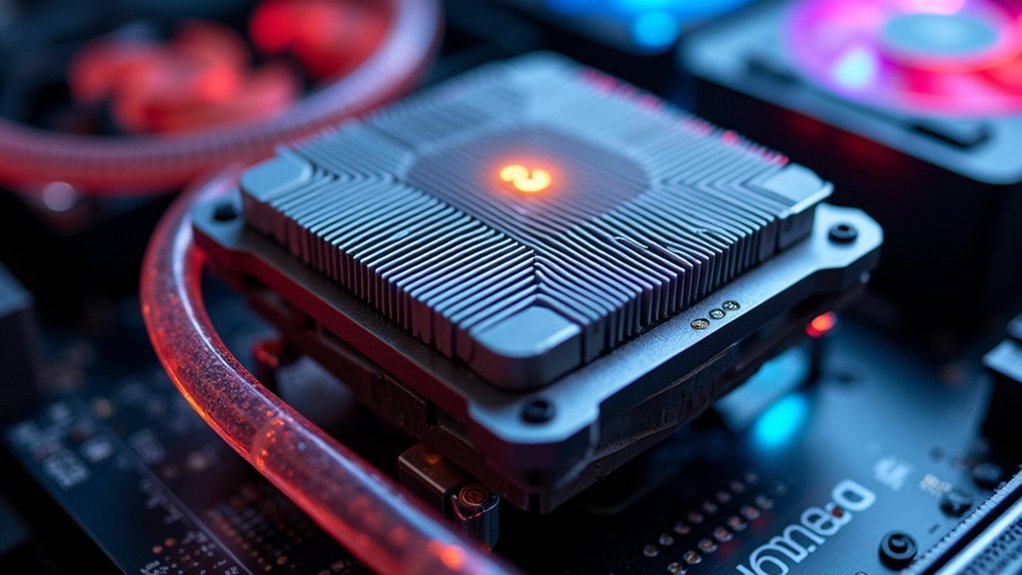
Component Compatibility: Thermal Interfaces and Connections
Proper thermal interfaces serve as critical bridges between your components and cooling solutions, determining the efficiency of your entire cooling system.
When selecting thermal paste or pads, you’ll need to verify compatibility with both your CPU/GPU and the cooler to prevent overheating issues during intensive tasks.
Choosing the right thermal interface material ensures proper heat transfer and protects your components during heavy workloads.
Don’t overlook connection types—screw mounts for heatsinks and brackets for AIO coolers must match your motherboard and CPU socket specifications for secure installation.
Your cooling system’s fans and pumps should also align with your motherboard headers, using the correct voltage and connector type for peak control.
Make it a habit to periodically check your thermal interfaces and connections.
This simple maintenance prevents thermal throttling and maintains system stability, especially when you’re pushing your components to their limits.
Power Supply Considerations for Cooling Systems
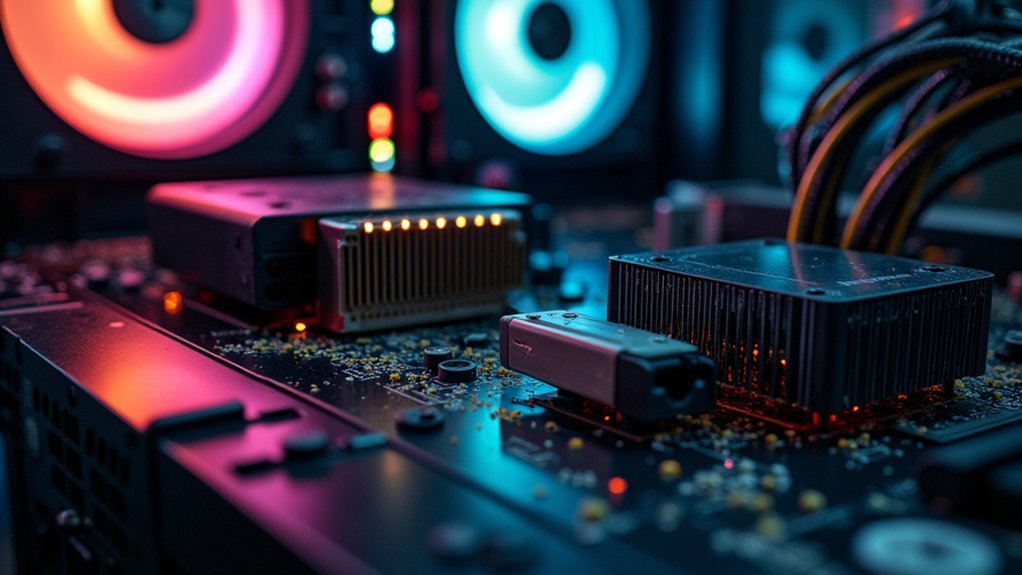
While often overlooked, your power supply serves as the foundation for an effective cooling system, providing the consistent electrical current that fans, pumps, and other thermal components require to operate at peak efficiency.
For high-performance setups, select a power supply with at least 600W capacity to properly support your water pump, radiator fans, and other cooling components. An efficient power supply with a high 80 PLUS certification reduces overall heat generation, complementing your cooling system’s efforts and preventing overheating.
Remember these critical factors:
- Verify your power supply has all necessary connectors for cooling components
- Account for increased power demands if you’re overclocking
- Higher efficiency ratings mean less heat generated, improving overall thermal performance
Don’t underestimate your power supply’s role—inadequate power delivery can compromise even the most sophisticated cooling system.
Testing and Verifying Cooling System Performance
After installing your cooling system, thorough testing becomes essential to confirm it’s performing as expected. Start by regularly checking coolant levels and inspecting for leaks, as insufficient coolant can lead to potential damage and overheating.
To properly verify your car cooling system performance, conduct a pressure test to identify hidden leaks in hoses and connections. Use a digital thermometer to measure coolant temperatures at different points, confirming your thermostat operates correctly.
Don’t overlook your radiator—check for debris, blockages, or corrosion that might impede heat dissipation.
Finally, verify your cooling fan activates at the appropriate temperature, especially important during high engine loads. These testing and verifying steps will prevent overheating and confirm your cooling system delivers peak performance when you need it most.
Frequently Asked Questions
What Are the Main Components of the Cooling System?
Your vehicle’s cooling system consists of the radiator, water pump, thermostat, coolant, cooling fans, and connecting hoses. These components work together to regulate engine temperature and prevent overheating during operation.
Which Components Work Together to Make up the Vehicle Engine Cooling System?
Your vehicle’s cooling system works as a team: the radiator dissipates heat, water pump circulates coolant, thermostat regulates flow, the coolant absorbs heat, and cooling fan enhances airflow through the radiator when needed.
What Is the Most Important Part of the Cooling System?
While all cooling components work together, the radiator is your most important part as it directly dissipates engine heat. Without it, your coolant can’t shed heat and your engine would quickly overheat during operation.
What Are the Primary Components of the Cooling Pack?
Your cooling pack’s primary components include the radiator for heat dissipation, coolant (water/antifreeze mixture), water pump for circulation, thermostat for temperature regulation, and cooling fans that enhance airflow through the radiator when needed.
In Summary
You’ve learned how to assess cooling systems for microscope cameras and guarantee compatibility between components. Remember to match your cooling solution to your specific sensor type, verify thermal interfaces, and consider power requirements. Test your setup thoroughly before critical work. With proper integration, you’ll maintain ideal temperatures for your imaging system, resulting in clearer images and longer component life.


Leave a Reply