To install a camera sensor cooling system, start by evaluating compatibility and temperature requirements. Gather necessary tools and prepare a clean workspace. Disassemble your camera carefully, apply thermal interface material evenly to the sensor, and position the heat sink with proper thermal paste. Secure mounting brackets, connect power supply, and insulate critical components to prevent condensation. Reassemble the housing, then test the system’s performance with a digital thermometer. The following steps will guarantee your microscopy captures remain crystal clear and noise-free.
10 Steps To Install Camera Sensor Cooling Systems
When installing a camera sensor cooling system, you’ll need to select a compatible unit like the Active Cooling System (ACS) that works with your uncooled camera model.
Make certain the ACS is designed specifically for your camera which already includes a Passive Cooling System (PCS).
Compatibility is non-negotiable—select only an ACS verified to work with your camera’s existing PCS components.
Follow the six-step setup guide provided with your Active Cooling unit to properly connect the system to your camera.
Secure the external cooling system firmly against the camera body, maintaining perfect alignment to optimize airflow and effectively dissipate heat from the sensor to the shield.
Regularly monitor the cooling system’s performance, particularly in high-temperature environments.
Keep detailed installation notes and any adjustments you make for future reference when troubleshooting.
This documentation will prove invaluable if you encounter performance issues later.
Assessing Your Microscope Camera’s Cooling Requirements
How effectively your microscope camera performs depends largely on proper temperature management.
You’ll need to evaluate your ambient temperature conditions first—if your lab regularly exceeds 40°C (104°F), a cooling system becomes essential to prevent sensor overheating and image degradation.
Check your camera’s specifications to confirm compatibility with external cooling solutions like the Active Cooling System (ACS), particularly if your camera already includes a Passive Cooling System (PCS).
For microscopy applications involving longer exposure times, thermal noise becomes a significant concern, making proper cooling critical for maintaining clear images.
Don’t overlook practical considerations—ensure you have adequate physical space for the cooling apparatus and verify that its weight and power requirements won’t compromise your microscope’s stability during extended imaging sessions.
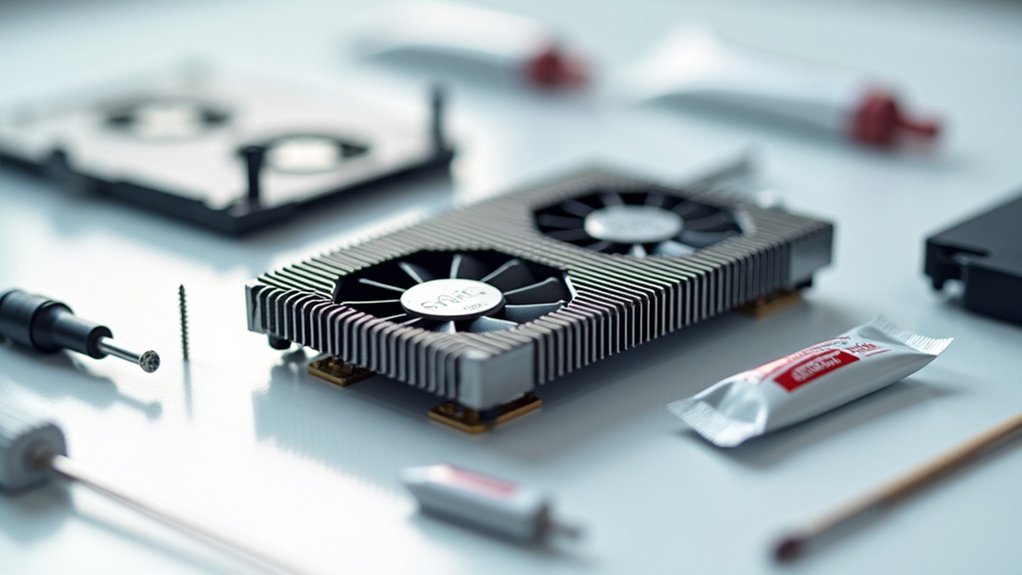
Gathering the Necessary Tools and Components
You’ll need to assemble a complete toolkit including screwdrivers, pliers, and thermal paste before beginning your cooling system installation.
Confirm you’ve selected a compatible cooling system like the ACS that matches your camera’s specifications and mechanical dimensions.
Don’t forget to check if additional adapters are required for your specific camera model, as proper component selection directly impacts cooling efficiency.
Essential Tools Checklist
Proper preparation forms the foundation of any successful cooling system installation. Before working with your camera’s cooling components, verify you’ve gathered all necessary tools. Most advanced cameras include sophisticated sensors that require careful handling during the installation process. Your camera must remain protected from static electricity and physical damage throughout the procedure.
| Tool Category | Required Items |
|---|---|
| Hand Tools | Precision screwdrivers (Phillips/flathead) |
| Safety Items | Anti-static wrist strap, microfiber cloth |
| Assembly Materials | Thermal paste, alcohol wipes |
| Mounting Hardware | Brackets, screws compatible with your camera |
| Documentation | Installation manual, camera specifications |
Review the installation guide thoroughly before beginning, paying special attention to any model-specific requirements. Organizing your workspace and verifying you have all essential components will streamline the process and help prevent potential issues.
Selecting Compatible Components
Guaranteeing perfect compatibility between your cooling system and camera model stands as the critical first step before installation begins. Not all cameras feature the prerequisite Passive Cooling System (PCS) required for an Active Cooling System (ACS) upgrade, so verify your camera’s specifications carefully before proceeding.
Once compatibility is confirmed, gather all components listed in your ACS package—guaranteeing the cooling fans, heat sinks, mounting brackets, and thermal interface materials are present.
CCD cameras typically benefit most from cooling systems, as they’re particularly sensitive to thermal noise.
Check that you have the manufacturer-recommended thermal paste, which guarantees peak heat transfer between the sensor and cooling elements.
Having the complete installation guide on hand will walk you through the six-step process efficiently, preventing potentially costly installation errors.
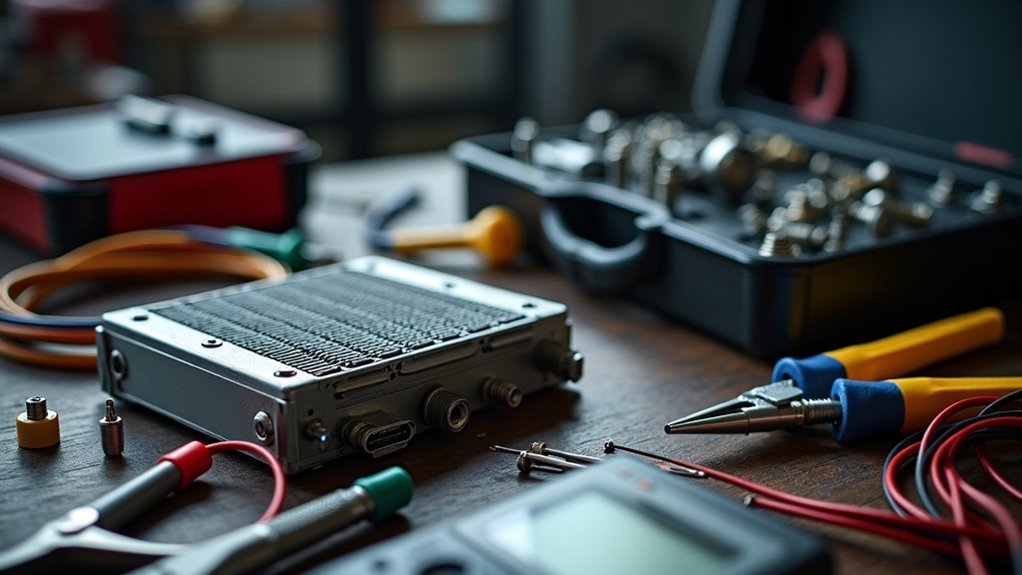
Preparing the Workspace and Camera Disassembly
The installation of a cooling system begins with establishing a clean, static-free workspace that’ll protect your camera’s sensitive components.
Power down your camera completely and remove all batteries before proceeding with any disassembly to guarantee your safety and prevent damage to electronic parts.
- Gather all necessary tools including precision screwdrivers, anti-static wrist straps, and containers for organizing small screws and components.
- Take reference photos at each disassembly stage to create a visual guide for reassembly.
- Follow your specific camera model’s disassembly instructions, as configurations vary greatly between manufacturers.
- Work methodically and avoid forcing components apart; if you encounter resistance, double-check for hidden screws or clips.
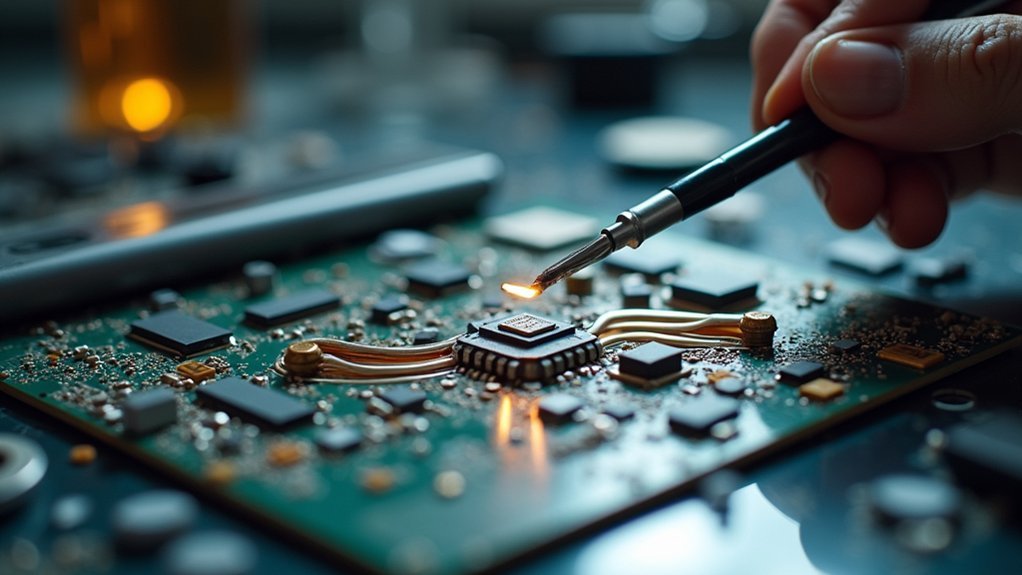
Installing the Thermal Interface Material
As you prepare to bridge the thermal gap between your camera’s sensor and cooling system, applying the right thermal interface material (TIM) becomes critical to the installation’s success. Before application, verify your sensor is completely clean and free of debris to maximize thermal conductivity.
Cut the TIM to match your sensor’s exact dimensions, covering the entire surface area. Apply it with gentle, even pressure to eliminate air gaps that would impede heat transfer.
| TIM Application Step | Key Consideration |
|---|---|
| Clean sensor surface | Remove all dust/oils |
| Size TIM correctly | Full coverage required |
| Apply even pressure | Eliminate air pockets |
| Follow curing time | Per manufacturer specs |
Once installed, carefully reassemble your camera components, ensuring everything fits snugly to maintain proper thermal contact throughout the system.
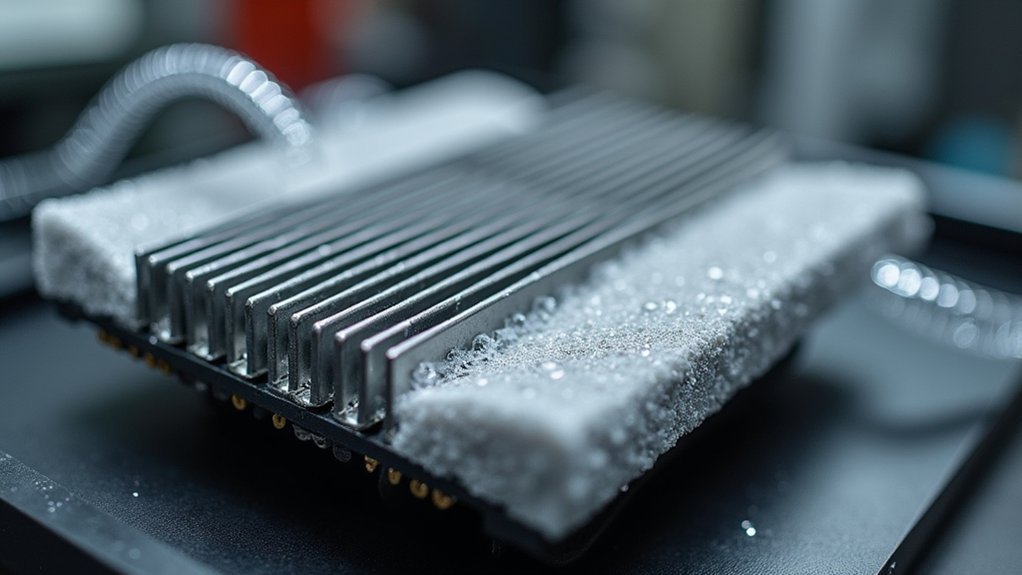
Mounting the Heat Sink and Fan Assembly
Properly positioning your heat sink is essential—ensure it makes full contact with the sensor surface while applying a rice-sized amount of thermal paste in the center to avoid air gaps.
You’ll need to carefully secure the mounting brackets with even pressure, tightening screws in a diagonal pattern to prevent warping the sensor board.
After installation, check that your fan is oriented to pull hot air away from the heat sink, creating an efficient thermal path from sensor to ambient air.
Correct Placement Techniques
When installing your camera sensor cooling system, correct placement of the heat sink and fan assembly is critical for ideal thermal management.
You’ll need to mount the heat sink directly onto the camera sensor using thermal interface material to guarantee maximum heat transfer efficiency.
- Position the fan to direct airflow specifically toward the heat sink, enhancing heat dissipation and maintaining best operating temperatures.
- Secure both components using appropriate mounting brackets or adhesive pads to prevent movement that could compromise thermal contact.
- Route and secure fan wiring neatly to avoid interference with camera operations.
- Check alignment regularly to confirm the cooling system remains properly positioned for maximum efficiency.
Remember that even minor misalignment can greatly reduce cooling performance and potentially lead to sensor overheating.
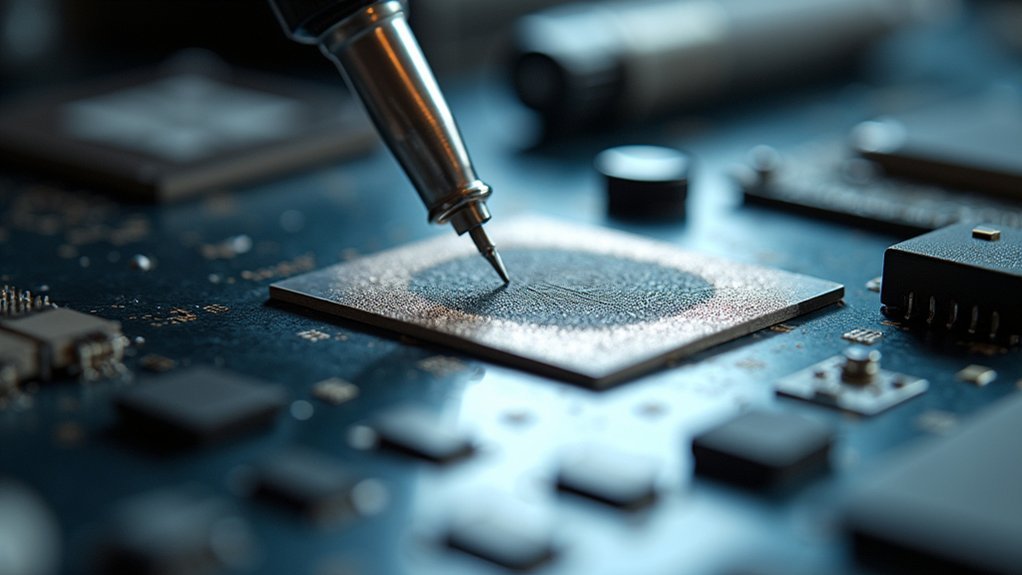
Thermal Paste Application
Applying thermal paste correctly forms the critical bridge between your camera sensor and cooling system. Before starting, guarantee both surfaces are completely clean and free of dust or old thermal material to maximize conductivity.
| Step | Action | Result |
|---|---|---|
| 1 | Apply pea-sized amount to center | Prevents air gaps between surfaces |
| 2 | Align heat sink carefully | Guarantees even cooling across sensor |
| 3 | Secure with even pressure | Maximizes thermal transfer efficiency |
Apply a small amount of high-quality thermal paste designed for electronics to the center of your camera sensor. When mounting the heat sink, align it precisely over the sensor, making sure all brackets are positioned correctly. Fasten the assembly securely using the provided hardware, maintaining even pressure throughout. Finally, connect the fan to the appropriate power source according to manufacturer specifications to guarantee proper heat dissipation during operation.
Securing Mounting Brackets
With the thermal paste correctly applied, it’s time to focus on securing the mounting brackets for your heat sink and fan assembly.
Begin by attaching the mounting brackets to your camera body’s designated areas, ensuring they’re compatible with your specific camera model and cooling system.
- Firmly attach the heat sink to the camera sensor housing using the provided screws, creating a tight fit for effective heat transfer.
- Position the fan assembly parallel to the heat sink, aligning it with the airflow direction specified in your cooling system’s manual.
- Secure the fan with the included mounting hardware, double-checking all connection points.
- Verify that the assembly doesn’t obstruct other camera components or access points.
After installation, run a thermal test to confirm your cooling system maintains sensor temperature within the specified operating range.
Connecting the Power Supply and Control Circuitry
The proper electrical connections form the backbone of any effective cooling system installation. Begin by selecting a power supply that precisely matches the voltage and current requirements specified in your installation guide.
Refer to the wiring diagram as you connect the power supply to the main control board, ensuring all connections are secure and properly insulated to prevent shorts.
Don’t forget to install temperature sensors and control switches if your system features automated temperature regulation.
Always ground your power supply correctly to eliminate electrical interference that could damage both your camera and cooling components.
Once you’ve completed all connections, conduct a quick test to verify the system powers on properly. Listen for unusual noises and check for excessive heat generation—these could indicate installation problems that need immediate attention.
Insulating Critical Components to Prevent Condensation
Proper insulation of critical components represents your best defense against condensation, which can silently destroy your camera’s electronics. Apply closed-cell foam or silicone sealant around sensors and circuit boards while ensuring you don’t obstruct functionality or heat dissipation pathways.
- Seal all seams and joints thoroughly, paying special attention to areas where temperature fluctuations commonly occur.
- Insert desiccant packets strategically within the housing to absorb excess moisture before it can form on sensitive parts.
- Create insulation barriers that protect components without interfering with cooling system operation.
- Establish a regular maintenance schedule to inspect and replace insulation materials and desiccants that have reached their absorption capacity.
Remember to verify that your insulation doesn’t compromise ventilation or create heat pockets that could trigger other issues.
Reassembling the Camera Housing
Successful reassembly of your camera housing requires methodical attention to detail and precise alignment of components. Before closing the housing, verify that all internal parts—especially the cooling system—are securely fitted to prevent misalignment that could damage your camera.
Tighten all screws and fasteners to the manufacturer’s recommended torque specifications; this maintains the camera’s structural integrity.
Don’t overlook the proper positioning of sealing gaskets and O-rings, as they’re essential for protecting against dust and moisture.
When reconnecting cables, verify they’re oriented correctly and secured to prevent strain during operation.
Before powering on your camera, conduct a thorough final inspection to confirm there are no obstructions and all components are properly seated.
This careful approach will help guarantee your cooling system functions effectively once the camera is operational.
Testing the Cooling System’s Performance
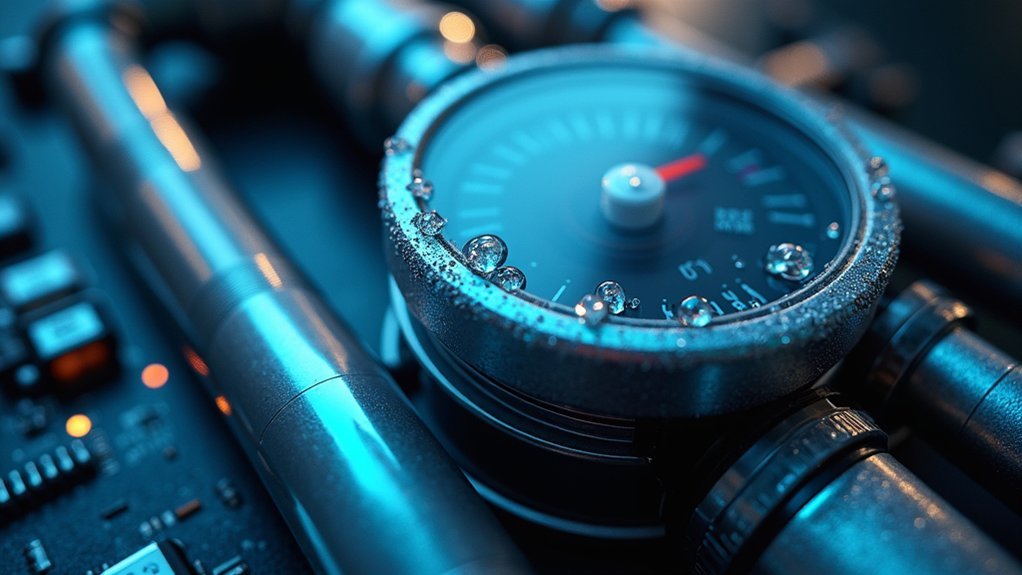
With your camera housing now properly reassembled, verifying the actual performance of your cooling system becomes your next priority.
Use a digital thermometer or thermal imaging camera to measure sensor temperatures under various conditions, aiming for at least a 30°C reduction from ambient temperature.
- Compare before/after image noise levels during long exposures to confirm the cooling system’s effectiveness for astrophotography.
- Document temperature readings at multiple points across the sensor during extended shooting sessions.
- Test the system’s performance in different ambient temperatures to evaluate its consistency and reliability.
- Monitor battery consumption while the cooling system operates to guarantee it doesn’t greatly impact your camera’s overall performance.
Frequently Asked Questions
How to Install a Security Camera System?
Mount your security camera securely, position it with clear sightlines, connect power sources, test the view angle, and guarantee proper wiring to your monitoring system. Don’t forget to weatherproof outdoor installations.
How Do You Set up an Outdoor Camera System?
You’ll need to mount your camera in a weatherproof location, connect power supply, run cables to your recorder, adjust viewing angle, and configure settings through your system’s software for ideal outdoor monitoring.
Why Do Cameras Need Cooling?
You need to cool cameras because they generate heat during operation. Without cooling, thermal noise degrades your images, especially in low light and long exposures like astrophotography. Cooling preserves image clarity and detail.
How to Install Wired Outdoor Security Cameras?
Mount your camera in a visible spot, run cables through weather-protected conduits, connect to power and network, secure all wiring, and adjust settings. Don’t forget to test functionality before finalizing the installation.
In Summary
You’ve now successfully installed a cooling system for your microscope camera. By following these ten steps, you’ve extended your sensor’s life and improved its image quality. Remember to monitor the system’s performance regularly and make adjustments as needed. With proper maintenance, your cooled camera will deliver superior results for your scientific imaging needs, especially during long-exposure applications.


Leave a Reply