Camera sensors stay cooler with both passive and active methods. You can use heat sinks, proper camera orientation, or fans for basic cooling. For serious results, try Peltier coolers that reduce temperatures by up to -50°C, or budget-friendly options like gel ice packs in insulated boxes. Don’t forget to manage condensation risks with heated filter wheels and regular monitoring. Discover how these techniques dramatically improve your image quality by eliminating thermal noise.
Proven Methods To Keep Camera Sensors Cool

When working with cameras during long exposure sessions, keeping your sensor cool becomes essential for maintaining image quality. As your camera operates, its electronics generate thermal noise that degrades images, particularly during astrophotography or night shoots.
Thermoelectric cooling using Peltier coolers offers the most effective solution, considerably reducing sensor temperatures and minimizing noise. For a DIY approach, try attaching gel ice packs to your camera body or placing it in an insulated box with ice packs.
Peltier cooling dramatically cuts thermal noise, while DIY enthusiasts can achieve similar results with strategically placed ice packs.
Creating a vacuum environment around your sensor dramatically improves cooling efficiency by eliminating moisture that contributes to noise. Positioning a fan near your camera helps dissipate heat during extended sessions.
Remember to capture dark frames at the same temperature as your light frames for ideal noise reduction in post-processing.
Understanding Camera Sensor Heat Generation
Camera sensors generate heat through their electronic components and when using high ISO settings, causing thermal noise that degrades your image quality.
This noise increases exponentially with temperature, making your photos grainy and less detailed, especially during long exposures in warm conditions.
Understanding that heat comes from both internal processes and environmental factors will help you implement effective cooling solutions to preserve image quality during extended shooting sessions.
Thermal Noise Fundamentals
Although seemingly inactive to the naked eye, digital camera sensors continuously generate heat during operation, transforming from precision imaging tools into miniature heat sources. This thermal energy triggers noise that degrades your images, especially during long exposures. The relationship between sensor temperature and noise is exponential—as temperatures rise, noise increases dramatically.
| Temperature | Noise Impact | Quality Effect |
|---|---|---|
| Low | Minimal | Clean images |
| Moderate | Noticeable | Detail loss |
| High | Severe | Unusable shots |
When you shoot at high ISO settings, you’re further elevating sensor temperature and noise levels. Effective cooling methods become essential for noise reduction, particularly in hot environments or during extended shooting sessions. By monitoring your camera’s temperature data, you’ll know when to implement cooling techniques before thermal noise compromises your results.
Heat Sources Explained
Inside your digital camera, multiple heat sources conspire to warm the sensor during operation. The primary culprits are the processing electronics that power your imaging system, generating heat that directly affects image quality, especially during long exposures.
Your camera’s sensor temperature can rise dramatically during extended shooting sessions, with higher ISO settings amplifying noise levels as heat builds up. This not only degrades image quality but also drains your battery faster.
Don’t underestimate the impact of ambient temperature. When you’re shooting in warm environments, your camera struggles to cool the sensor naturally.
Professional photographers often take dark frames between shots to identify thermal noise patterns and allow the sensor to stabilize. Monitoring your camera’s temperature through EXIF data can help you anticipate when additional cooling measures might be necessary.
Passive Cooling Techniques for Long Exposures

Heat sinks attached to your camera’s hot spots can dramatically improve thermal management during long exposures.
You’ll benefit from positioning your camera to create a chimney effect, where warmer air rises naturally away from the sensor area, establishing passive convection cooling.
This vertical orientation works especially well when you’re shooting star trails or time-lapses, keeping your sensor temperatures lower without requiring power-consuming active cooling methods.
Heat Sinks Matter
Effective thermal management begins with quality heat sinks—the unsung heroes of long-exposure photography.
When your camera sensor heats up during extended shoots, noise increases dramatically, degrading your final image quality. That’s where properly designed heat sinks make all the difference.
Look for heat sinks made from materials with high thermal conductivity—copper and aluminum are top choices.
The larger the surface area, the better the cooling effect, so models featuring fins will dissipate heat more efficiently. To maximize performance, guarantee your heat sink makes direct contact with the camera body, particularly near the sensor area.
These passive cooling solutions work silently to draw heat away without draining your battery, making them ideal for astrophotography and other lengthy sessions where every detail matters.
Chimney Effect Advantage
While heat sinks provide direct contact cooling, another powerful passive strategy leverages physics itself—the chimney effect. By positioning your camera vertically, you’ll create natural convection where warm air rises and escapes from the top of your setup, drawing cooler air in from below. This continuous airflow helps maintain lower sensor temperature during long exposures.
To maximize this effect, consider using open-sided enclosures with strategically placed ventilation holes—bottom inlets and top outlets create ideal air circulation. This passive cooling technique requires no power yet can greatly reduce the noise in your astrophotography images by preventing heat buildup around your sensor.
For deep-sky imaging where exposure times stretch into minutes, implementing the chimney effect might be the difference between crisp star fields and noise-riddled images that require extensive post-processing.
Active Cooling Systems for Advanced Astrophotography
When capturing the cosmos through long exposure photography, thermal noise becomes your greatest enemy. Active cooling systems utilizing Peltier TEC technology can dramatically reduce your sensor temperature by up to -50°C, virtually eliminating hot pixels during long exposures.
| System Type | Temperature | Stabilization Time | Best For |
|---|---|---|---|
| Basic TEC | -20°C | 15 minutes | Hobbyists |
| Dual-stage TEC | -35°C | 12 minutes | Serious amateurs |
| PentaVac™ | -50°C | 10 minutes | Professionals |
| Multi-getter | -45°C | 8 minutes | Field work |
You’ll find these systems stabilize quickly, often within 10 minutes, without requiring complex setups. Their thermal isolation prevents condensation risks while maintaining vacuum integrity—crucial for consistent sensor performance and capturing those elusive deep-sky objects.
DIY Peltier Cooling Solutions for DSLRs

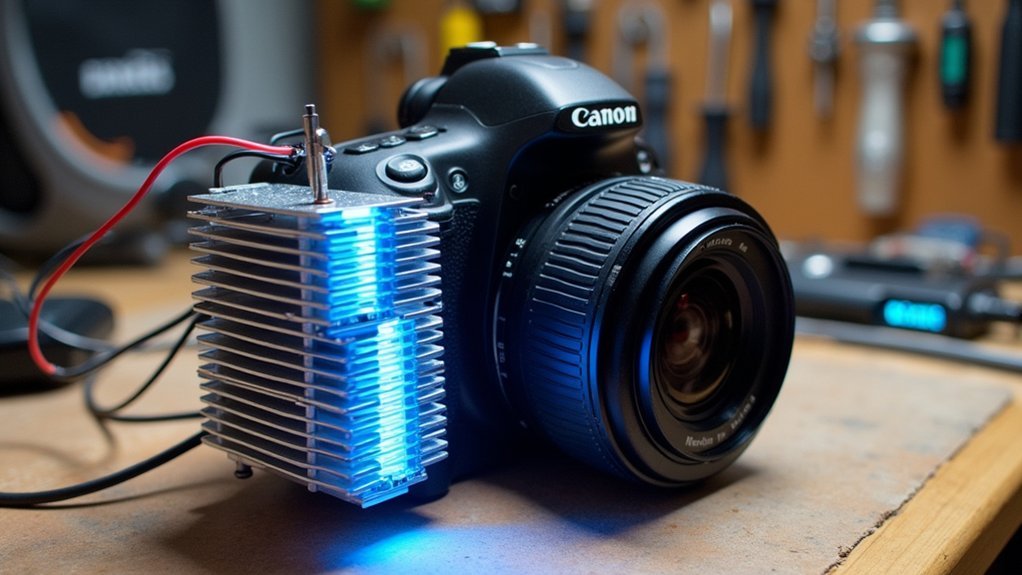
For photographers seeking affordable alternatives to commercial cooling systems, DIY Peltier solutions offer remarkable thermal performance at a fraction of the cost. You can build an effective setup using a 10-20W thermoelectric cooler (TEC) that considerably reduces thermal noise during long exposures.
When assembling your Peltier system, repurpose parts from old computer cooling components to create a cost-efficient solution. Proper insulation is vital—it prevents condensation that could damage your camera’s delicate internals.
Monitor your sensor’s temperature throughout operation to maintain a stable target temperature. This stability is essential for minimizing noise in your images, potentially eliminating the need for dark frame subtraction in post-processing.
The results are impressive: cleaner long exposures, improved dynamic range, and professional-quality astrophotography without expensive specialized equipment.
Managing Condensation Risks During Sensor Cooling
Although sensor cooling dramatically improves image quality, it introduces a significant risk: condensation.
When you cool your camera sensor, you’ll need to prevent moisture from forming on sensitive electronics.
Create a closed cooling system using insulation materials like styrofoam boxes that trap cool air while blocking ambient humidity. This barrier is essential when using Peltier TECs or ice packs as cooling methods.
Monitor the humidity levels in your workspace and consider using a dehumidifier during high-humidity conditions. A heated filter wheel can provide localized warming that prevents moisture accumulation while maintaining sensor cooling.
Regularly inspect your equipment for frost or moisture buildup, and always allow your camera to gradually acclimate to ambient temperature before use.
Proper thermal insulation is your best defense against damaging condensation on cooled sensors.
Power Supply Considerations for Cooled Camera Systems

Choosing the right power supply for your cooled camera system can make or break your imaging session. For effective operation, your cooling systems require at least 12 volts and 5-10 amps of power, ensuring they stabilize quickly and maintain ideal sensor temperatures throughout your shoot.
Consider using a battery coupler with an external power supply to greatly reduce noise during long imaging sessions. This stable power source not only improves image quality but also helps your cooling system reach full performance—typically taking 30 minutes after an initial 10-minute cool-down period.
Power stability isn’t just a convenience—it’s the foundation of noise-free imaging and optimal cooling performance.
For outdoor imaging, connect your power tank via a cigarette adapter for convenient mobility.
Even if you’re on a tight budget, remember that budget-friendly cooling modifications ranging from £40-£60 still require proper power planning for success.
Temperature Monitoring and Automated Control Systems
With proper power planning secured, your attention should now turn to tracking and managing your camera’s temperature.
Modern temperature monitoring solutions utilize built-in camera sensors that provide real-time readings, allowing you to observe heat levels during extended imaging sessions.
Automated control systems integrate seamlessly with your cooling setup, adjusting cooling mechanisms when temperatures approach critical thresholds.
You’ll find that combining external temperature sensors with specialized software enables precise automated adjustments, maintaining ideal cooling efficiency even as ambient conditions change.
Many advanced setups offer programmable temperature settings, enabling cooling down to -50 degrees Celsius for maximum flexibility.
Frequently Asked Questions
How to Avoid Camera Overheating?
To avoid camera overheating, shade your camera, monitor temperature through EXIF data, use fans for airflow, turn off LCD displays, schedule cooling breaks, and consider using external power supplies instead of internal batteries.
How to Keep a Camera Cool?
To keep your camera cool, use thermoelectric coolers, apply ice packs, guarantee good airflow with fans, keep it shaded, power externally instead of using internal batteries, and turn off the LCD when not needed.
How to Keep Camera Cool in Hot Car?
Park in shade, use sunshades, and keep your camera in a light-colored bag. Turn it off completely, use a portable fan for air circulation, and don’t leave it in the car for extended periods.
Do Camera Sensors Get Hot?
Yes, your camera’s sensor does get hot during operation, especially with long exposures or high ISO settings. The temperature typically reaches 23-27°C, and excessive heat can increase noise in your images.
In Summary
You’ll find that keeping your camera’s sensor cool isn’t just about better image quality—it’s essential for serious astrophotography and long-exposure work. Whether you’ve opted for passive heat sinks, built a Peltier cooling system, or invested in commercial solutions, proper temperature management will dramatically reduce noise in your images. Remember to monitor condensation risks and power requirements as you push your equipment to capture those perfect night sky shots.


Leave a Reply