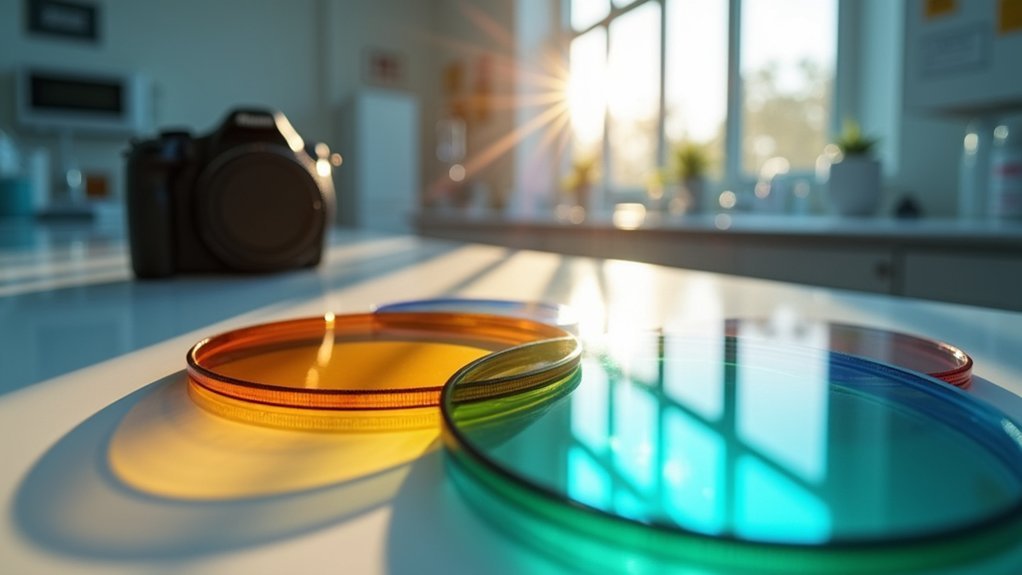
Specific filters dramatically enhance your lab photography by isolating precise wavelengths, reducing background noise, and optimizing signal-to-noise ratios. For fluorescence microscopy, bandpass filters capture targeted fluorophore emissions while blocking unwanted light. Neutral density filters prevent overexposure in bright samples, while polarizing filters eliminate reflections. The right filter combination reveals subtle details that would otherwise remain invisible, transforming ordinary images into quantifiable scientific data. Discover how proper filter selection can elevate your research quality.
Essential Filters for Fluorescence Microscopy Precision
When capturing the subtle glow of fluorescently labeled specimens, you’ll need specific filters to achieve clear, accurate results. In fluorescence microscopy, these filters aren’t optional—they’re vital for isolating the precise wavelengths your experiment requires.
Bandpass filters should be your first consideration, as they transmit only a narrow wavelength range while blocking others, dramatically reducing background noise and enhancing signal clarity.
For specimens sensitive to photobleaching, incorporate long-pass filters to eliminate shorter wavelengths that might damage your sample over time.
Don’t overlook dichroic mirrors, which work alongside your filters to direct specific wavelengths to your detector while reflecting others.
Your filter selection directly impacts your imaging system’s sensitivity and specificity—essential factors when you’re quantifying and analyzing fluorescent signals with scientific precision.
Optimizing Contrast and Signal-To-Noise Ratio With Specialized Filters
Beyond fluorescence applications, your lab photography can reach new levels of clarity with specialized filters that enhance contrast and signal-to-noise ratio.
Using ND filters prevents overexposure in bright samples, preserving critical details that might otherwise be lost. A polarizing filter reduces glare and reflections from surfaces, dramatically improving image quality by eliminating distracting light artifacts.
Optical filtering isn’t just optional—it’s essential for revealing sample details hidden by glare and overexposure.
For specialized applications, consider these advanced filtering options:
- Infrared filters to capture wavelengths invisible to the naked eye, revealing hidden chemical or biological reactions
- Color filters for adjusting light temperature when working with fluorescent or colored samples
- High-quality glass filters (like NISI or Promaster) that minimize distortion while maximizing contrast
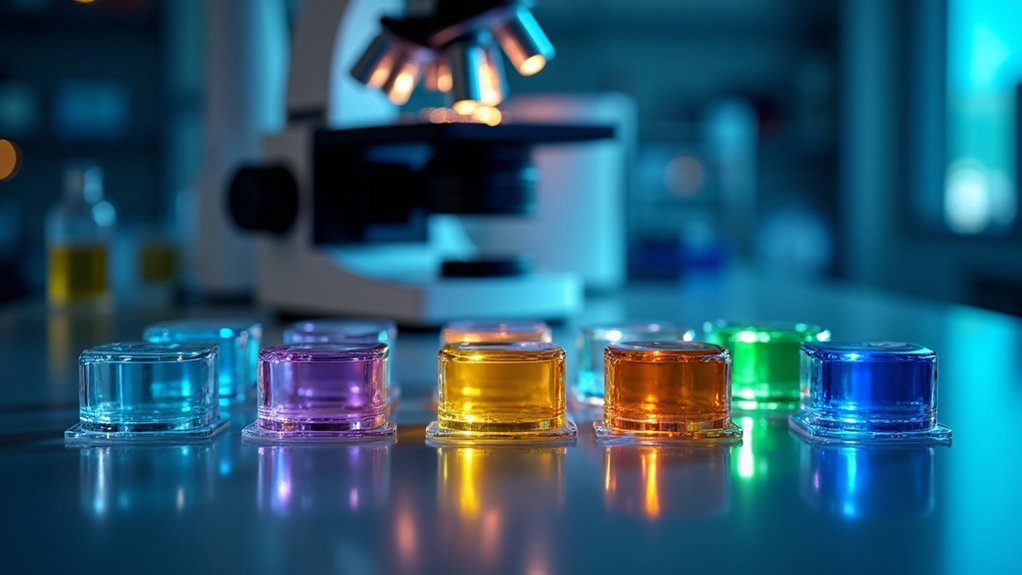
Excitation and Emission Filter Combinations for Multi-Channel Imaging
Multi-channel imaging requires precise filter combinations to isolate and capture distinct fluorescent signals within your samples. When selecting excitation filters, you’ll need to match them specifically to the absorption spectra of your fluorescent dyes or proteins to effectively trigger fluorescence.
Pair these with appropriate emission filters that selectively transmit the emitted wavelengths while blocking excitation light that could otherwise create background noise. This pairing is especially critical when working with multiple markers simultaneously, as spectral overlap can compromise your results.
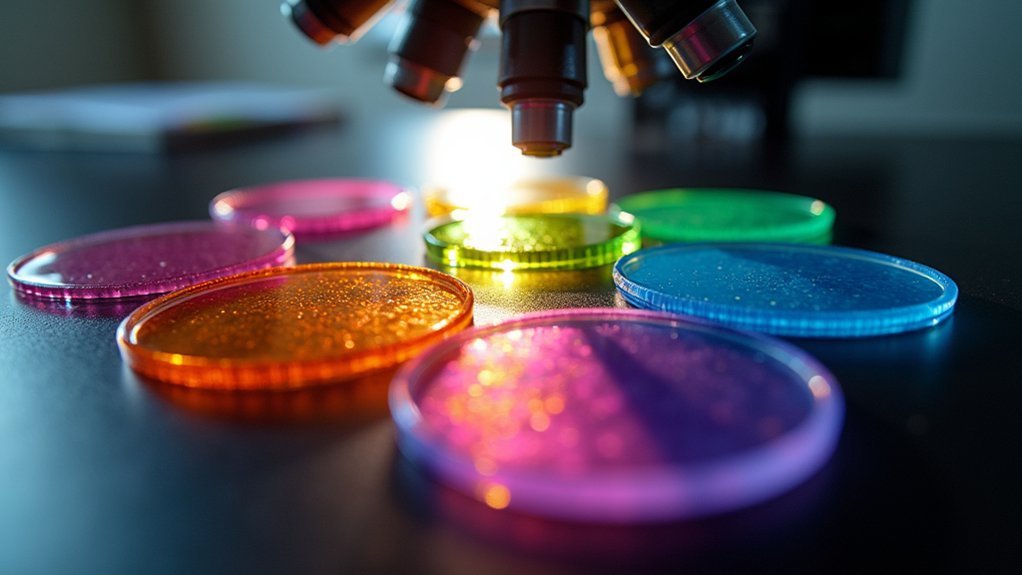
For ideal multi-channel imaging, choose narrow bandpass filters that minimize bleed-through between channels.
Remember that each fluorescent marker has unique spectral characteristics, so your filter combinations should be tailored to your specific experimental design, ensuring clear separation of signals and enhanced image quality.
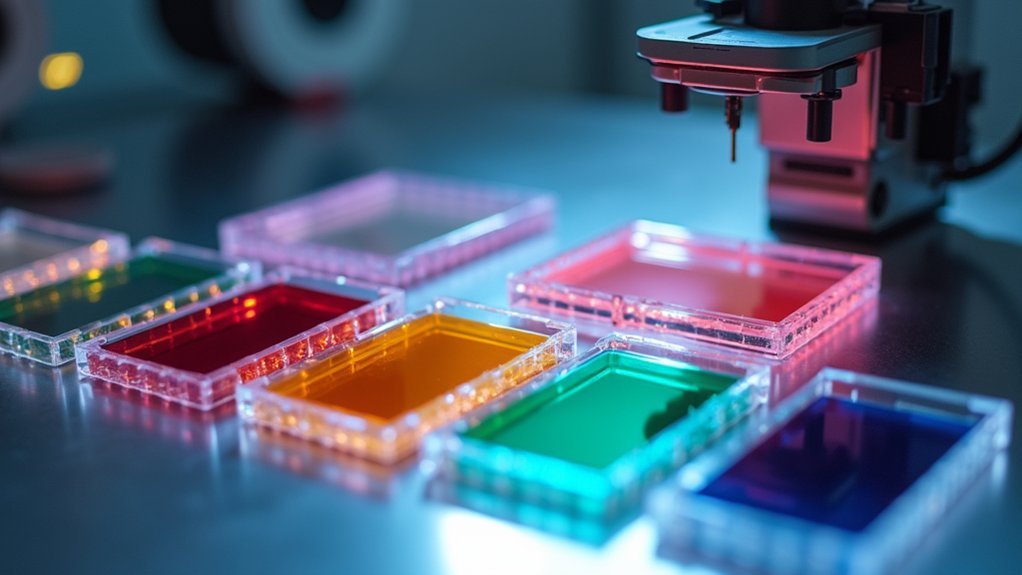
Bandpass Filters for Isolating Specific Fluorophore Signals
Precision is the cornerstone of successful fluorescence imaging, and bandpass filters provide the specificity you need to isolate distinct fluorophore signals.
When you’re capturing complex samples, these filters transmit light within defined wavelength ranges while blocking everything else, ensuring your target fluorophores stand out clearly against background noise.
You’ll achieve ideal results by matching your bandpass filter’s center wavelength to your fluorophore’s emission spectrum. This selective capture dramatically enhances contrast and clarity in your lab photography.
- Pair bandpass filters with excitation filters and dichroic mirrors to create complete fluorescence imaging systems
- Choose filters with appropriate bandwidths to balance signal strength and specificity
- Use multiple bandpass filters for multi-channel imaging to differentiate between fluorophores with similar emission profiles
Light Management Techniques for Enhanced Specimen Visualization
While capturing accurate specimen details depends on quality equipment, mastering light management techniques will dramatically elevate your lab photography results. ND filters enable you to extend exposure time without overexposing, revealing subtle dynamics in living specimens that would otherwise be invisible.
Proper light manipulation transforms ordinary specimen documentation into revealing scientific imagery that unveils hidden details.
Circular polarizers prove invaluable when photographing through glass slides, eliminating reflections that often obscure critical details. For specimens with varying translucency, gradient filters help balance exposure between light and dark regions, ensuring thorough visualization.
Don’t underestimate the value of protective filters in lab environments. Beyond safeguarding expensive lenses from chemicals and contaminants, they maintain optical integrity for uncompromised image quality.
Colored filters offer another dimension of light management, enhancing contrast between specimen components by selectively altering color temperature for improved differentiation.
Frequently Asked Questions
Why Are Filters Important in Photography?
Filters protect your lens from damage while enhancing image quality. You’ll capture better colors, reduce glare, and create special effects. They’re essential tools that help you control light and improve your photography results.
What Is the Purpose of Using a Filter for Fluorescence Photography?
In fluorescence photography, you’ll use filters to isolate specific emission wavelengths, reducing background noise and enhancing signal clarity. They’re essential for capturing only the fluorescent light you’re targeting, improving your image quality dramatically.
What Are the Advantages of Applying Filters on an Image?
Filters enhance your images by reducing glare, improving contrast, and protecting your lenses. You’ll capture clearer details, adjust exposure times, eliminate reflections, and enhance specific colors for better visual analysis of your subjects.
How Do Filters Affect Images?
Filters transform your images by enhancing colors, reducing reflections, controlling light exposure, and adding creative effects. They’ll improve contrast, saturation, and overall clarity while protecting your camera’s lens from potential damage.
What Is the Most Important Filter?
The most important filter for you is typically the Neutral Density (ND) filter. It’ll allow longer exposures without color shifts. Don’t overlook circular polarizers for reducing reflections in your scientific documentation work.
In Summary
Selecting the right filters for your lab photography isn’t just about capturing images—it’s about revealing truth. You’ll achieve clearer results by matching filters precisely to your fluorophores, eliminating cross-talk between channels, and optimizing signal-to-noise ratios. When you invest in quality filters designed for your specific application, you’re not just improving image quality; you’re enhancing your research’s scientific validity and reproducibility.


Leave a Reply