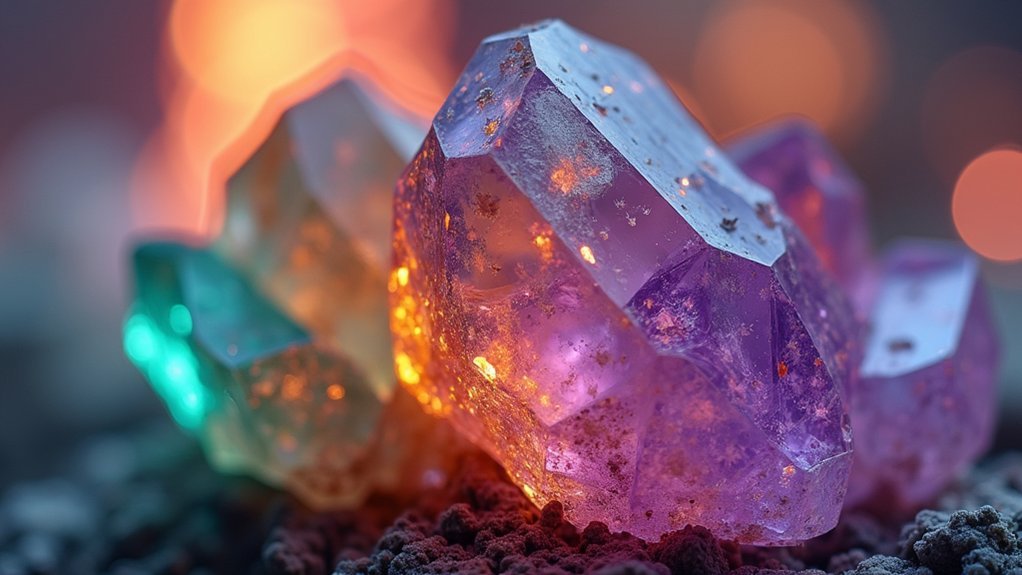
To capture pleochroic crystals beautifully, use polarizing filters to enhance color shifts and position your crystal between two filters. Set up a stable tripod with a macro lens for sharp details. Keep ISO low (100-200) and choose f/8-f/16 for greater depth of field. Use neutral backgrounds that contrast with your specimen and experiment with both transmitted and reflected light. Rotate the crystal to document its full color range as you discover the hidden spectrum within each unique gemstone.
10 Pro Tips for Capturing Stunning Pleochroic Crystal Photos
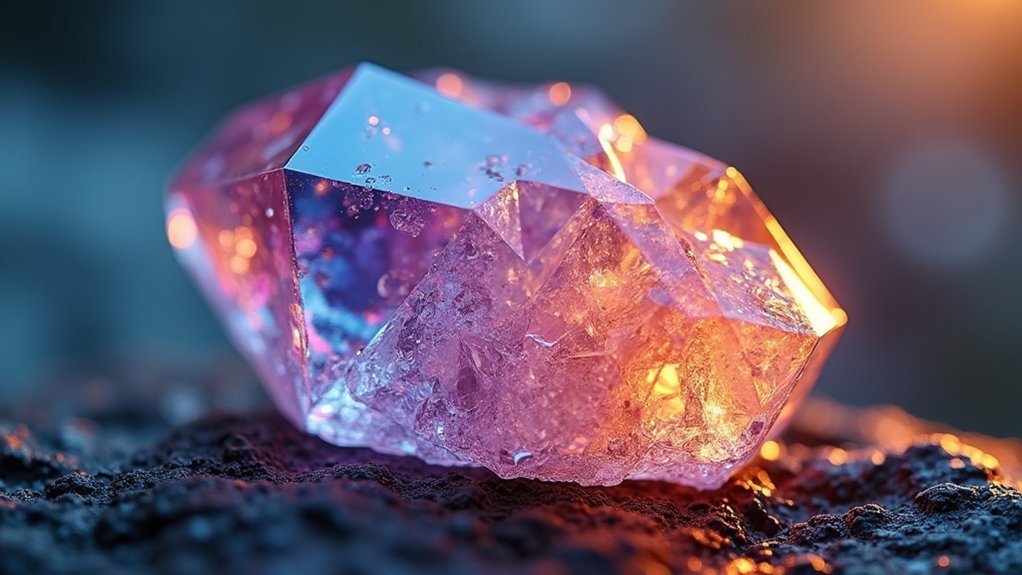
When photographing pleochroic crystals, you’ll need specialized techniques to reveal their mesmerizing color-changing properties.
Start by using polarizing filters to enhance and isolate distinct colors as you rotate the crystal under polarized light. This technique dramatically emphasizes the pleochroic effect.
Polarizing filters reveal nature’s hidden palette, transforming ordinary crystals into extraordinary displays of shifting color.
Try backlighting your specimens to showcase their internal structure and subtle color variations. You’ll want to carefully adjust your camera settings to accurately capture the vibrant hues without exposure issues.
Always use a tripod to eliminate vibrations that can blur intricate crystal details. Even slight movements can diminish the visual impact of color shifts.
Remember to photograph your specimens from multiple angles and orientations. Each slight rotation can reveal an entirely different color palette, allowing you to document the crystal’s full pleochroic range.
Understanding the Science of Pleochroism Before Shooting
To capture pleochroism effectively, you’ll need to understand how light interacts with a crystal’s axes, causing dramatic shifts in color and intensity.
When you rotate the crystal or change your viewing angle, different wavelengths of light are absorbed or transmitted according to the mineral’s internal structure.
These color variations aren’t random effects but predictable changes based on the crystal system—with uniaxial minerals showing two colors and biaxial crystals potentially displaying three distinct hues.
Light Axis Interactions
Before capturing stunning pleochroic crystal images, you’ll need to grasp the fundamental science behind their color-changing magic. Pleochroism occurs when light is transmitted through asymmetric crystal axes, splitting into polarized components that reveal different colors as viewing angles change.
When photographing dichroic minerals like tourmaline, you’re seeing two distinct color axes, while trichroic specimens like tanzanite display three. These variations happen because specific mineral constituents—iron, manganese, and others—absorb particular wavelengths of light differently along each axis.
To maximize these effects, use polarizing filters to isolate specific light vibrations. This technique enhances color visibility by controlling how light interacts with anisotropic crystal structures.
Understanding this relationship between light and crystal orientation is essential for capturing the full range of dramatic color shifts pleochroic minerals offer.
Color Variation Basics
The fundamental science of pleochroism reveals itself through predictable color variations that you’ll need to master before reaching for your camera.
Understanding these color variation basics will dramatically improve your crystal photography results.
Pleochroism occurs when minerals absorb light differently along various crystal axes, creating stunning color shifts as viewing angles change.
Before shooting, familiarize yourself with:
- Dichroic minerals (like tourmaline) display two distinct colors
- Trichroic specimens (like tanzanite) exhibit three different hues
- Change metal ions (iron, manganese) determine the specific colors you’ll see
- Crystal system dictates pleochroism type—uniaxial minerals show dichroism, biaxial ones display more complex patterns
- Polarizing filters can isolate and enhance specific pleochroic colors
Essential Equipment for Pleochroic Mineral Photography
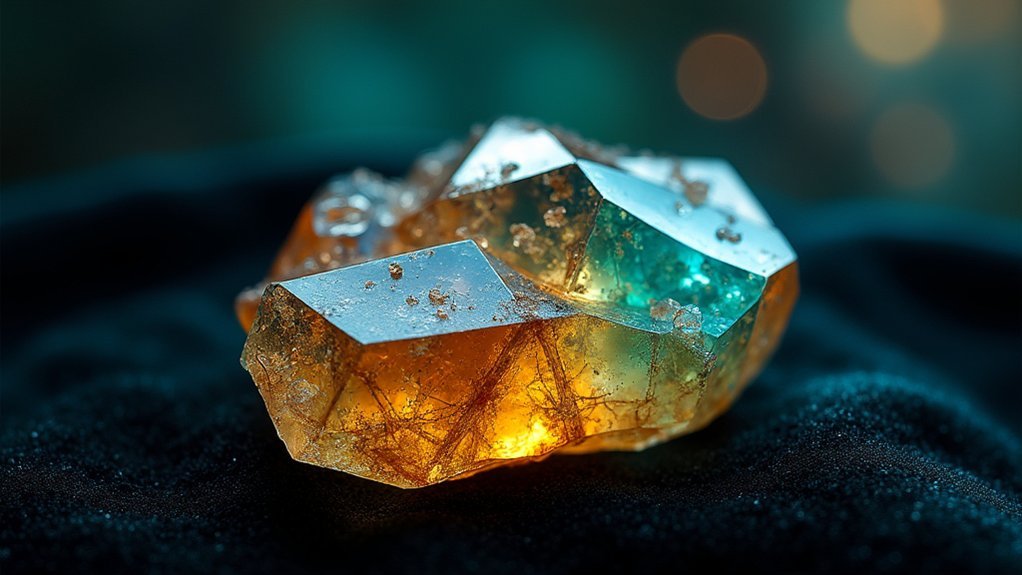
Four essential pieces of equipment will transform your pleochroic mineral photography from amateur to professional quality. Invest in a high-quality digital camera with a macro lens to capture the intricate color variations that make these minerals so fascinating. Mount your camera on a sturdy tripod to eliminate vibrations during long exposures, ensuring crystal-clear focus.
| Equipment | Purpose |
|---|---|
| Camera with macro lens | Captures microscopic color shifts and crystal details |
| Tripod | Eliminates vibration for sharp focus |
| Polarizing filters | Reduces glare and enhances pleochroic color shifts |
| Lightbox/Diffused lighting | Creates consistent, controlled illumination |
Don’t underestimate the importance of lighting—diffused light sources prevent harsh shadows and burnout, allowing you to accurately document each color change. Consider adding polarizing filters to further isolate and emphasize the unique optical properties of your specimens.
Mastering Lighting Angles to Reveal Color Variations
You’ll achieve dramatic pleochroic effects by implementing a multi-light setup that allows for dynamic color presentation as you rotate your specimen.
Angled backlighting offers the most striking revelations of hidden hues, especially when you position lights at 45° and 135° relative to your camera.
Adding polarizing filters to both your light sources and camera lens will dramatically reduce glare while enhancing the crystal’s true color saturation across its optical axes.
Multi-light Setup Benefits
When capturing the mesmerizing color shifts in pleochroic crystals, mastering a multi-light setup becomes indispensable for revealing their full spectral range. This approach gives you unprecedented control over how light interacts with your specimens, showcasing their unique properties.
The multi-light setup benefits include:
- Better shadow and highlight control, ensuring even illumination from multiple angles
- Ability to reveal different colors by adjusting each light source’s position
- Diffused lighting options to minimize glare while highlighting subtle color variations
- Opportunity to incorporate colored filters that accentuate pleochroic properties
- Real-time adjustments with continuous lighting systems for maximum color impact
You’ll find that experimenting with light positioning transforms ordinary mineral photos into extraordinary showcases of pleochroism. This allows you to document the full range of color shifts these fascinating specimens display.
Angled Backlighting Techniques
While direct lighting illuminates the crystal’s surface, angled backlighting reveals the hidden depths of pleochroic specimens by transmitting light through the mineral’s internal structure.
Position your light source at various angles behind your crystal to discover which orientation best showcases the color shifts in minerals like tourmaline and tanzanite.
Make certain to use consistent light temperature throughout your session—any variation can distort the true pleochroic properties.
Place a translucent diffuser between the light and specimen to soften harsh shadows and create even illumination across the crystal’s features.
Take multiple photos at different backlighting angles to document all possible color variations.
This methodical approach guarantees you’ll capture the ideal representation of the specimen’s pleochroism, allowing you to select the most dramatic and accurate results.
Polarizing Filter Effects
Polarizing filters transform ordinary crystal photography into extraordinary pleochroic documentation by eliminating unwanted glare that often masks a specimen’s true colors.
By rotating your polarizing filter while maintaining consistent lighting, you’ll unveil hidden color variations that remain invisible to the naked eye.
The magic happens when you combine precise lighting angles with your polarizing filter:
- Position your light source at different angles while testing filter rotations
- Rotate the polarizing filter slowly to observe dramatic color shifts in real-time
- Experiment with both transmitted and reflected light setups
- Document the filter angle that reveals your specimen’s most vibrant colors
- Try cross-polarization techniques for birefringent minerals to create striking contrast
You’ll discover that each pleochroic crystal has its own “sweet spot” where the polarizing filter reveals its most stunning color transformations.
Setting Up Your Polarized Light Configuration
Before you can capture the mesmerizing color shifts of pleochroic crystals, you’ll need to establish a proper polarized light setup. Start with a monochromatic light source like LED or halogen to minimize color distortion.
Position your first polarizing filter (polarizer) directly in front of the light source, ensuring proper alignment to allow light through in a single plane.
Place your specimen between the polarizer and the second filter (analyzer), then adjust the analyzer’s angle to observe color variations as you rotate the crystal.
For best results, set your camera to macro mode and stabilize it on a tripod for sharp images. Don’t forget to add a light diffuser to soften harsh light and reduce glare, enhancing the visibility of those intricate pleochroic effects.
Choosing Optimal Backgrounds to Enhance Color Shifts
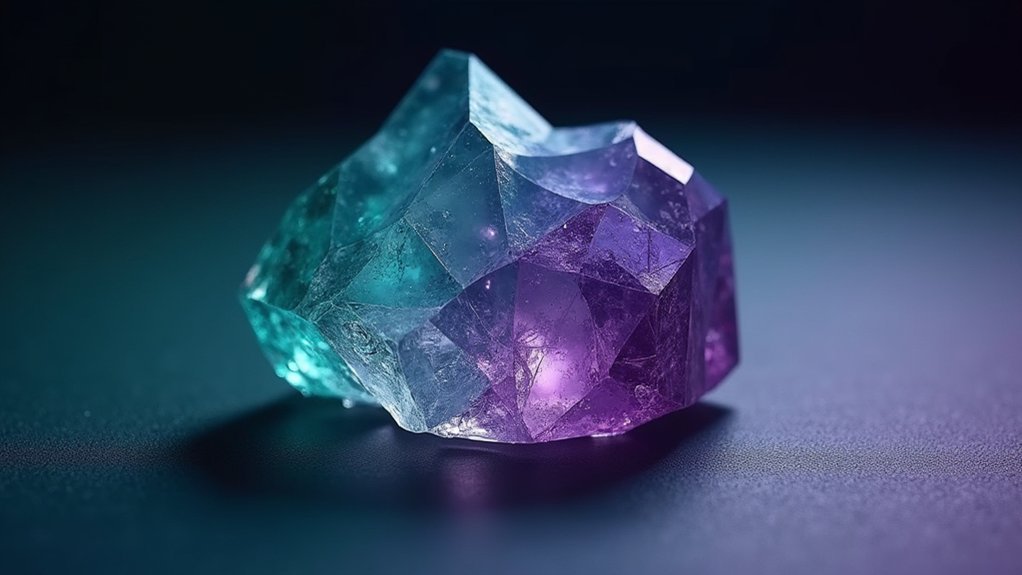
When photographing pleochroic crystals, you’ll want to select backgrounds that contrast with your specimen’s colors to make their remarkable color shifts more visible.
Try using light, matte-finish backgrounds for darker minerals and darker backgrounds for lighter specimens, which creates the visual tension needed to highlight subtle hue variations.
Don’t overlook the importance of neutral, non-reflective surfaces that draw attention to the crystal’s pleochroism rather than competing with it or creating distracting reflections.
Contrasting Color Theory
The magic of pleochroic crystals truly comes to life against the right background. Understanding contrasting color theory is essential when showcasing these minerals’ distinct colors. When backgrounds complement your specimen’s pleochroic properties, the color shifts become dramatically more visible to both the eye and camera.
For maximum impact, consider these background principles:
- Light backgrounds make dark pleochroic specimens pop
- Dark backgrounds enhance light-colored crystals’ subtle shifts
- Neutral, matte-finish papers eliminate distractions
- Smooth textures keep focus on the crystal’s changing colors
- Complementary colors (opposite on the color wheel) maximize contrast
Don’t hesitate to experiment with different combinations—each crystal responds uniquely.
Backlighting your specimen while using a contrasting background creates a powerful visual effect that reveals internal structures and intensifies the pleochroic vibrancy.
Minimalist Background Strategies
Three essential principles define effective minimalist backgrounds for pleochroic crystal photography.
First, choose neutral colors that create stark contrast with your specimen—light backgrounds for dark crystals, dark backgrounds for lighter specimens. This contrast maximizes the visibility of pleochroism as the crystal’s colors shift under different lighting angles.
Second, prioritize smooth, matte-finish paper to eliminate distracting reflections that compete with your crystal’s optical properties. Glossy surfaces can create unwanted highlights that detract from the specimen’s natural beauty.
Finally, experiment with background distance and orientation. Position your background to frame the crystal effectively without introducing visual clutter. If you incorporate subtle textures, make sure they complement rather than overpower your subject.
These minimalist background strategies will showcase your crystal’s pleochroism while maintaining visual focus on its unique characteristics.
Camera Settings for Crystal Clarity and Color Accuracy
Capturing the mesmerizing color shifts of pleochroic crystals requires precise camera settings to reveal their true beauty.
When photographing rocks and minerals with pleochroic properties, your technical choices dramatically impact how well these color changes appear in your final images.
- Set your ISO low (100-200) to minimize noise and maximize detail
- Attach a macro lens for extreme close-ups that reveal crystal intricacies
- Choose a higher f-stop (f/8-f/16) to keep more of the crystal in focus
- Apply exposure compensation to preserve both vibrant highlights and shadow details
- Always use a tripod to eliminate camera shake during longer exposures
These camera settings will guarantee your pleochroic specimens display their full range of color shifts while maintaining the sharpness and clarity that showcase their unique optical properties.
Rotation Techniques to Capture Full Pleochroic Range

Since pleochroic crystals change color dramatically when viewed from different angles, mastering rotation techniques becomes essential for photographers seeking to document their full spectral range.
Set your specimen on a rotating platform and perform a complete 360-degree rotation, documenting each significant color shift that appears.
A stable tripod is non-negotiable for this process, allowing you to maintain perfect focus while only the crystal moves.
Position your camera at eye level with the specimen’s center to capture ideal angles. As you rotate, experiment with your light source direction—sometimes side lighting reveals color variations that direct illumination masks.
Create a systematic record of each angle and its corresponding color display, giving you an extensive visual catalog of the crystal’s pleochroic properties for future reference or publication.
Post-Processing Methods to Preserve Authentic Colors
While capturing pleochroic crystals presents unique challenges in the field, preserving their authentic colors during post-processing requires equal technical precision.
Your editing workflow should maintain the integrity of pleochroism while enhancing visibility of the color-changing phenomenon.
- Use digital editing software to adjust brightness and contrast subtly, preserving true pleochroic colors.
- Apply selective color adjustments to enhance specific pleochroic features without oversaturating.
- Monitor histograms carefully to prevent tonal clipping that could diminish color shift subtleties.
- Implement color calibration tools to guarantee consistent representation across different devices.
- Save in high-resolution formats like TIFF or PNG to retain the nuanced color variations.
Remember that successful pleochroism photography hinges on balancing enhancement with authenticity—your goal isn’t to create artificial effects but to reveal the crystal’s natural optical properties with greater clarity.
Creating Composite Images to Display Multiple Color States
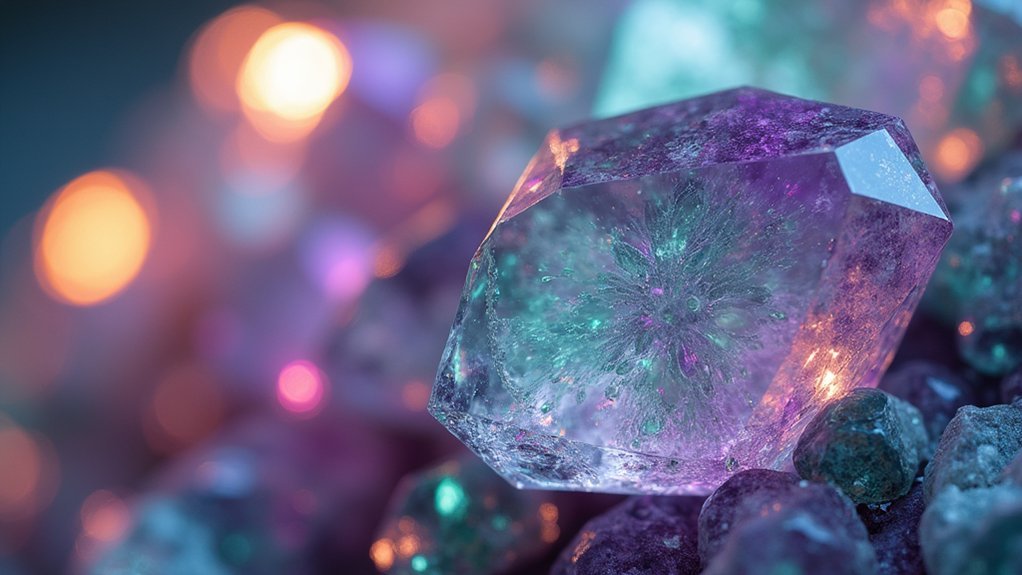
Because pleochroic crystals display different colors when viewed from various angles, composite images offer the most thorough way to showcase their full color-shifting potential.
To create these dynamic visuals, you’ll need to photograph your anisotropic crystal from consistent positions while maintaining identical lighting conditions.
Use a tripod and remote shutter to eliminate camera shake between shots. In your editing software, layer each image and experiment with transparency settings to achieve seamless blending between the different color states. This technique reveals the crystal’s complete optical character in a single compelling image.
Don’t forget to add subtle annotations indicating the viewing angle for each color state, giving viewers context to understand the pleochroic properties they’re seeing. This approach transforms technical documentation into artistic visualization.
Frequently Asked Questions
How to Take Good Photos of Crystals?
You’ll need a macro lens for crystal details. Use a tripod, experiment with backlighting, choose contrasting backgrounds, and rotate specimens to find ideal angles. Proper focus reveals the gem’s true beauty.
How to Photograph Crystals for Sale?
To photograph crystals for sale, you’ll need a plain background, natural lighting, a macro lens, and multiple angles. Don’t forget to capture unique features that’ll make your specimen stand out to potential buyers.
In Summary
Mastering pleochroic crystal photography isn’t just about technical skills—it’s about patience and experimentation. You’ll need to practice rotating specimens and adjusting lighting to reveal their full color spectrum. Don’t rush the process. With these ten tips in your arsenal, you’re well-equipped to showcase these minerals’ remarkable optical properties. Remember, the most intriguing images often come when you’re willing to try different approaches and embrace the unique character of each crystal.



Leave a Reply