You’ll achieve crystal-clear polarized light samples through proper alignment of high-quality polarizers and analyzers, maintaining ideal specimen thickness (30-100 micrometers), and using zero-strain glass slides. Clean optical components, precise illumination adjustments, and strategic use of compensator plates dramatically enhance contrast and reveal hidden structures. Rotating your specimen at specific angles while using quartz wedges or wave plates transforms ordinary samples into vivid, information-rich displays. The secrets to perfect clarity await in the details below.
NUMERIC LIST OF 7 SECOND-LEVEL HEADING(S) IN ENGLISH

Seven key sections make up our exploration of polarized light samples. As you investigate this fascinating topic, you’ll encounter these essential headings:
- The Physics of Polarization of Light
- How Polarizing Filters Eliminate Scattered Light
- Birefringent Materials and Their Unique Properties
- Enhancing Contrast Through Crossed Polarizers
- Polarization by Reflection: Principles and Applications
- Color Production in Anisotropic Crystals
- Advanced Techniques Using Compensators
Each section illuminates how polarized light transforms ordinary specimens into revealing displays of structure and composition.
You’ll discover why polarizing filters dramatically improve clarity by blocking randomized light waves, allowing only specific orientations to pass through.
This selective transmission creates the striking contrast that makes otherwise transparent features visible, turning ordinary samples into vibrant, information-rich images that reveal their crystalline secrets.
The Science Behind Light Polarization for Microscopy
While ordinary microscopy reveals a specimen’s size and shape, polarized light microscopy discloses its hidden molecular architecture.
You’ll find that polarizing filters are the key components that transform standard transmitted light into waves oscillating in one specific polarization direction.
When these polarized waves interact with birefringent samples like crystals, minerals, or biological structures, they’re split into two components traveling at different speeds.
This optical property creates path differences that produce vivid interference colors when passing through the analyzer.
Essential Equipment for Polarized Sample Preparation
To properly examine the birefringent properties we’ve discussed, you’ll need specialized equipment beyond standard microscopy tools. Your setup must include high-quality polarizing filters that selectively transmit light oscillating in a specific plane, creating the polarized light necessary for viewing optical characteristics.
You’ll also require analyzers positioned after your specimen to evaluate birefringence patterns.
Don’t overlook compensators like quartz wedges or quarter-wave plates—these enhance contrast and reveal subtle details about your sample’s structure.
Choose appropriate light sources that emit wavelengths optimized for polarization effects. White light or specialized LEDs work effectively.
Finally, invest in a microscope with a rotating stage and built-in polarizers, allowing you to observe samples under various orientations and maximize the information you can gather about their crystalline properties.
Step-by-Step Sample Mounting Techniques
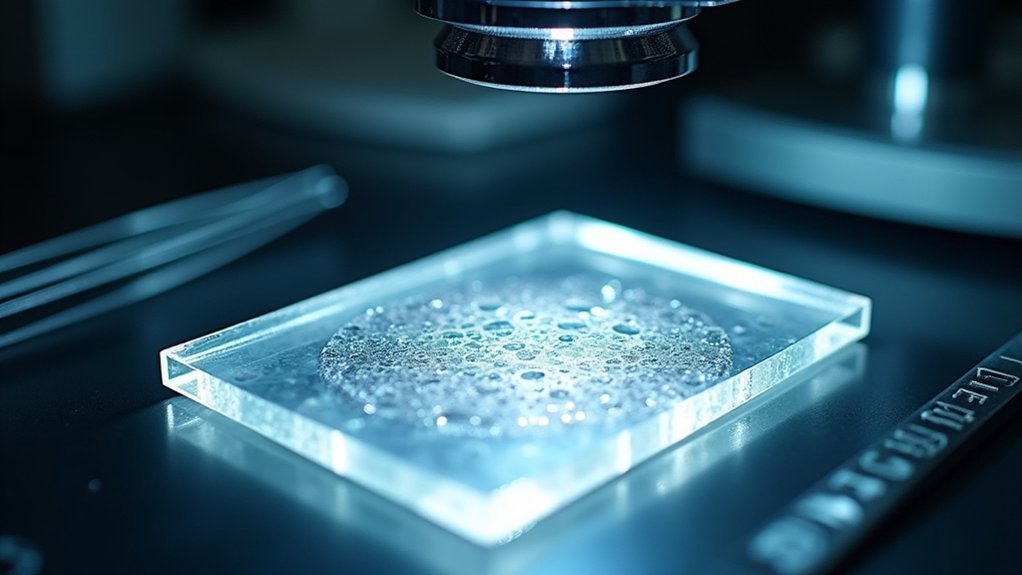
When mounting samples for polarized light microscopy, you’ll need to start with proper slide preparation, selecting zero-strain glass that won’t interfere with your polarization analysis.
You must choose an appropriate mounting medium that enhances contrast while maintaining the sample’s optical properties.
Your careful attention to these mounting techniques will greatly improve the quality and reliability of your polarized light observations.
Proper Slide Preparation Techniques
Five critical steps assure successful polarized light microscopy sample preparation. Begin by cutting a thin section (approximately 30 micrometers) of your specimen to guarantee ideal light transmission. Next, use a diamond or glass knife for precise cutting with smooth edges that won’t scatter unpolarized light. Then, mount your specimen on a glass slide using Canada balsam or resin as your mounting medium. Cover with a slip, assuring no air bubbles form that might interfere with polarizing filters.
| Step | Procedure | Purpose |
|---|---|---|
| 1 | Cut thin section (30μm) | Maximize light transmission |
| 2 | Use diamond/glass knife | Prevent edge scattering |
| 3 | Apply mounting medium | Preserve clarity |
| 4 | Add bubble-free cover slip | Eliminate interference |
Finally, align your slide properly under the microscope to achieve ideal clarity and ideal contrast between mineral components.
Zero-Strain Glass Selection
Zero-strain glass serves as the foundation for accurate polarized light microscopy, preventing unwanted optical artifacts that could compromise your results.
When selecting this specialized glass, prioritize options with low birefringence to avoid introducing optical distortions during observation.
Choose a mounting medium with a refractive index matching your zero-strain glass to minimize light scattering and enhance clarity.
Apply a thin, even layer before carefully placing your crystal sample to prevent air bubbles that can interfere with light transmission.
Don’t forget to use a coverslip also made of zero-strain glass, maintaining uniform optical properties throughout the entire sample assembly.
After mounting, verify your preparation with a polarizing microscope by checking for consistent birefringence and interference colors across the sample, confirming it’s free of strain effects.
Mounting Medium Considerations
Selecting the proper mounting medium represents a critical step in polarized light microscopy, as it directly impacts how light traverses your specimen and affects the quality of your observations.
Choose a mounting medium with a refractive index closely matching your specimen—Canada balsam (1.54) works excellently for many birefringent materials. Place your sample on the slide, add a drop of the medium, then carefully lower a cover slip at an angle to prevent air bubbles. Press gently to distribute the medium evenly, creating a uniform layer for ideal light transmission.
Remember to verify your mounting medium’s compatibility with your specimen type. Some media can chemically interact with certain materials, potentially altering their optical properties and reducing clarity when viewed under polarized light.
Birefringent Materials: Selection and Preparation Methods
The foundation of high-quality polarized light samples lies in understanding birefringent materials and their unique optical properties. When you’re working with these materials, you’ll encounter two distinct indices of refraction that create double refraction—the key to clear polarized light observations. Select materials like calcite, quartz, or specific plastics based on your application needs.
For ideal light transmission, cut your samples to 30-100 micrometers thick and align the optical axis with your polarizing filter. Consider chemical etching or polishing to enhance optical quality.
| Material | Optical Properties | Best Applications |
|---|---|---|
| Calcite | Strong birefringence | Dramatic contrast studies |
| Quartz | Temperature stable | Precision measurements |
| Plastics | Cost-effective | Educational demonstrations |
Your sample preparation precision directly influences the clarity and contrast of your polarized light observations.
Enhancing Sample Contrast Through Compensator Plates
You’ll notice immediate enhancement in sample visibility when you introduce compensator plates that create specific phase retardation between polarized light components.
These optical elements work by introducing measurable path differences that transform ordinarily transparent specimens into vividly colored displays revealing structural details.
Phase Retardation Principles
When examining challenging specimens under polarized light, phase retardation offers a powerful technique to reveal otherwise invisible structures.
You’ll notice this phenomenon occurs as light traverses birefringent material, creating a path difference quantified by δ = t(N – n), where thickness and refractive indices determine the retardation degree.
In polarized light microscopy, you can manipulate this effect using compensator plates positioned at specific angles relative to your polarizing filters.
Quarter-wave and full-wave plates introduce precise phase retardation amounts, generating distinctive interference colors that highlight varying birefringence levels within your sample.
This contrast enhancement makes crystalline structures more discernible and allows you to determine a specimen’s optical sign by observing color changes during rotation.
Optical Path Differences
Through controlled manipulation of optical path differences, compensator plates transform your view of polarized light samples by selectively enhancing their contrast.
When you insert devices like quartz wedges between your sample and analyzer, you’re introducing specific retardation values that alter phase relationships between light waves traveling through anisotropic materials.
You’ll notice dramatic interference colors emerge as compensator plates interact with your specimen’s birefringence.
A quarter-wave plate converts linearly polarized light to circularly polarized light, revealing details otherwise invisible in standard polarized light microscopy.
Troubleshooting Common Clarity Issues in Polarized Specimens
Despite careful preparation, polarized light specimens often present clarity challenges that can frustrate even experienced microscopists. When your polarized light images lack the crystal-clear contrast you’re seeking, check these common culprits:
- Verify proper alignment between polarizing filters and analyzer—misalignment greatly reduces contrast and clarity
- Examine specimen thickness—uneven sections create variable path differences that muddle interference colors
- Clean all optical components—dust particles scatter light and diminish image quality
- Adjust illumination intensity—too dim loses detail while too bright creates glare
Don’t overlook compensators to enhance birefringent features and clarify structural details.
By methodically addressing these factors, you’ll transform frustrating blur into sharp, information-rich images that reveal the specimen’s true nature.
Remember that ideal clarity comes from a holistic approach to microscope setup.
Frequently Asked Questions
What Are the Crystals in a Polarized Light Microscope?
In a polarized light microscope, you’re not viewing “microscope crystals” but observing birefringent materials like quartz, calcite, and mica that split light into different polarization states, revealing their unique optical properties.
Which Phenomenon Will Occur When Polarized Light Is Passed Through the Transparent Specimen?
When polarized light passes through your transparent specimen, you’ll observe birefringence—the splitting of light into ordinary and extraordinary rays—causing interference colors. You’ll also see extinction when light aligns perpendicular to the specimen’s optical axis.
What Effect Do Polarizing Materials Have on Light?
Polarizing materials filter light waves by allowing only those vibrating in a specific plane to pass through. You’ll find they reduce intensity by half and can completely block light when crossed at 90 degrees.
What Is the Meaning of Anisotropic to Polarized Light?
In anisotropic materials, your polarized light experiences different refractive indices depending on its direction. You’ll see fascinating effects like birefringence, where the light splits into two rays traveling at different speeds.
In Summary
You’ve now explored the fascinating world of polarized light microscopy. By mastering proper sample preparation, selecting appropriate birefringent materials, and using compensator plates effectively, you’ll consistently achieve crystal-clear specimens. Remember, it’s the combination of quality equipment, precise mounting techniques, and your attention to detail that transforms ordinary samples into brilliant scientific images. When clarity issues arise, you’re now equipped to troubleshoot with confidence.


Leave a Reply