
Extinction positions in polarized light photography occur when polarizers are precisely aligned at 90° angles, completely blocking light and creating maximum contrast. You’ll need circular polarizing filters, laminated polarizing sheets, and proper light sources. To achieve perfect cross-polarization, slowly rotate one filter while observing color changes and verify by checking for a dark field of view. For birefringent specimens, slight adjustments reveal stunning structural details and vivid colors. The techniques below will transform your microscopy results from ordinary to extraordinary.
The Science Behind Extinction Positions in Microscopy

While many photographers focus on capturing vibrant colors and dynamic compositions, understanding extinction positions opens a new dimension in polarized light photography.
These positions occur when polarized light is completely blocked by polarizers at specific angles, eliminating glare and reflections from your specimen.
This phenomenon happens when the plane of polarized light aligns with the optical axis of birefringent material, causing light absorption rather than transmission through the second polarizer.
You’ll achieve maximum contrast when polarizers are oriented at 90 degrees to each other, allowing you to see only the specimen’s features without scattered light interference.
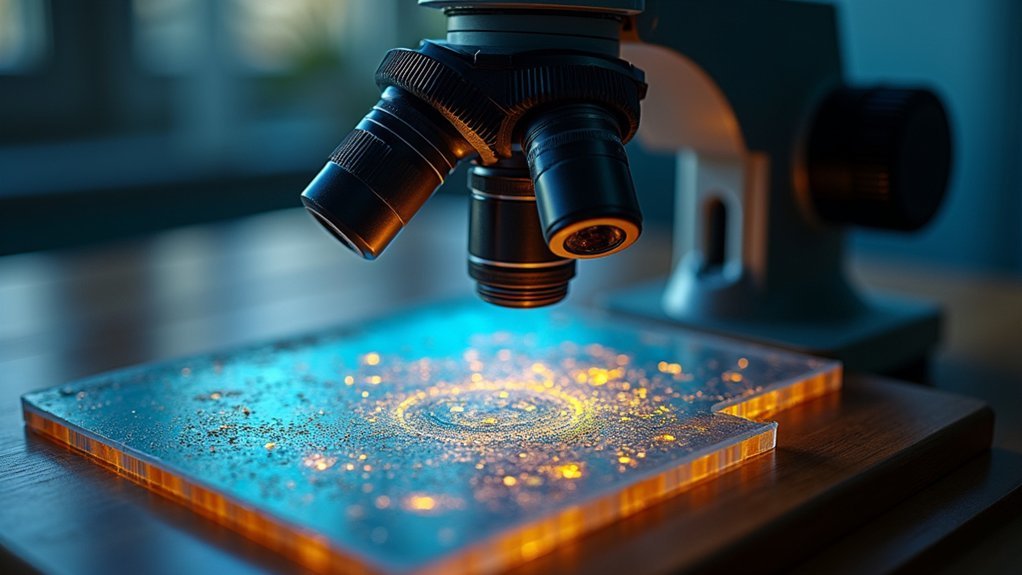
Essential Equipment for Polarized Light Photography
Moving from the theoretical understanding of extinction positions to practical application requires specific tools for success.
Mastering extinction positions demands precision equipment and meticulous setup to reveal what ordinary light conceals.
You’ll need circular polarizing filters for your camera rather than linear ones, as the latter can interfere with autofocus systems. Laminated polarizing sheets are essential for light sources to control directional light waves precisely.
When setting up your equipment, include a prophoto pack with diffusers to compensate for the four-stop light loss that polarizing filters typically create.
Add black voile material to your kit to eliminate unwanted reflections and enhance surface detail visibility in your artwork.
Remember to maintain consistent polarization direction across all light sources. Any inconsistency will create uneven lighting and unwanted glare, compromising the extinction effect you’re working to achieve.
Setting Up Your Microscope for Optimal Extinction
To achieve ideal extinction with your polarized light setup, you’ll need to properly align both polarizing filters at 90-degree angles to each other, creating the darkest possible field.
You can verify proper extinction by examining the field of view without a specimen—it should appear completely dark when the polarizers are perfectly crossed.
Test different alignment positions by slowly rotating one filter while observing changes in darkness, stopping at the position that produces the deepest black background for your microscopic photography.
Essential Filter Alignment
Achieving crystal-clear images in polarized light photography depends fundamentally on proper filter alignment. Position your polarizing filter at a precise 90-degree angle to the polarized light source to attain ideal extinction. This perpendicular arrangement minimizes unwanted glare while maximizing color contrast in your specimens.
Regularly check and recalibrate both filters, as even minor misalignments can dramatically reduce image quality. When orienting your specimen, consider its position relative to the crossed polarizers to enhance the extinction effect and reveal fine structural details.
Use a monochromatic light source like a white LED to maintain consistent wavelengths throughout your imaging session. Additionally, fine-tune your microscope’s condenser and diaphragm settings to control light intensity, creating the perfect balance for clear, high-contrast polarized images.
Darkness Verification Tests
The cornerstone of effective polarized light microscopy lies in properly verifying darkness levels between your polarizers. You’ll need to rotate your primary polarizing filter until you observe maximum darkness in your specimen, indicating ideal alignment for capturing detail without unwanted reflected light.
Position a second polarizer beneath your sample stage and adjust it to minimize light transmission. This dual-polarizer setup is essential for achieving complete extinction of reflections and glare that could otherwise compromise your images.
Always use a monochromatic light source during darkness verification tests to prevent wavelength interference that might affect extinction clarity.
Keep detailed notes of successful polarizer positions to guarantee consistent results across multiple sessions and specimens. This methodical approach assures repeatable conditions for your polarized light photography projects.
Achieving Perfect Cross-Polarization Angles
Finding the extinction sweet spot requires you to position your polarizers at precisely 90 degrees to each other, where light waves are completely blocked and your subject’s details become most vibrant.
You’ll need to slowly rotate one polarizer while observing the dramatic changes in color saturation and reflection reduction through your viewfinder.
Consistent practice with these rotational alignment methods will help you develop an intuitive feel for when you’ve achieved perfect cross-polarization, resulting in striking images with enhanced contrast and depth.
Subheading Discussion Points
Why do some photographers struggle to achieve striking results with polarized light techniques? The challenge often lies in finding the precise 90-degree angle between polarizers that creates maximum extinction of light waves. Without this perfect positioning, the vibrant colors and enhanced details you’re seeking remain elusive.
You’ll need to rotate your polarizing filter while observing through your viewfinder, watching carefully as reflections diminish and surface details emerge.
Remember that changing light conditions require periodic adjustments to maintain ideal effects throughout your shoot.
For best results, consider using polarized light sources like LCD screens or specialized LED lights.
Understanding the fundamental physics principle that the angle of incidence equals the angle of reflection will help you position your setup effectively, ensuring you capture the dramatic cross-polarization effects your work deserves.
Finding Extinction Sweet Spots
Photographers who master the extinction sweet spot reveal the true potential of polarized light techniques. To achieve perfect cross-polarization, position two linear polarizers at exactly 90 degrees to each other. This orientation maximizes light extinction and dramatically enhances color vibrancy in your images.
You’ll know you’ve reached the extinction sweet spot when your polarizing filter, rotated to the ideal angle, effectively eliminates unwanted glare and reflections.
Try experimenting with different angles while observing how reflections and colors change. Remember that light follows the principle where the angle of incidence equals the angle of reflection—use this knowledge to determine ideal positioning.
For consistent results, mount your camera on a sturdy tripod while making precise adjustments to find that perfect extinction position where your subject’s true colors shine through.
Rotational Alignment Methods
When setting up perfect cross-polarization, precise rotational alignment becomes the decisive factor between mediocre and stunning results. Position your linear polarizers at exactly 90 degrees to each other to achieve maximum light extinction and enhanced color vibrancy.
| Alignment Step | Equipment | Result |
|---|---|---|
| Mount camera on tripod | Sturdy tripod | Stability for precise adjustments |
| Position polarizing filter | Lens filter | Elimination of reflections |
| Adjust light sources | Polarized lights | Consistent polarization direction |
Carefully rotate your polarizing filter while observing how it affects glare and reflections in real-time. You’ll need to experiment with your light sources’ angles relative to your subject. Maintain consistent polarization direction across all lights to prevent interference. This methodical approach guarantees you’ll find that perfect extinction sweet spot where colors pop and unwanted reflections disappear.
Troubleshooting Common Extinction Position Challenges
Finding the perfect extinction position for your polarizing filters often proves challenging even for experienced photographers. When the filters aren’t precisely positioned at 90 degrees to your light source, you’ll encounter incomplete extinction of reflections, reducing the technique’s effectiveness.
Remember to compensate for the significant light loss—up to four stops—by adjusting your exposure settings accordingly.
If you’re struggling with consistent results, check that all polarizing filters maintain proper rotational alignment throughout your shoot. Unexpected saturation issues often emerge when reflected light is removed unevenly; solve this by repositioning your lamps and incorporating multiple light sources for balanced illumination.
For stubborn glare problems, experiment with different angles of incidence until unwanted reflections disappear completely. Regular adjustments to polarization direction across all light sources will prevent quality inconsistencies in your final images.
Advanced Techniques for Birefringent Specimens

You’ll discover remarkable details in birefringent specimens by adjusting polarizing filters to create maximum contrast between extinction positions.
When photographing crystals or biological materials, try rotating your analyzer filter slowly while observing how colors shift and structures emerge from darkness.
For enhanced visualization, position your specimen on an LCD screen or light box as a polarized light source, which will dramatically improve the visibility of internal structures and color patterns.
Birefringent Material Analysis
To maximize detail, try adjusting your polarizer angle incrementally while observing how different colors appear and vanish. This extinction technique highlights varying refractive indices within your specimen.
When light enters birefringent materials, it splits into two rays traveling at different speeds—a phenomenon you can capture to analyze material composition and orientation.
For precise measurements, add a compensator plate between your specimen and analyzer. This allows you to quantify birefringence values and document the exact optical properties that make each crystal or biological tissue unique.
Enhanced Crystal Visualization
While basic polarization techniques reveal crystal structures, achieving truly spectacular visualization requires mastering the crossed-polarizer setup. By positioning two polarizing filters at perpendicular angles, you’ll eliminate unwanted reflections and maximize the extinction effect that makes birefringent properties visible.
To capture stunning crystal imagery:
- Rotate your polarizing filter while observing to discover unique color patterns and structural details
- Use birefringent specimens like calcite or quartz for the most vibrant results
- Employ a stabilized LCD screen as your light source to enhance clarity and color vibrancy
- Mount your camera on a sturdy tripod for stability during filter adjustments
- Utilize manual camera settings to maintain consistent exposure across different polarizer angles
This technique transforms ordinary crystals into extraordinary visual displays, revealing internal stresses and optical properties through brilliant color manifestations.
Capturing Isotropic vs. Anisotropic Materials
Photographers working with polarized light must come to terms with the distinct challenges presented by different material types. When you’re shooting isotropic materials like glass or water, you’ll find predictable, uniform reflections that respond consistently to your polarizer. In contrast, anisotropic materials require more finesse, as their optical properties change with direction.
| Material Type | Reflection Pattern | Filter Technique | Best Results |
|---|---|---|---|
| Isotropic | Uniform, predictable | Single filter position | Clean, glare-free surfaces |
| Anisotropic | Directional, variable | Rotation to extinction | Enhanced internal structures |
| Crystals | Complex, layered | Cross-polarization | Vivid color revelation |
| Textiles | Fibrous, multidirectional | Multiple angle testing | Detailed texture capture |
To capture anisotropic materials effectively, rotate your polarizer until you find the extinction position—this reveals true colors by minimizing reflections and enhancing surface details.
Post-Processing Polarized Light Microscopy Images

Since raw microscopy images rarely reveal their full potential straight from the camera, effective post-processing becomes essential for extracting meaningful data from polarized light photography. You’ll need to adjust contrast and brightness to enhance subtle features that might otherwise remain hidden.
When refining your polarized light images, consider these critical techniques:
- Adjust contrast selectively to highlight birefringent structures
- Apply careful sharpening to enhance edge definition without introducing artifacts
- Implement focus stacking for thorough depth representation
- Maintain consistent color profiles throughout your workflow
- Use selective color adjustments to emphasize specific wavelength interactions
Remember that post-processing should reveal truth rather than create it. Every adjustment should clarify the genuine optical properties of your specimen, preserving the scientific integrity of your polarized light microscopy while making the invisible visible.
Creative Applications of Extinction Position Photography
The magic of extinction position photography lies in its ability to transform ordinary subjects into extraordinary visual experiences. By rotating your polarizing filter until you find the perfect extinction position, you’ll reveal vibrant colors and details typically hidden to the naked eye.
Try photographing jewelry or glassware—the technique dramatically reduces glare from reflective surfaces, revealing intricate details and true colors.
Discover the hidden beauty of jewelry and glassware as polarization strips away distracting reflections, unveiling their true essence.
In macro photography, capture the delicate structures of insect wings or crystalline formations with unprecedented clarity.
Don’t limit yourself to scientific applications. Experiment with cross-polarization by using two filters at right angles to create artistic expressions with enhanced color separation.
Challenge yourself with different lighting setups and angles—each slight adjustment creates unique visual possibilities.
This technique isn’t just about eliminating reflections; it’s about discovering new dimensions in subjects you thought you already knew.
Case Studies: Stunning Results From Proper Extinction Techniques
When examining real-world applications of extinction position techniques, several remarkable case studies emerge that demonstrate their transformative potential.
You’ll find that positioning your polarizer at precise 90-degree angles to light sources reveals hidden details and vibrant colors previously masked by unwanted reflections.
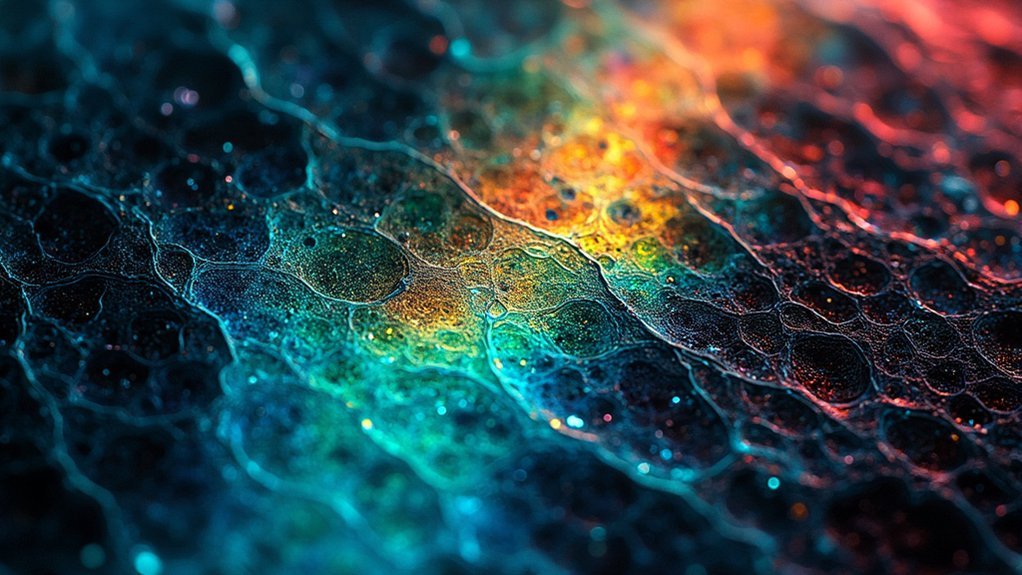
Consider these stunning examples achieved through proper extinction techniques:
- Crumpled cellophane tape transformed into crystal-like structures with rainbow-like color separation
- Insect wings displaying intricate vein patterns and color variations invisible to the naked eye
- Jewelry photography where gemstone details emerge with eliminated surface glare
- Textured artwork with enhanced depth perception and color saturation
- Transparent objects revealing internal structures through cross-polarization lighting techniques
Frequently Asked Questions
What Are the Four Techniques for Obtaining Polarized Light?
You can obtain polarized light through four techniques: using polarizing filters on camera lenses, placing filters on light sources, employing cross-polarization with perpendicular filters, and positioning your camera at extinction angles.
When Should You Not Use a Polarizing Filter?
You shouldn’t use a polarizing filter in low-light conditions, when photographing water reflections you want to preserve, on matte surfaces, with wide-angle lenses (causes uneven skies), or when colors are already vibrant.
What Is the Cross Polarization Technique?
Cross polarization is where you use two linear polarizers at 90° to each other. You’ll place one on your light source and one on your camera to eliminate reflections and enhance color saturation in your subjects.
Does Polarization Affect the Intensity of Light?
Yes, polarization affects light intensity. When you use polarizing filters, they selectively block light waves oriented in certain directions, reducing overall brightness. You’ll notice this reduction especially when eliminating glare from reflective surfaces.
In Summary
You’ve now mastered extinction positions and polarized light techniques. By understanding the optical principles, using proper equipment, and perfecting your cross-polarization angles, you’re ready to capture stunning microscopy images. Remember to experiment with both isotropic and anisotropic materials, apply careful post-processing, and troubleshoot common challenges. Your newfound skills will transform ordinary specimens into extraordinary visual revelations with vibrant colors and striking contrast.


Leave a Reply