Capturing mineral birefringence requires polarizing filters, a microscope setup, and proper specimen preparation. You’ll need to place your thin-sectioned crystal (about 30 micrometers) between crossed polarizers to reveal vibrant interference patterns. Use a DSLR with macro lens mounted on a tripod, adjust your white balance (5000-6500K), and employ focus stacking (10-30 shots depending on thickness). Control lighting intensity carefully to prevent washing out colors. These techniques will transform ordinary minerals into extraordinary abstract art.
Numeric List of Second-Level Headings
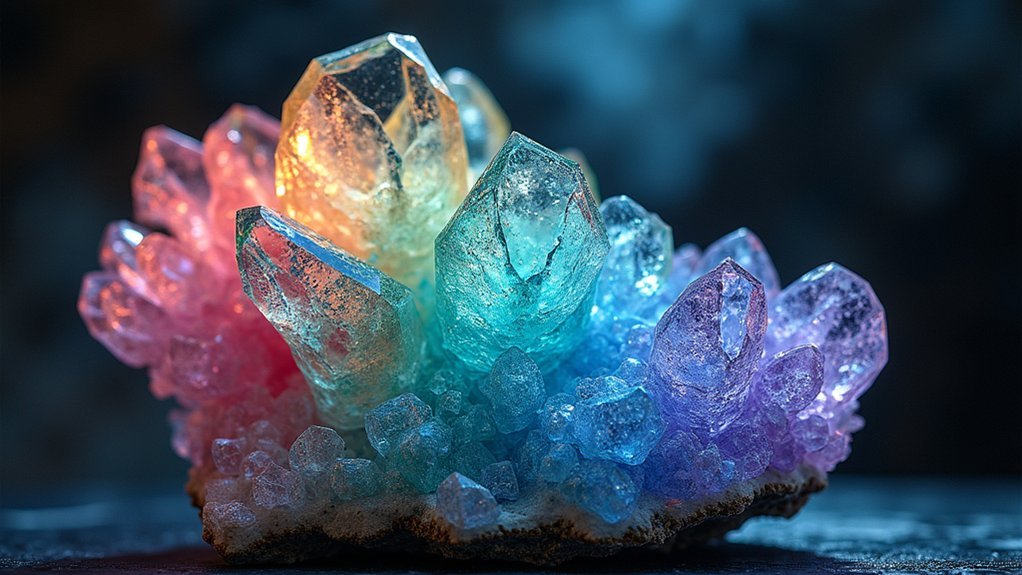
When exploring mineral birefringence photography, you’ll need to understand several key components that build upon each other.
Here’s what you’ll find in the following sections:
A comprehensive guide to the techniques, equipment, and science behind capturing nature’s hidden optical treasures.
- Introduction to Polarized Light Microscopy
- Selecting and Preparing Birefringent Specimens
- Equipment Setup for Crystal Photography
- Understanding the Michel-Lévy Color Chart
- Capturing Interference Colours in Crystals
- Adjusting for Crystal Thickness
- Perfecting Crystallization Techniques
- Photographing Maltese Crosses and Feather Patterns
- Optimizing Camera Settings for Birefringence
- Post-Processing Mineral Images
Each section will guide you through techniques to capture the stunning optical patterns produced when anisotropic materials like Vitamin C and citric acid crystals interact with cross-polarized light.
You’ll learn to manipulate crystallization methods to enhance these visual phenomena.
Understanding Birefringence and Polarized Light Principles
At the heart of mineral birefringence photography lies the fascinating optical phenomenon where certain crystals split light into two separate rays traveling at different speeds. This property, called birefringence, creates stunning visual effects when viewed under polarized light.
When you place birefringent minerals between crossed polarizers, the varying speeds of light waves cause interference, producing vibrant color patterns unique to each crystal’s structure. The thickness of your specimen directly influences the colors you’ll capture—thicker sections display higher-order interference colors according to the Michel-Lévy Color Chart.
Your polarizing microscope becomes an essential tool for revealing these otherwise invisible details. By manipulating the polarized light passing through your mineral samples, you’ll uncover intricate patterns that ordinary light simply can’t reveal.
Essential Equipment for Mineral Crystal Photography
Four key pieces of equipment form the foundation of successful mineral birefringence photography.
First, a polarizing microscope serves as your primary tool for observing the stunning optical patterns created by mineral crystals under polarized light.
Second, high-quality polarizing filters, particularly linear polarizing filters, are essential for controlling light interaction with your specimens.
Third, your camera choice matters greatly—a DSLR like the Canon 6D Mark II paired with a specialized macro lens (such as the Canon MPE 65mm with 5x magnification) will capture intricate crystal details.
Finally, stabilization equipment including a sturdy tripod and intervalometer prevents camera shake during high-magnification shots.
For ideal results, combine these tools with an LED floodlight and experiment with slow evaporation crystallization techniques to produce larger, more photogenic crystal formations.
Setting Up Your Polarizing Microscope for Optimal Results
Because proper polarizing microscope setup directly impacts the quality of your mineral birefringence photography, mastering this process is essential. Start by confirming your polarizing filter is positioned correctly—the polarizer above your light source and the analyzer in the eyepiece.
| Component | Function | Adjustment |
|---|---|---|
| Rotating Stage | Reveals different interference colors | Turn slowly to find ideal crystal orientation |
| Light Intensity | Controls clarity of birefringence | Adjust until colors appear vibrant without washing out |
| Retardation Plates | Enhances subtle crystal details | Insert between polarizer and sample |
Use the interference colour chart (Michel-Lévy) to interpret the vibrant patterns you’ll observe. Don’t forget to experiment with retardation materials like mica or transparent tape to amplify contrast. You’ll need precision focusing to capture the intricate crystal structures that make mineral birefringence photography so enthralling.
Crystal Preparation Techniques for Photomicrography
When preparing mineral specimens for birefringence photography, you’ll need to create thin sections that allow light to pass through the crystal structure.
Once your sample is thinned, polish all critical surfaces to remove any scratches or imperfections that might interfere with the optical properties.
You can then place your prepared specimen between crossed polarizers to reveal the vibrant interference colors characteristic of birefringent minerals.
Thin Section Preparation
The delicate art of thin section preparation forms the foundation of successful mineral birefringence photography. You’ll need to cut your mineral sample to approximately 30 micrometers thick using a diamond saw or specialized microtome, allowing light to pass through for polarizing light analysis.
| Step | Process | Equipment | Purpose |
|---|---|---|---|
| 1 | Cutting | Diamond saw | Create thin slice |
| 2 | Mounting | Canada balsam | Match refractive index |
| 3 | Polishing | Abrasives | guarantee smooth surface |
| 4 | Staining | Dyes | Enhance contrast |
After mounting your section on glass with refractive index matching adhesive, polish it to create a smooth surface. This critical step prevents surface roughness from interfering with crystals in polarized light. Optional staining techniques can highlight specific features, making identification easier and your photomicrographs more dramatic.
Polishing Critical Surfaces
Perfect crystal surfaces form the cornerstone of exceptional birefringence photography, as even microscopic flaws can dramatically alter light transmission and color patterns.
You’ll need to implement a progressive polishing technique, starting with 600 grit compounds and moving to finer 1200-2000 grit options for best results.
Choose soft felt or leather polishing pads to distribute pressure evenly across your crystals, preventing unwanted scratches that could interfere with polarized light source interactions.
After polishing, thoroughly clean all surfaces to remove residual compounds and dust particles that might compromise image clarity.
For best results, monitor your progress using high-magnification objectives during the polishing process, allowing you to identify and address imperfections before they affect your photomicrography.
This careful preparation guarantees your specimens will reveal their most vibrant and accurate birefringent patterns.
Cross-Polarizer Setup
Setting up your cross-polarizer system forms the foundation of successful crystal photomicrography, where two polarizing filters positioned at 90-degree angles to each other create the dramatic contrast needed to reveal mineral birefringence.
Your polarizing microscope requires precise arrangement with the polarizer beneath the stage and analyzer above the eyepiece.
For ideal results when working with cross polarized light, experiment with wave plates made from Scotch tape to enhance color contrast and emphasize the birefringent properties of your specimens.
- Prepare saturated solutions of vitamin C or citric acid and control evaporation rates to develop well-formed crystals.
- Adjust temperature conditions when crystallizing to influence crystal size and resulting optical patterns.
- Create ice crystals by freezing thin water layers quickly, minimizing air bubbles for clearer birefringence visibility.
Mastering Camera Settings for Crystal Documentation
You’ll need to master the exposure triangle—balancing ISO, aperture, and shutter speed—to accurately capture the vibrant colors of birefringent minerals.
Focus stacking techniques can overcome depth of field limitations when photographing three-dimensional crystal structures at high magnification.
Proper white balance settings are essential for truthful color reproduction, as incorrect settings can mask the subtle interference colors that make crystal photography so scientifically valuable.
Optimal Exposure Triangle
When capturing the delicate interplay of light through birefringent minerals, mastering the exposure triangle becomes essential for revealing their true optical character. Your camera settings must work harmoniously to showcase the vibrant colors and intricate patterns of crystalline structures.
Balance your aperture between f/8 and f/16 to achieve ideal depth of field while maintaining crystal clarity. Set your shutter speed at 1/60 seconds or faster to eliminate motion blur, particularly critical when working with high magnification. Keep your ISO low (100-200) to minimize noise and preserve fine crystal details.
- Use manual mode for complete control over all exposure elements
- Consider a tripod with an intervalometer for stability during longer exposures
- Adjust settings methodically, checking how each change affects the mineral’s optical properties
Focus Stacking Techniques
Since birefringent minerals often display complex structural details that can’t be captured in a single exposure, focus stacking becomes an indispensable technique in your crystal photography arsenal. When using a light microscope to document minerals with varying refractive index properties, this method guarantees all planes remain sharp.
| Stack Size | Crystal Type | Aperture Setting |
|---|---|---|
| 10-15 shots | Thin, flat specimens | f/8-f/11 |
| 15-20 shots | Medium thickness | f/11-f/13 |
| 20-30+ shots | Thick, complex specimens | f/13-f/16 |
Mount your camera on a stable tripod and use a remote trigger to eliminate vibration. Keep ISO low (100-200) to minimize noise. After capturing your sequence, process the images in specialized software like Helicon Focus or Photoshop to blend all focal points into one magnificently detailed crystal photograph.
White Balance Considerations
The success of mineral birefringence photography hinges critically on proper white balance settings, as even minor color temperature inaccuracies can drastically misrepresent the crystal’s true optical properties.
When using a polarizing microscope with LED illumination, aim for cooler color temperatures (5000-6500K) to enhance the visibility of birefringent patterns.
- Set a custom white balance by photographing a neutral gray card under your microscope’s lighting conditions.
- Experiment with different white balance presets (daylight, fluorescent) to determine which best captures your specific crystal’s true colors.
- Apply fine-tuning in post-processing software to perfect color rendition while maintaining scientific accuracy.
Don’t underestimate white balance’s impact—it’s the difference between documenting scientifically valuable data and creating misleading representations of mineral optical properties.
Creating Striking Color Contrasts Through Cross-Polarization
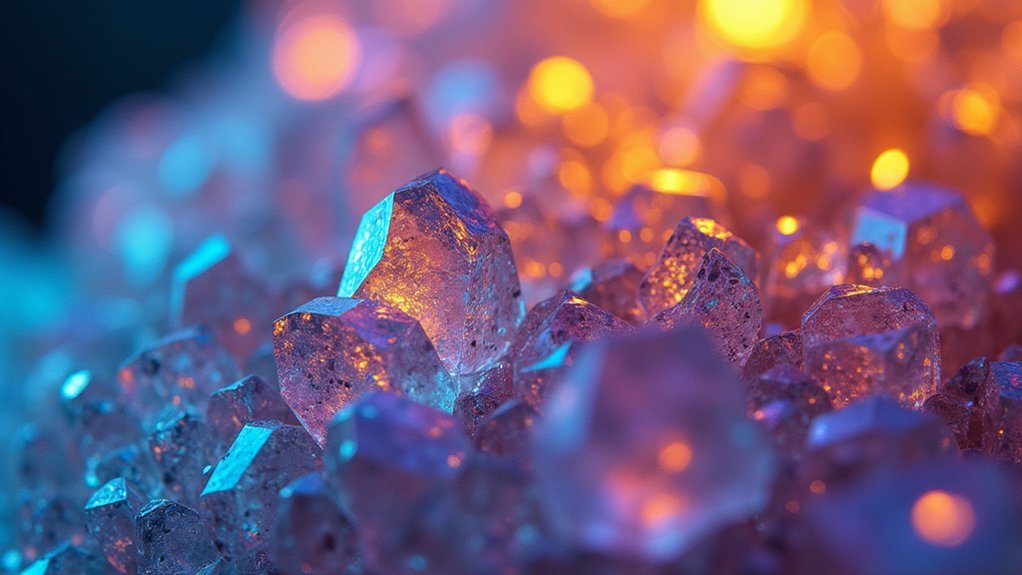
Magical transformations occur when ordinary minerals reveal their hidden rainbow palette through cross-polarization techniques. By positioning two polarizing filters perpendicular to each other, you’ll eliminate glare while considerably enhancing birefringent colors that remain invisible to the naked eye.
The thickness of your crystal samples considerably impacts color vibrancy—thinner specimens typically produce more striking hues under polarized light. As light splits into two rays within birefringent materials, fascinating interference patterns emerge that change with orientation.
Crystal thickness is the secret artist—thinner samples reveal nature’s most vibrant palette when polarized light unveils their hidden geometry.
For best results, experiment with different crystallization methods using salts and sugars. These compounds create diverse structural patterns with unique optical properties.
Reference a Michel-Lévy Color Chart to identify specific minerals based on their color response, helping you predict which specimens will deliver the most dramatic visual impact in your photographs.
Exploring Michel-Lévy Color Charts in Mineral Identification
Five distinct color orders on the Michel-Lévy chart provide the foundation for precise mineral identification in polarized light photography.
When you place minerals under your microscope, these vibrant interference colors emerge as light passes through birefringent crystals, creating a diagnostic fingerprint. The chart’s quadrants help you systematically determine a specimen’s birefringence by comparing observed colors with standard values.
To effectively utilize the Michel-Lévy Color Chart:
- Measure the crystal’s thickness precisely before comparing colors
- Note the highest order color visible to calculate maximum birefringence
- Combine your observations with other optical properties for conclusive identification
Common Household Substances for Beginner Crystal Studies
While specialized laboratory minerals provide exceptional birefringence examples, your kitchen and bathroom cabinets already contain perfect specimens for polarized light photography.
Table salt and sugar dissolve easily in water and recrystallize when the solution evaporates, creating fascinating structures on microscope slides.
Vitamin C yields striking Maltese cross patterns that showcase vivid birefringence under polarizing filters.
Epsom salt forms elegant needle-like crystals with remarkable optical properties when its solution dries.
For more adventurous exploration, crystallize citric acid from household cleaners to reveal colorful feather-like patterns.
Don’t overlook the simplest option—frozen water droplets exhibit beautiful birefringence patterns when viewed between crossed polarizers.
These common household substances offer an accessible entry point to crystal photography without specialized equipment.
Advanced Crystallization Methods for Artistic Compositions
Beyond the simple techniques used with household substances, mastering advanced crystallization methods can transform your polarized light photography into true artistic compositions.
By implementing slow evaporation from supersaturated solutions, you’ll produce larger crystals with intricate structures that display spectacular optical effects.
- Create controlled environments by manipulating temperature during crystallization to prevent random growth and encourage formation of visually striking patterns.
- Experiment with solvent combinations like water-alcohol mixtures to achieve diverse crystal shapes that exhibit unique birefringent colors under polarized light.
- Try techniques such as vortex mixing your solutions or layering different solvents to develop multi-dimensional crystal formations with consistent, vibrant color patterns.
These advanced crystallization methods require patience but reward you with stunning optical compositions that transcend simple microscopy into the domain of fine art.
Post-Processing Techniques for Enhancing Crystal Imagery
After capturing your mineral birefringence images, digital post-processing becomes vital to truly showcase the spectacular optical properties of your crystalline subjects.
When each slide is processed in Adobe Photoshop, you’ll transform scientific documentation into images as art through selective adjustments.
Begin by working with RAW files to maintain maximum quality while adjusting brightness, contrast, and saturation levels.
Use layers to separate crystal elements from backgrounds, allowing focused enhancement of important features. The Unsharp Mask filter brings out intricate pattern details without degrading overall image quality.
Fine-tune color balance to guarantee accurate representation of crystal hues—particularly important for birefringence photography where color shifts indicate structural properties.
These techniques elevate your crystal imagery from mere documentation to striking visual compositions worthy of both scientific study and artistic display.
Creative Applications of Mineral Birefringence Photography
Mineral birefringence photography extends far beyond technical documentation into a domain of artistic expression and practical application.
By capturing acid crystals in Polarized light, you’ll create stunning macro images that blend science with aesthetics. The light path manipulation through crystals yields abstract compositions that can’t be replicated by traditional photography techniques.
- Fine Art Creation – Transform microscopic crystal formations into large-format prints for galleries or interior design, showcasing nature’s hidden geometry.
- Educational Resources – Develop visual teaching materials that demonstrate optical principles and crystallography concepts more effectively than diagrams.
- Scientific Visualization – Contribute to research by documenting crystal growth patterns and providing visual data for material science studies.
You’re not just photographing minerals—you’re revealing an invisible universe of color and structure that exists all around us.
Troubleshooting Common Issues in Crystal Photomicrography
Five common challenges can derail even experienced photographers when capturing mineral birefringence.
Poor color visibility often results from misaligned polarizers—ensure you’ve positioned your polarizer over the light source correctly to maximize the vibrant interference patterns.
If your images lack detail, experiment with sample thickness. Thinner crystals may produce subtle effects, while thicker specimens enhance birefringence dramatically.
Camera shake ruins otherwise perfect photomicrographs. Use a tripod and intervalometer, especially at high magnifications.
Uneven or harsh lighting washes out delicate colors. Adjust your light source’s intensity and angle until the crystal details emerge clearly.
Finally, try different methods of crystal preparation. A more concentrated solution often yields larger, more defined crystals with striking optical properties that photograph beautifully.
Frequently Asked Questions
How Do You Observe Birefringence?
You’ll observe birefringence by placing a crystal between crossed polarizers on a light microscope. Rotate your sample to see color changes and interference patterns that reveal the crystal’s unique optical properties.
What Type of Microscope Is Best for Examining Birefringent Fibers?
A polarizing microscope is your best choice for examining birefringent fibers. You’ll want one with a rotating stage, analyzer, Bertrand lens, and high magnification objectives to clearly see the optical properties and patterns.
What Microscope Is Used for Birefringence?
You’ll need a polarizing microscope for observing birefringence. It has both a polarizer and analyzer that filter light before and after your sample, revealing the optical properties of birefringent materials.
How to Use a Polarizer Microscope?
You’ll place a polarizer filter at the light source, position your sample, add an analyzer to the eyepiece, cross-polarize the light, and use the Michel-Lévy chart to identify substances by their interference colors.
In Summary
You’ve now entered the remarkable world of mineral birefringence photography, where science meets art. By mastering polarized light techniques and proper crystal preparation, you’ll capture images that reveal nature’s hidden geometry. Don’t be afraid to experiment with different minerals and creative approaches. With practice, you’ll develop your unique style while producing stunning imagery that showcases the microscopic wonders most never see.



Leave a Reply