Dark field microscopy transforms transparent specimens into stunning images by capturing scattered light against a dark background. For best results, use a microscope with NA 0.65 or less objectives, proper condenser alignment, and fresh unstained specimens. Set your camera to fast shutter speeds (1/1000+), keep ISO low, and position lighting for maximum contrast. Clean all optical surfaces thoroughly and experiment with oblique illumination angles. Post-process with stacking techniques to enhance details. The techniques below will elevate your microscopic photography to professional levels.
10 Pro Tips: Dark Field Live Specimens Photography
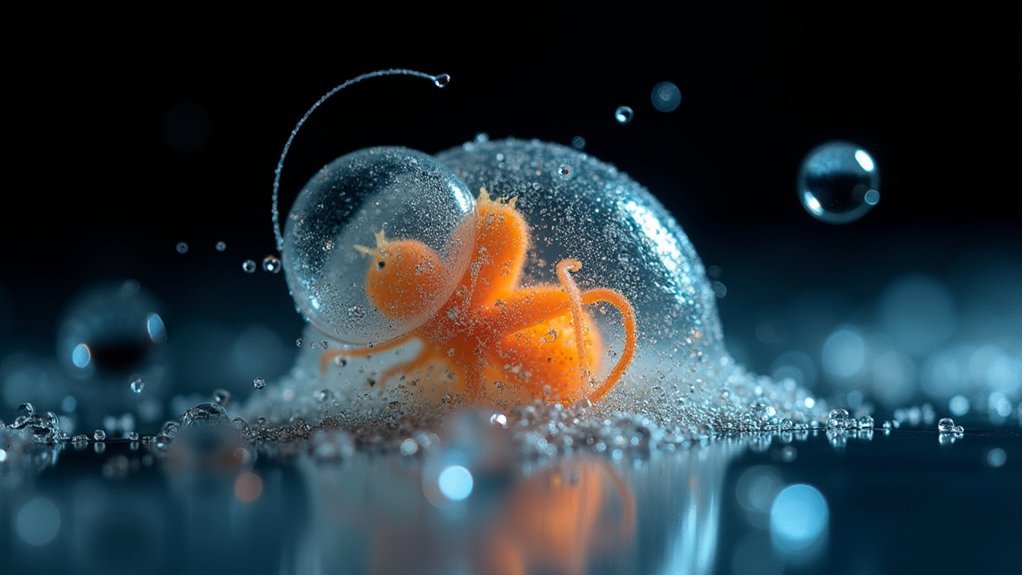
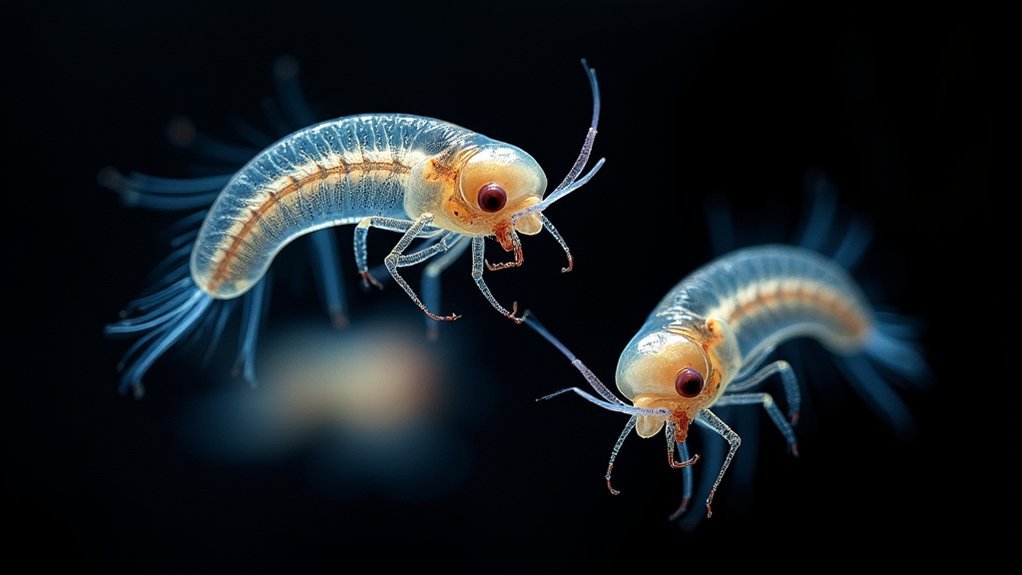
How do you capture stunning images of living specimens without staining or killing them? Darkfield microscopy is your answer.
To achieve exceptional results, start by selecting a condenser with a numerical aperture of 0.65 or less—this is essential for proper specimen illumination.
A condenser with NA ≤0.65 provides the foundation for stunning darkfield results—never compromise on this critical component.
Utilize oblique illumination techniques to make transparent specimens visible against a dark background. You’ll need to make precise adjustment of the aperture diaphragm, allowing only oblique light rays through to create the high contrast that darkfield microscopy is known for.
Don’t forget to clean all optical components thoroughly before each session. As you observe, document your settings and adjust the stage height and focus continuously.
These small tweaks make a significant difference when photographing dynamic microorganisms in their natural, living state.
Understanding the Dark Field Illumination Principle
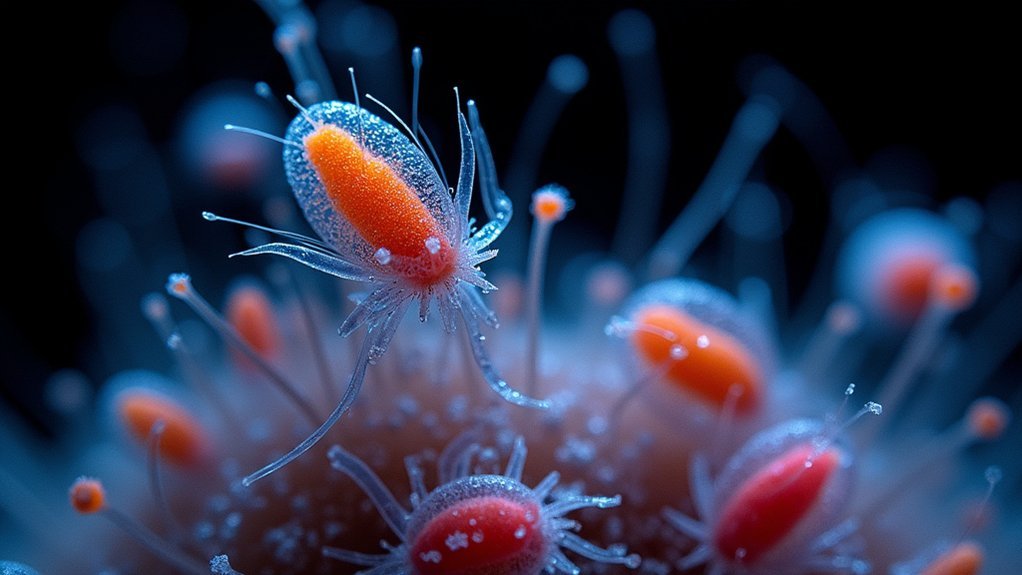
When you observe specimens through dark field illumination, you’ll notice the stark contrast between light and shadow that transforms transparent organisms into visible subjects.
This visibility occurs because light waves scatter when they encounter the edges of your specimen, creating a bright outline against the dark background.
You can visualize this principle as countless light particles traveling in oblique paths, only becoming visible when they interact with your specimen’s structures rather than passing directly to your eye.
Light vs. Shadow
Unlike traditional brightfield microscopy, dark field illumination reverses the conventional relationship between light and shadow to reveal what would otherwise remain invisible. In darkfield microscopy, you’ll only see light that’s scattered by your specimen against a black background, creating dramatic contrast.
Your success hinges on properly directing oblique illumination. The condenser lens must create an inverted hollow cone of light where direct rays bypass your objective while scattered light enters it.
| NA Range | Result | Recommendation |
|---|---|---|
| NA < 0.65 | Ideal contrast | Ideal for darkfield |
| 0.65 < NA < 0.85 | Reduced darkness | Use specialized stop |
| NA > 0.85 | Poor contrast | Consider other methods |
Remember to adjust your diaphragm carefully—you’re painting with shadow to highlight your specimen’s features. The Abbe condenser’s precise positioning transforms transparent structures into brilliant, detailed subjects.
Wave-Particle Visualization
The fundamental principle of dark field illumination emerges from the wave-particle duality of light itself. When you set up darkfield microscopy, you’re exploiting how light waves scatter when they encounter objects.
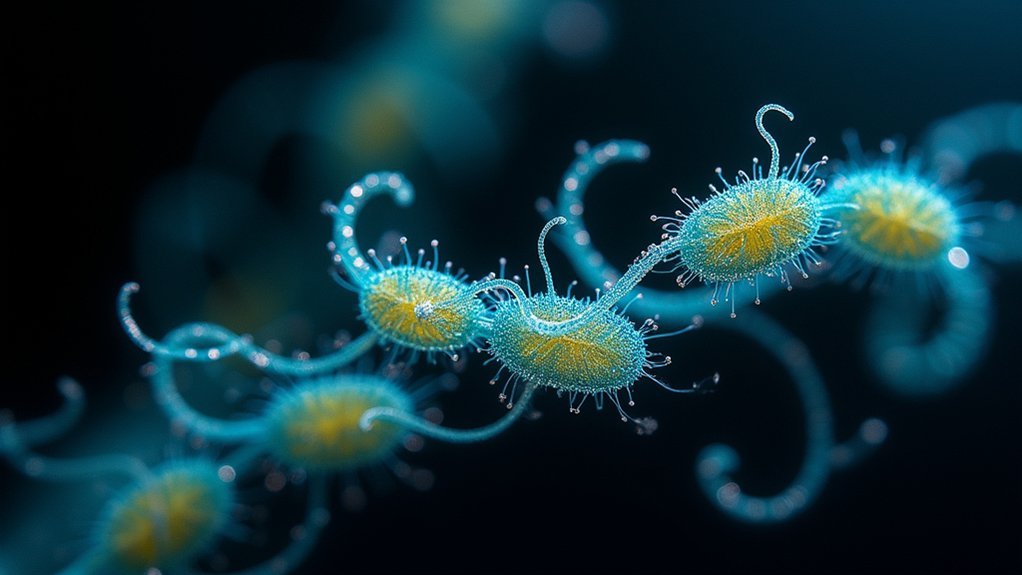
The Abbe condenser creates an inverted hollow cone of light, directing only oblique illumination to strike your specimen at precise angles. As these light rays hit unstained specimens like diatoms or live bacteria, they scatter and diffract, effectively making your transparent subjects glow against a black background.
This produces high contrast images that reveal details invisible in conventional microscopy. Remember to match your equipment carefully—objectives with numerical aperture below 0.65 work best, as they won’t accidentally capture direct light.
This technique transforms nearly invisible live specimens into brilliant, detailed subjects by converting scattered waves into visible information your camera can capture.
Essential Equipment for Live Specimen Photography
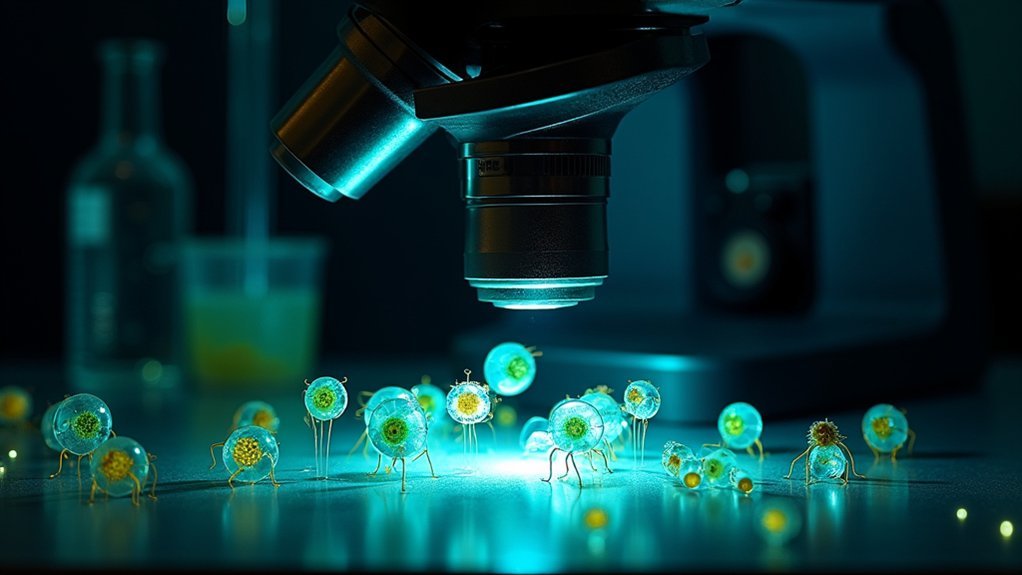
When photographing live specimens using darkfield techniques, you’ll need a compound microscope with objectives having an NA of 0.65 or less for ideal illumination.
Your choice of camera equipment should include a full-frame DSLR paired with an appropriate zoom lens to capture the finest details revealed by this specialized lighting method.
The lighting system must incorporate a darkfield condenser and possibly an adjustable iris diaphragm to enhance contrast and create the characteristic dark background that makes transparent specimens stand out brilliantly.
Microscope Selection Matters
Selecting the right microscope fundamentally determines your success with dark field live specimen photography. Choose a microscope with a numerical aperture of 0.65 or less for dark field viewing and 1.25 or less for light field observations. An Abbe dark field condenser is non-negotiable for directing oblique light rays and enhancing transparent specimen contrast.
| Feature | Requirement | Benefit |
|---|---|---|
| Darkfield slider | Compatible fit | Ideal light diffusion |
| Objective lenses | Dark field specific | Improved specimen detail |
| Condenser | Abbe dark field type | Enhanced contrast |
Ensure your microscope accepts aftermarket condensers or stops if it lacks built-in dark field capabilities. Not all objective lenses work with this technique, so verify compatibility before purchasing. Regular cleaning of optical components prevents contamination that degrades image quality during live specimen photography.
Lighting System Fundamentals
Proper lighting forms the backbone of successful dark field live specimen photography, transforming invisible microorganisms into stunning visual subjects. A Profoto D2 Studio head with 1,000 joules of power delivers the illumination intensity needed for transparent specimens while maintaining clarity against a dark background.
For ideal results, pair your full-frame DSLR and 24-70mm zoom lens with a 4×6 softbox as your primary light source. This diffuses light, minimizes glare, and enhances delicate details in live specimens.
Consider implementing an aperture mask to control light entry, improving high contrast and highlighting specimen features.
Tether your camera to Capture One software for real-time previews and adjustments, ensuring perfect exposure and focus during your session. This workflow lets you make immediate corrections before your specimens change position or appearance.
Optimizing Your Microscope Setup for Dark Field
The foundation of successful dark field photography lies in a properly configured microscope. Your setup requires an Abbe dark field condenser that directs oblique illumination to your specimens, creating striking contrast against a dark background. Select objective lenses with numerical aperture of 0.65 or less for dark field work—this guarantees ideal light gathering without compromising image quality.
A darkfield slider provides convenient switching between illumination methods while maintaining proper condenser lens alignment. When focusing, use the coarse adjustment knob carefully for initial positioning before fine-tuning.
| Component | Ideal Setting | Purpose |
|---|---|---|
| Condenser | Abbe dark field | Allows only oblique rays |
| Objective | NA ≤ 0.65 | Enhances light collection |
| Aperture | Fully open | Maximizes contrast |
Regular cleaning of all optical components prevents contamination that could compromise your imaging results.
Mastering Light Positioning for Maximum Contrast

While a well-configured microscope provides the foundation, light positioning represents the artistic element of dark field photography. Position your light source behind the specimen to create that distinctive rim lighting effect, dramatically enhancing contrast between your subject and the dark background.
Your Abbe dark field condenser is critical—it focuses oblique illumination from the edges while blocking direct light, making transparent live specimens visible against the dark field.
The Abbe condenser: your secret weapon for revealing invisible specimens through strategic light manipulation and careful shadow creation.
Adjust diaphragm settings to maximize light diffusion; keep both aperture and field diaphragms opened wide for ideal contrast.
Don’t hesitate to experiment with different angles of oblique illumination until you find the sweet spot that reveals fine details without creating glare.
Confirm your condenser and darkfield slider remain impeccably clean and properly aligned to maintain light positioning integrity and produce stunning images.
Specimen Preparation Techniques for Clarity
Proper specimen preparation forms the foundation of successful dark field photography, where you’ll need to select the freshest specimens possible to capture ideal cellular detail and movement.
You should construct your slides with meticulous attention to cleanliness, using appropriate mounting media that matches your specimen’s refractive index while maintaining its viability.
Remember to create thin, even preparations with minimal medium to reduce light scattering and enhance the striking contrast that makes dark field microscopy so visually compelling.
Specimen Preparation Techniques for Clarity
Successful dark field photography begins with meticulous specimen preparation, as this technique reveals details invisible in brightfield microscopy. You’ll need unstained, transparent specimens that allow oblique illumination to pass through effectively, creating high contrast against a dark background.
Clean your slides thoroughly, as any residue will appear as bright spots that diminish image quality. Adjust your condenser’s diaphragm settings to guarantee only peripheral light reaches the specimen. For live microorganisms, use a suitable mounting medium that restricts movement without affecting visibility.
Experiment with specimen thickness—too thick and light won’t pass through properly; too thin and you’ll miss structural details.
Position your condenser carefully, as proper alignment is essential for those striking light observation images that showcase your specimen’s natural features against the dramatic black backdrop.
Fresh Specimen Selection
The quality of your dark field images begins with selecting the right specimens. Look for transparent or semi-transparent organisms like diatoms, small aquatic creatures, or live bacteria that will reveal stunning structural details under dark field illumination.
| Specimen Type | Transparency | Best Viewing Characteristics |
|---|---|---|
| Diatoms | High | Intricate silica shells |
| Protozoa | Medium-High | Active movement, cilia |
| Algae | Medium | Chloroplast arrangement |
| Bacteria | Low-Medium | Motility patterns |
| Aquatic larvae | Medium | Internal organ systems |
Always choose fresh, healthy specimens to guarantee peak clarity and contrast. Handle delicate organisms with care to prevent physical damage that might alter their appearance. Avoid contamination by using clean tools and containers when collecting and preparing your specimens. The natural refractive properties of living organisms make them ideal subjects when properly selected.
Optimal Slide Construction
Creating perfect slide preparations stands at the heart of successful dark field photography. You’ll want to keep your specimens under 10 micrometers thick whenever possible, as thinner preparations dramatically improve light scattering for better contrast when the oblique illumination passes through your diaphragm.
Always use flat, clear slides and cover slips to minimize distortion of the light path. For live specimens, add a single drop of culture medium to maintain their viability while enhancing natural contrast.
If you’re working with particularly active organisms, consider chamber slides to prevent them from drifting out of your field of view.
Don’t forget to label each slide with the specimen type and date—this simple step saves time during photography sessions and guarantees you can reference successful preparations for future work.
Camera Settings to Capture Detail in Low Light
Because dark field microscopy naturally creates a low-light environment, mastering your camera settings becomes essential for capturing crisp details of live specimens. Set your shutter speed to at least 1/1000 sec to freeze motion, even of rapidly moving microorganisms. This prevents blur and preserves fine structural elements.
Keep your ISO low (around 100) to minimize noise that would otherwise degrade specimen visibility. Pair this with a mid-range aperture of approximately f/8 to balance depth of field with adequate light transmission. This combination maximizes sharpness while maintaining sufficient focus throughout your specimen.
Don’t rely solely on microscope illumination. Use a remote flash trigger to synchronize flash illumination with your exposures. Experiment with different lighting angles to optimize contrast and highlight transparent structures that might otherwise remain invisible.
Troubleshooting Common Dark Field Imaging Problems
Even with perfect camera settings, dark field photographers often encounter technical issues that diminish image quality.
When your darkfield microscopy images lack the signature black background with brilliantly illuminated specimens, check these critical elements:
- Verify your objective lens has the correct numerical aperture (NA) of 0.65 or less—higher values will compromise the dark field effect.
- Confirm your condenser lens is properly positioned and the darkfield slider is correctly inserted to achieve oblique illumination.
- Adjust the diaphragm to a wider opening, allowing sufficient light diffusion around your specimen.
- Control light source intensity to prevent glare, which can wash out the contrast you’re trying to make.
Don’t overlook the cleanliness of optical components—even minor dust or fingerprints can dramatically degrade your dark field images.
Post-Processing Workflows for Dark Field Images
While capturing stunning dark field images begins at the microscope, the true magic happens during post-processing.
Start by using Photoshop’s “Load files into stack” script to combine multiple dark field images of your live specimens. Set the blending mode to “lighter color” to dramatically enhance detail and improve luminosity—especially valuable for transparent subjects.
Layer stacking with “lighter color” blending reveals hidden details in transparent specimens that single exposures simply cannot capture.
Apply layer masks to each layer, carefully removing artifacts that distract from your specimen’s features.
For vibrant results, add hue and saturation adjustment layers clipped to specific areas requiring color modifications.
Finally, crop your stacked images to a 16:9 aspect ratio, bringing in the edges slightly for a polished presentation.
This post-processing workflow transforms ordinary dark field microscopy captures into striking scientific visuals that highlight even the most delicate specimen details.
Creating Multi-Frame Compositions for Complex Specimens
The intricate details of complex live specimens often exceed what a single frame can capture. When using darkfield microscopy with a full-frame DSLR and zoom lens, you’ll achieve stunning high contrast images against a black background.
To create compelling multi-frame compositions:
- Position your specimen at various adjusting stage heights to capture different focal planes while maintaining the dramatic effect of oblique illumination.
- Shoot multiple angles of the same subject, experimenting with light observation images that highlight different transparent structures.
- Layer your captures in Photoshop using “lighter color” blending mode to merge frames seamlessly.
- Selectively adjust hue and saturation per layer to enhance specific details without overdoing the overall effect.
This technique reveals the complete story of complex organisms that single frames simply can’t convey.
Frequently Asked Questions
How to Prepare a Specimen for a Dark Field Microscope?
You’ll need an unstained, transparent specimen on a clean slide. Mount it carefully, adjust the stage for focus, set up a darkfield slider, position the condenser correctly, and keep all components clean.
What Is the Darkfield Technique?
Darkfield technique uses oblique lighting to make unstained specimens visible against a dark background. You’ll see transparent subjects clearly without staining as light scatters when hitting the specimen, creating bright images.
What Are the Problems Associated With Dark Field Microscopy?
You’ll face issues with dark field microscopy including intense light causing glare, sensitivity to contaminants, artifact creation, difficulty visualizing low-contrast specimens, and complex setup requiring precise alignment of components.
Which Is the Most Effective Use of Dark Field Microscopy?
Dark field microscopy is most effective when you’re examining unstained, living microorganisms like bacteria or protozoa. You’ll get excellent contrast of transparent specimens against a dark background without killing or altering them with stains.
In Summary
You’re now equipped to capture stunning dark field images of live specimens. Remember, it’s all about mastering the lighting, optimizing your settings, and developing a careful specimen handling routine. Don’t be discouraged by initial challenges—each attempt improves your technique. With practice, you’ll create striking scientific images that reveal intricate details invisible to conventional microscopy. Keep experimenting with different specimens to expand your skills.


Leave a Reply