Advanced dark field stacking techniques elevate your macro photography through strategic dual-flash positioning, precisely calibrated glass platforms, incremental focus shifting, black velvet backgrounds, and specialized post-processing workflows. You’ll achieve dramatic contrast with translucent subjects by placing two flashes beneath your specimen, using clean angled glass, making micro-adjustments on a focusing rail, and absorbing excess light with velvet. These professional methods transform ordinary specimens into striking compositions with exceptional detail and depth.
Mastering Dual-Flash Positioning for Optimal Dark Field Effects
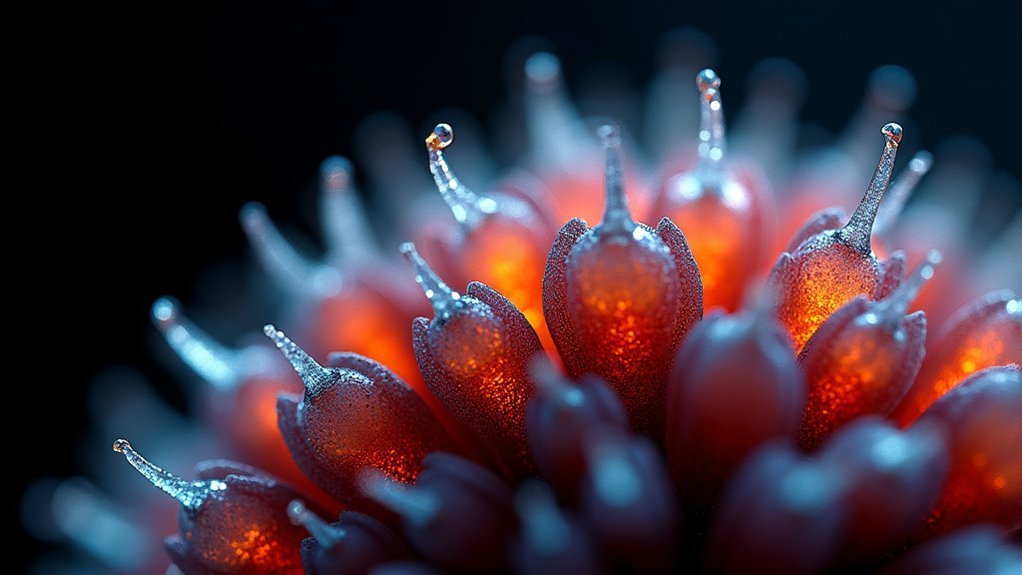
How you position your flash units can make or break a dark field macro photograph. For striking results, place two Nikon SB-R200 flash units beneath your translucent subject, creating effective backlighting that reveals intricate subject details while producing a floating effect against a black velvet background.
Experiment with dual-flash positioning by adjusting both angle and distance. You’ll want to find that sweet spot where light enhances features without creating harsh shadows.
Control light intensity by fine-tuning the power settings on each unit, allowing for subtle variations that dramatically impact your final image.
The subtle dance of flash power settings transforms ordinary macro subjects into extraordinary visual revelations.
Take systematic test shots while making incremental adjustments to your setup. Document each configuration to understand how different positions affect your results.
This methodical approach will help you develop ideal lighting techniques specific to your unique macro photography subjects.
Calibrating Glass Platforms for Translucent Subject Enhancement
While lighting plays an essential role in dark field photography, the glass platform supporting your translucent subject demands equal attention.
When calibrating your setup, position the glass at a slight angle to reduce glare while optimizing backlighting vital for Dark Field Illumination (DFI).
- Place black velvet beneath your glass platform to absorb excess light and enhance contrast
- Confirm your glass surface remains spotlessly clean to prevent unwanted reflections
- Use a stable platform that minimizes vibrations which could compromise focus stacking
- Regularly adjust platform height to achieve dramatic illumination from your flash units
- Consider slight platform tilting angles for better light transmission through translucent subjects
These calibration techniques will transform ordinary specimens into extraordinary images, making your subjects appear to float against a rich black background while revealing intricate details invisible to the naked eye.
Incremental Focus Shifting Techniques for Complex Specimens
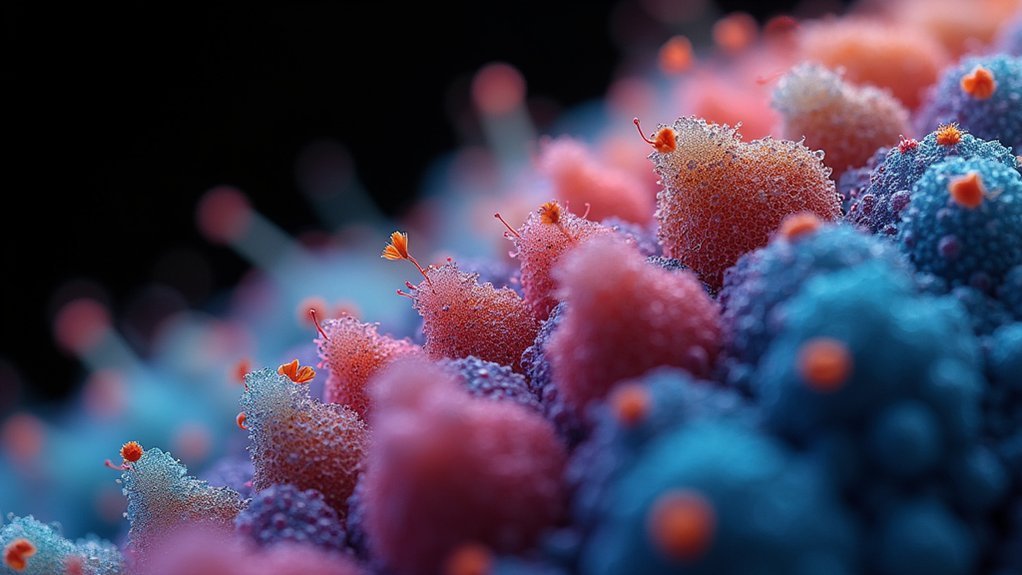
When photographing intricate specimens with dramatic depth variations, mastering incremental focus shifting becomes essential for creating stunning dark field stacks. You’ll need a macro focusing rail like the RRS B150-B to achieve precise movements between exposures.
| Specimen Type | Focus Points | Movement Size | Lighting Needs |
|---|---|---|---|
| Flat subjects | 5-10 | Larger increments | Moderate control |
| Semi-complex | 10-20 | Medium increments | Careful balance |
| Highly detailed | 20-50 | Micro increments | Strict consistency |
| Three-dimensional | 50+ | Variable increments | Absolute uniformity |
Take test shots to determine ideal increment sizes for your specific specimen’s three-dimensionality. Always use manual focus adjustments and maintain consistent lighting throughout your session to prevent exposure discrepancies that could compromise sharpness during the merging process.
Black Velvet Backgrounds: Creating Perfect Contrast Isolation
Having mastered the technical aspects of focus shifting, your attention must now turn to the background—the canvas against which your specimen will shine.
Black velvet backgrounds excel in macro photography by absorbing light and eliminating unwanted light spill, creating dramatic contrast that makes translucent subjects appear to float in darkness.
- Position your specimen carefully to maximize visibility of delicate translucent features
- Utilize the plush texture to minimize distracting reflections during dark field illumination
- Achieve dramatic visual composition with subjects that appear suspended in pure blackness
- Streamline post-processing workflow with uniform backgrounds that simplify image selection
- Enhance the final appearance of focus-stacked images by providing consistent contrast throughout the entire sequence
This simple yet effective approach transforms ordinary specimens into extraordinary visual studies, revealing details invisible against conventional backgrounds.
Post-Processing Workflow for Dark Field Stacked Images
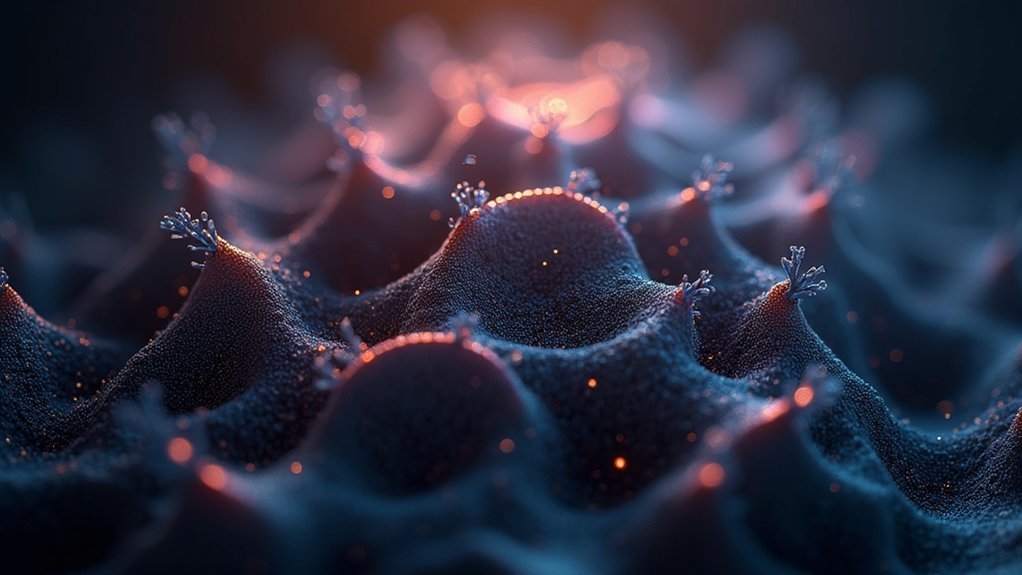
Once you’ve captured your sequence of dark field images, transforming them into a cohesive, detailed final composition requires methodical post-processing.
Begin by importing your stacked images into Adobe Photoshop or Helicon Focus, organizing all layers systematically.
Apply Auto Align Layers to correct minor shifts caused by camera movement during shooting. Then use Auto Blend Layers to merge the sharpest pixels from each image, creating a composite with enhanced depth of field.
For areas that still appear soft, utilize layer masks to manually refine details and selectively sharpen important elements.
As you finalize your work, make targeted adjustments to color balance and contrast to enhance the dramatic effect of the dark field technique.
Export your image in an appropriate format, ensuring the final result showcases the exceptional sharpness and detail that make dark field stacking so powerful.
Frequently Asked Questions
How Many Photos to Stack for Astrophotography?
For astrophotography, you’ll typically want to stack 10-100 photos depending on your subject. Aim for 20-30 frames for bright objects and 50+ for deep sky objects to effectively reduce noise and enhance details.
What Is Focus Stacking a Photographic Technique to Achieve?
Focus stacking helps you achieve maximum sharpness throughout your image by blending multiple photos taken at different focus points. You’ll get crisp details from foreground to background that wouldn’t be possible in a single shot.
How Can Photographers Control Their Depth of Field While Not Using Software?
You can control depth of field by adjusting aperture (higher f-stops increase it), changing distance from your subject, selecting different focal lengths, utilizing hyperfocal distance focusing, or employing tilt-shift lenses for plane of focus manipulation.
What Aperture Is Best for Focus Stacking?
For focus stacking, you’ll get best results using apertures between f/5.6 and f/8. These settings balance ideal sharpness with adequate depth of field while avoiding diffraction that occurs at smaller apertures like f/11+.
In Summary
Dark field stacking isn’t just about equipment—it’s about technique. You’ve now mastered five advanced methods that professional photographers rely on daily. By combining dual-flash positioning, glass platform calibration, incremental focus shifting, black velvet backgrounds, and specialized post-processing workflows, you’re ready to capture stunning macro images with exceptional depth and clarity. Don’t be afraid to experiment with these techniques to develop your own signature style.

Leave a Reply