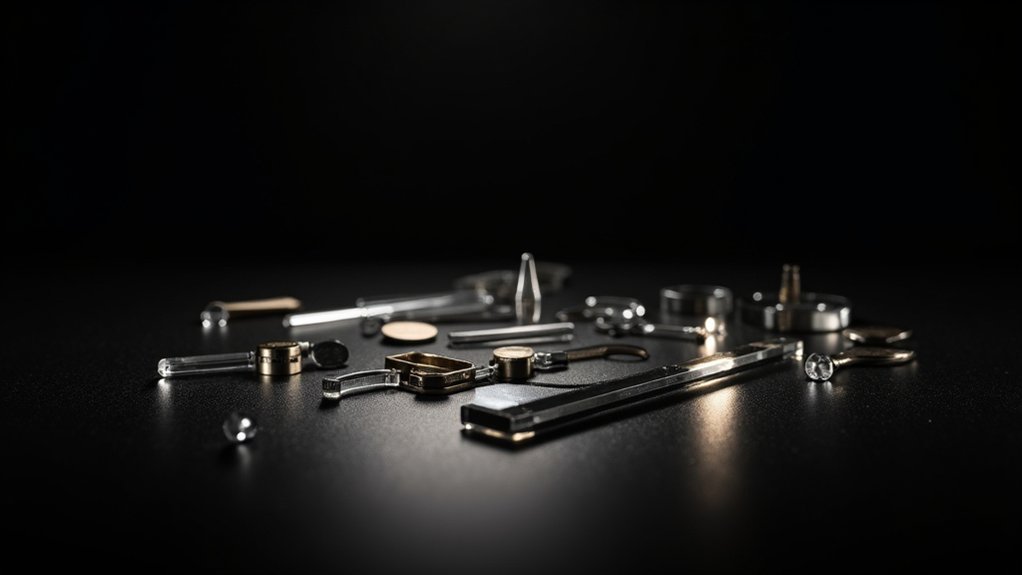
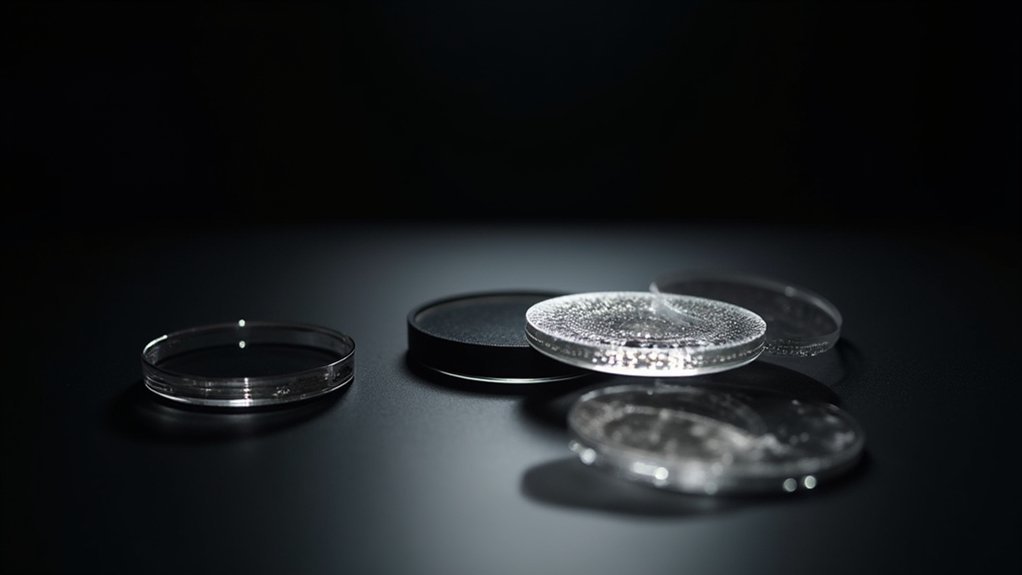
To master dark field lighting, position illuminators at 45-90° angles from your camera’s optical axis. Place lights close to your subject and install a dark field patch to block direct light. Adjust your condenser to collect only scattered light, creating that distinctive dark background. Fine-tune aperture settings for enhanced contrast—smaller apertures often work best. Control unwanted reflections with side baffles and aperture flags. These fundamentals will transform how you capture texture and reveal previously invisible details.
5 Steps To Master Dark Field Lighting

When setting up dark field lighting for your imaging needs, proper positioning forms the foundation of success. Place your illuminators at angles between 45° and 90° from your camera’s optical axis to effectively highlight features on reflective components and create contrast-rich images.
Strategic positioning of dark field illuminators unlocks superior contrast and reveals hidden surface details.
Install a dark field patch to block direct light from reaching your camera, allowing only scattered light from the specimen to create high-contrast images that emphasize surface textures. Keep your lights close to the target to guarantee effective illumination and prevent vignetting.
Experiment with different angle changers to optimize light beams for your specific application. Carefully adjust your subject’s position to achieve the ideal grazing light effect, which reveals intricate details and defects that remain invisible under standard lighting conditions.
The angle of incidence greatly impacts your final results.
Setting Up Your Microscope for Dark Field Illumination
While mastering lighting angles and patches provides the groundwork, applying these principles specifically to microscope setups requires careful attention to optical alignment.
Position your light source at a 45° to 90° angle from the microscope’s optical axis to establish effective Dark Field Lighting conditions.
Install a dark field patch stop to block direct light, ensuring only scattered light from your specimen reaches the objective lens.
Carefully adjust your condenser to collect the illumination’s outer ring—this is essential for creating the distinct dark background effect.
Align your objective lens precisely to capture scattered light without direct illumination interference.
Don’t overlook regular cleaning of optical components to prevent stray light that could compromise image clarity.
With proper setup, you’ll achieve the striking contrast that makes Dark Field microscopy so valuable.
Adjusting Light Source Position for Optimal Contrast

The precise positioning of your light source forms the foundation of successful dark field microscopy. Position your light at an angle between 10-45 degrees to your subject, creating the grazing effect that reveals surface details while maintaining the characteristic dark background.
When adjusting your light source position, remember that distance controls the hardness of light edges. Place your dark field patch strategically to block direct illumination, allowing only grazing light to spill over edges and highlight your specimen.
Experiment by rotating your subject to find the angle where light best reveals textures and defects normally invisible under standard lighting. Fine-tune contrast by making small adjustments to the light position, ensuring your subject’s features stand out dramatically against the dark background.
Explore every angle to unveil hidden textures—slight positional shifts create dramatic revelations against the darkness.
This careful positioning transforms ordinary specimens into striking, detailed images.
Managing Aperture and Condenser Settings
Proper manipulation of aperture and condenser settings serves as the backbone of exceptional dark field imaging. You’ll need to adjust your aperture size strategically—smaller apertures enhance contrast and detail in your specimens while controlling light intensity.
Position your condenser at the precise height to guarantee only scattered light reaches the objective lens, blocking direct illumination for true dark field effects.
- Fine-tune your light path by experimenting with different condenser alignments to reveal varying textures and details on reflective surfaces.
- Regularly calibrate both settings to maintain consistent imaging quality across different samples.
- Start with a smaller aperture setting and gradually adjust while monitoring contrast improvement.
Remember to perform periodic adjustments as sample characteristics change, guaranteeing your condenser focuses the outer light ring accurately onto your specimen for ideal visualization.
Controlling Unwanted Reflections and Stray Light

Achieving pristine dark field images demands mastering more than just aperture settings—unwanted reflections and stray light can quickly ruin your carefully composed shots.
To prevent light from being reflected back into your camera, install side baffles and top caps that contain the lighting field within your intended area.
Contain unwanted light scatter with strategically positioned baffles and caps—your dark field images will thank you.
Always clean your subject thoroughly before photography—dust and fingerprints create distracting reflections that compromise your dark field effect.
You’ll need to adjust the distance between your light source and subject to optimize the grazing effect while minimizing spill.
For persistent stray light issues, try using aperture flags to block excess illumination from reaching your lens.
Remember that different materials respond uniquely to dark field lighting—glass and metal surfaces require tailored approaches to control how light is reflected back toward the camera.
Frequently Asked Questions
How Is Dark Field Illumination Achieved?
You’ll achieve dark field illumination by positioning light sources at angles between 45-90° from the camera’s optical axis, blocking direct light with a patch stop, and capturing only scattered light for high-contrast imaging.
What Is the Difference Between DF and BF?
In DF, you’ll see surface details against a dark background as light hits at low angles. BF uses direct overhead lighting, creating a bright background that’s less effective at showing surface textures.
What Is the Dark Field Technique of Imaging?
Dark field imaging uses light sources positioned at 45-90° angles from your camera. You’ll capture light that scatters from surface features, making edges appear bright against a dark background, revealing otherwise invisible details.
How to Film in Dark Lighting?
You’ll need fast lenses, high ISO settings, and additional lighting sources. Stabilize your camera, use manual focus, and expose for highlights. Consider noise reduction in post-processing for cleaner footage in dark environments.
In Summary
By mastering these five steps, you’ll transform your dark field microscopy skills. Remember to position your light source carefully, adjust your condenser settings precisely, and eliminate stray reflections. With practice, you’ll capture stunning images with dramatic contrast and illuminated specimen edges. Don’t be afraid to experiment—each sample may require slight adjustments. The striking results you’ll achieve are well worth the effort.


Leave a Reply