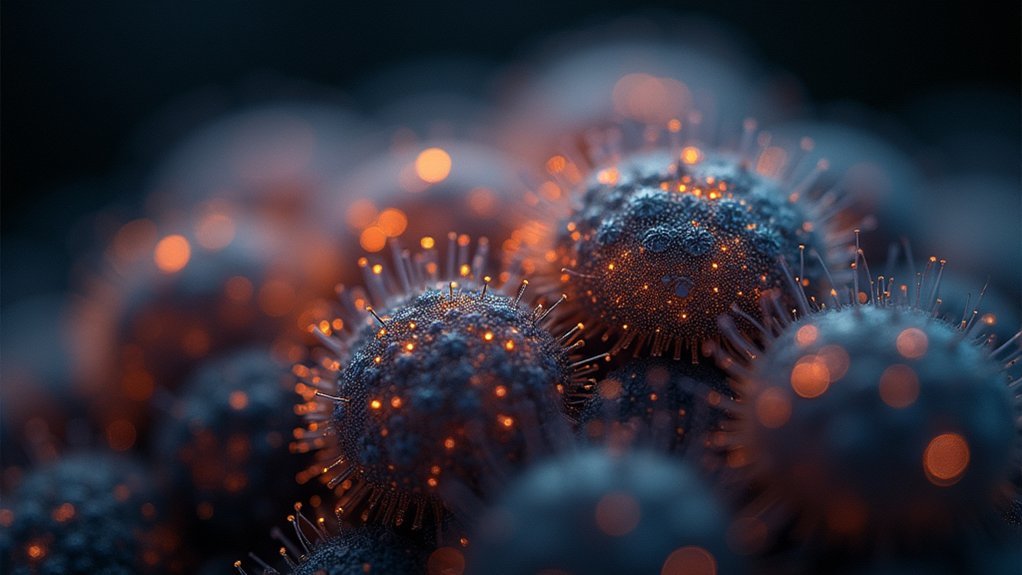
Position your light source at an angle behind the subject for dramatic contrast. Adjust your condenser aperture to a smaller opening to enhance detail visibility. Use a full-frame camera with manual settings and longer shutter speeds (1-5 seconds) to capture enough light. Employ focus stacking for improved depth of field across your specimen. Apply selective sharpening and contrast adjustments during post-processing to make details pop. Master these techniques to transform ordinary specimens into spectacular luminous displays.
Mastering Darkfield Light Source Positioning

While many photographers focus on frontal lighting, darkfield technique demands a strategic approach to light placement. Position your light source at an angle behind your subject to create grazing light that enhances surface textures and details. This lighting technique reveals intricate elements often lost with conventional methods.
You’ll need to experiment with the subject’s positioning and rotational angles to achieve ideal results. Adjust the distance between your light sources and the dark field patch to control edge hardness and angle of incidence. Don’t be afraid to try multiple angles—each adjustment can produce unique highlighting effects.
For ideal results, set your camera to maximum aperture and utilize aperture flags to manage light spill. This prevents lens flare while ensuring your highlights remain crisp and focused, making your subject dramatically stand out against the dark background.
Optimizing Condenser Settings for Maximum Contrast
Because light manipulation forms the foundation of darkfield photography, proper condenser settings become essential for achieving dramatic results.
To maximize contrast in your dark field images, adjust your condenser aperture to a smaller opening. This allows light to graze across your specimen’s surface, highlighting fine details that would otherwise remain invisible.
Smaller aperture settings reveal microscopic worlds previously hidden from view, transforming ordinary specimens into breathtaking revelations.
Ensure your condenser is perfectly aligned with both light source and specimen to optimize light direction and eliminate stray reflections.
Invest in a high-quality optical condenser that delivers uniform illumination while reducing light scatter. For superior results, select a condenser with a numerical aperture of at least 0.9.
Don’t hesitate to experiment with the condenser-to-specimen distance—moving the condenser closer often improves contrast by enhancing the incidence angle of your illumination.
Camera Configuration for Low-Light Microscopy

Four critical camera settings can make or break your darkfield microscopy images. When configuring your camera for low light photography, start with a full-frame DSLR or mirrorless camera to minimize noise.
Switch to manual mode to control your exposure precisely—set a longer shutter speed (1-5 seconds) to gather sufficient light while maintaining detail clarity.
For ideal results:
- Use a wide aperture (f/1.4-f/2.8) to maximize light intake, enhancing contrast between your specimen and the dark background.
- Mount your camera on a sturdy tripod to eliminate camera shake during long exposure shots.
- Implement focus stacking techniques to improve depth of field and capture sharper details throughout your specimen.
These configurations will transform your darkfield microscopy from mundane to spectacular, revealing intricate structures typically hidden in conventional lighting.
Focus Stacking Techniques for Enhanced Depth
Since darkfield microscopy reveals stunning specimen details with dramatic contrast, enhancing depth of field becomes essential for capturing complete structural information.
Focus stacking revolutionizes your macro photography by merging multiple images taken at different focal points, creating a single image with superior clarity throughout.
When implementing this technique, set your camera to manual modes and keep your lighting consistent across all exposures.
You’ll need to:
- Mount your camera on a tripod to eliminate movement between shots
- Use manual focus to precisely control each focal point
- Capture a series of images, adjusting focus incrementally
- Increase your image count for complex, three-dimensional specimens
The key to successful focus stacking is maintaining absolute stillness of your specimen throughout the capture process, ensuring perfect alignment when merging.
Post-Processing Methods for Darkfield Enhancement

Mastery of post-processing transforms good darkfield images into extraordinary visual revelations. Using Adobe Lightroom or Photoshop, you’ll want to focus on adjusting contrast and clarity to enhance the surface textures that darkfield imaging uniquely reveals.
The difference between a standard darkfield image and a masterpiece lies in the art of post-processing contrast and texture enhancement.
Apply selective sharpening to emphasize critical details while preserving the image’s integrity by avoiding noise amplification.
- Utilize layer masks to blend darkfield captures with brighter exposures, giving you precise control over shadows and highlights.
- Experiment with color correction tools to neutralize unwanted color casts from varying light temperatures.
- Create and save your editing approach as presets to maintain consistency across your darkfield portfolio.
These techniques will greatly elevate your darkfield images while streamlining your workflow, allowing you to develop a signature style that showcases the remarkable details this imaging method captures.
Frequently Asked Questions
How Do You Take High Quality Pictures in the Dark?
You’ll need to use a wide aperture (f/1.8 or lower), stabilize with a tripod, increase ISO sensitivity, shoot in manual mode, and try longer exposures to capture quality photos in dark conditions.
How to Take Good Dark Sky Pictures?
You’ll capture amazing dark sky photos using a tripod, wide aperture (f/2.8 or lower), high ISO (1600-3200), and 15-30 second exposures. Shoot during new moons and include interesting foreground elements for depth.
What Technique Photographers Use to Brighten Deep Shadowed Areas?
To brighten deep shadowed areas, you’ll use reflectors to bounce light into shadows, apply shadow recovery in post-processing, employ multiple light sources, increase ISO settings carefully, or utilize dual lighting setups for balanced exposure.
How to Take Pictures in a Dark Theater?
You’ll need a fast lens with wide aperture, high ISO, and stable support. Shoot in shutter priority mode, use a remote trigger, and consider spot metering to capture performers while preserving the dark atmosphere.
In Summary
You’ve now mastered the key techniques for exceptional darkfield microscopy. By correctly positioning your light source, fine-tuning your condenser, configuring your camera for low-light conditions, implementing focus stacking, and applying targeted post-processing, you’ll consistently produce stunning images with dramatic contrast. Don’t be afraid to experiment with these professional methods—they’ll transform your darkfield microscopy from ordinary to extraordinary. Try them today!


Leave a Reply