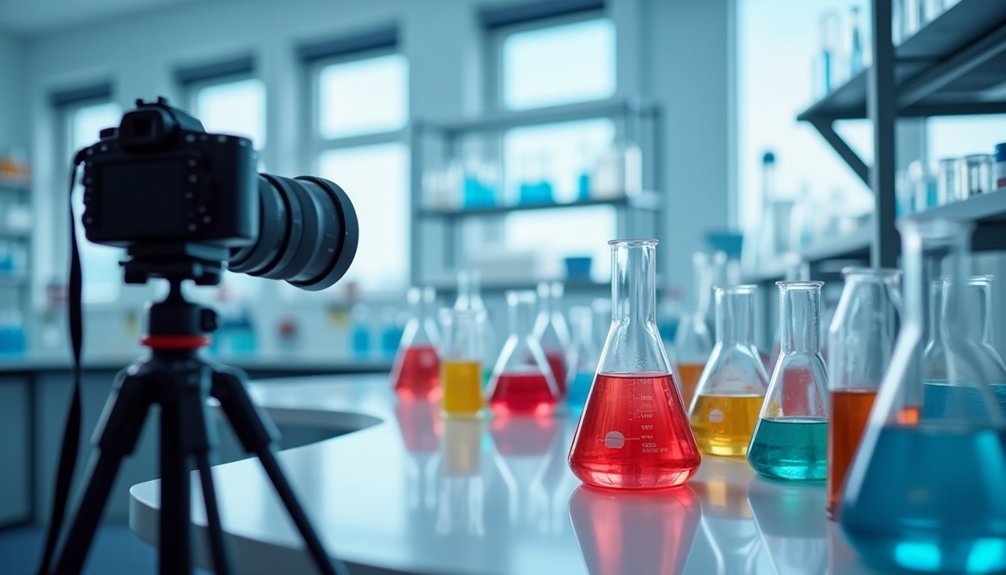
Set up your lab photography like a pro with these three essential tips: Mount your camera on a robust tripod with a leveling base to guarantee perfect stability and consistent horizon lines. Optimize your digital sensor by using the lowest ISO (around 100) and a small aperture (f/32) for maximum depth of field. Finally, incorporate polarizing filters and proper calibration targets to eliminate unwanted reflections and achieve accurate color reproduction. These fundamentals will launch your lab photography to the next level.
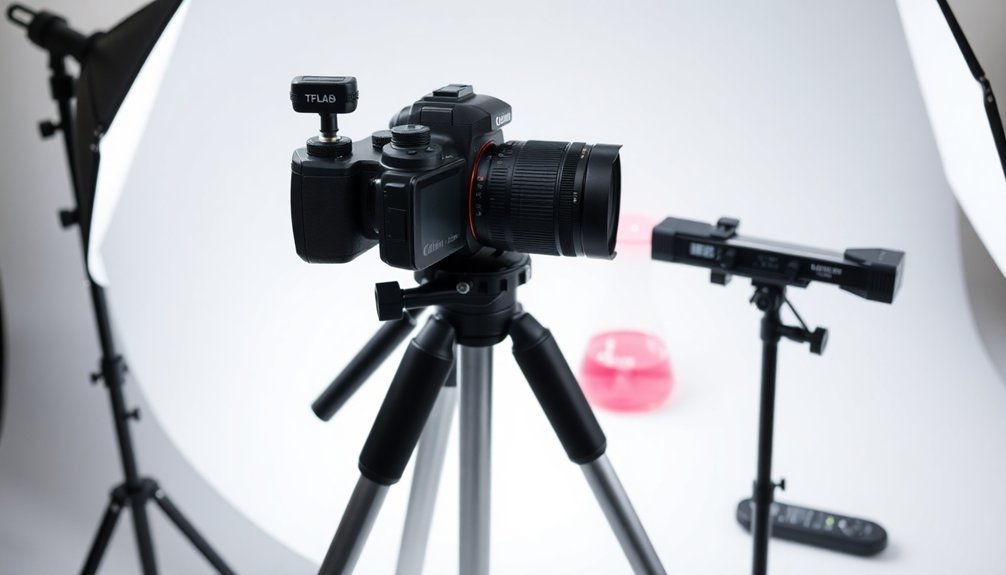
Essential Camera Mounting Hardware and Calibration
When setting up your lab photography station, proper camera mounting and calibration serve as the foundation for producing professional-quality images.
Start by selecting a robust tripod that'll provide the stability you need for sharp, shake-free shots, even at slower shutter speeds. Adding a camera mounting arm enhances your setup's versatility, letting you capture various angles without repositioning your entire tripod.
A sturdy tripod setup with a mounting arm creates the perfect foundation for versatile lab photography, ensuring crisp images from any angle.
Before you begin shooting, use a calibration target to fine-tune your camera settings, ensuring accurate color reproduction and detail capture.
Don't forget to install a leveling base on your tripod to maintain consistent horizon lines in your photos. You'll also want to regularly check your lens alignment, particularly when working with macro lenses, as proper calibration is essential for achieving the highest image quality in your lab photography.
Optimizing Digital Sensor Settings for Microscopy
Digital sensor optimization stands at the core of successful microscopy photography. To achieve the clearest images, you'll need to configure three critical settings.
First, set your ISO to its lowest value, typically 100, which will minimize noise and deliver crisp, clean images. Next, adjust your shutter speed to approximately 1/200th of a second to eliminate motion blur at high magnifications.
For maximum depth of field, use a small aperture setting like f/32, ensuring more of your specimen remains in focus. Don't forget to enable automatic white balance for accurate color representation of cellular components.
You'll also want to maintain your digital sensor through regular calibration and cleaning, especially when you're switching between different objectives or adjusting lighting conditions.
These optimizations will consistently produce high-quality microscopy images.
Advanced Image Capture Techniques for Lab Specimens
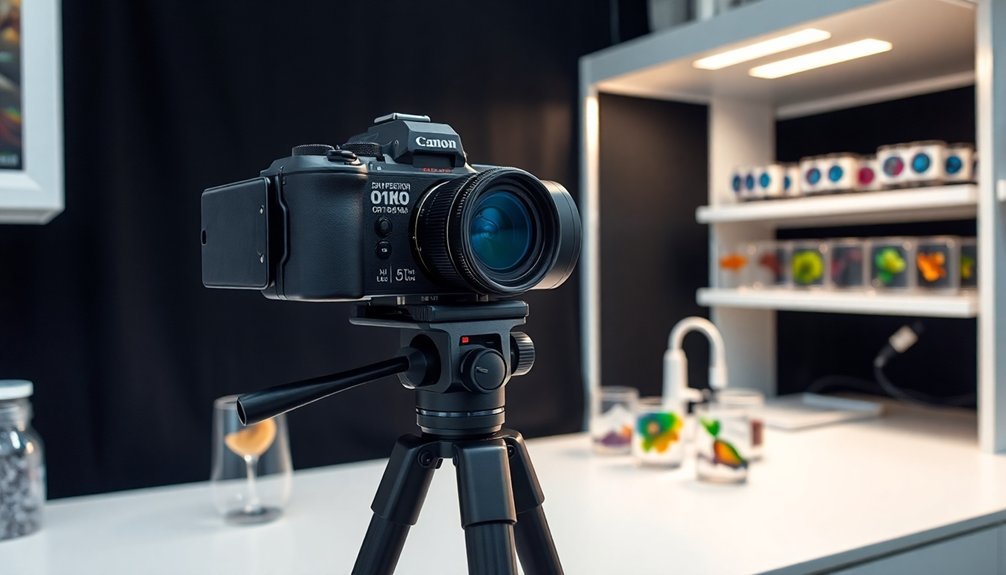
To capture pristine lab specimen images, you'll need to master several advanced techniques beyond basic camera operation.
Start by selecting a camera with excellent macro capabilities that will reveal the finest details of your specimens.
Set your camera to manual mode, maintaining a fast shutter speed of approximately 1/200th second and f/32 aperture to achieve ideal depth of field.
You'll want to mount polarizing filters to eliminate unwanted reflections that can mask essential specimen features.
Position your camera on a sturdy tripod to guarantee consistent lighting and sharp focus throughout your shooting session.
Remember to regularly assess and adjust your settings based on your specific specimens.
Practice capturing different angles while monitoring your results to perfect your technique and produce publication-quality laboratory photographs.
Frequently Asked Questions
What Is the 20-60-20 Rule in Photography?
You'll find that 20% of your photos will be exceptional, 60% will be satisfactory, and 20% won't meet expectations. This rule helps you set realistic standards and encourages continuous improvement in photography.
What Is the 3 1 Rule in Photography?
You'll create balanced photos by dividing your frame into a 3×3 grid and placing your subject at one of the intersecting points. This 3:1 ratio helps draw viewers' eyes naturally to your image's focal point.
What Is the 100 Rule in Photography?
You'll want to keep your shutter speed at 1/100th of a second or faster to prevent motion blur in your photos. This rule helps you capture sharp, clear images, especially when shooting with flash.
What Is the Best Camera Setting for Forensic Photography?
You'll want to use manual mode with a shutter speed of 1/200th, aperture between f/8-f/11, and ISO 100. Set white balance to auto for accurate colors in forensic evidence documentation.
In Summary
These three key aspects of lab photography – proper mounting hardware, calibrated sensor settings, and specialized capture methods – will take your microscopy images to the next level. You'll notice dramatic improvements in clarity, consistency, and detail when you've mastered these fundamentals. Don't forget to document your settings and setup for reproducible results. With practice, you'll produce publication-quality images that showcase your specimens effectively.


Leave a Reply