
You'll achieve perfect digital color imaging results by mastering three essential elements of the workflow. First, calibrate your monitor monthly using professional tools like X-Rite i1Display Pro. Second, control your lighting environment with standardized light sources to maintain consistent color temperatures. Third, optimize your camera's sensor settings by shooting in RAW format and using appropriate color profiles. These fundamentals will open the door to professional-quality color accuracy.
Mastering Monitor and Device Calibration

When it comes to digital color imaging, proper monitor and device calibration serves as the foundation for achieving professional results.
You'll need to regularly calibrate your monitor using tools like the X-Rite i1Display Pro to maintain accurate color balance and prevent color imbalances.
To guarantee consistent color across devices, you should implement color profiles specific to your monitor and printing equipment.
The best practices include setting up a controlled environment with standardized light sources and color temperature.
Since monitors drift over time, perform calibration monthly to maintain overall color accuracy.
Track your monitor calibration settings and maintain detailed records of color profiles.
This documentation helps you replicate successful results and maintain consistent color representation between your screen and final prints, assuring your digital imaging workflow remains reliable.
Understanding Light Sources and Color Balance
Since light sources dramatically influence color perception, understanding their characteristics is essential for accurate digital imaging.
Different lighting conditions, from tungsten to daylight, produce varying color temperatures measured on the Kelvin scale. Lower values around 2500K create warmer tones, while higher values up to 6500K result in cooler light.
You'll need to master white balance settings to combat unwanted color casts and achieve natural-looking images.
Using a gray card under your shooting conditions provides a reliable reference point for color correction and grading during post-processing.
For maximum flexibility in color balance adjustments, always shoot in RAW file formats. This allows you to fine-tune your white balance settings without compromising image quality, ensuring your final photos accurately represent the scenes you've captured.
Optimizing Digital Sensor Settings and Profiles
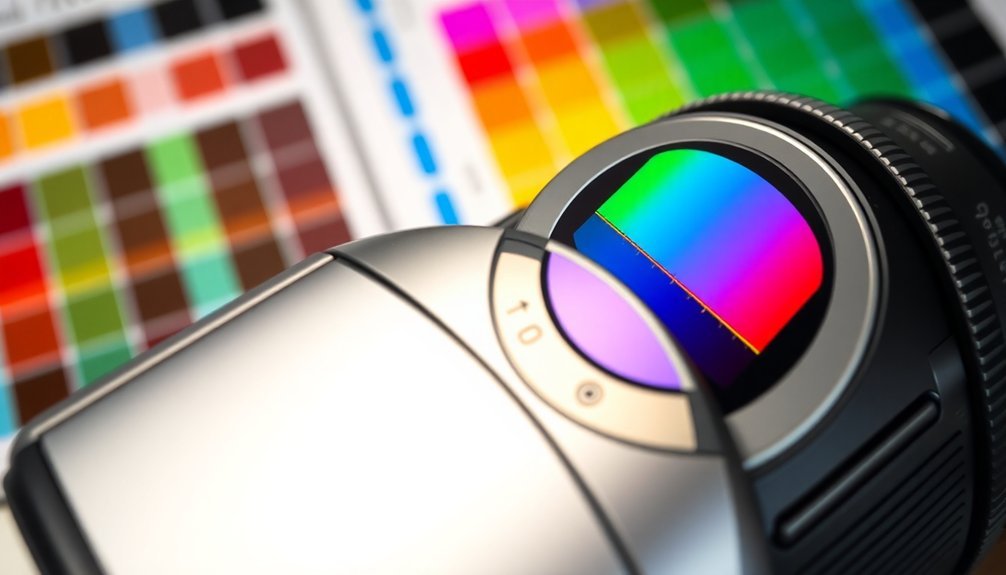
To achieve ideal color accuracy in digital photography, you'll need to master several critical sensor settings and profile configurations.
Start by choosing the right ISO setting for your lighting conditions, as this affects both image quality and color reproduction. Always shoot in RAW format to maintain maximum flexibility during post-processing.
Select an appropriate color profile based on your output needs – Adobe RGB for print or sRGB for digital display.
You'll want to establish proper white balance by using a neutral reference card to eliminate unwanted color casts.
Regular sensor calibration is essential for maintaining consistent results over time.
Frequently Asked Questions
How Do I Get Accurate Color on My Camera?
To get accurate color, you'll need to shoot in RAW format, use a gray card for white balance, calibrate your camera settings regularly, and check results on a calibrated monitor before important shoots.
How to Properly Color Correct Photos?
First, adjust exposure and balance to see all details. Then correct white balance using neutral references. Use tone curves for precise contrast control, and fine-tune saturation carefully. Don't forget to check color scopes.
What Determines the Color Quality of a Digital Picture?
Your digital picture's color quality depends on your camera's sensor quality, lighting conditions, white balance settings, shooting format (RAW vs. JPEG), and how well you've calibrated your display and printing devices.
How to Digitise Color Negatives?
You'll need a dedicated film scanner with at least 2400 DPI. Clean your negatives thoroughly, scan in RGB mode, and use color correction software to invert the colors properly for accurate results.
In Summary
You'll get the best digital color imaging results by staying diligent with these three fundamental practices. Keep your monitor and devices properly calibrated, maintain consistent lighting conditions while understanding their impact on color balance, and optimize your sensor settings with the right color profiles. When you've mastered these essentials, you'll consistently produce accurate, vibrant digital images that match your creative vision.


Leave a Reply