For accurate scientific imaging, calibrate your white balance to 5000°K (D50) using neutral gray cards. Add daylight blue filters (especially 80A) to correct halogen’s yellowish cast. Use specialized meters to verify your light source temperature. Set monitors to D50 and select papers with 92% ISO brightness. Control ambient lighting with 5000°K fluorescent bulbs to minimize distortions. These practices guarantee consistent color reproduction across imaging sessions—discover how these adjustments dramatically improve your research documentation quality.
Selecting Optimal Reference Points for White Balance Calibration
When establishing accurate color representation in scientific imaging, you’ll need to start with proper white balance calibration.
Begin by standardizing your color temperature reference at approximately 5000°K (D50), which serves as an industry benchmark for scientific applications.
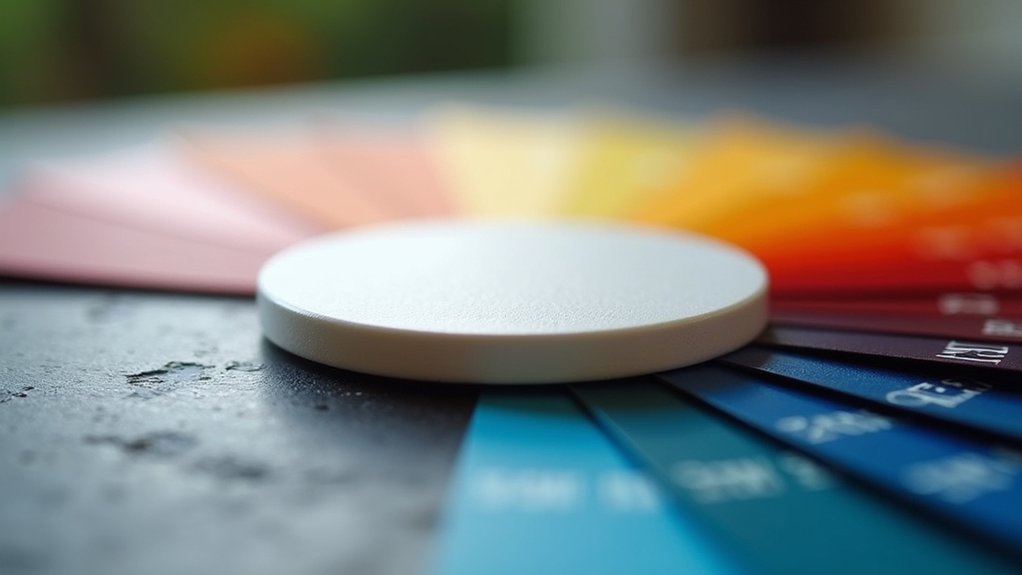
Select high-quality reference materials such as neutral gray cards to calibrate your imaging system before capturing specimens. These provide consistent reference points regardless of your imaging environment’s conditions.
For microscopy work involving halogen bulbs (typically 3200°K), utilize Daylight Blue Conversion Filters (80A-D) to make necessary adjustments.
Always maintain consistent lighting in your imaging environment to prevent white balance discrepancies between captures.
Regularly check manufacturer specifications for your light sources to determine their exact color temperature, enabling precise calibration for accurate representation of your specimens.
Managing Halogen Light Sources With Daylight Blue Filters
Since halogen illumination operates at approximately 3200°K, it introduces a distinct yellowish cast that can compromise scientific image accuracy.
To achieve proper color temperature adjustment, you’ll need daylight blue filters (80A, 80B, 80C, or 80D) that shift the halogen light spectrum toward the cooler 5500-6000°K range typically used for white balance calibration.
Daylight blue filters are essential for shifting halogen illumination toward proper 5500-6000°K calibration range, ensuring scientific image accuracy.
- The 80A filter provides the strongest correction with approximately 100 mired shift
- Proper filter implementation dramatically improves image fidelity in microscopy applications
- Color accuracy becomes especially critical when comparing samples across different imaging sessions
- These filters effectively neutralize the warm bias without compromising light intensity
Measuring and Adjusting Color Temperature in Microscope Systems
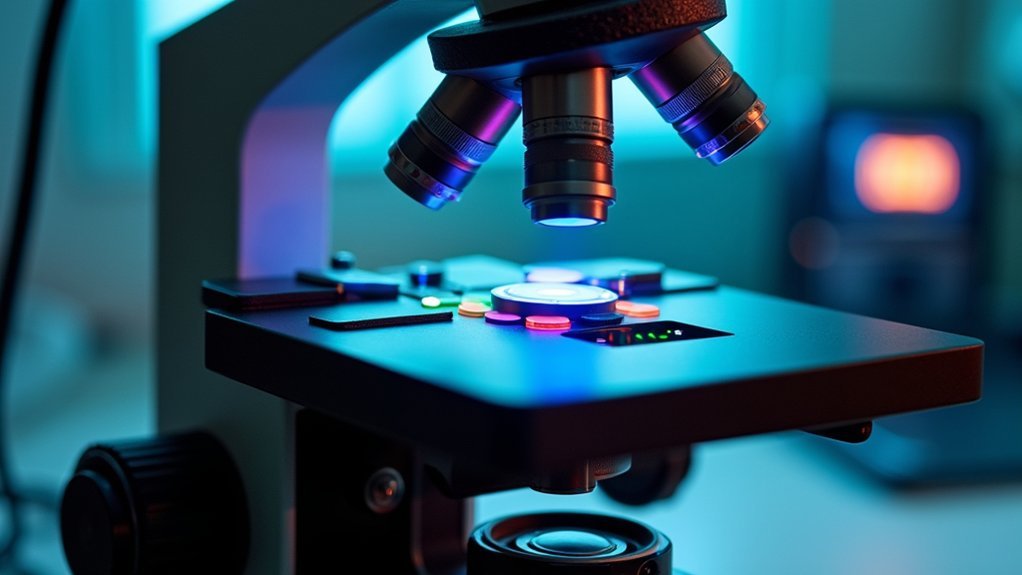
Accurate color temperature measurement in microscope systems builds on the filter-based correction methods we’ve discussed. To achieve true-to-life colors in your scientific imaging, you’ll need to understand both measurement techniques and adjustment strategies on the Kelvin scale.
| Color Temperature Source | Measurement Method | Correction Technique |
|---|---|---|
| Halogen (3200°K) | Color temperature meters | Daylight conversion filters (80A/80B) |
| LED | White balance card | Digital preset adjustment |
| Mercury/Xenon | Spectrophotometer | Optical filter stacks |
| Fluorescent | Reference standard | Software correction |
| Ideal (D50/5000°K) | Calibration target | None required |
For best imaging results, calibrate your microscope’s light source regularly and establish proper white balance settings. This guarantees neutral white reproduction and prevents unwanted color casts. Remember, even small temperature variations can greatly impact your scientific documentation’s color accuracy.
Controlling Paper and Monitor Output for Consistent Color Reproduction
Translating microscope images to paper prints or digital displays requires careful attention to both media properties and viewing conditions.
To maintain consistent color reproduction, you’ll need to manage both your monitor calibration and paper selection carefully.
- Calibrate your monitor to 5000°K (D50) color temperature for standardized white balance and accurate digital representation of your scientific images.
- Choose papers with appropriate ISO Brightness (around 92%) for ideal image quality—be cautious of papers exceeding 100% brightness, as UV-reactive coatings may alter color fidelity.
- Consider paper finish strategically: matte reduces glare while gloss enhances color saturation.
- Control lighting conditions when viewing both digital and printed images—use fluorescent bulbs set to 5000°K to minimize color perception distortion and guarantee paper reflectance appears as intended.
Mitigating Ambient Light Interference in Laboratory Settings
While maintaining consistent imaging conditions inside your microscope system is essential, the ambient lighting surrounding your workstation can greatly compromise color accuracy in scientific imaging.
To guarantee reliable scientific results, you’ll need to control your environment’s color temperature. Install 5000°K fluorescent bulbs in your lab to standardize lighting conditions and minimize color distortions.
Standardize your lab with 5000°K fluorescent lighting—a critical step toward consistent color temperature and distortion-free scientific results.
Don’t underestimate how ambient light affects white balance and color perception—close curtains or implement controlled lighting systems to eliminate external interference during critical imaging procedures.
Remember that psychological reference influences how you perceive colors. Use a color temperature meter to measure and adjust ambient conditions to match your desired imaging parameters.
This simple step considerably reduces color discrepancies and helps maintain imaging accuracy across multiple sessions and observers.
Frequently Asked Questions
What Is the Best Color Temperature for Color Accuracy?
For the best color accuracy, you’ll want to use a 5000°K (D50) color temperature, which represents standard daylight. This neutral reference guarantees your colors appear true-to-life without warm or cool casts.
What Is the Color Rule in Photography?
The color rule in photography encourages you to use complementary colors (opposites on the color wheel) to create visual harmony and contrast. You’ll find that combinations like blue/orange or red/green naturally enhance your compositions.
What Is the Color Temperature Guideline?
When setting color temperature, you’ll want to match your white balance to your light source: 5000K for daylight, 3200K for tungsten. Use filters or camera settings to adjust and maintain accurate color reproduction in your images.
What Is the Effective Temperature Color Temperature?
Effective color temperature measures a light source’s color appearance in Kelvin. You’ll find it essential for scientific imaging as it affects how colors render in your photographs, ranging from warm tones (3200K) to daylight-like conditions (5600K).
In Summary
You’ll achieve more accurate and reproducible scientific imaging results when you master color temperature management. By calibrating white balance, filtering halogen sources, measuring microscope systems, standardizing output media, and controlling ambient light, you’re ensuring color fidelity across your entire workflow. Don’t underestimate these technical adjustments—they’re essential for meaningful data interpretation and effective scientific communication of your visual findings.


Leave a Reply