To capture blur-free specimen photographs, you’ll need three essential techniques. First, secure your specimen with adhesive putty or a specialized mount to prevent movement. Second, stabilize your camera using a sturdy tripod and remote shutter release to eliminate vibrations. Third, optimize your settings with bright lighting, fast shutter speeds (1/250+), and smaller apertures (f/8-f/16) for maximum clarity. These fundamental approaches transform ordinary specimen documentation into publication-quality imagery worth exploring further.
Effective Specimen Mounting Methods to Eliminate Movement
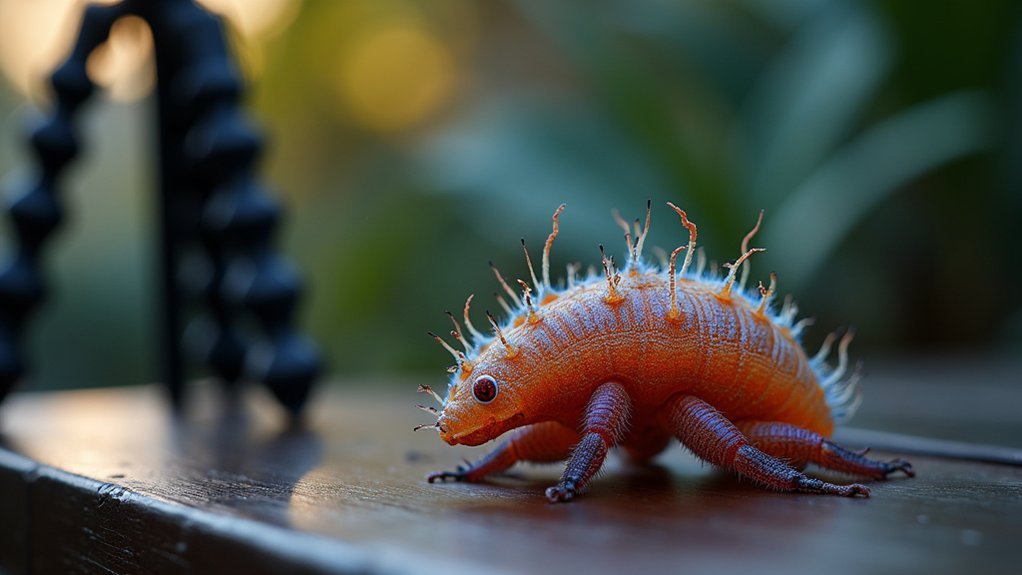
A stable foundation forms the cornerstone of blur-free specimen photography. To achieve stability and focus, start with a heavy board or specialized mount that prevents unwanted shifts during your session.
For smaller specimens, apply adhesive putty or museum gel to reduce movement while maintaining your desired composition. Precise framing becomes possible when you employ a copy stand or tripod with adjustable arms, positioning your subject at ideal height and angle while minimizing vibrations.
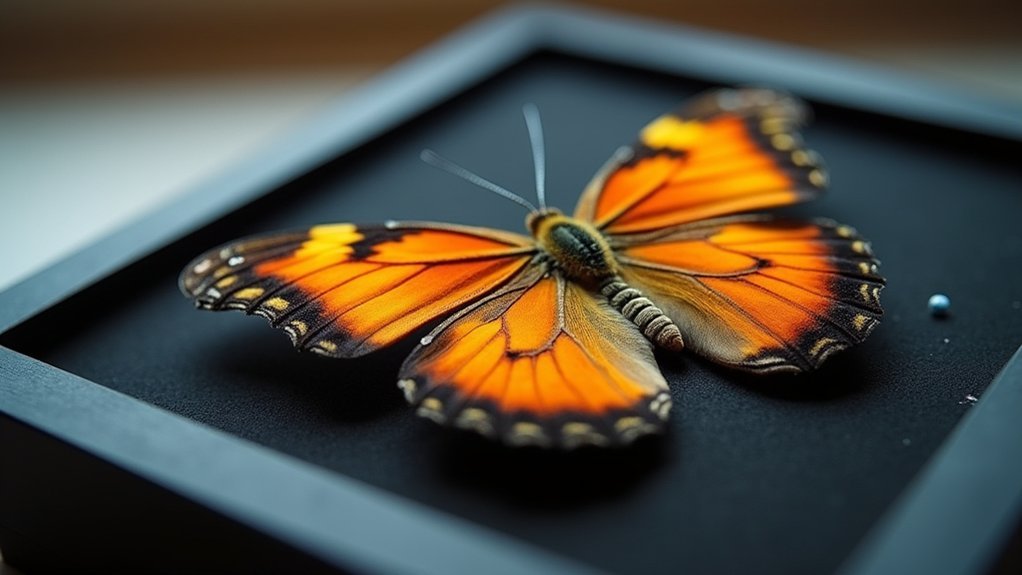
For larger specimens, secure them with clamps or weights to prevent shifting during longer exposures. To enhance visibility while ensuring complete immobility, consider advanced mounting techniques such as clear resin embedding or display boxes.
These effective specimen mounting methods not only eliminate movement but also create professional presentations that showcase your subject’s finest details.
Camera Stabilization Strategies for Crystal-Clear Images
While stability at the specimen level forms your foundation, achieving truly crystal-clear images requires equally effective camera stabilization techniques.
Mount your camera on a sturdy tripod or copy stand to eliminate camera shake during long exposures. For macro photography of minute specimens, this stability is absolutely essential.
Camera stability is non-negotiable for macro work—a robust tripod transforms mediocre specimen shots into publication-worthy imagery.
If your camera offers mirror lock-up functionality, activate it to reduce vibrations when the shutter releases.
Don’t forget to employ image stabilization features on your camera or lens to counteract subtle movements.
For the sharpest results, avoid touching your camera during exposure by using a remote shutter release or timer function.
When tripods aren’t available, brace your arms against a stable surface to minimize movement.
These camera stabilization strategies will dramatically improve the clarity and precision of your specimen photographs.
Optimal Lighting and Exposure Settings to Freeze Microscopic Detail
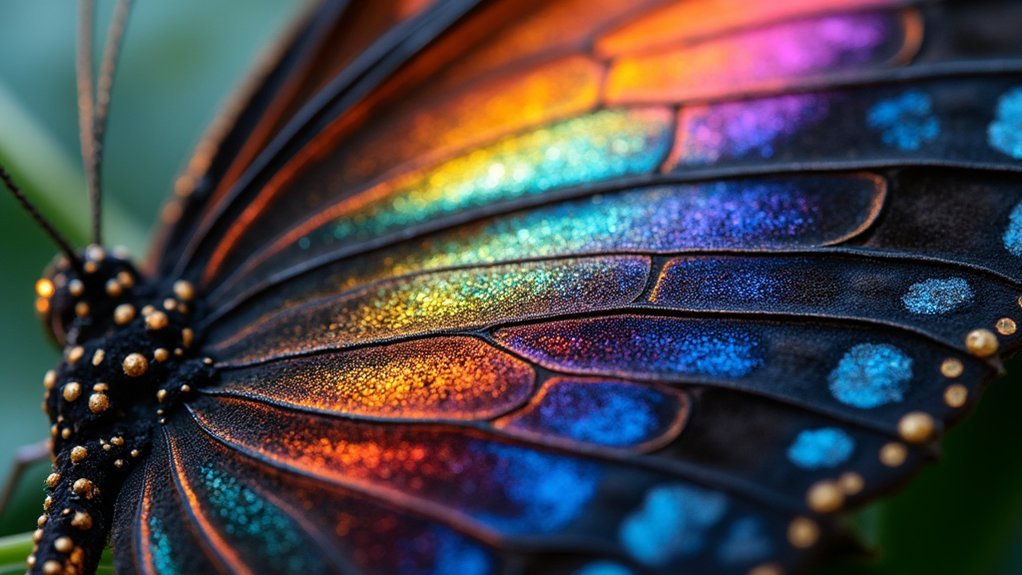
Capturing the finest microscopic details demands more than stable equipment—it requires mastering your camera’s settings and the surrounding illumination.
Start with a fast shutter speed of at least 1/250 seconds to eliminate motion blur, even when using a tripod. Pair this with bright, even lighting from LED ring lights or diffused flashes that reveal intricate features without creating distracting shadows.
Keep your ISO low (100-200) to minimize noise while maintaining image clarity.
When using macro lenses, select a smaller aperture between f/8 and f/16 to achieve greater depth of field, ensuring more of your specimen remains in focus.
This combination of settings creates the perfect balance between freezing motion and capturing the sharpest possible details in your microscopic photography.
Frequently Asked Questions
How Do Photographers Get Blurry Photos?
Your photos get blurry when you use slow shutter speeds without stabilization, have poor focus, shoot in low light, set high ISO causing noise, or allow camera or subject movement.
What Is the Difference Between Bokeh and Blur?
You’re seeing two different effects: bokeh is intentional, pleasing out-of-focus areas created by lens design and aperture shape, while blur is any unwanted loss of sharpness that degrades image quality.
How Do You Make Blurry Pictures Look Good?
To make blurry pictures look good, you’ll need to embrace the blur as an artistic element. Try using it selectively, enhancing contrast, converting to black and white, or applying filters that complement the softness.
What Camera Settings Are Best for Motion Blur Photography?
For motion blur photography, you’ll want to use slower shutter speeds (1/30-1/60s), a tripod for stability, a smaller aperture (f/8-f/16), and a low ISO. This captures movement while maintaining sharp backgrounds.
In Summary
You’ve now mastered the three essential techniques for producing blur-free specimen images. By properly mounting your samples, stabilizing your camera, and optimizing your lighting settings, you’ll capture remarkably clear photographs every time. Remember, it’s the combination of these approaches that delivers professional results. Don’t hesitate to experiment with these methods—your specimens deserve to be documented with the precision and clarity they require.


Leave a Reply