
Proper sensor calibration guarantees your digital microscope delivers accurate, reliable results every time. You'll get true color reproduction, precise measurements, and clear images without distortion or chromatic aberration. By calibrating your microscope's CCD or CMOS sensors, you're correcting for environmental factors and lens imperfections that could compromise your data. Whether you're conducting research or analyzing samples, understanding the nuances of sensor calibration will transform your microscopic observations from questionable to quantifiable.
Understanding Digital Microscope Sensor Technology
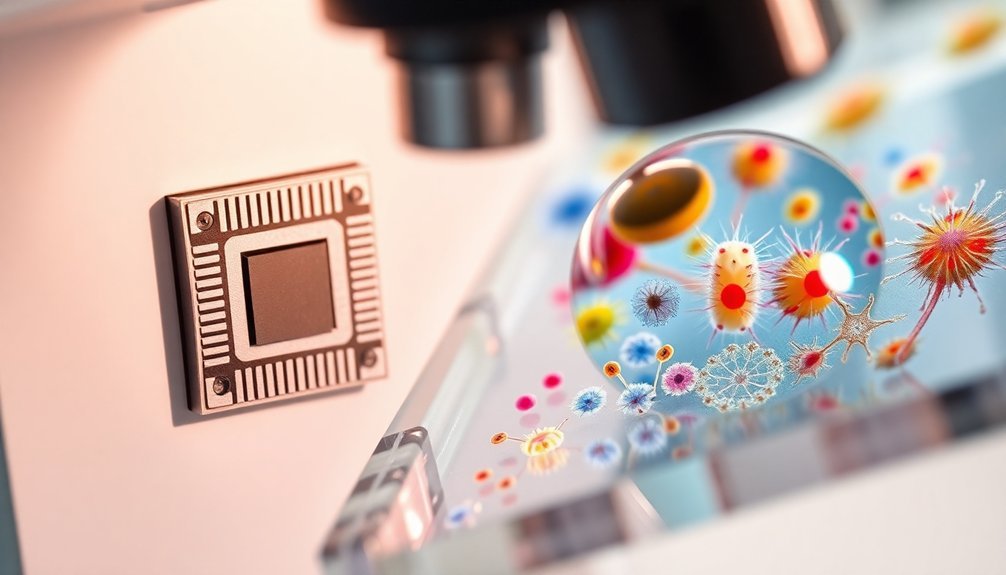
While traditional microscopes rely on eyepieces for direct observation, digital microscopes leverage sophisticated sensor technology to convert light into digital signals.
You'll find that modern digital microscopes use either CCD or CMOS sensors as their core imaging components, transforming the way you capture microscopic details.
These sensors are critical to achieving peak image quality, as they determine your microscope's resolution, light sensitivity, and noise management capabilities.
When you're working with high pixel density sensors, you'll notice enhanced detail capture, though this can sometimes lead to increased noise in low-light conditions.
That's why proper sensor calibration is essential – it helps correct issues like chromatic aberration and distortion.
Through regular calibration, you'll maintain accurate color reproduction and detail preservation, ensuring your microscope meets industry standards for research and diagnostics.
Key Principles of Center-Screen Calibration
Proper sensor operation depends heavily on center-screen calibration, a fundamental process that directly impacts measurement accuracy.
You'll achieve the best results by focusing your calibration efforts in the center of the viewing area, where lens distortion is minimal.
To guarantee ideal accuracy, you should use a glass scale with 100 μm increments and take measurements near the screen's center.
For optimal measurement precision, rely on a glass scale with 100-micron graduations while keeping readings centered on-screen.
When selecting calibration points, you'll need to carefully align the scale markings and work with micron-level measurements rather than larger units.
This precision helps you capture the finest details in your observations.
Best Practices for Focus Depth Management
Since focus depth directly affects image size and measurement accuracy, mastering depth management is essential for digital microscopy. You'll need to establish consistent rules for raising and lowering your microscope scope to maintain proper calibration throughout your observations.
To guarantee the accuracy of your measurements, you should position your target near the screen's center, where lens distortion is minimal. When adjusting focus, start from the bottom of your field of view and work methodically upward. This approach helps maintain consistent focus while preventing measurement variations between different scope positions.
For the most precise results, use microns rather than larger units during calibration, as they provide finer detail and minimize precision loss. Remember that the depth of focus impacts image size, so maintain consistent scope positioning during measurements.
Precision Measurement Units and Scale Selection
Building upon focus depth management practices, selecting appropriate measurement units and scales forms the backbone of accurate digital microscopy.
You'll achieve the finest results by using microns rather than millimeters for precision measurement units, as they enable finer detail and superior calibration accuracy.
When performing calibration processes, you should focus on selecting glass scales with 100-micron increments and keep calibration points close together to minimize lens distortion effects.
You'll want to establish consistent rules for matching image focus when adjusting scope position, as variations can greatly impact your measurements.
For best results, use thin, high-contrast measurement lines that stand out clearly against your background.
These elements work together to guarantee your digital microscopy measurements maintain the highest possible precision and reliability.
Essential Equipment and Reference Standards
You'll need high-quality glass scales with precise line spacing and ideal contrast ratios to guarantee accurate calibration of your digital microscope's sensors.
Stable, uniform lighting sources operating at standardized intensities help maintain consistent calibration conditions while meeting EMVA-1288 reference requirements.
Specialized calibration software tools let you analyze sensor response, track measurement accuracy, and generate performance reports that validate your microscope's compliance with industry standards.
Glass Scale Selection Guidelines
Three critical considerations guide the selection of glass scales for digital microscopy calibration.
First, you'll need a standard glass scale that's 10 mm wide with 100 μm increments. Calibration is often more precise when you focus on points near the center of the scale, where lens distortion is minimal.
Second, you must carefully select scale markings, considering that each step equals 100 μm. To guarantee accuracy, use either inside-to-outside or outside-to-inside calibration methods while maintaining proper alignment with your chosen scale points.
Finally, your measuring line should be thin and highly visible, preferably in a color that contrasts with the background. This contrast helps you align the scale precisely, leading to more reliable measurements and better overall calibration results.
Light Source Requirements
Since accurate measurements depend heavily on proper illumination, selecting the right light source for digital microscopy calibration is vital.
You'll find LED sources are the best choice, offering stable illumination, extended lifespans, and minimal heat generation – significant factors for maintaining consistent imaging conditions.
To prevent inaccurate data, you must follow ISO 16067-1:2006 guidelines when characterizing and calibrating your light sources.
Using standard calibration targets under controlled lighting helps you assess your microscope's optical performance, particularly brightness uniformity and color accuracy.
Remember that regular calibration of your light source's intensity and spectral distribution isn't optional – it's critical for maintaining measurement precision.
Calibration Software Tools
Mastering digital microscopy calibration requires robust software tools and precise reference standards working in tandem.
You'll need calibration software tools that support industry standards like EMVA-1288 and GeniCam to guarantee your sensors used deliver accurate measurements consistently.
Your calibration process will benefit from automated features that minimize human error while maximizing efficiency.
When you're setting up your system, you'll want to incorporate calibrated glass scales and specific targets as reference standards for precise alignment. These tools help you input reference values and adjust settings for peak performance.
To maintain measurement accuracy, you'll need to keep your calibration software updated regularly. This guarantees compatibility with emerging sensor technologies and helps you stay compliant with evolving industry standards, ultimately assuring reliable imaging results.
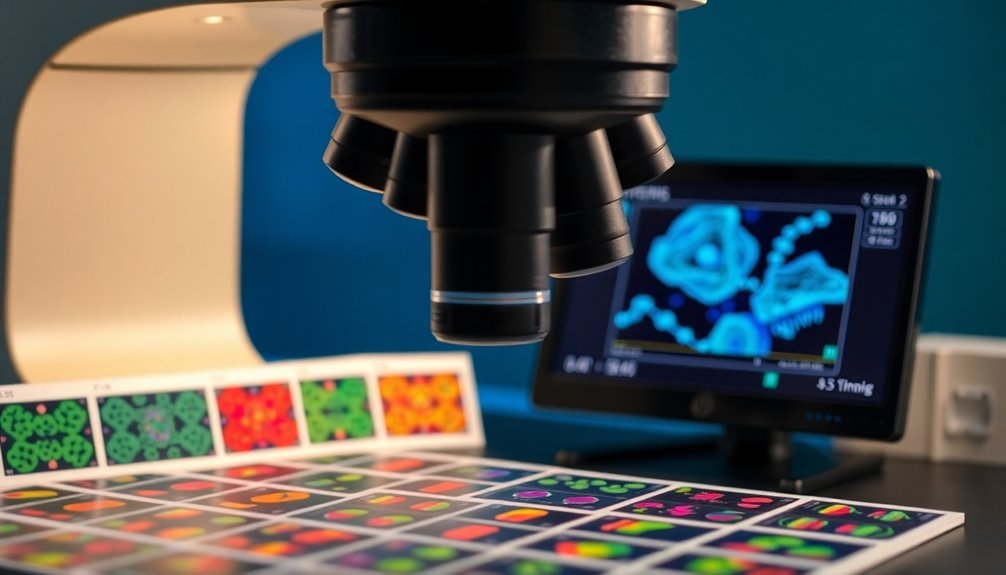
Optimizing Image Quality Through Sensor Settings
While achieving ideal image quality in digital microscopy depends on various factors, precise sensor calibration stands as a cornerstone of the process.
You'll find that making calibration adjustments in microns rather than millimeters gives you the precision needed to prevent equipment damage and capture the finest details in your samples.
To optimize your imaging results, you'll need to focus on fine-tuning exposure settings to maintain proper dynamic range. This guarantees you're capturing both bright and dark regions accurately.
By implementing automated calibration techniques, you'll achieve consistent results while minimizing chromatic aberration, which often distorts images at the field of view's edges.
Regular sensor calibration helps maintain sharpness and reduces noise, making it easier to preserve critical details in your microscopy work.
Addressing Common Calibration Challenges
Digital microscopy calibration presents several common challenges that can affect your measurement accuracy and image quality. When performed using glass scales, you'll need to carefully select calibration points, paying close attention to marking thickness and alignment.
It's crucial to calibrate at the center of your image, as lens distortion increases toward the edges. Best practices include using microns instead of millimeters for enhanced precision, especially when measuring microscopic structures.
You'll also need to account for environmental factors like temperature changes that can impact your sensor's performance. Since these variables can shift over time, you should establish a regular recalibration schedule.
Frequently Asked Questions
Why Is Sensor Calibration Important?
You'll need sensor calibration to guarantee accurate measurements, reduce noise, and maintain data reliability. It's essential for eliminating errors and artifacts that can distort your results across various scientific applications.
Why Is Calibration Important in Microscopy?
You'll need proper calibration in microscopy to guarantee accurate measurements, minimize lens distortion, and maintain reliable image quality. It's essential for your research integrity and helps you meet industry standards in scientific observations.
Why Would It Be Necessary to Calibrate the Sensor Data Directly From the Sensor Rather Than Use the Data Sheet Measurements?
You'll get more accurate results by calibrating directly from the sensor since it accounts for real-world factors like aging, wear, and environmental conditions that aren't reflected in idealized data sheet specifications.
What Is the Main Purpose of Calibration Calibration?
You'll need calibration to guarantee your measurements are accurate and reliable by aligning your sensor outputs with known standards. It helps you correct errors and establish consistent reference points for precise data collection.
In Summary
You'll find that proper sensor calibration makes the difference between mediocre and exceptional digital microscopy results. Take time to regularly check your center-screen alignment, adjust focus depth settings, and verify measurement accuracy. By following these calibration protocols and maintaining your reference standards, you're ensuring reliable data collection and crisp, clear imaging for your research or inspection work.


Leave a Reply