To eliminate sample vibration and improve lab imaging results, you’ll need both strategic equipment placement and proper isolation techniques. Position microscopes near structural columns and away from mechanical systems. Implement passive systems (pneumatic isolators, rubber dampers) for less sensitive equipment, and active systems with real-time sensors for precision instruments. For nanoscale imaging, consider negative-stiffness isolators that achieve 99.7% isolation efficiency at 10 Hz. The right combination of placement and technology can transform your blurry images into crystal-clear data.
Understanding Vibration Sources in Laboratory Environments
While running a laboratory facility, you’ll quickly discover that vibration presents one of the most pervasive challenges to accurate measurements and reliable results.
Your sensitive equipment, particularly high-precision microscopes, can be compromised by vibrations you mightn’t even perceive.
Vibration infiltrates your lab from two main sources: external and internal.
External vibration typically comes from road traffic, construction, and nearby industrial activities. Internal sources include foot traffic, HVAC systems, and other lab equipment.
To effectively control vibration, you’ll need to address both types through strategic planning.
Before installing sensitive equipment, conduct a thorough vibration survey of your facility. Understanding the specific frequency and velocity of vibrations affecting your lab is essential for implementing appropriate isolation measures and achieving consistent, accurate imaging results.
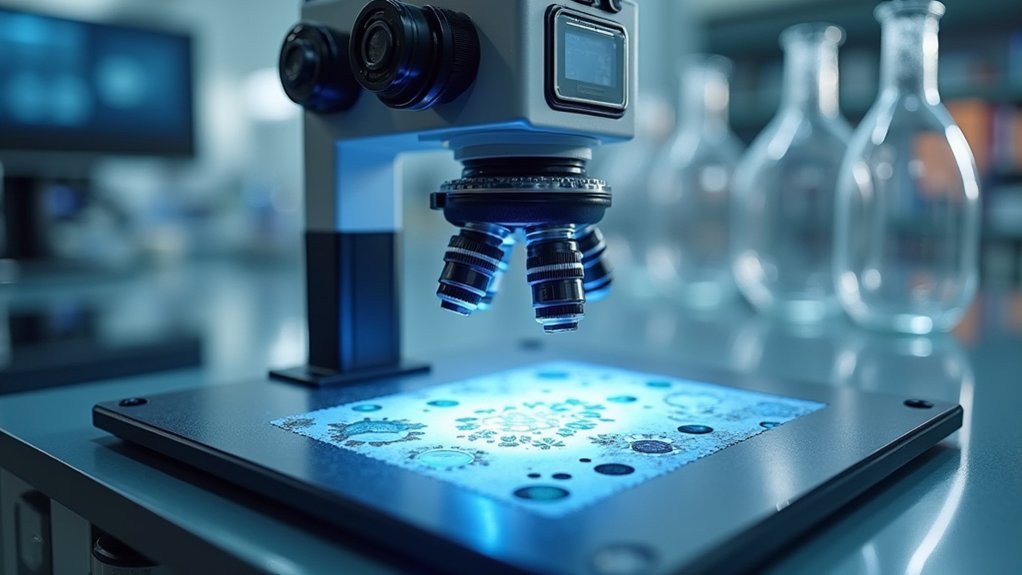
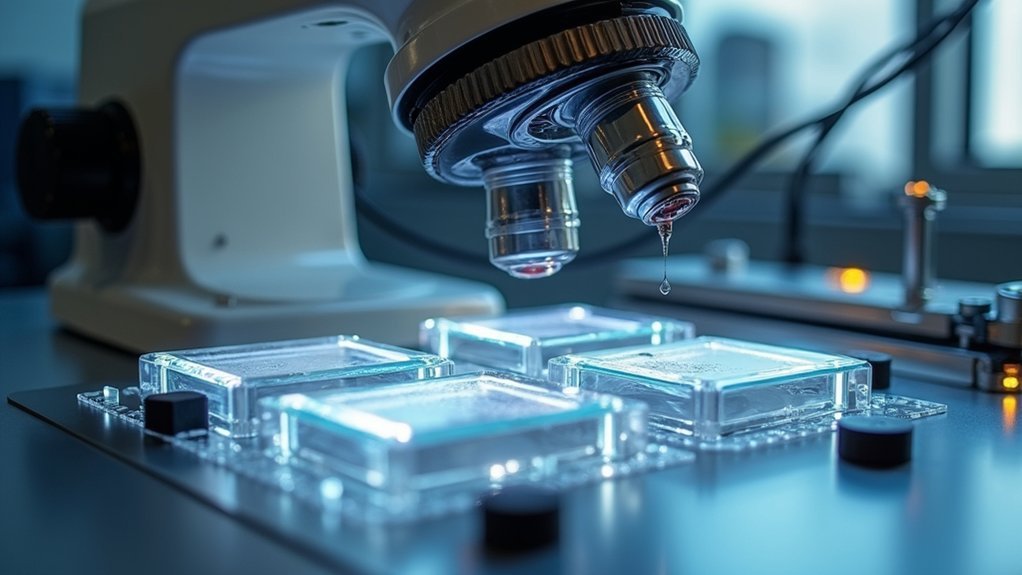
Identifying Vibration Impact on Microscopy Image Quality
You’ll notice distinct image artifacts like blurring, ghosting, or streaking when vibration compromises your microscopy results.
These vibration damage signatures vary depending on frequency ranges, with low-frequency disturbances (1-10 Hz) typically causing whole-frame shifts while higher frequencies (>20 Hz) produce more localized distortions.
Understanding the relationship between vibration frequency and microscope resolution is critical—higher magnifications are increasingly susceptible to vibration, with resolution degrading proportionally to both amplitude and frequency of unwanted movements.
Vibration Damage Signatures
Recognizing the telltale signs of vibration interference in microscopy images allows researchers to diagnose problems before they compromise critical data.
When examining your results, look for characteristic blurring, distortion, and loss of fine detail—these are vibration’s fingerprints on your work.
For vibration sensitive applications requiring 1,000x magnification, even minimal vibrations (below 500 μin/s) can degrade image quality.
Environmental sources like foot traffic and HVAC systems introduce noise that reduces signal clarity in high-resolution imaging.
High performance vibration isolation solutions, particularly those with negative-stiffness mechanisms, achieve up to 99.7% isolation efficiency at problematic low frequencies.
These active vibration control systems effectively eliminate the microscopic movements that would otherwise render your precision measurements unreliable.
Frequency vs. Resolution
As the frequencies of environmental vibrations intersect with your microscope’s performance thresholds, image resolution deteriorates in predictable patterns.
At higher magnifications (1000x+), even minor oscillations can render your imaging data unusable. Your sensitive instruments require stability within established vibration criteria—typically 500 μin/s (VC-C) for precise optical microscopy applications.
Low-frequency disruptions are particularly problematic, causing measurement errors that compromise research integrity. The relationship is straightforward: greater magnification demands stricter vibration limits.
When evaluating your lab’s imaging challenges, consider that vibrations at critical frequencies can reduce measurement reliability by creating false data patterns.
Active isolation systems offering 99.7% efficiency at key frequencies represent an effective solution. These technologies counteract specific frequency ranges that most severely impact your microscope’s resolution, ensuring clearer, more accurate results.
Passive vs. Active Vibration Control Systems for Lab Equipment
When choosing vibration control for your lab equipment, you’ll need to decide between passive and active systems based on your precision requirements.
Passive isolation options like pneumatic isolators and rubber dampers offer cost-effective vibration damping for less sensitive instruments. They’re simpler to implement but may fall short for high-precision applications.
Active systems, however, employ real-time sensors and actuators to counteract vibrations across a wider frequency range. They’re ideal for scanning electron microscopes and other precision equipment that can’t tolerate even minor disturbances.
While passive systems improve with greater static deflection, active systems address both external and self-generated vibrations.
For best results, consider combining both approaches. This integrated strategy provides maximum vibration mitigation, ensuring your sensitive lab equipment delivers reliable, high-quality imaging results.
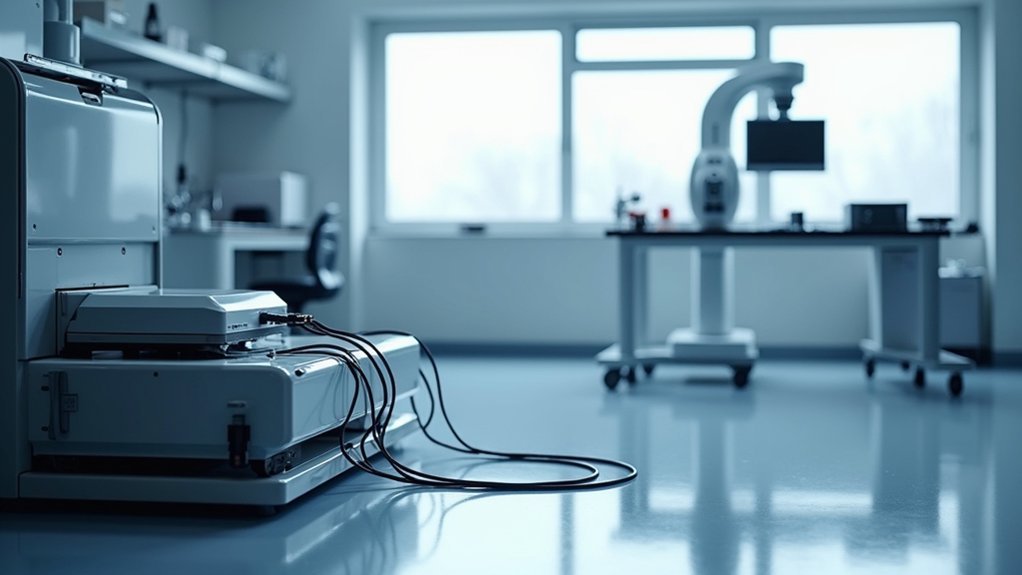
Strategic Equipment Placement for Minimal Vibration Interference
You’ll achieve ideal imaging results by placing sensitive equipment on slab-on-grade foundations rather than above-grade steel structures where vibrations can be amplified.
Position your isolation tables away from building facades, mechanical systems, and sources of background noise that could compromise measurement accuracy.
Early planning of equipment layout should account for floor stiffness, span lengths, and sufficient distance from vibration-generating devices like HVAC equipment and elevators.
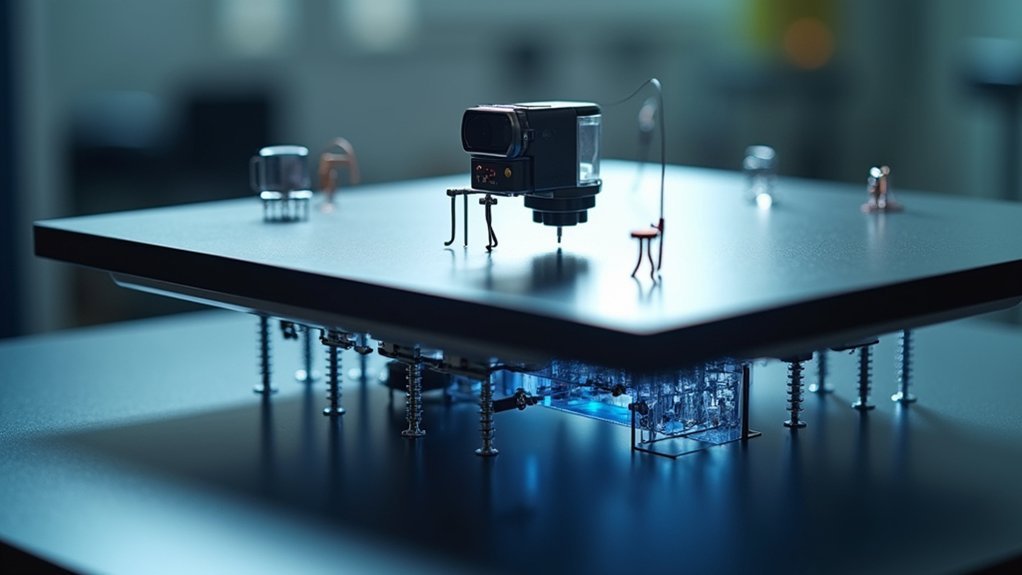
Isolation Tables Placement
Strategic placement of vibration isolation tables forms the foundation of effective sample stabilization in laboratory environments. You’ll achieve up to 90% reduction in vibration levels by positioning your pneumatic isolation systems on slab-on-grade foundations. Keep highly sensitive to vibration equipment away from building facades to minimize background interference.
| Table Location | Benefits | Considerations |
|---|---|---|
| Center of room | Maximum stability | Requires more space |
| Away from HVAC | Reduces mechanical noise | Temperature fluctuations |
| Near power sources | Convenient connections | Potential EMI issues |
| Corner placement | Structural support | Potential for wall vibrations |
Early evaluation of table placement is essential for optimizing your lab’s vibration control strategy. By isolating your sensitive instruments from mechanical and electrical equipment, you’ll enhance imaging accuracy and improve the reliability of your research results.
Adjacent Equipment Positioning
Proper positioning of adjacent laboratory equipment dramatically reduces vibration transfer between instruments, creating a more stable research environment.
To minimize the effects of vibration on your sensitive imaging devices, implement these strategic positioning principles:
- Place vibration-sensitive instruments on slab-on-grade foundations rather than elevated floors to improve stability and control unwanted movement.
- Position equipment near structural columns for better vibration performance and reduced interference.
- Maintain distance between sensitive devices and mechanical/electrical equipment to prevent operational vibrations from affecting your results.
- Keep precision instruments away from building facades to shield them from external vibrations caused by traffic or construction.
Evaluating equipment positioning early in your lab design process guarantees ideal vibration control for high-resolution imaging applications.
Structural Considerations for Vibration-Sensitive Microscopy
When setting up a microscopy lab, the structural environment plays a critical role in eliminating unwanted vibrations that can compromise image quality.
Place your sensitive equipment on ground floors with concrete slabs whenever possible, as they naturally dampen vibrations better than upper floors.
Ground floors with concrete slabs provide superior vibration dampening for sensitive microscopy equipment compared to upper floors.
Position microscopes near structural columns to maximize vibration performance, and avoid beam spans exceeding 35 feet.
You’ll achieve better results by selecting spaces with deeper structural beams, which reduce flexing and minimize energy transmission through your floor system.
If structural improvements aren’t feasible, consider installing active vibration cancellation systems.
These specialized devices can effectively offset floor movements, providing the stability required for high-resolution imaging even in less-than-ideal structural environments.
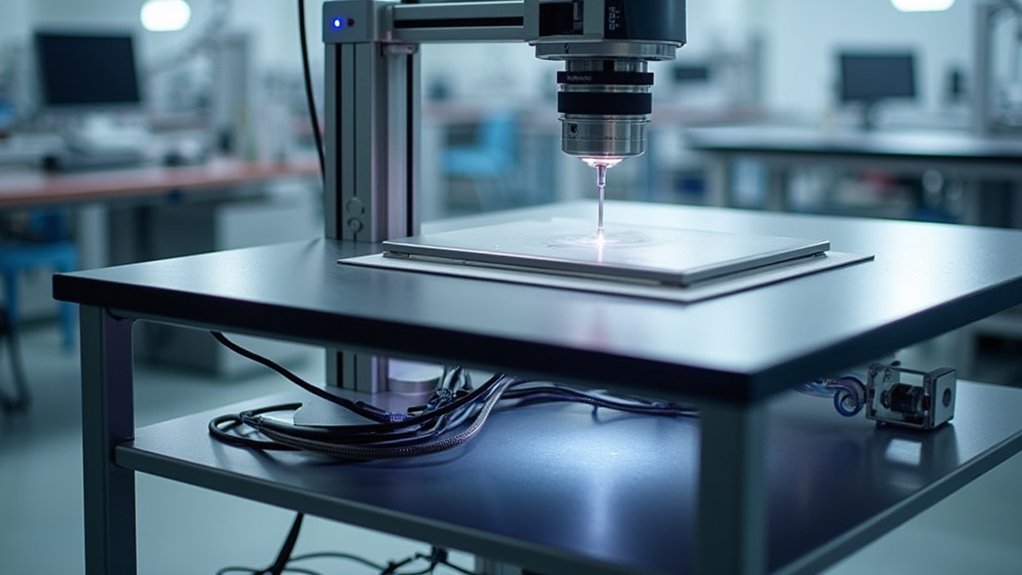
Advanced Isolation Technologies for Nanoscale Imaging
While structural adjustments provide foundational stability, nanoscale imaging demands far more sophisticated vibration control.
Advanced isolation technologies now offer unprecedented precision for your high-resolution imaging needs.
Negative-stiffness vibration isolators outperform traditional solutions by:
- Achieving 99.7% isolation efficiency at 10 Hz frequencies – critical for nanoscale techniques like AFM and NSOM
- Supporting payloads from 1-130 lbs while maintaining vertical natural frequencies of 0.5 Hz or less
- Eliminating electronic dysfunctions and power modulation issues common in active systems
- Enabling simultaneous imaging and spectroscopic data collection without sample removal
You’ll find these technologies particularly valuable when integrating AFM with micro-Raman systems, where even minimal vibration can compromise results.
Companies like Nanonics Imaging now offer integrated systems leveraging these isolators for applications across nanotechnology and biological sciences.
Measuring and Monitoring Vibration Levels for Optimal Results
Even the most advanced isolation systems can’t function at their best without precise measurement of your laboratory’s vibration profile. Understanding your environment begins with quantifying root mean square (RMS) velocity, which measures the energy impact on your sensitive equipment.
Precision begins with measurement—know your vibration landscape before investing in isolation solutions.
You’ll need to assess your lab against established vibration criteria (VC) curves, which provide clear thresholds for different magnifications—4,000 μin/s for 100x and just 500 μin/s for 1,000x magnification.
Implement continuous monitoring using real-time frequency analyzers and seismic accelerometers to catch disruptive events before they compromise your imaging.
Vibration spectrum graphs will help you identify problematic frequencies affecting your specific instruments, allowing for targeted mitigation strategies rather than costly overengineering of isolation solutions.
Frequently Asked Questions
What Cancels Out Vibration?
Vibration can be cancelled by pneumatic isolators, negative-stiffness mechanisms, active control systems (using sensors and feedback), and passive dampening methods. You’ll find these integrated into specialized isolation tables for ideal performance in sensitive applications.
How to Nullify Vibrations?
To nullify vibrations, you’ll need both passive and active control systems. Use pneumatic isolators, rubber dampers, specialized foundations, and active feedback mechanisms. Position equipment on stiff platforms and create dedicated low-vibration zones in your workspace.
How Do You Reduce Vibration Frequency?
You’ll reduce vibration frequency by installing passive isolation systems like pneumatic isolators, using concrete slabs for flooring, positioning equipment on specialized foundations, employing negative-stiffness isolators, and implementing structural modifications that add mass or stiffness.
What Is the Best Thing to Absorb Vibrations?
For absorbing vibrations, Minus K’s negative-stiffness systems offer the best performance with up to 99.7% isolation at 10 Hz. You’ll get ideal results by combining passive dampers with active control systems for your sensitive equipment.
In Summary
You’ve learned how to identify, measure, and control vibration sources that compromise your imaging results. By implementing passive or active isolation systems, strategically placing equipment, and considering structural factors, you’ll greatly improve your microscopy outcomes. Don’t underestimate the impact of even minor vibrations on nanoscale imaging. With proper monitoring and the right technologies, you’re now equipped to achieve clearer, more reliable laboratory images.


Leave a Reply