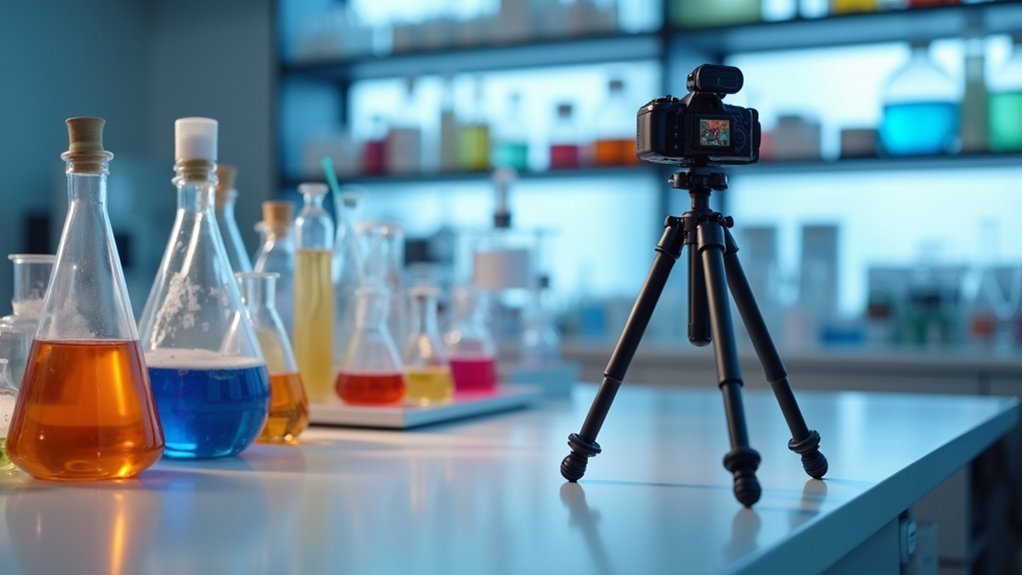
To achieve perfect lab photos, you’ll need to control both temperature and vibration sources. Maintain stable environmental conditions (±0.1°C) using thermal enclosures and anti-vibration tables that absorb over 95% of mechanical disturbances. Secure your samples with high-viscosity mounting media and rigid mounting techniques. Implement regular calibration using reference samples and software-based drift correction. These techniques greatly reduce focus drift while improving image clarity and experimental reproducibility. The following strategies will transform your imaging results.
Understanding Focus Drift in Microscopy
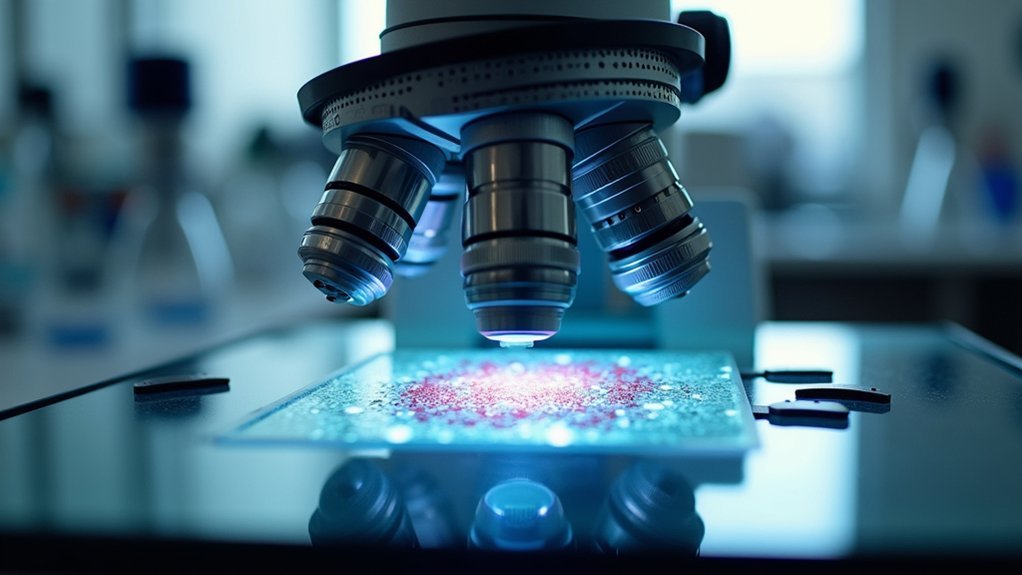
When capturing microscopic images, focus drift remains one of the most persistent challenges you’ll encounter in the laboratory. This phenomenon typically stems from temperature fluctuations, mechanical vibrations, and changes in the refractive index as cells move within your samples. The result? Blurred images that can lead to misinterpreted data.
To combat focus drift effectively, you’ll need to use two key approaches: environmental control and technical solutions. Maintaining stable temperature and humidity around your microscope prevents thermal expansion that causes drift.
Stable environments and advanced hardware form your first line of defense against the persistent enemy of microscopy: focus drift.
Meanwhile, implementing autofocus systems and piezoelectric stages provides real-time correction during live-cell imaging.
Don’t underestimate the importance of regular calibration and clean optical paths—these fundamentals considerably enhance image clarity and guarantee your research produces reproducible, high-quality results.
The Role of Environmental Factors in Stage Stability
Environmental factors greatly impact your stage stability, with temperature fluctuations causing thermal expansion or contraction that can ruin precise imaging.
You’ll need to control airflow around your microscopy setup, as even minor air currents can disrupt the optical path and compromise image quality.
Identifying and mitigating vibration sources—whether from nearby equipment, HVAC systems, or foot traffic—is essential for maintaining the stable platform required for high-resolution laboratory photography.
Temperature Impacts Equipment Performance
Although often overlooked, temperature fluctuations represent one of the most significant threats to stage stability in laboratory photography. When your imaging environment experiences even minor temperature changes, optical components expand and contract, leading to misalignment and focus drift that can ruin precision imaging.
| Temperature Issue | Impact | Solution |
|---|---|---|
| Ambient fluctuations | Refractive index changes | Climate-controlled room |
| Equipment heating | Performance degradation | Respect operating ranges |
| Thermal gradients | Increased noise | Peltier cooling systems |
You’ll achieve better signal-to-noise ratios and more accurate measurements by implementing proper temperature regulation. Remember that stage stability directly depends on thermal consistency—each degree of variation can affect material properties of your equipment, potentially compromising image clarity and experimental reproducibility. Invest in temperature monitoring and control systems to protect your imaging precision.
Controlling Airflow Around Stages
Even subtle air currents can devastate your imaging precision, making airflow control a critical yet often neglected aspect of stage stabilization.
These invisible disruptors introduce vibrations and thermal fluctuations that compromise focus stability during live-cell imaging.
Install your microscope within laminar flow cabinets to minimize disruptive air currents while maintaining clean conditions.
Complement this setup with anti-vibration tables that isolate your stage from environmental disturbances.
For ideal results, consider enclosing your microscope in a temperature-controlled chamber to eliminate fluctuations caused by passing air streams.
Don’t underestimate the power of regular airflow assessment around your setup.
Vibration Sources and Mitigation
While researchers often focus on their equipment’s internal stability, persistent external vibrations can undermine even the most sophisticated imaging systems. These disruptions commonly originate from routine lab activities—equipment operation, nearby machinery, and even foot traffic can greatly impact your imaging quality.
Environmental factors like air currents and temperature fluctuations further complicate matters by altering the refractive index and causing focus drift during live-cell microscopy. To combat these issues, invest in anti-vibration tables that effectively isolate sensitive equipment from external disturbances.
Don’t overlook the importance of regular calibration of your optical components. This maintenance, combined with piezoelectric stages, provides precise position control that compensates for subtle shifts during imaging sessions.
These proactive measures guarantee your microscopy work produces clear, consistent results despite challenging environmental conditions.
Anti-Vibration Solutions for Precision Imaging
Four essential anti-vibration systems can transform your laboratory imaging results from blurry disappointments to crystal-clear captures.
Anti-vibration tables absorb mechanical vibrations from your environment, considerably reducing external disturbances that compromise image clarity.
For maximum stability, consider active vibration isolation systems, which achieve impressive attenuation levels exceeding 95%.
Pneumatic isolation systems utilizing air pressure offer another effective option, particularly beneficial for live-cell microscopy where stability is paramount.
Don’t overlook materials—incorporating viscoelastic polymers into your equipment minimizes vibration transmission for sharper precision imaging.
Remember that even the best systems require regular maintenance and calibration to prevent performance degradation over time.
Your consistent attention to these anti-vibration solutions will guarantee consistently superior imaging quality throughout your research projects.
Temperature Control Systems for Consistent Results
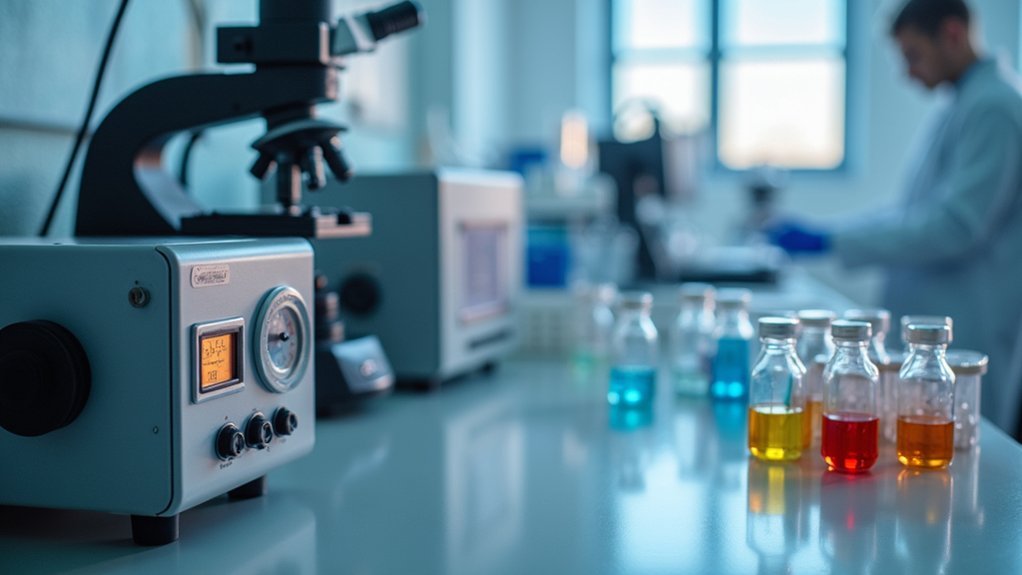
Because temperature fluctuations can devastate imaging quality, implementing robust temperature control represents one of the most critical yet overlooked aspects of laboratory photography.
You’ll achieve sharper images and more reproducible results by maintaining thermal stability within ±0.1°C using Peltier-based systems. Focus drift caused by thermal expansion of optical components virtually disappears when you implement proper temperature management.
- Install environmental chambers or heated stages to minimize experimental variability
- Use calibrated sensors for real-time temperature monitoring and adjustment
- Consider Peltier elements for precise bidirectional temperature control
- Implement consistent temperature protocols to enhance result reproducibility across imaging sessions
Even small thermal fluctuations can compromise your live-cell microscopy results, making temperature stabilization essential for capturing those perfect laboratory photographs you’re aiming for.
Advanced Hardware Solutions for Stage Stabilization
Anti-vibration platforms provide essential stability for your microscopy setup by isolating sensitive equipment from environmental disturbances that can ruin image quality.
You’ll achieve consistently sharper images by installing thermal stabilization systems, which prevent focus drift caused by the subtle expansion and contraction of mechanical components.
These hardware investments work together to maintain critical sample positioning and focus during extended imaging sessions, particularly for high-magnification or time-lapse photography.
Anti-Vibration Platforms
When extreme precision matters in laboratory photography, sophisticated anti-vibration platforms become essential components of your imaging setup.
These specialized platforms incorporate pneumatic or elastomer-based suspension systems that isolate your equipment from environmental vibrations with efficiency rates up to 99%.
You’ll notice immediate improvements in your imaging quality as these platforms:
- Maintain consistent focus by absorbing external disturbances
- Reduce motion artifacts for clearer, more accurate images
- Enhance experimental reproducibility by creating stable imaging conditions
- Accommodate various equipment sizes through customizable designs
Thermal Stabilization Systems
Three critical factors affect microscopy image quality, with temperature fluctuation perhaps being the most overlooked.
Even minor thermal variations can cause considerable focus drift, compromising your imaging results.
You’ll achieve superior stability by implementing thermal stabilization hardware like Peltier devices or temperature-controlled enclosures.
These systems maintain sample stage temperatures within fractions of a degree, dramatically improving focus precision and image clarity during extended experiments.
Look for solutions with real-time monitoring and feedback mechanisms that dynamically adjust to environmental changes.
This prevents the subtle thermal drift that often ruins time-lapse imaging sequences.
By controlling this variable, you’ll greatly increase experimental reproducibility and data quality.
For sensitive biological research applications especially, thermal stabilization isn’t just helpful—it’s essential for capturing consistently perfect lab photos.
Software-Based Drift Correction Techniques
While physical stabilization methods provide foundational support, software-based drift correction techniques offer a complementary approach to maintaining focus quality during extended lab imaging sessions.
These solutions analyze your imaging data in real-time, automatically compensating for focal shifts without manual intervention.
Real-time data analysis automatically corrects focal shifts, eliminating the need for constant manual adjustments during critical imaging.
You’ll find these algorithms particularly valuable for live-cell experiments where continuous focus is critical. Many systems integrate seamlessly with your existing microscopy equipment, eliminating the need for costly hardware upgrades.
- Frame-by-frame analysis detects subtle focal plane shifts for immediate correction
- Machine learning algorithms improve drift prediction based on historical imaging patterns
- Compatible with most microscopy platforms through simple software integration
- Regular updates refine algorithms to adapt to your specific experimental conditions
Sample Preparation Methods to Reduce Movement
Before capturing high-quality lab photos, proper sample preparation serves as the foundation for minimizing unwanted movement during imaging sessions.
You’ll find that high-viscosity mounting media effectively immobilizes samples, particularly for microscopy applications.
Don’t overlook the value of physical stabilization methods. Suction devices and clamps can secure your sample to the stage, preventing shifts from external vibrations.
For temperature-sensitive specimens, maintain a controlled environment to prevent thermal expansion that causes subtle movements.
Choose the right sample holder or stage with built-in stabilization features, especially essential for live-cell imaging.
Remember to regularly calibrate your equipment to identify and address potential movement sources before they affect your results.
These preparation techniques will notably improve the sharpness and accuracy of your lab photos.
Optimal Mounting Techniques for Long-Term Imaging
You’ll achieve considerably more stable imaging by employing rigid mounting techniques that anchor your sample firmly to the stage.
For long-term experiments, consider using adhesive mounts or optical bonding methods to prevent subtle shifts that accumulate over time.
Minimizing drift variables through piezoelectric stage adjustments and regular system calibration will maintain focus integrity throughout your extended observation periods.
Rigid Sample Anchoring
When capturing high-quality laboratory images over extended periods, proper anchoring of your specimens becomes essential for meaningful results.
Select adhesives or clamps that completely immobilize your sample, preventing even microscopic movements that can ruin image clarity. Consider using specialized sample holders designed specifically for your imaging equipment and experiment type.
- Choose mounting materials with low thermal expansion coefficients to maintain position consistency despite temperature changes.
- Integrate vibration-dampening solutions like anti-vibration tables to complement your anchoring system.
- Regularly calibrate your mounting systems to guarantee ideal alignment and focus stability.
- Position samples strategically to minimize stress points that could cause shifting during extended imaging sessions.
Remember that even minor vibrations or drifts can greatly impact your results, especially in time-lapse or high-magnification photography.
Minimize Drift Variables
While rigid anchoring forms the foundation of sample stability, addressing long-term drift requires a more thorough approach.
You’ll need anti-vibration tables and stable platforms to minimize external disturbances that cause focus drift during extended imaging sessions.
Secure your samples with holders that prevent movement and maintain consistent positioning.
Invest in a solid microscope stage with minimal mechanical play to stabilize samples and enhance image quality.
Consider using viscoelastic adhesives to dampen vibrations and reduce drift, greatly improving your imaging setup’s stability.
Don’t overlook regular calibration and maintenance of your mounting equipment.
Keeping all components properly aligned prevents the subtle drift that can ruin your long-term imaging experiments and compromise data integrity.
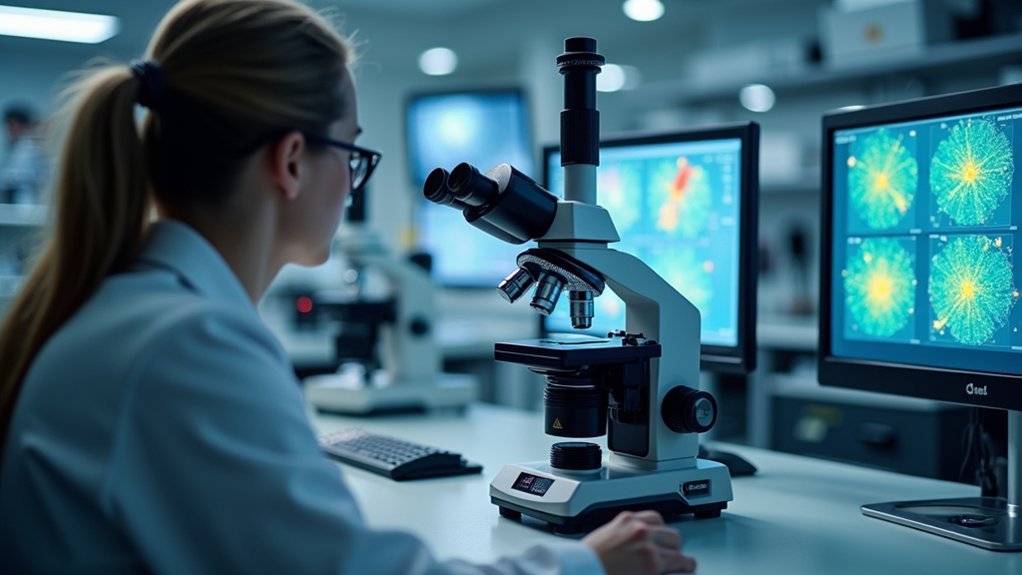
Real-Time Focus Maintenance Strategies
Because cellular specimens constantly shift and drift during observation, maintaining precise focus in real-time is critical for capturing high-quality laboratory images.
You’ll need to implement dynamic solutions that continuously monitor and adjust focus throughout your imaging sessions.
- Implement autofocus systems that dynamically adjust during imaging to prevent drift and maintain clarity in your microscopy work
- Utilize focus stabilization algorithms to continuously monitor and correct focus, especially when capturing dynamic cellular events
- Set up your piezoelectric stage for precise, automated focus adjustments with minimal manual intervention
- Schedule regular calibration of your imaging equipment to minimize focus drift and enhance result reproducibility
Don’t forget to manually refocus at predetermined intervals during long-term experiments when automated systems might need assistance.
Piezoelectric Technology Applications in Microscopy
Building on our focus maintenance strategies, piezoelectric technology represents one of the most powerful tools for achieving nanometer-precision control in microscopy.
You’ll find these actuators enable real-time adjustments during live cell imaging, maintaining essential focus while observing dynamic processes.
The impressive high-speed response of piezoelectric systems helps you achieve movements in the nanometer range, greatly reducing focus drift and enhancing image clarity.
When you integrate these devices with autofocus algorithms, you’ll benefit from automatic corrections for environmental disturbances and sample movements.
You can markedly improve your experimental reproducibility by implementing piezoelectric stages, as they guarantee consistent sample positioning throughout imaging sessions.
These stabilization techniques effectively minimize mechanical vibrations—a vital advantage when you’re conducting sensitive live-cell imaging that demands pristine visual data.
Calibration Protocols for Enhanced Image Quality
To achieve consistently pristine lab photos, you’ll need to establish rigorous calibration protocols that address both mechanical and optical components. Regular calibration prevents focus drift, which can silently deteriorate your imaging results over time.
Rigorous calibration is non-negotiable for lab imaging excellence, preventing the silent killer of quality: focus drift.
Implement standardized calibration targets to quantify and correct optical distortions, greatly enhancing your photo documentation quality. You should also check optical path alignment periodically to maintain accurate representation of your specimens.
- Perform daily focus checks using reference samples to catch and correct subtle degradation.
- Schedule weekly thorough calibrations of all imaging equipment components.
- Utilize software-based calibration tools that automatically assess and adjust settings.
- Document all calibration procedures to guarantee reproducibility across team members.
These practices will transform your imaging workflow, delivering consistent results that withstand scientific scrutiny.
Troubleshooting Common Stabilization Challenges
When stabilization issues compromise your lab images, identifying the root cause becomes your first priority.
Look for mechanical vibrations from nearby equipment that might be disrupting your image stability. Installing anti-vibration tables or physically isolating your imaging setup can dramatically improve results.
Don’t overlook environmental factors—even subtle air currents or temperature fluctuations can affect stage stability.
If you’re experiencing focus drift despite proper setup, schedule a calibration check, as system misalignment often causes this issue.
For persistent problems, consider upgrading to piezoelectric stages for real-time position adjustments.
They’ll compensate for unexpected movements during critical imaging. Similarly, implementing an autofocus system is particularly valuable when working with dynamic samples that shift during observation, helping you maintain crisp focus throughout your imaging session.
Frequently Asked Questions
How Do Stabilization Techniques Differ for Live Versus Fixed Specimens?
You’ll need gentler stabilization for live specimens, using temperature control and minimal restraint. For fixed specimens, you can use firmer mounting methods, adhesives, and longer exposure times without concern for movement or stress.
Can Consumer-Grade Cameras Benefit From Microscopy Stabilization Methods?
Yes, you’ll find microscopy stabilization methods beneficial for your consumer-grade camera. Using vibration isolation pads, remote triggers, and weighted bases will greatly reduce blur and improve your macro photography results dramatically.
What Are Cost-Effective Alternatives to Commercial Anti-Vibration Platforms?
You can build DIY platforms using stacked rubber mats, tennis balls under plywood, or sand-filled containers. Suspend your setup from bungee cords or use inner tubes as isolators. Concrete slabs work too.
How Does Stage Stabilization Affect Fluorescence Microscopy Specifically?
Stage stabilization critically impacts your fluorescence microscopy by eliminating motion blur, preventing focus drift, and enhancing signal-to-noise ratios. You’ll capture sharper images of fluorophores and detect faint signals you’d otherwise miss.
Are Stabilization Requirements Different for Portable Field Microscopes?
Yes, your portable field microscopes need less rigid stabilization than lab models. You’ll focus on vibration dampening for transport, shock absorption for uneven surfaces, and simplified designs that withstand field conditions.
In Summary
By implementing these proven stage stabilization techniques, you’ll eliminate focus drift and capture flawless lab photos every time. Whether you’re controlling environmental factors, adding anti-vibration solutions, or utilizing piezoelectric technology, you’re building a reliable imaging system. Don’t forget regular calibration and proper troubleshooting protocols. With these approaches, you’ve got everything needed for consistent, publication-quality microscopy images in any laboratory setting.


Leave a Reply