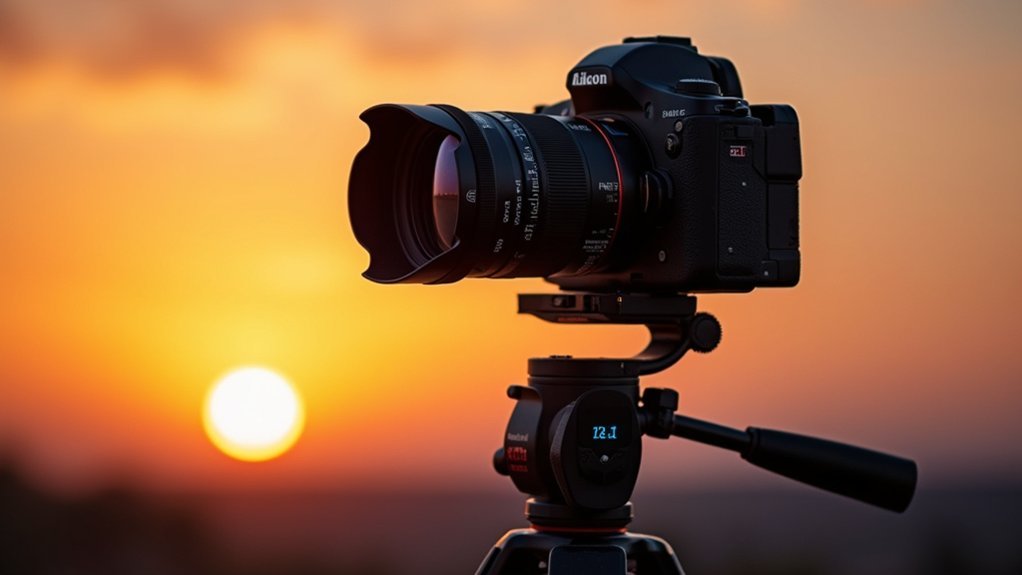
Successful time-lapse camera calibration depends on stable equipment setup, consistent manual settings, and environmental control. You’ll need a sturdy tripod, proper magnification for your subject, and locked exposure and white balance to prevent flickering. Set appropriate intervals based on subject movement speed—shorter for fast subjects, longer for gradual changes. Minimize vibration and regularly validate your setup with test sequences. Master these fundamentals and your time-lapse projects will capture perfectly smooth, professional-quality footage.
Essential Equipment for Precise Time-Lapse Microscope Calibration
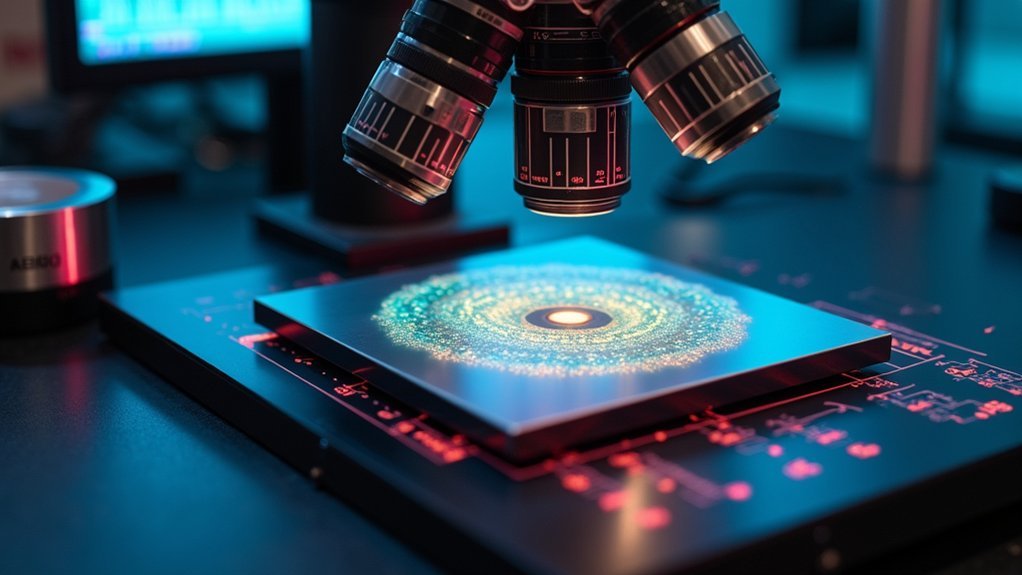
A successful time-lapse microscope calibration depends entirely on having the right tools at your disposal.
You’ll need a high-resolution camera with an intervalometer to capture detailed images at consistent time intervals. This guarantees your sequence maintains uniform timing throughout the calibration process.
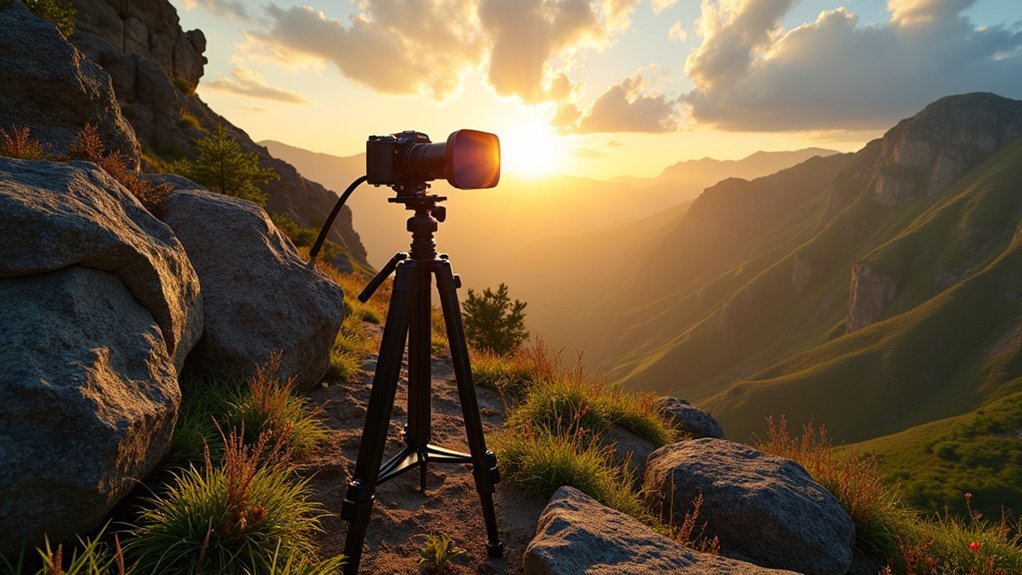
Mount your equipment on a stable tripod or microscope stage to eliminate unwanted movement that could compromise image alignment.
Always set your camera to manual mode to prevent automatic adjustments from altering exposure and focus settings between shots.
Don’t underestimate the importance of controlled lighting—fluctuations can considerably affect image quality and color consistency.
You should regularly check and adjust your camera settings based on your specimen’s specific characteristics. Proper depth of field and aperture settings will greatly enhance your calibration accuracy.
Selecting the Optimal Magnification and Field of View
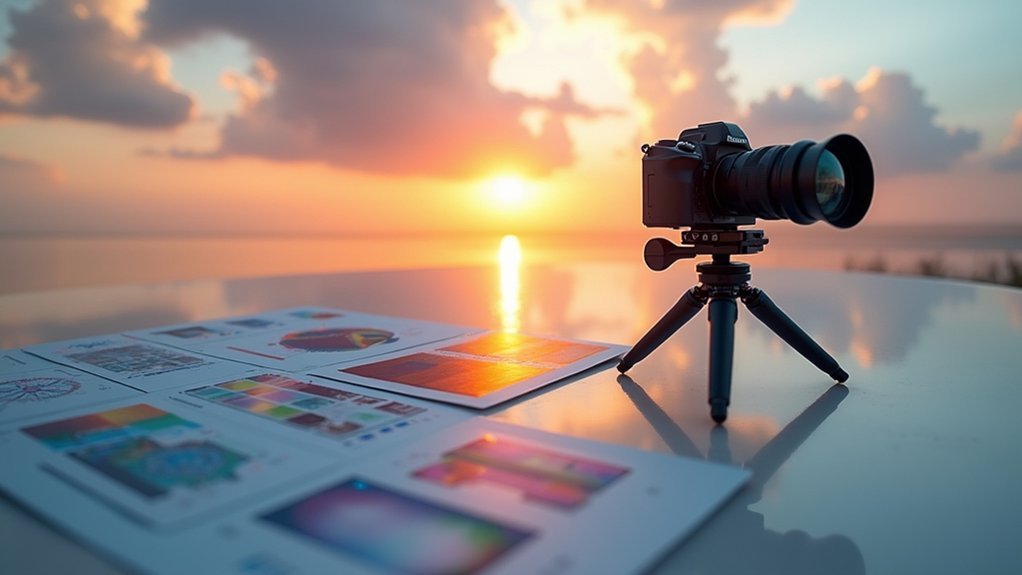
Your lens selection directly impacts the detail and context captured in your time-lapse project, determining whether microscopic processes or broader environmental changes take center stage.
When framing dynamic scenes, you’ll need to balance magnification with field of view, as higher magnification reveals finer details but narrows what you can capture.
You can use time-lapse calculators to find the ideal combination based on your subject’s movement patterns and the story you’re trying to tell.
Lens Selection Matters
When planning your time-lapse project, the lens you choose becomes one of the most critical decisions you’ll make. Your lens selection directly influences both the magnification and field of view, fundamentally shaping your composition.
For expansive scenes like landscapes or cityscapes, opt for a wide-angle lens (14-24mm) to capture broader perspectives while maintaining overall sharpness. If you’re highlighting specific details, consider a telephoto (70-200mm) for greater magnification.
Don’t overlook aperture settings—smaller apertures (f/8-f/11) increase depth of field, keeping more elements in focus throughout your sequence.
For faster-moving subjects, prioritize lenses with responsive autofocus and image stabilization capabilities to guarantee clarity between frames.
Your lens choice should always align with your subject’s movement speed and your planned shooting interval for best results.
Framing Dynamic Scenes
Beyond lens selection, successful time-lapse photography hinges on thoughtful framing decisions that bring dynamic scenes to life. When calibrating your camera settings, consider the ideal magnification needed to capture movement clearly while maintaining essential details.
Choose your field of view strategically—wider FOVs excel for expansive landscapes, while tighter frames better highlight focused subjects like construction projects. Apply the rule of thirds when composing dynamic scenes, placing key elements along gridlines or intersections for balanced, engaging compositions.
Don’t overlook how zoom adjustments can dramatically enhance perceived motion, making movements more pronounced and enthralling.
Also consider your time-lapse duration—longer sequences may require more expansive framing to showcase gradual changes, while shorter clips can emphasize specific details for maximum impact in time-lapse photography.
Establishing Consistent Exposure and White Balance Settings
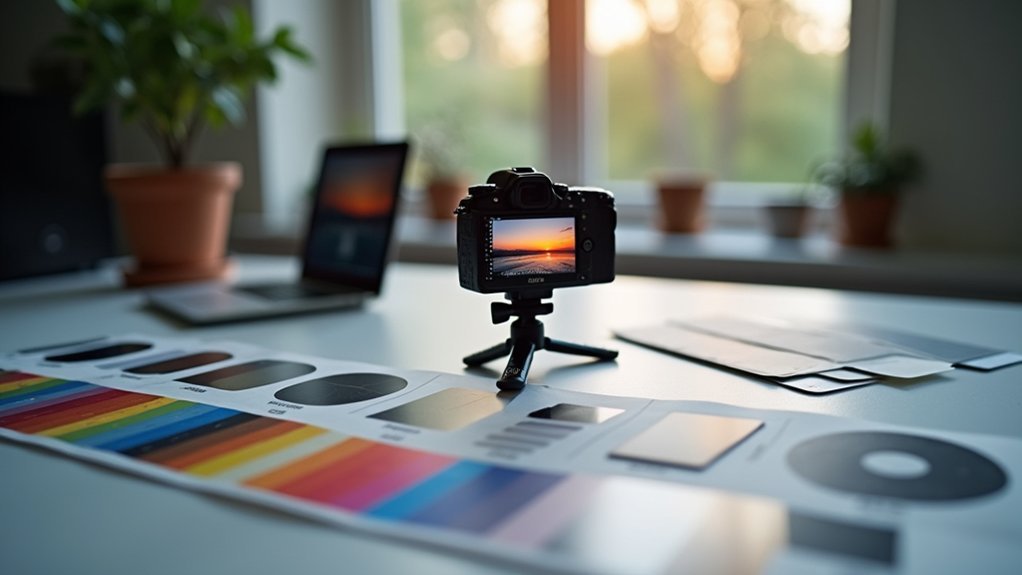
To create a professional time-lapse sequence that flows seamlessly from frame to frame, you’ll need to establish rock-solid exposure and white balance settings from the start. Switch your camera to manual mode for both exposure and white balance calibration to prevent the flickering that automatic settings often cause.
| Setting | Recommendation | Purpose |
|---|---|---|
| Aperture | f/8 to f/11 | Maintains sharp focus throughout |
| Exposure | Lock based on initial conditions | Prevents brightness fluctuations |
| White Balance | Manual preset | Guarantees color consistency |
Even with consistent settings, you’ll still need to monitor your shoot periodically, making subtle adjustments when environmental conditions change considerably. Remember, your goal is maintaining visual continuity while accommodating natural light shifts. This balance between locked settings and strategic adjustments forms the foundation of successful time-lapse calibration.
Focusing Techniques for Crystal-Clear Microscope Images
Achieving crystal-clear microscope images in time-lapse photography requires precise focusing techniques that differ markedly from standard photography approaches.
You’ll need to employ manual focus settings rather than relying on autofocus, which can shift between frames and create inconsistencies in your sequence.
Calculate the ideal depth of field and set your aperture between f/8 and f/11 to maintain sharpness throughout your specimen.
Don’t forget to manually adjust white balance to prevent color temperature shifts between frames.
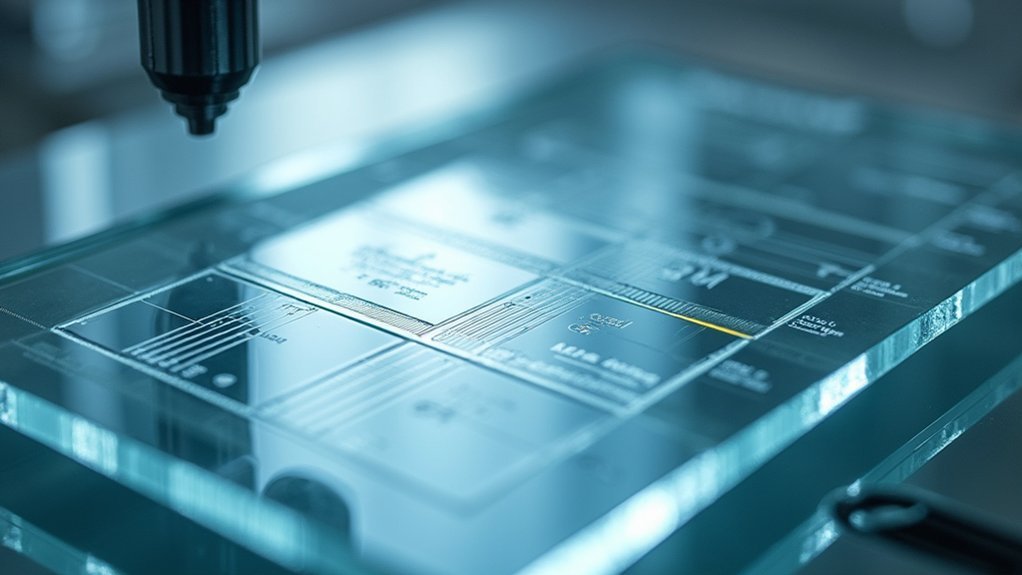
Before starting any time-lapse project, calibrate your microscope’s optics thoroughly.
Check that all lenses are clean and properly aligned.
Additionally, make sure your microscope platform remains stable and your specimen is securely mounted to prevent unwanted movement that could compromise sharpness in your final time-lapse video.
Temperature and Environmental Stability Considerations
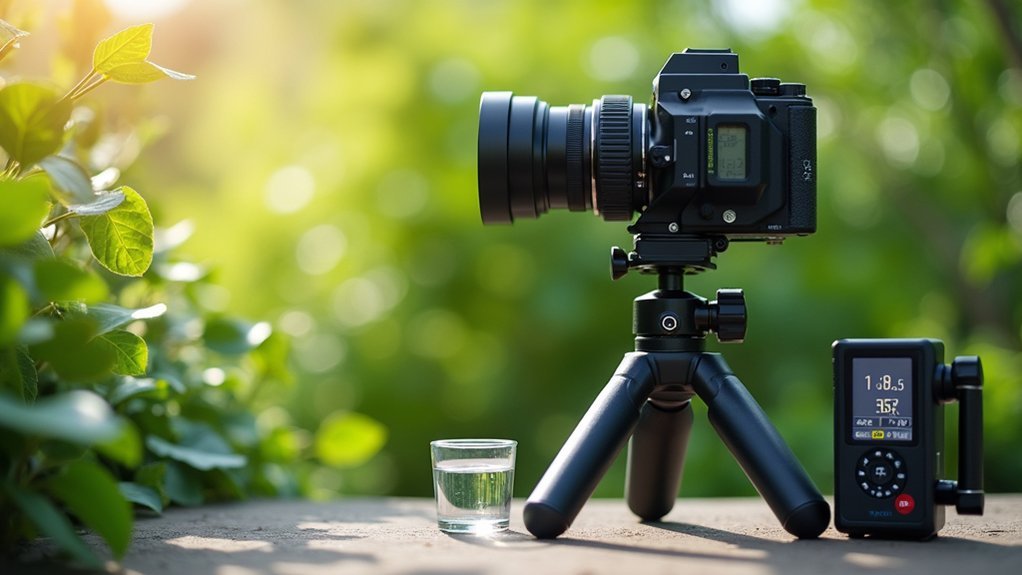
While focusing on technical camera settings is essential, maintaining environmental stability represents a critical factor in successful time-lapse calibration.
You’ll need to operate your camera within the manufacturer’s recommended temperature range to guarantee consistent exposure throughout your sequence. Environmental stability directly impacts the integrity of your setup, as even minor vibrations can misalign your carefully composed shots.
- Monitor temperature fluctuations regularly, as they can affect your camera’s performance and compromise exposure consistency.
- Test your calibration in conditions matching your shooting environment to verify settings remain stable.
- Control humidity levels to protect internal components and prevent lens condensation that can ruin your footage.
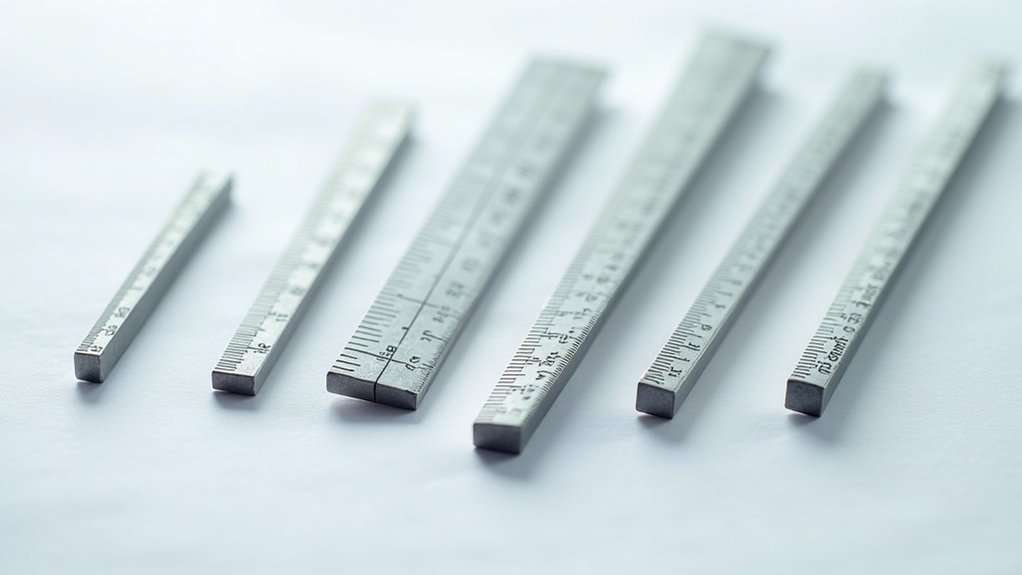
Setting Appropriate Time Intervals for Specimen Observation
Determining ideal time intervals for your specimens requires calibrating your settings to match subject movement speed.
You’ll need to balance frame rate against detail capture, choosing shorter intervals for rapid changes and longer ones for gradual processes.
This critical calibration guarantees your time-lapse effectively compresses time while maintaining smooth visual flow in the final playback.
Calibrating Subject Movement Speed
How quickly should your camera capture frames for ideal time-lapse results? Calibrating subject movement speed hinges on matching your shooting interval to the pace of your subject. Fast-moving subjects like clouds require intervals of 1-5 seconds, while slower changes like plant growth need 5-15 minutes between shots.
Your time-lapse footage quality depends on three critical factors:
- Subject speed assessment – Analyze how quickly your subject changes and adjust accordingly.
- Total image count – Aim for 205-2530 images depending on your desired final length.
- Interval consistency – Maintain uniform time between shots for smooth playback at 16-24 fps.
Using a time lapse calculator will help you determine suitable intervals for compelling time-lapse videos while ensuring you’ll capture enough frames for seamless playback.
Frame Rate Versus Detail
Frame rate and time intervals work together to create the perfect balance in time-lapse photography. While your final video typically plays at 16-24 fps, the shooting intervals between frames dramatically impact the detail captured in your specimens.
For fast-moving subjects like clouds, shorter intervals (1-5 seconds) preserve essential detail that might otherwise be lost. Construction projects benefit from moderate intervals of 5-10 minutes, capturing meaningful progress without excessive footage.
Plant growth and other slow changes require longer intervals of 10-15 minutes.
Remember to maintain manual focus and exposure settings throughout your shoot to guarantee consistency. By thoughtfully matching your time intervals to your subject’s rate of change, you’ll achieve the ideal balance between smooth playback and detailed observation—making your time-lapse both scientifically valuable and visually compelling.
Software Configuration for Automated Image Capture
Once you’ve secured your camera in position, the next essential step involves configuring your software for seamless automated capture. Setting the proper time interval—ranging from 1 second to 15 minutes—is vital based on your subject’s movement speed.
You’ll need to utilize your camera’s built-in intervalometer or compatible software to schedule captures without manual intervention.
For successful time-lapse calibration, focus on these key elements:
- Synchronize exposure settings across all frames to maintain consistency and image quality throughout the sequence.
- Configure automatic uploads to cloud storage for streamlined management of your footage.
- Regularly update your camera firmware and associated software to access the latest features.
Remember to adjust your software configuration based on scene dynamics to achieve the perfect balance between detail and fluid motion.
Minimizing Vibration and Mechanical Interference
The stability of your time-lapse setup directly impacts calibration quality and final footage clarity. For minimizing vibration, invest in a sturdy tripod that can effectively absorb shocks during the calibration process.
Ascertain all camera components—lenses, filters, and accessories—are firmly secured to prevent mechanical interference from loose parts shifting while shooting.
You’ll eliminate camera shake by using a remote shutter release or intervalometer rather than physically pressing the button. Place your equipment on a stable surface away from vibration sources like machinery or traffic that could disrupt calibration.
Don’t overlook regular maintenance of mechanical parts, including tripod heads and quick-release plates. These components should function smoothly without unwanted movement, ascertaining your time-lapse calibration proceeds with maximum precision and reliability.
Validating Calibration With Test Sequences
A successful time-lapse project hinges on proper calibration validation before committing to hours or days of shooting. Your camera requires thorough testing to guarantee peak performance when the real shoot begins. Run test sequences to check exposure, focus, and interval timing for your specific subject.
Always review your test images with a critical eye, looking for:
- Consistent brightness across frames
- Sharp focus throughout the sequence
- Accurate timing between shots
If you notice flickering or inconsistencies, adjust your shutter speed, aperture, and ISO settings accordingly.
The interval timing must be validated to confirm your camera’s intervalometer functions correctly. These test sequences aren’t just preliminary steps—they’re vital diagnostics that identify potential problems before they compromise your entire time-lapse project.
Frequently Asked Questions
What Are the Best Settings for Timelapse Camera?
Use Aperture Priority (f/8-f/11), ISO 200-1600 based on light, double your fps for shutter speed, fixed white balance, and intervals between 1 second to 15 minutes depending on your subject’s movement speed.
How to Get a Smooth Timelapse?
For a smooth timelapse, you’ll need consistent manual exposure settings, a sturdy tripod, appropriate intervals based on subject movement, and RAW format shooting. Don’t forget post-processing to guarantee seamless changes between frames.
What Is the Best Frame Rate for Timelapse?
For timelapses, you’ll get the best results using 24 fps for cinematic quality or 16-20 fps for smoother motion. Your choice should match your subject’s speed and desired playback length. Consistency is key.
What Is the Best Time-Lapse Setting for Construction?
For construction time-lapses, you’ll want to set intervals between 1-10 minutes depending on project pace. Use manual focus, f/8-f/11 aperture, and guarantee reliable power. Shooting in RAW format gives you more editing flexibility later.
In Summary
You’ll achieve successful time-lapse camera calibration when you’ve addressed all critical elements systematically. Confirm your equipment is properly configured, maintain environmental stability, and verify your settings with test sequences before beginning your actual observation. Don’t skip validation steps—they’re essential for catching subtle issues. With consistent attention to detail, you’ll capture stunning time-lapse sequences that accurately document your specimen’s development over time.

Leave a Reply