To compress time-lapse microscope images professionally, select the right format for your needs: PNG for preserving data, JPEG at 70-80% quality for presentations, or WebP for online sharing. Adjust image dimensions before compression to maintain critical details while reducing file size. Batch process large datasets with tools like ImageMagick or Photoshop for consistency. Use clear annotations with contrasting colors to enhance visual communication. Proper compression techniques will transform your raw footage into polished scientific communication tools.
Second-Level Headings for “Compress Time-Lapse Microscope Images Like a Pro”
Five essential headings will structure your journey to mastering microscope image compression.
First, “Choosing the Right Compression Format” will guide you through selecting options like PNG for lossless preservation of your valuable time-lapse data.
Next, “Maximizing Image Resolution” explores how adjusting dimensions before you compress time-lapse sequences can dramatically reduce file sizes while maintaining critical details.
The third heading, “Batch Processing Techniques,” covers automated workflows using tools like ImageMagick to efficiently handle large datasets.
Fourth, “Quality vs. File Size Balance” helps you find the ideal compression settings for your specific research needs.
Finally, “Future-Proofing Your Compression Workflow” guarantees you stay current with evolving technologies and methods to compress time-lapse microscopy footage more effectively as new algorithms emerge.
Organizing Your Microscope Image Sequence
Before you start compressing time-lapse images, you’ll need a logical folder structure that makes your workflow more efficient.
Create a dedicated parent folder with descriptive subfolders for different experiments or timepoints, allowing you to quickly locate specific image sequences when needed.
Name your files sequentially (image001, image002, etc.) to guarantee they’ll automatically arrange in chronological order when imported into your editing software.
Folder Structure Matters
Organization serves as the foundation of successful time-lapse microscopy processing. When your folder structure is well-designed, you’ll save countless hours during both processing and analysis stages.
Create a single master folder for all time-lapse images, naming files sequentially (image001.jpg, image002.jpg) to guarantee smooth loading in software like Photoshop. Within this folder, establish subfolders for different experiments or conditions to prevent confusion when handling multiple datasets.
Implement a consistent naming convention that includes dates and experiment details for quick identification later. Document your organization system in a readme file to guide collaborators and maintain consistency across projects.
Don’t forget to regularly back up your organized folders, preserving original image quality for future analysis or presentations. A thoughtful folder structure isn’t just organizational—it’s essential for efficient workflow.
Sequential Naming System
A well-structured naming system forms the backbone of any time-lapse microscopy project. Implementing a sequential naming system guarantees your images remain organized and easily retrievable throughout your research.
Adopt a consistent format that includes date, time, and a unique identifier (e.g., “20230815_143022_Image01”). Use leading zeros for numerical sequences to maintain proper alphabetical sorting. Including experiment type or condition in filenames (like “CellSwelling_20230815_143022_Image01”) provides immediate context when browsing folders.
Complement your naming system with a separate log documenting detailed experimental conditions for each image sequence. This reference becomes invaluable when analyzing results weeks or months later.
Don’t forget to regularly back up your organized image folders to preserve your sequential naming system across all storage devices.
Importing Time-Lapse Images Into Processing Software
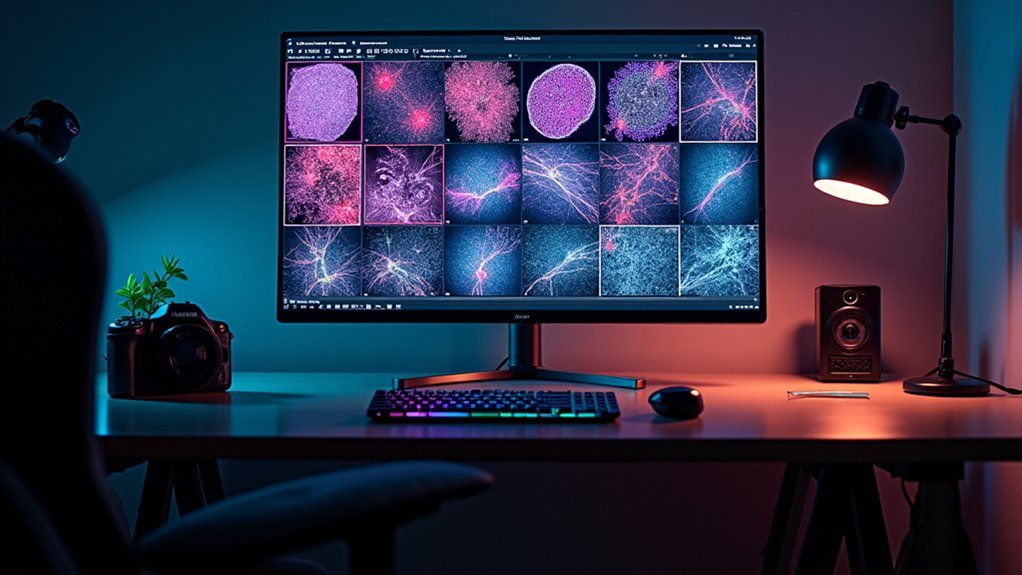
Once you’ve captured all your time-lapse microscope images, importing them correctly into your processing software is essential for creating smooth animations.
Make certain to organize all your files in a single folder to facilitate easy access and maintain proper sequencing during import.
When using Adobe Photoshop, navigate to “File” > “Scripts” > “Load Files into Stack” to import your images in the correct order.
After importing, verify that your layers are properly arranged with frames corresponding to the right images.
Next, open the Timeline window through “Window” > “Timeline” and select “Make Frames from Layers” to prepare your images for animation.
Finally, adjust the frame duration to control playback speed and guarantee seamless shifts between frames in your time-lapse video.
Optimizing Frame Rates for Scientific Clarity
When selecting frame rates for time-lapse microscopy, you’ll need to balance between 1-10 frames per second depending on the cellular process you’re studying.
For rapid dynamic changes, choose higher frame rates to capture essential details, while slower processes like cell swelling can be effectively documented at lower rates such as 1 frame per minute.
You can further refine your presentation by adjusting frame duration in your editing software, creating freeze-frames at critical moments while using compression techniques like H.264 to maintain quality in shareable files.
Frame Rate Selection Guidelines
Selecting the appropriate frame rate stands as one of the most critical decisions you’ll make when compressing time-lapse microscopy footage. For ideal scientific clarity, aim for 10-30 fps to guarantee smooth playback that viewers can easily follow.
When documenting slower processes like cell swelling, consider lower rates of 1-5 fps to capture gradual changes without overwhelming your audience.
Always factor in your total experiment duration—a 60-minute observation at 1 fps creates a 60-second video that might rush through important details.
You’ll need to balance visual clarity with appropriate pacing for your target audience. Try creating freeze effects on key annotations to highlight critical moments while maintaining your selected frame rate.
Regularly review your playback at different speeds to find the perfect frame rate selection guidelines for your specific experiment.
Balancing Speed Vs Detail
Although the perfect frame rate varies by experiment, finding the balance between speed and detail remains crucial for scientific time-lapse microscopy. While 24 fps creates smooth playback, scientific observations often benefit from lower rates of 10-15 fps to preserve critical visual details.
Consider your subject’s dynamics when setting your time lapse parameters. Slower biological processes may require lower frame rates to accurately capture subtle changes, while rapid cellular interactions might need higher rates for clarity.
Remember that higher frame rates produce larger files, so optimize based on your storage constraints.
Try utilizing frame blending features in your editing software to enhance motion fluidity while maintaining detail. Always review your final time lapse footage to guarantee you haven’t sacrificed important scientific information in pursuit of smoother playback or smaller file sizes.
Enhancing Image Quality Without Sacrificing File Size

Despite the challenges of managing large datasets, you don’t need to compromise image quality when compressing time-lapse microscopy files. Feel free to utilize lossless formats like PNG for critical scientific data, preserving every pixel while reducing file size.
| Format | Best For | Compression Level |
|---|---|---|
| PNG | Scientific analysis | Lossless |
| JPEG (70-80%) | Presentations | Moderate lossy |
| WebP | Online sharing | High efficiency |
| TIFF | Raw data storage | Uncompressed/lossless |
For presentations, try optimizing JPEGs at 70-80% quality—most viewers won’t notice the difference. Batch process your entire sequence in Photoshop or GIMP to maintain consistency across frames. When display size doesn’t require full resolution, resize images to their intended dimensions first, then compress for best results.
Adding Professional Annotations and Visual Markers
Beyond optimizing file size, your microscopy time-lapse sequences can communicate scientific insights more effectively with strategic annotations and markers.
Utilize Photoshop’s text tool to create customizable titles and labels, selecting fonts that enhance clarity and professionalism.
For precise timing control, we’d recommend implementing clipping masks to restrict annotations to specific frames, ensuring visual markers appear only when relevant.
Adjust frame durations for freeze effects, giving viewers time to absorb critical information without distracting movement.
Choose contrasting colors for annotations and arrows that stand out against cell images, improving visibility and comprehension.
Maintain consistent labeling formats throughout your time-lapse to create a cohesive, professional presentation.
These techniques transform raw microscopy footage into polished scientific communication tools without compromising your carefully optimized file size.
Exporting Formats for Different Presentation Needs

Three primary export formats serve distinct purposes when sharing your time-lapse microscopy data. When documenting cell migration studies, choosing the right format guarantees your audience can fully appreciate the dynamic cellular movements.
| Format | Best For | File Size | Compatibility |
|---|---|---|---|
| MP4 | Scientific presentations | Medium | Excellent across devices |
| GIF | Web sharing, presentations | Larger | Universal, supports looping |
| TIFF sequence | Scientific analysis | Very large | Limited to specialized software |
Export your cell migration sequences as MP4 at 30fps for conference presentations where quality matters. Choose GIFs when you need looping capabilities for demonstrating repetitive migration patterns in slideshows. Always adjust your resolution settings based on your audience’s viewing environment—higher for detailed analysis, lower for quick online sharing.
Frequently Asked Questions
How Do I Make My Time-Lapse Smoother?
To make your time-lapse smoother, use consistent intervals between frames, shoot at higher frame rates (24-30 fps), apply stabilization in editing, add frame blending effects, and capture in higher resolution for better quality.
How Do I Compress a Video Into a Timelapse?
To compress a video into a timelapse, you’ll need to speed up your footage by removing frames. Use video editing software to adjust the playback speed or set a higher frame interval during capture.
How to Combine Photos Into a Timelapse?
To combine photos into a timelapse, import them into Photoshop as a stack, open the Timeline window, select “Make Frames from Layers,” adjust frame duration, and export as a video file. You’re all set!
How Long Is a 30 Minute Video in Time-Lapse?
A 30-minute video in time-lapse depends on your chosen speed. At 30x speed, you’ll get a 1-minute video. At 60x, it’s 30 seconds. You can adjust the speed to meet your preferred playback duration.
In Summary
You’re now ready to create professional time-lapse microscopy videos that balance quality and file size. Remember to organize your sequences properly, choose appropriate frame rates, and enhance images thoughtfully. Don’t forget those critical annotations that bring context to your visuals. With these techniques, you’ll consistently deliver compressed time-lapse videos that maintain scientific integrity while impressing colleagues and audiences.



Leave a Reply