You'll achieve perfect lab photos by using modern digital microscopes with CCD sensor technology and 4K capabilities. Focus on optimizing your sensor settings, including gain control and exposure time, while maintaining proper ring light positioning for clear specimen visibility. Regular calibration and systematic component checks guarantee consistently sharp images. For publication-quality results and dynamic experiment documentation, these advanced imaging techniques will release your microscope's full potential.
Understanding Digital Microscope Sensor Technology
When capturing perfect lab photos, understanding digital microscope sensor technology is essential to your success.
You'll find that modern digital microscopes use CCD image sensors to convert electrical charges into digital values, delivering superior image quality with minimal noise for precise measurements.
The technology's advanced features include 4K camera integration that produces crystal-clear images and enables 2K video recording. You can connect your microscope directly to monitors through HDMI outputs, maintaining high resolution during real-time viewing.
The sensor's rapid image capture capabilities match video speeds, making it perfect for observing dynamic specimens.
You'll appreciate how these sensors improve your workflow by allowing quick focus and zoom adjustments. This enhanced usability means you'll spend less time configuring settings and more time capturing the perfect lab photos you need.
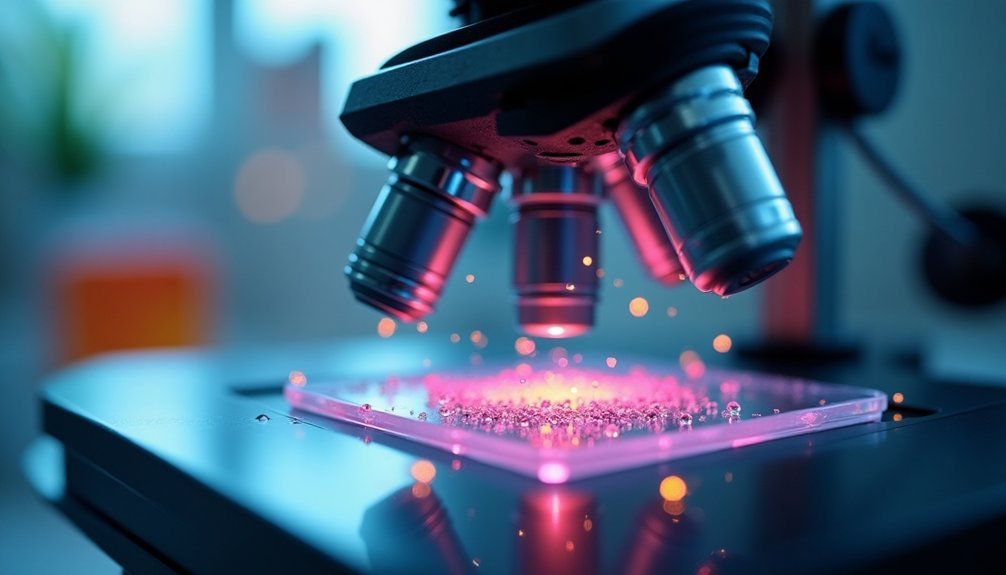
Essential Components for High-Quality Lab Photography
While mastering lab photography requires skill, having the right equipment is equally essential. At the core of your setup, you'll need a camera equipped with CCD image sensors that convert electrical charges into precise digital values, ensuring clearer pixel representation.
Lab photography excellence depends on both expertise and proper equipment, with CCD sensors being fundamental for precise digital imaging.
For ideal results, select a camera that features 4K capability with HDMI output, allowing you to monitor your captures in high resolution.
Don't forget to incorporate a ring light system, which provides enhanced illumination vital for detailed specimen visualization. Your camera should also offer 2K video recording for documenting dynamic lab procedures.
To achieve the sharpest images possible, you'll want adjustable focus points for both the camera and main lens. This dual-focus capability lets you fine-tune clarity across different specimen types and magnification levels.
Optimizing Sensor Settings for Maximum Image Clarity
You'll achieve superior lab photography by fine-tuning your CCD sensor's gain settings, which directly impacts noise reduction in low-light conditions.
To optimize light sensitivity, adjust your exposure time based on specimen brightness while maintaining the highest available bit depth during analog-to-digital conversion.
Regular calibration of your sensor's settings and proper focus adjustments will guarantee consistently sharp, clear images that meet scientific documentation standards.
Gain Control Best Practices
To achieve crystal-clear laboratory images, mastering gain control on your CCD image sensor is essential.
You'll need to carefully balance signal amplification with noise reduction, especially when working in low-light conditions. By testing different gain settings while monitoring real-time previews, you can find the ideal level for your specific specimen and lighting setup.
- Adjust gain settings incrementally while observing the live preview to find the sweet spot between signal strength and noise
- Maintain consistent gain settings across similar experiments to guarantee reproducible results
- Document your gain control parameters for each type of specimen and lighting condition
- Schedule regular calibration checks to confirm your gain settings remain accurate over time
Remember that higher gain isn't always better – finding the right balance is key to capturing high-quality laboratory images that provide reliable data.
Light Sensitivity Calibration Methods
Building on proper gain control, light sensitivity calibration forms the backbone of exceptional laboratory photography.
You'll need to fine-tune your CCD sensor's gain settings while monitoring real-time adjustments through specialized software tools to achieve ideal image detail in challenging light conditions.
Start by testing your sensor with standardized light sources to establish baseline performance metrics.
When calibrating, you'll want to balance the sensor's dynamic range carefully – remember that optimizing for low-light scenarios can affect your ability to capture bright areas clearly.
Make sure you're documenting all settings and results systematically for future reference and reproducibility.
You can maintain consistent image quality across different lighting scenarios by implementing these calibration methods while using software tools to make precise adjustments to exposure times and gain settings.
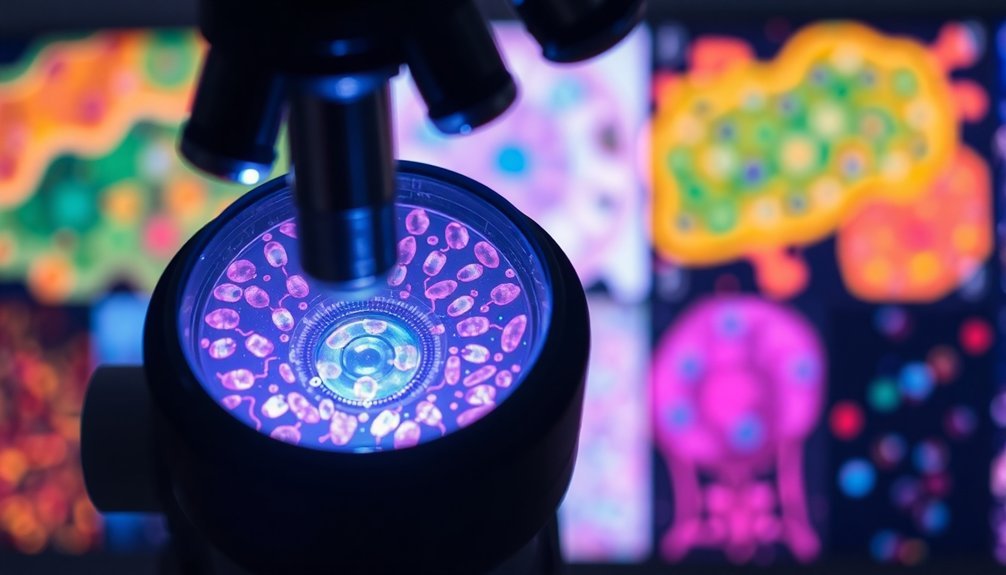
Advanced Imaging Techniques for Scientific Documentation
Three major advances in digital imaging have revolutionized scientific documentation in modern laboratories. Your microscope camera now converts electrical charges to digital values through CCD sensors, dramatically improving image quality while reducing noise.
You'll capture full-frame images at video-like speeds, and seamlessly integrate them with your computer for instant editing and sharing.
- 2K video recording capabilities let you document dynamic experiments in real-time
- Enhanced ergonomics reduce physical strain during extended imaging sessions
- Direct digital integration streamlines manuscript and presentation preparation
- High-resolution sensors guarantee precise detail capture for publication-quality results
You'll find these advanced imaging techniques particularly valuable when working with time-sensitive specimens or when you need to capture multiple focal planes quickly.
The combination of speed, precision, and digital workflow integration makes modern scientific documentation more efficient than ever.
Best Practices for Digital Microscope Photography
Modern digital microscope photography demands mastery of both technical settings and practical procedures. To capture pristine lab images, you'll need to optimize your equipment and workflow carefully.
Start by selecting microscopes with high-quality CCD sensors to minimize noise during image capture. When adjusting shutter speed and other camera settings, make sure your HDMI output supports 4K resolution for the sharpest possible display. You'll want to fine-tune your zoom and focus while maintaining clear live views through the microscope's optics.
Get familiar with your microscope's software before diving into serious photography sessions. This knowledge helps prevent technical glitches that could disrupt your work.
Don't forget to position your monitor at an ergonomic height and angle – proper posture is essential when you're spending hours capturing detailed specimen images.
Troubleshooting Common Sensor Image Quality Issues
When sensor-related issues arise in microscope photography, understanding how to diagnose and fix them quickly becomes vital for maintaining image quality.
You'll need to address several key factors to guarantee peak performance of your microscope's imaging system. Start by checking the analog-to-digital conversion process near the sensor and verify your power source's reliability to prevent distortion.
Proper sensor calibration and stable power delivery are essential foundations for achieving distortion-free microscope imaging performance.
- Calibrate your camera with the optical system regularly to prevent misalignment and blurry images
- Update your image processing software to maintain compatibility and avoid technical glitches
- Position the ring light correctly to achieve proper illumination and clear specimen visibility
- Monitor the analog-to-digital conversion process to minimize noise in your captured images
Remember to perform these checks systematically when troubleshooting, as each component plays a vital role in producing high-quality microscope photographs.
Frequently Asked Questions
How Do You Get a Clearer Image on a Microscope?
You'll get clearer microscope images by adjusting focus points carefully, using a quality CCD sensor, optimizing your zoom settings, ensuring proper lighting with the ring light, and calibrating camera settings correctly.
How Do Microscope Cameras Work?
Your microscope's camera uses a CCD sensor to convert light into electrical signals. It'll digitize these charges into pixels, transmitting them through HDMI or USB connections for high-quality image display and storage.
Which Microscope Is Best for Viewing Living Organisms?
You'll get the best results with a digital trinocular microscope that has a CCD sensor and LED illumination. It'll provide clear live viewing, while letting you capture images without disturbing your specimens.
What Is the Best Microscope for Mold?
You'll want a trinocular microscope with a high-resolution CCD sensor and 4K camera capabilities. It should include an HDMI output and adjustable focus points. For fieldwork, consider a portable USB digital microscope.
In Summary
You'll find that mastering microscope sensor technology is essential for capturing pristine lab images. By understanding your sensor settings, optimizing your equipment, and following best practices, you can produce publication-quality photographs consistently. Don't forget to regularly troubleshoot common issues and stay updated on advanced imaging techniques. With these skills, you're well-equipped to document your scientific work with professional-grade microscope images.


Leave a Reply