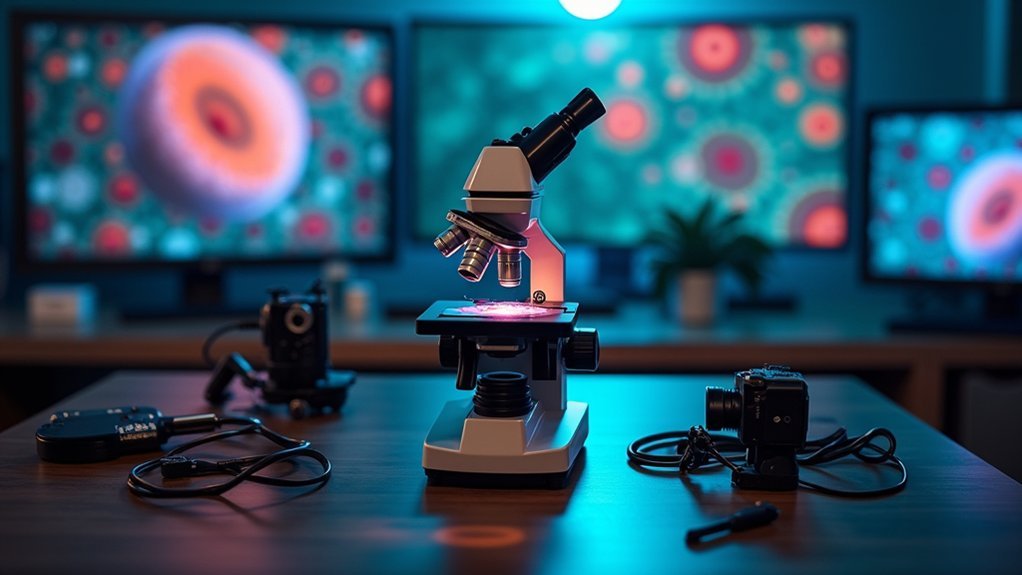
A complete microscope video recording setup requires four key components: a quality camera (ideally with USB/HDMI output), proper adapters maintaining 76.5mm spacing, adequate lighting (adjustable LED rings), and compatible software. You’ll need to balance resolution needs with your specific application, guarantee color accuracy with white balance calibration, and use infinity-corrected objectives for peak clarity. Proper mounting prevents vignetting while enhancing stability. The following guide offers everything you’ll need for professional-quality microscopy recordings.
Understanding Digital Microscope Camera Systems
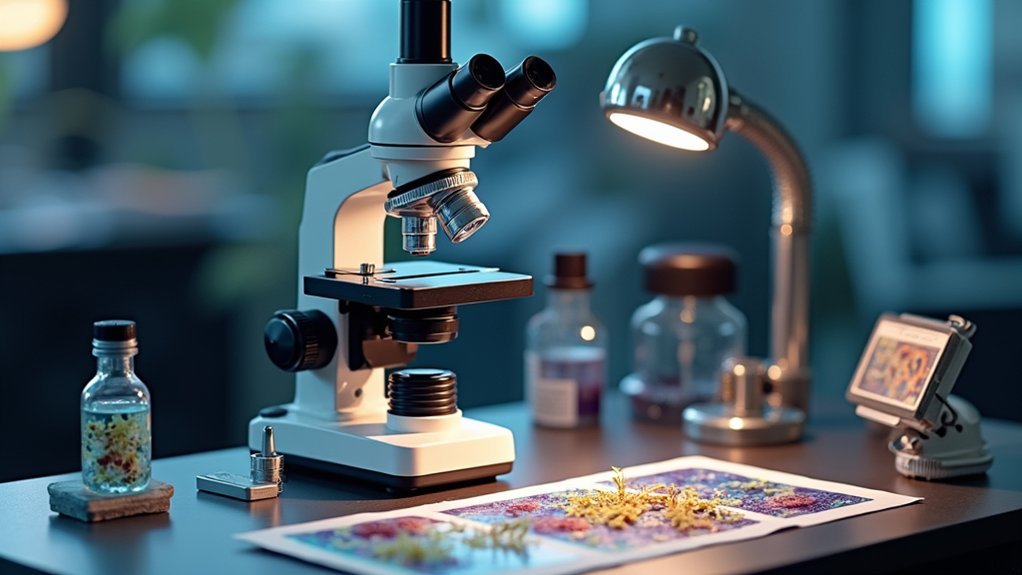
While capturing microscopic footage may seem complex, digital microscope camera systems provide accessible solutions through their modular design. These systems typically combine a camera, tube lens, and microscope objectives that you can configure for your specific needs, whether biological or industrial inspections.
Four-component Digital Video Microscope setups can achieve up to 200X magnifications with resolutions ranging from 10.5MP at 3 fps to 0.36MP at 100 fps.
For advanced applications, seven-component systems offer maximum adaptability, allowing you to integrate optical components like filters and beamsplitters—essential for fluorescence microscopy.
The image quality largely depends on infinity corrected objectives and proper spacing between components. Maintaining the recommended 76.5mm between tube lens and objective prevents vignetting and noise while preserving brightness and clarity in your microscopic recordings.
Essential Components for Video Microscopy Setups
Although many researchers focus solely on the camera when building a microscopy recording system, a complete video microscopy setup requires several essential components working in harmony. Your camera should deliver at least Full HD resolution (1920 x 1080 pixels) for clear image capture during observations.
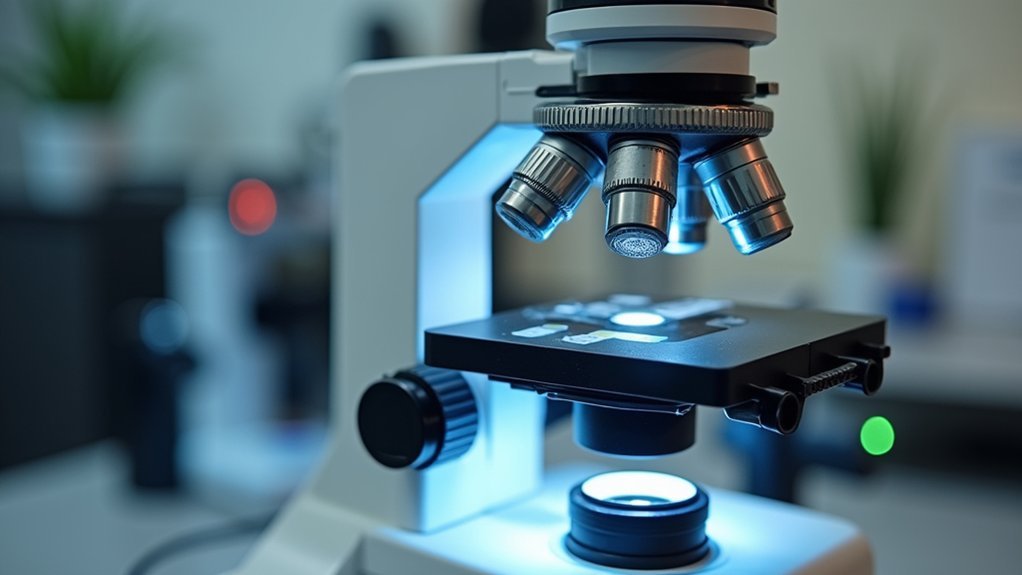
Beyond the camera, you’ll need proper optical components including infinity corrected objectives, a tube lens, and extension tubes to achieve ideal magnification. These objectives allow for additional optical accessories while reducing aberrations.
Don’t overlook lighting—a quality ring light or LED system will dramatically reduce glare and enhance image clarity.
Ensure system stability with a reliable power supply and proper mounting accessories like C-mount adapters to create seamless integration between your camera and microscope objectives for consistent, professional-quality video recordings.
Choosing the Right Camera for Microscope Recording
You’ll need to balance resolution requirements with your specific application, as higher megapixel cameras like the 30MP models (7360 x 4140 pixels) reveal intricate sample details that lower-resolution options might miss.
Consider whether USB output suits your needs for direct computer connection and software integration, or if HDMI output provides better flexibility for real-time monitoring on external displays.
Your choice between these connection types will impact both your workflow and the additional equipment you’ll need for your microscope recording setup.
Camera Resolution Options
Several essential resolution specifications require consideration when selecting the right camera for your microscope recording setup. For high-definition video recording, a 5.0MP camera offering 1920x1080P at 60FPS delivers excellent results while maintaining smooth motion capture.
If you’re prioritizing image quality, consider a 30MP (7360×4140) camera for exceptional detail in still images.
A 10MP camera provides an ideal balance for most applications, combining clarity with reasonable frame rates. Pay attention to pixel size—cameras with 1.33μm pixels capture finer details in microscopic specimens.
Don’t overlook connectivity; USB 3.0 guarantees faster data transfer, which is vital for high-resolution microscope recording. For professional-level results, look for cameras with auto white balance and adjustable settings that can be optimized for different sample types.
USB vs. HDMI Outputs
When choosing a microscope camera, understanding the distinction between USB and HDMI outputs can dramatically impact your recording capabilities. USB outputs offer straightforward computer connectivity for image capture and editing, while HDMI outputs deliver superior video quality for real-time viewing on large screens.
| Feature | USB Outputs | HDMI Outputs |
|---|---|---|
| Connection | Direct to computer | Monitors/TVs |
| Resolution capabilities | 0.36MP to 30MP | 1080P or higher |
| Workflow | Simple recording/editing | Professional presentations |
Your microscope recording needs should guide your choice. USB cameras provide plug-and-play simplicity ideal for routine documentation, whereas HDMI cameras excel in high-quality presentations and live demonstrations. Consider whether you prioritize ease of use or premium video quality, and whether you’ll need additional equipment like capture cards for computer recording with HDMI systems.
Microscope-to-Camera Adapters and Mounting Options
Selecting the appropriate microscope-to-camera adapter, such as C-mount adapters for specific eyepiece diameters (23.2mm or 30.5mm), guarantees ideal image quality and prevents vignetting in your microscopy setup.
You’ll need to take into account the recommended distance between components—76.5mm for seven-component systems or approximately 190mm for four-component arrangements—to maintain proper image brightness and clarity.
For maximum stability, secure adapters like the Mitutoyo to C-Mount 10mm Adapter (#55-743) can greatly reduce vibration and improve the overall performance of your microscope recording system.
Adapter Types Overview
Connecting your camera to a microscope requires specific hardware that guarantees proper alignment and perfect image quality. The most common solution is a C-mount adapter, which creates a secure connection between your camera and microscope for reliable image capture.
Alternatively, eyepiece cameras attach directly to the microscope eyepiece for convenient real-time recording without complex setup.
When selecting an adapter, consider your eyepiece diameter—typically 23.2 mm or 30.5 mm—to ascertain compatibility with your microscope model. Proper spacing (around 76.5 mm in seven-component systems) is essential to prevent vignetting and maintain image clarity.
Various mounting options like universal brackets and adjustable stands offer flexibility in positioning your camera for prime recording angles and distances, enhancing your microscopy experience.
Mounting Stability Solutions
Reliable mounting stability forms the foundation of quality microscope videography, building upon the adapter selection process we’ve explored. The right mounting solutions eliminate vibrations that can ruin your video recording, especially at high magnifications.
| Mounting Option | Benefits |
|---|---|
| Tripod stabilization | Reduces vertical movement, essential for time-lapse recordings |
| Gimbal systems | Minimizes horizontal vibrations during active observation |
| C-mount adapters | Provides secure connection between microscope and camera |
| Extension tubes | Maintains ideal 76.5mm working distance, preventing vignetting |
When setting up your system, prioritize maintaining the critical 76.5mm distance between the tube lens and objective. This precision guarantees maximum image quality while preventing common edge darkening issues. For specialized applications like fluorescence microscopy, proper stabilization becomes even more critical as exposure times increase.
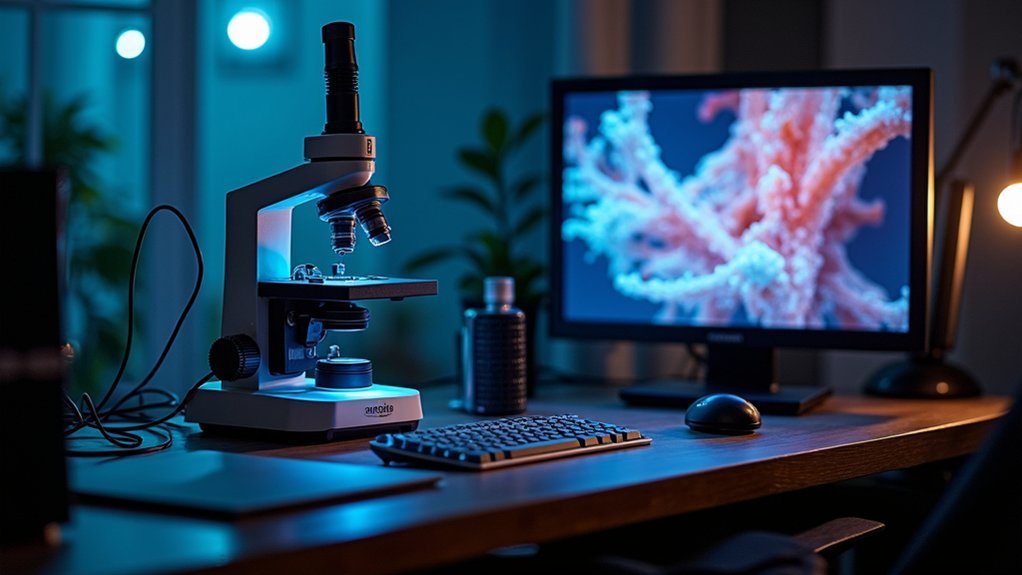
Optimizing Lighting for Clear Microscopy Videos

When capturing microscope videos, proper lighting serves as the foundation for exceptional image quality.
You’ll want to invest in adjustable LED ring lights that provide uniform illumination across your specimen, eliminating shadows and glare that can obscure vital details at high magnifications.
Position your lighting source at a working distance between 27mm and 120mm to guarantee ideal exposure without creating vignetting effects.
For specialized applications like fluorescence microscopy, consider adding filters or beamsplitters to your optical path to enhance illumination quality.
Don’t forget to calibrate your camera’s white balance to match your lighting conditions.
This essential step guarantees accurate color representation in your recorded videos, allowing viewers to observe specimens exactly as they appear under the microscope.
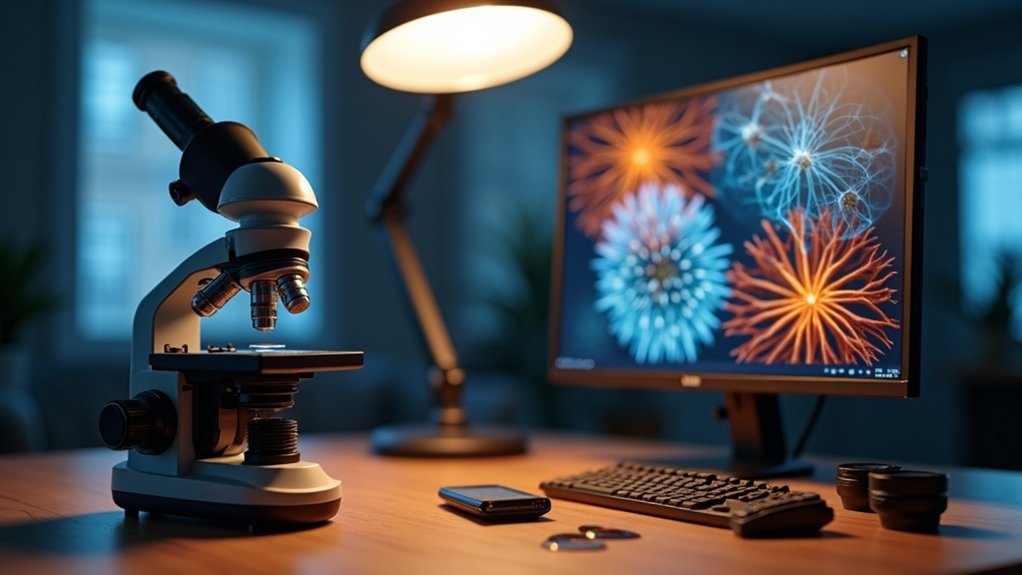
Software Solutions for Microscope Video Capture
You’ll find numerous software options for microscope video capture, ranging from free open-source programs like Micro-Manager to premium solutions offering advanced features for professional applications.
When choosing between these options, consider what functionality you need—basic recording capabilities may be sufficient for educational purposes, while research work might require measurement tools and time-lapse recording.
Many modern software packages include real-time analysis features such as live measurements, annotation capabilities, and image enhancement that can greatly improve your workflow and analysis capabilities.
Software Solutions for Microscope Video Capture
After setting up the hardware components of your microscope recording system, choosing the right software becomes essential for capturing, processing, and analyzing your microscopic footage.
Many digital microscopes include proprietary recording software that handles the basics, but you’ll want to evaluate specialized options for more advanced needs.
Look for software solutions that support:
- High-resolution formats (1920 x 1080 or higher) to preserve image quality
- Measurement tools and annotation capabilities for research and education
- Real-time viewing features for immediate analysis
- Cross-platform compatibility with your existing hardware
Video editing programs like Riverside, Final Cut Pro X, and Adobe Premiere Pro can enhance your microscope recordings with professional touches.
These applications allow you to create polished presentations while maintaining the scientific integrity of your footage.
Free vs. Premium Options
Choosing between free and premium software for microscope video capture involves important trade-offs that directly impact your recording quality and workflow efficiency.
Free software options like OBS Studio and AmCap provide basic recording capabilities and image capture functionality, making them suitable for educational settings with modest requirements.
However, premium software delivers enhanced features including real-time image processing, customizable resolution settings, and superior frame rate control. These solutions typically range from €50 to several hundred euros but offer greater compatibility with various microscope camera types and higher-quality output.
You’ll also benefit from customer support, regular updates, and overall reliability that free options lack.
Your choice should balance your specific needs against budget constraints, considering whether advanced processing capabilities justify the investment for your microscope video work.
Real-time Analysis Features
While basic recording functions serve essential documentation needs, real-time analysis features elevate microscope video capture to an analytical tool. Modern software solutions enable you to process and enhance your specimen images as you observe them, offering remarkable flexibility for scientific investigation.
Look for these capabilities in high-quality real-time analysis software:
- Live image processing with filters and enhancements to optimize video quality while you’re viewing specimens
- Measurement and annotation tools that allow quantitative analysis during observation
- High-resolution recording capabilities supporting up to 30MP (7360 x 4140 pixels)
- Automatic white balance adjustment for accurate color representation
You’ll find options compatible with both Windows and Mac systems, making it easy to integrate real-time analysis into your existing workflow regardless of platform preference.
Budget-Friendly Options for Beginners
Because microscopy can seem intimidating at first, you’ll be pleased to know that quality recording solutions exist without breaking the bank.
USB microscope cameras starting at just €67.90 offer excellent image capture capabilities without requiring complex PC setups.
For standalone recording, consider the BRESSER WiFi Eyepiece Camera at €109.00, featuring 2K resolution and an integrated display for real-time viewing.
Pair this with blank microscope slides (€9.90) to start examining specimens immediately.
An extensive microscope accessories kit with a 5.0MP video microscope camera, 200x lens, and adjustable LED lighting can be found for around €109.00—providing everything you need in one package.
Don’t forget to invest in a quality SD card like the SanDisk Extreme Pro (starting at €40 for 64GB) for reliable video storage.
Advanced Microscope Recording Configurations
As researchers progress beyond entry-level setups, sophisticated seven-component recording systems offer exceptional imaging capabilities for specialized applications.
These advanced microscope recording configurations utilize an essential 76.5mm spacing between the tube lens and objective to prevent vignetting during sample observation.
For ideal video recording results, you’ll need:
- Infinity corrected objectives that accommodate additional optical components
- High-quality filters and beamsplitters for specialized applications like fluorescence microscopy
- Digital cameras offering high resolution (30MP or 1920×1080 pixels)
- Stable tripod or gimbal setup to eliminate vibrations
When working with 200X magnification systems, precise alignment becomes vital.
Every optical component must be carefully positioned to maintain clarity and resolution.
This advanced configuration guarantees you’ll capture microscopic details with remarkable precision during extended recording sessions.
Troubleshooting Common Video Capture Issues
Even the most sophisticated microscope setups can face unexpected recording challenges. When your video capture software isn’t displaying properly, first verify compatibility with your camera and check for required driver updates.
Poor image quality often stems from incorrect resolution settings—ensure they match your camera’s 30MP capability (7360 x 4140) for best results.
Experiencing choppy video? Try reducing resolution or switching from USB 2.0 to USB 3.0 for increased bandwidth. If your feed isn’t displaying at all, confirm your power supply meets the required DC-12V/1A specification.
Focus clarity issues typically relate to incorrect working distance. Maintain the specified 27mm-120mm range and verify you’re using the appropriate objective lens.
These adjustments will help resolve most common microscope recording problems without requiring equipment replacement.
Accessories for Enhanced Microscope Imaging Quality
While basic microscope setups deliver adequate results, specialized accessories can substantially elevate your imaging quality. The right tools facilitate clearer observations and superior documentation of your specimens.
Elevate your microscopy from adequate to exceptional with specialized accessories that transform specimen documentation.
Essential accessories to take into account for your microscope imaging system:
- High-resolution eyepiece cameras like the BRESSER WiFi model provide real-time 2K viewing and recording capabilities.
- Immersion oil paired with 100x oil objectives greatly boosts clarity during high-magnification work.
- T2 rings guarantee precise alignment when connecting SLR cameras, preventing light loss.
- Adjustable LED ring lights reduce noise and glare, particularly valuable for fluorescence microscopy.
For direct display needs, the BRESSER MikroCam mini Full HD HDMI camera connects straight to monitors without requiring a PC, delivering high-framerate, lossless data transfer with minimal setup complexity.
Frequently Asked Questions
How Do You Set up a Microscope Video?
You’ll need to attach a digital camera to your microscope with a C-mount adapter, adjust your focus, guarantee proper lighting with LED rings, and connect to recording devices via USB/HDMI connections.
What Accessories Do You Need for a Microscope?
For a microscope, you’ll need camera attachments, C-mount lenses, a stable stand, quality slides with cover plates, and adjustable LED lighting to enhance visibility during observations and recordings.
Can Microscopes Record Video?
Yes, many microscopes can record video, especially digital models with USB or HDMI cameras. You’ll get high-resolution footage when using eyepiece cameras, capture devices, and software that supports video recording and editing.
Can I Add a Camera to My Microscope?
Yes, you can add a camera to your microscope using eyepiece cameras or dedicated microscope cameras. They connect via USB, C-mount, or directly to eyepieces, depending on your microscope’s design and your specific needs.
In Summary
You’ve now got the knowledge to create exceptional microscope recordings regardless of your budget or experience level. Remember, balance between camera quality, proper adapters, and consistent lighting will determine your results. Don’t hesitate to start simple and upgrade as needed. With proper care for your equipment and practice with settings, you’ll soon capture stunning microscopic worlds that once remained invisible.


Leave a Reply