To connect a lens to lab equipment, you’ll need to: assess lens compatibility, gather proper mounting hardware, clean the lens thoroughly, set up your equipment interface, secure the lens to prevent movement, align the optical axis, calibrate focus distance, verify proper mounting, test light transmission, and troubleshoot any alignment issues. Following these steps guarantees accurate results and prevents damage to both lens and equipment. The difference between successful experiments and frustrating setbacks often lies in these simple connection techniques.
10 Steps: Connect Any Lens To Lab Equipment
Five essential steps guarantee successful lens integration with laboratory equipment.
First, verify compatibility by checking the lens’s focal length and diameter specifications match your lab equipment requirements.
Verify lens compatibility by confirming focal length and diameter align with your laboratory equipment specifications.
Second, secure the lens using appropriate adapters or mounting systems to guarantee stability during use.
Third, properly align the optical axis of your lens with the equipment to prevent measurement distortion.
Fourth, position the lens at the correct distance from your light source or specimen based on the lens specifications to achieve ideal focus.
Finally, clean the lens surfaces thoroughly before connection to maintain image quality and prevent contamination.
Following these procedures will guarantee your lens performs accurately and provides reliable results for your laboratory experiments.
Assessing Lens and Equipment Compatibility
Before connecting any lens to your lab equipment, you’ll need to carefully evaluate their compatibility to prevent experimental failures.
Start by confirming the lens type (convex or concave) matches your experimental setup requirements, as this directly affects image formation.
Check that the focal length aligns with your equipment’s working distance requirements. Mismatched focal lengths result in focusing issues and poor image quality.
Measure the lens diameter against your equipment’s aperture to guarantee proper light transmission and avoid vignetting.
Verify that mounting adapters fit securely to prevent misalignment during use.
Finally, review the optical specifications of your lens—including aberration characteristics and resolution—to ascertain they meet your experiment’s precision needs.
Proper assessment before connection saves time and improves experimental outcomes.
Gathering Necessary Mounting Hardware and Adapters
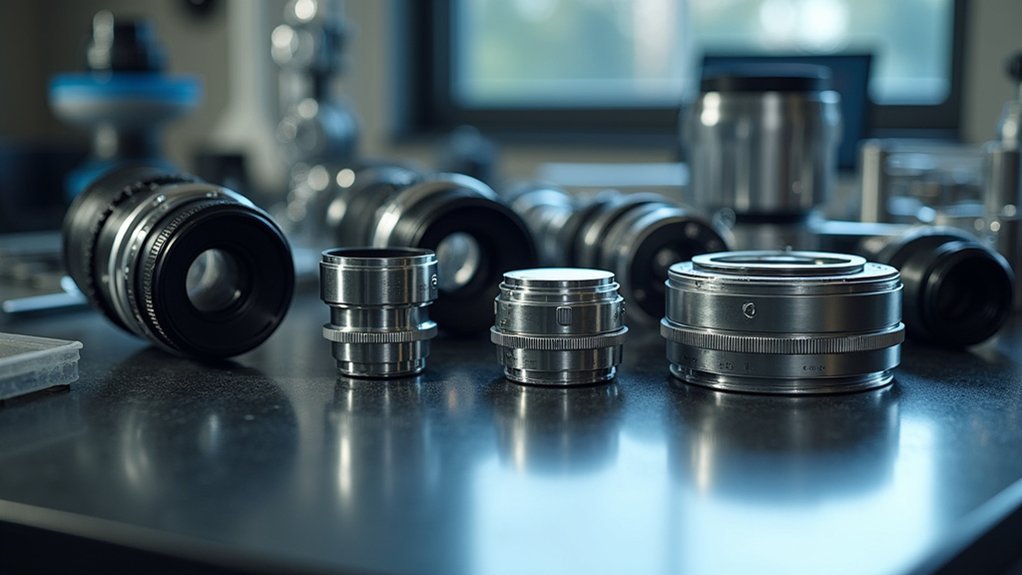
Successful lens connection to lab equipment requires three essential hardware components that you’ll need to gather before assembly.
First, obtain the appropriate lens adapter—like C-mount or T-mount—that matches both your objective lens and equipment specifications. Verify diameter compatibility for a precise fit.
Selecting the correct adapter ensures seamless integration between your lens and lab equipment—compatibility is non-negotiable for precision work.
Second, collect mounting hardware such as specialized lens holders or adjustable clamps to stabilize your setup. These components prevent vibrations and maintain optical alignment during critical experiments.
Finally, don’t overlook extension tubes if you need to adjust working distance for maximum focus. These spacers provide flexibility when connecting lenses of varying focal lengths.
Double-check that all pieces fit together securely. Even slight misalignments can compromise your results, so verify every connection is tight and stable before proceeding with your experimental work.
Preparing the Lens for Connection
Before connecting your lens to lab equipment, you’ll need to thoroughly clean it using a microfiber cloth and lens solution to remove fingerprints, dust, and oils that could compromise your results.
Select the appropriate adapter based on your lens mount type (such as C-mount or T-mount) and the connection port on your laboratory equipment.
Confirm that both the adapter and lens threads match precisely to guarantee proper alignment and secure attachment during your optical experiments.
Lens Cleaning Protocol
Proper preparation of your lens is critical to achieving accurate results in laboratory settings. Before connecting any lens to equipment, check that its lens surface is completely clean.
Use only specialized lens paper for optical cleaning, wiping in gentle circular motions from center outward to prevent scratches. For stubborn residue, apply a few drops of lens cleaning solution to your lens paper—never directly to the lens.
Avoid abrasive materials that could damage delicate lens coatings. Once cleaned, inspect the lens carefully for any remaining smudges or fingerprints that might compromise your connections.
When not in use, store your lenses in protective cases to prevent contamination.
Develop a habit of regularly examining lenses for signs of wear or damage that could affect measurement accuracy.
Adapter Selection Guide
With your lens now spotless and ready for use, selecting the right adapter forms the backbone of any successful lens-to-equipment connection. You’ll need to match your specific lens to your camera or microscope with the appropriate adapter type.
| Adapter Type | Best Used For | Compatibility Notes |
|---|---|---|
| C-mount | Microscopes, CCTV | 1″ sensor or smaller |
| T-mount | DSLR, mirrorless | Universal threading |
| Microscope | Scientific cameras | Specific to eyepiece diameter |
| F-mount | Nikon ecosystem | Common in lab settings |
| CS-mount | Industrial cameras | Requires 5mm spacer for C-mount |
Check your lens specifications to verify the adapter supports your desired magnification and working distance. Always secure the adapter tightly to prevent image degradation. If you’re struggling with focus, consider adding extension tubes to adjust the lens-to-sensor distance for best results.
Setting Up the Laboratory Equipment Interface
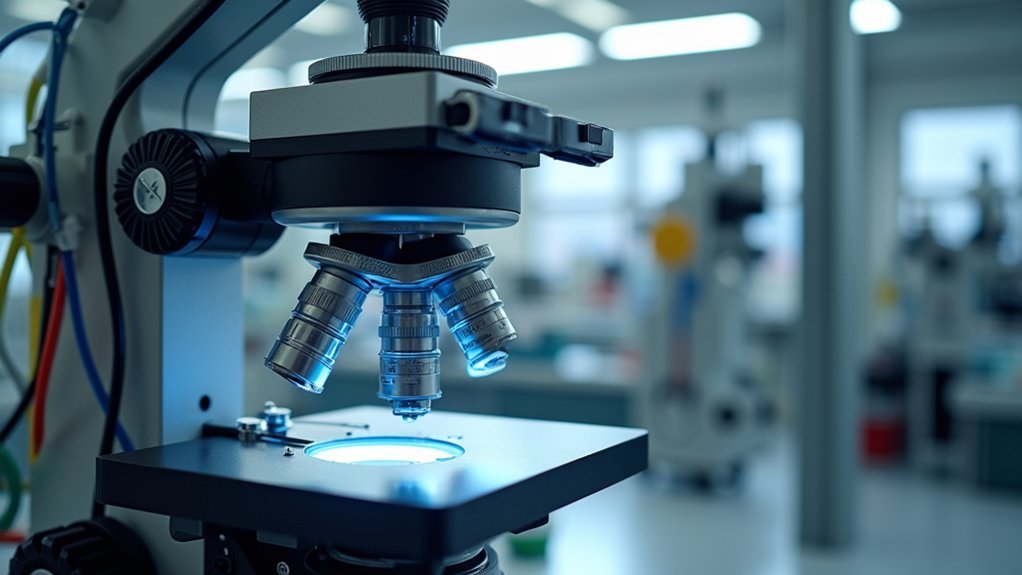
The success of any lens-based experiment hinges on three critical setup elements: compatibility, secure mounting, and precise alignment. Before beginning your work, verify that your lens is compatible with your lab equipment, including optical benches and lens holders, to guarantee proper experimental conditions.
Attach your lens firmly using an appropriate mount or holder to minimize vibrations and allow for precise adjustments during your experiments. Position the lens so the light beam passes directly through its center for ideal focus and image formation.
Use measurement tools like rulers or vernier calipers to set the exact focal distance between your lens and light source or detector.
For more sophisticated analysis, connect your setup to digital imaging equipment such as cameras or photodetectors to capture and quantify the optical performance of your lens system.
Aligning Optical Axes for Precise Measurements
You’ll need to calibrate the optical axis of your lens to perfectly match your lab equipment’s axis for accurate measurements.
Check that the center of your lens aligns with the focal point of your measurement apparatus by using adjustable mounts or optical benches.
Verify proper alignment by tracking the light path through your setup and using alignment tools like laser pointers to confirm all components share the same optical axis.
Critical Axis Calibration
Achieving reliable measurements requires perfect alignment between your lens’s optical axis and the measurement axis of your lab equipment. This critical axis calibration is essential, especially when working with microscope objectives where even slight misalignments can skew your results.
Start by setting up your lens on an optical bench and use alignment lasers to identify any deviations with high precision. Adjust the position until the focal point precisely aligns with the measurement device’s optical axis.
Remember that environmental factors like temperature fluctuations and vibrations can disrupt your calibration, so check it regularly.
Document your calibration process thoroughly, noting all adjustments made. This record keeping guarantees consistency across experiments and saves time when you need to recalibrate in the future.
Light Path Verification
Beyond basic calibration, verifying your light path guarantees that optical signals travel as intended through your entire system.
Mount your type of lens perpendicular to the light source on the optical bench, ensuring it’s secured firmly to prevent drift during measurements.
Use a beam splitter or alignment laser to confirm light passes directly through the lens center. Adjust the position until you achieve ideal alignment between all pieces of equipment. Verify that distances from your object to the lens and from the lens to the detector conform precisely to the lens equation.
Establish reference points and calibrate regularly to quickly detect and correct misalignments. Document your setup conditions thoroughly—including distances, angles, and equipment positions—so you can replicate your configuration consistently for future experiments and maintain measurement reliability.
Securing the Lens to Prevent Movement During Testing
When working with optical setups, a securely mounted lens forms the foundation of accurate experimental results. Even microscopic movements can dramatically alter your measurements, especially when switching between different objective types.
Always verify your lens is firmly attached to the optical bench using a reliable lens holder or clamp that stabilizes both front and back surfaces.
You’ll want to utilize proper alignment tools like collimators or lasers to verify correct positioning. Regularly check that the lens is adequately tightened within its housing—loose components inevitably lead to misalignment.
For additional stability, place a vibration-dampening mat beneath your setup to absorb unwanted tremors. Don’t forget to inspect your mounting hardware periodically for signs of wear or damage that could compromise stability during extended testing sessions.
Calibrating Focus and Working Distance
The precision of your focus directly determines the quality of your optical measurements, so proper calibration of both focus and working distance is crucial.
After securing your lens, adjust its distance from the specimen by moving it closer or farther away to find the ideal focus point.
Proper lens positioning is essential—find the sweet spot by carefully adjusting distance until perfect focus emerges.
Use a calibrated ruler to measure the exact distance between the lens and specimen in millimeters, targeting the standard working distance for your specific lens type.
Begin with coarse adjustments to bring your specimen into view, then switch to fine adjustments for perfect clarity at your desired magnification.
Always document your focal length and working distance settings for future reference.
This documentation guarantees repeatability across experiments and helps maintain consistent results in all your trials.
Testing the Connection With Light Transmission
Most optical connections require verification through light transmission testing before conducting actual experiments.
Begin by ensuring your lens is firmly secured in the mounting apparatus to prevent any alignment issues that could compromise your results.
Position a light source—either a laser or LED—to illuminate the lens, then observe the transmitted light path. This visual confirmation helps verify proper alignment.
Next, use a photodetector or light meter to measure the transmitted light intensity, quantifying the lens’s efficiency.
You’ll need to adjust both the distance between your light source and lens as well as the incidence angle to optimize light transmission and focal point positioning.
Throughout this process, document any distortions or aberrations in the transmitted light. These observations will help you assess the lens’s optical quality and determine its suitability for your specific application.
Troubleshooting Common Mounting Problems
Four critical mounting issues can derail your optical experiments before they begin.
First, always check that your lens is securely attached to the adapter—any looseness will cause misalignment and compromise optical performance.
A loose lens-to-adapter connection invites misalignment, ultimately sabotaging the integrity of your optical results.
Second, verify that the lens’s focal length matches your experiment’s requirements; an incorrect focal length will prevent clear image capture.
Inspect all connections for debris or damage that might obstruct light passage. Even tiny particles can greatly reduce image quality or produce inaccurate readings.
Also, confirm you haven’t installed the lens backward—this simple mistake often results in inverted images or complete failure to form an image.
When working with multiple lenses, verify compatibility between different lens types and your lab equipment specifications.
Incompatible components can make proper mounting impossible and prevent your optical system from functioning correctly.
Frequently Asked Questions
What Are the Steps of Lens Surfacing?
You’ll select a lens blank, block it for stability, generate cuts for rough shape, fine and polish the surfaces, apply coatings if needed, and conduct quality checks throughout the process.
How to Use a Microscope in a Laboratory Step by Step?
You’ll first turn on the illuminator, raise the nosepiece, and position your slide specimen-side up. Focus with 10X objective before switching to higher magnifications. Clean oil-immersion lenses after use and store properly when finished.
What Are the 10 Steps in Using a Microscope?
You’ll first power up the illuminator, position your 10X objective, place your slide, adjust the condenser, focus with coarse then fine knobs, and adjust diaphragm settings when switching to higher magnification objectives.
How Do You Set up a Microscope Lens?
You’ll first select an appropriate objective lens for your desired magnification, then attach it securely to the nosepiece. Adjust the condenser, carefully lower the lens using the coarse knob, and fine-tune for clarity.
In Summary
You’ve now mastered connecting any lens to your lab equipment. With these ten steps, you’ll confidently assess compatibility, gather proper hardware, and secure reliable connections every time. Remember that proper calibration is essential for accurate results. Don’t hesitate to troubleshoot if issues arise—it’s a normal part of the process. Keep this guide handy for future reference as you continue your optical experimentation work.
Leave a Reply