Common CCD camera adapter issues include incorrect thread sizes, light leakage, vignetting from improper diameter selection, focus problems due to incorrect spacing, sensor misalignment, mechanical stress from heavy equipment, magnification discrepancies, resolution loss from mismatched optics, flexure during exposures, and inadequate calibration. You’ll need proper spacing (typically 55mm), compatible threads (M42x0.75 standard), correct diameter adapters to match your sensor, and secure mounts to prevent stress. The solutions ahead will transform your blurry star disks into pinpoint precision.
10 Common CCD Camera Adapter Issues And Solutions
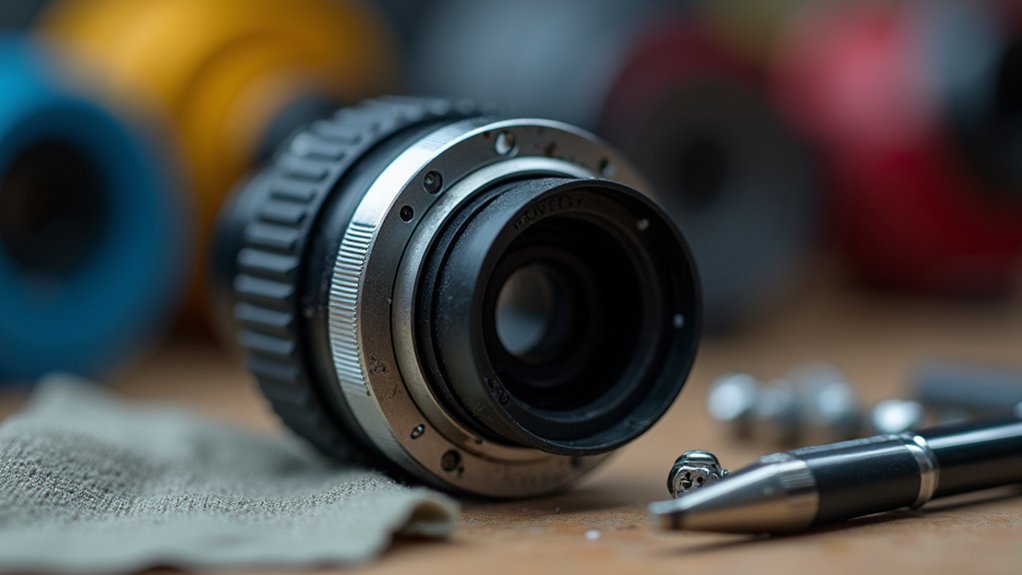
When setting up your CCD camera system, maintaining proper spacing stands as the most critical yet often overlooked aspect of adapter configuration. The ideal distance (typically 55mm) guarantees peak focus and prevents distortion, especially when using focal reducers with your camera lens.
You’ll need adjustable spacers (30-42mm) to achieve the correct chip distance for precise focus. Make sure your CCD camera sits perfectly square and parallel to the telescope mount—even slight tilt leads to elongated stars in your images.
Check your debayering settings too; color CCDs often require RGBG configurations rather than the DSLR-standard RGGB pattern.
Color CCDs typically need RGBG debayer patterns instead of the RGGB configuration commonly used in DSLRs.
Finally, regularly inspect all connections and fittings to eliminate flexure that can degrade image quality during long exposures. Proper adapter management makes the difference between mediocre and stunning astrophotography results.
Incorrect Adapter Thread Size Causing Connection Failures
Although seemingly minor, incorrect adapter thread sizes represent one of the most frustrating issues in CCD astrophotography setups. When your camera body won’t properly connect to your telescope, you’re likely facing a thread size mismatch. This can lead to image misalignment and quality degradation.
| Thread Type | Size | Common Use | Compatibility Issue |
|---|---|---|---|
| T2 | M42x0.75 | Standard CCD cameras | Won’t fit 2″ focusers directly |
| 2-inch | 50.8mm | Telescope focusers | Requires adapter for T2 cameras |
| C-mount | 1″-32TPI | Video camera body | Insufficient back focus |
| SCT | SC thread | Schmidt-Cassegrains | Limited to specific equipment |
Always verify your thread specifications before purchasing. Using incorrect adapters can damage your camera body and telescope components, requiring additional spacers or converters that introduce new potential failure points.
Light Leakage Between Camera and Microscope Interface

Despite proper thread matching, light leakage at the camera-microscope interface often undermines image quality in CCD setups. This unwanted light infiltration typically results from misalignment or improper fitting of your adapter, allowing ambient light to interfere with your imaging results.
To resolve this issue, verify your camera connects snugly to the microscope using rubber or foam gaskets to seal any gaps.
Carefully adjust the camera’s focus and position relative to the optical path to minimize light bleed. Regularly inspect your adapter for wear, cracks, or loose fittings that might create openings for stray light.
For persistent problems, apply black matte paint or light-absorbing materials around the connection points to reduce reflections and further eliminate unwanted light interference that compromises your imaging quality.
Vignetting Due to Improper Adapter Diameter Selection
Vignetting in your astronomical images often results from selecting an adapter with a diameter smaller than your camera’s sensor or telescope aperture.
You’ll need to match your adapter’s diameter to the focal plane size, as using a 1.25-inch adapter with a 2-inch telescope creates significant light cutoff at the corners.
Make certain your camera sensor aligns properly with the telescope’s optical axis while choosing an adapter that accommodates the full aperture to maximize light transmission.
Light Cutoff Causes
When you select an adapter with a diameter that’s too small for your telescope’s focal plane, you’ll inevitably encounter vignetting in your astrophotography. This occurs because the narrow adapter physically blocks light that should reach the edges of your CCD sensor, creating noticeable darkening in the corners of your images.
The physics is straightforward: if your adapter can’t accommodate the full light cone produced by your telescope, peripheral light rays won’t make it to your camera.
For best results, verify your adapter diameter matches or exceeds your focal plane’s diameter. You can also try adjusting your camera’s position relative to the focal plane to minimize vignetting effects.
Always check both your telescope and camera specifications before selecting an adapter to prevent light cutoff issues from compromising your imaging quality.
Diameter Matching Essentials
Selecting the proper adapter diameter stands as one of the most critical decisions you’ll make when connecting your CCD camera to your telescope. When your adapter’s diameter is too small, you’ll experience vignetting—a frustrating darkening of your image corners that ruins otherwise perfect astrophotography.
To avoid this common pitfall, verify your adapter diameter matches or exceeds that of your telescope’s eyepiece or focal reducer. Consider both your telescope’s focal length and CCD sensor size when making this selection, as their relationship directly impacts light transmission across your entire frame.
Don’t overlook the importance of proper spacing and alignment after installation. Even with correct diameter matching essentials in place, minor misalignments can still create vignetting issues.
Regular checks and adjustments will help maintain peak image quality throughout your observation sessions.
Focus Issues From Incorrect Working Distance
When you’re setting up your CCD camera, you’ll need to calculate the proper extension length between your telescope and sensor to achieve critical focus.
You can adjust spacer rings by adding or removing components until stars appear as pinpoint objects rather than bloated disks or donuts.
Calibrating the parfocal distance requires careful measurement and testing with your specific equipment combination, ensuring the camera’s sensor sits at precisely the right position relative to your telescope’s focal plane.
Calculating Proper Extension Length
Achieving ideal focus with your CCD camera hinges critically on maintaining the correct working distance. For most CCD systems, you’ll need precisely 55 mm from your focal reducer or coma corrector to the sensor for peak performance.
To calculate the proper extension length, use variable spacers ranging from 30 mm to 42 mm to fine-tune your configuration. Monitor your images carefully—star elongation or distortion at the frame edges indicates either incorrect spacing or potential tilt issues.
Remember to verify your debayering settings match your specific CCD sensor’s RGBG configuration, as improper settings will compromise image quality.
Make it a practice to regularly adjust your spacer length based on your imaging results. These small but precise adjustments will greatly improve focus quality and minimize optical aberrations during your astrophotography sessions.
Spacer Ring Adjustment Methods
Now that you understand how to calculate the ideal extension length, let’s address how to properly adjust your spacer rings when focus issues arise.
When your images show elongated stars or you can’t achieve perfect focus, your camera’s CCD chip distance may be off from the best 55mm specification.
Invest in adjustable spacers, like Baader’s variable rings, which provide adequate power to fine-tune the distance between your camera and optical train.
Test different configurations by making small incremental changes—even 1-2mm adjustments can dramatically improve image quality.
For coma correctors especially, precise spacing is critical.
Take test images after each adjustment, examining star shapes at the center and edges of your field.
Document these changes systematically until you find the best spacer configuration that delivers pinpoint stars across your entire image.
Parfocal Distance Calibration
Precision in parfocal distance represents the cornerstone of successful astrophotography with CCD cameras.
When your camera and telescope aren’t properly calibrated, you’ll struggle with persistent focus issues and wasted imaging time.
The ideal working distance for most CCD cameras is approximately 55mm from the focal plane.
If you’re experiencing blurry images or elongated stars, your parfocal distance likely needs adjustment.
Check your camera and coma corrector specifications, then modify your spacer length accordingly—typically between 30mm and 42mm.
Test your adjustments using a Bahtinov mask to verify you’ve achieved proper focus.
This verification guarantees you won’t need to refocus constantly when switching between eyepieces and your camera.
Remember that even small deviations in parfocal distance can greatly impact image quality.
Image Quality Degradation From Low-Quality Adapters
When you attach a CCD camera to your telescope using a low-quality adapter, you’re introducing numerous potential flaws into your imaging system.
These substandard components can greatly compromise your CCD camera’s performance, leading to frustrating image quality degradation that’s difficult to diagnose.
Subpar adapters sabotage imaging performance, creating mysterious quality issues that plague even the most careful astrophotographer.
Poor adapters create several critical issues:
- Misalignment problems between camera and telescope, resulting in distorted images and reduced sharpness
- Light leaks from inadequate threading or poor fit, creating unwanted artifacts and degrading contrast
- Incorrect chip distance maintenance, preventing proper focus and causing elongated stars
Additionally, low-quality adapters often exacerbate chromatic aberration through improper light path alignment and can introduce vignetting where image corners appear darker.
When pursuing astrophotography, remember that your imaging chain is only as strong as its weakest component.
Camera Sensor Misalignment With Optical Path
The heart of effective astrophotography lies in perfect alignment between your camera’s sensor and the telescope’s optical path. When camera sensor misalignment occurs, you’ll notice distorted images, particularly elongated stars and shape irregularities at the frame edges.
To prevent these issues, verify your camera sits square and parallel to the optical axis. This alignment prevents unwanted reflections and maintains consistent focus across your entire image. You’ll typically need adjustable spacers (around 55mm) to position the sensor at the ideal chip distance.
Use a Bahtinov mask during focusing—it produces distinctive diffraction spikes when alignment is correct. If these spikes appear uneven, your sensor likely needs adjustment.
Make checking your optical path alignment part of your regular setup routine to consistently capture sharper, more detailed astrophotographs.
Mechanical Stress and Equipment Damage From Heavy Cameras
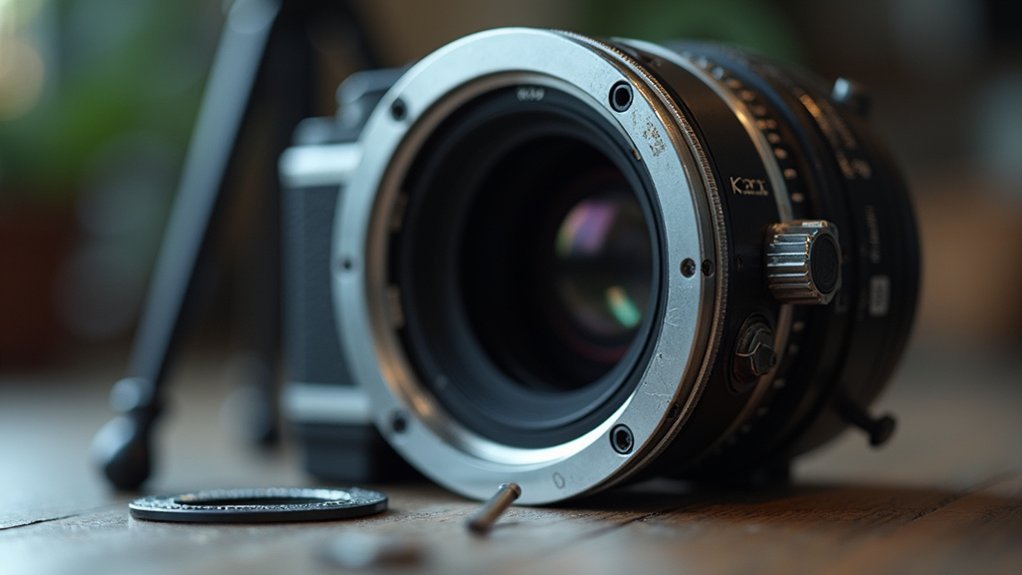
Heavy CCD cameras can put dangerous strain on your telescope’s mounting system, potentially causing misalignment and damage to sensitive optical components.
You’ll need to distribute the camera’s weight evenly using secure adapters with multiple attachment points, such as clamp rings or multi-screw systems, to prevent flexure that degrades image quality.
Regular inspection of your camera mounting hardware is essential, as adapter bending or focuser strain will compromise your imaging capabilities and may lead to expensive equipment repairs.
Heavy Camera Consequences
Mounting excessively weighty CCD cameras on your telescope introduces three significant risks to your equipment.
When you exceed manufacturer-specified weight limits, you’ll face heavy camera consequences that can permanently damage your setup or compromise your imaging results.
- Mechanical stress – Heavy cameras place continuous strain on mounts and adapters, accelerating wear on gears and bearings while potentially causing misalignment issues.
- Optical flexure – Excess weight creates unwanted movement in the optical train during long exposures, resulting in distorted, blurry images with reduced detail.
- Catastrophic failure – Your mounting system may suddenly give way under extreme weight, causing expensive equipment to crash.
You can mitigate these risks by properly balancing your setup and investing in robust mounting solutions designed specifically for heavier imaging equipment.
Preventing Adapter Bending
Protecting your telescope setup from adapter bending requires proactive measures beyond simply understanding weight limits.
Secure your camera to the adapter using multiple screws or a clamp ring system to distribute weight evenly and minimize mechanical stress during imaging sessions.
Opt for lightweight camera configurations whenever possible, including compact power supplies that won’t add unnecessary strain to your adapter system.
Properly manage all cables to prevent additional torque that could gradually deform the adapter over time.
For heavier equipment, invest in reinforced adapters specifically designed to support substantial loads.
Don’t compromise on adapter quality—rigid models will maintain precise alignment between your telescope and camera.
Regularly inspect your adapter for subtle signs of warping or stress marks, replacing it immediately if you detect any structural weakness.
Balancing Optical Components
While properly securing your camera is essential, achieving true optical balance remains the cornerstone of preventing mechanical stress and equipment damage with heavy CCD setups.
Your telescope’s performance depends on how evenly the camera is attached to distribute weight across the optical train.
When mounting heavy cameras, use multiple attachment points and regularly verify all connections remain tight.
Remember that even small misalignments can compromise image quality and potentially damage expensive equipment.
- Use clamp ring systems rather than single points of connection to spread the load evenly
- Add appropriate counterweights to offset the camera’s mass and maintain proper balance
- Monitor weight limits of your mount—exceeding these can affect tracking accuracy and strain motors
Proper balance not only protects your equipment but also guarantees consistent imaging results during long exposures.
Magnification Discrepancies Between Visual and Captured Images
Astronomers often experience confusion when the celestial objects they’ve observed through eyepieces appear dramatically different in their captured images.
The disconnect between eyepiece observation and camera capture remains a persistent frustration for many stargazers.
These magnification discrepancies typically stem from differences in the optical path length when using various adapters.
The total effective focal length of your system determines your final image scale. When you add focal reducers or Barlow lenses, you’re altering the effective focal ratio, causing significant differences between visual and captured magnifications.
To resolve these issues, you’ll need to calculate your complete optical system’s focal length, including all adapters and reducers.
Verify your CCD sensor sits at the correct distance from the focal plane—even small misalignments can worsen magnification problems.
Understanding the relationship between your telescope’s focal length and your camera adapter’s specifications will help you predict accurate magnification for imaging sessions.
Resolution Loss Due to Improperly Matched Optics
Beyond magnification issues, resolution loss represents a serious challenge with CCD imaging setups. When your optical components aren’t properly matched to your camera’s specifications, image quality deteriorates noticeably.
The critical backfocus distance between your CCD sensor and optical elements must be precisely maintained to avoid blurring and distortion.
- Focal reducers incompatible with your specific CCD can introduce unwanted aberrations and fail to provide the intended reduction ratio.
- Improper alignment of your camera with the telescope’s optical axis often causes star elongation and shape problems.
- Incorrect spacing between components can dramatically impact image clarity, especially with high-resolution sensors.
Regularly verify that your adapters and spacers are compatible with your CCD model to prevent resolution loss.
Frequently Asked Questions
Which Is Better CCD or Digital Camera?
For your specific needs, CCD cameras excel in scientific and low-light photography with superior image quality, while digital cameras offer better versatility, speed, and convenience for everyday use. You’ll want to choose based on your application.
How Does a CCD Camera Work?
A CCD camera works by collecting light on photosensitive cells that convert photons into electrical charges. You’ll find these charges are then transferred across the sensor and read out to create your digital image.
How to Choose a CCD Camera?
When choosing a CCD camera, you’ll want to take into account sensor size, cooling capabilities, backfocus compatibility, debayering options, and available software support. Larger sensors provide better sensitivity for capturing stunning celestial images.
What Cameras Have CCD Sensors?
You’ll find CCD sensors in older professional DSLRs from Canon, Nikon, and Sony, plus many scientific, astronomical, and industrial cameras like the Starlight Xpress SXVF-M25C. Newer consumer models typically use CMOS instead.
In Summary
You’ve now learned about the most common CCD camera adapter challenges and their fixes. When troubleshooting, start by checking thread size, light leakage, and alignment issues. Don’t forget that proper adapter selection prevents vignetting and focus problems. By understanding these technical pitfalls, you’ll capture clearer images and extend your equipment’s life. Remember, the right adapter is essential for ideal microscopy results.



Leave a Reply