To stain with methylene blue, prepare a 0.1-1% solution, apply it to your clean, dry sample for 1-5 minutes, then rinse with distilled water to remove excess dye. Use shorter staining times (1-2 minutes) for bacteria and longer times (3-5 minutes) for mammalian cells. View your stained samples under a light microscope at 40-100x magnification. Adjusting concentration and timing based on your specific specimen type will help you achieve ideal cellular visualization.
Understanding Methylene Blue as a Biological Stain
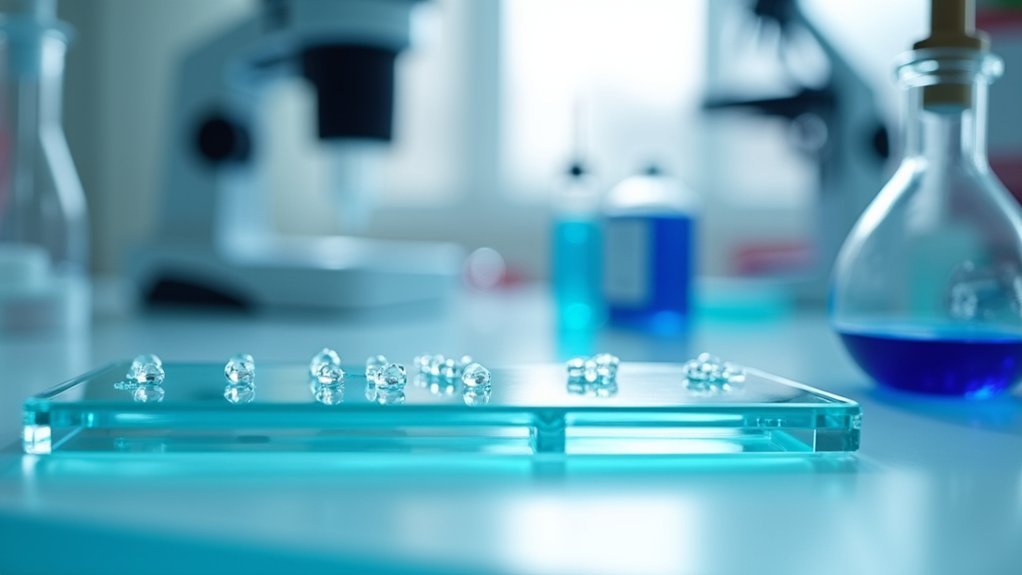
When you’re working with biological specimens under a microscope, Methylene Blue stands out as one of the most versatile staining agents in your laboratory toolkit. This cationic thiazine dye binds strongly to negatively charged cellular components, particularly nucleic acids, making it excellent for visualizing cell structures.
You’ll find Methylene Blue especially useful for distinguishing between live and dead cells—viable cells typically remain colorless while dead ones turn blue.
In microbiology, it serves as a counter-stain in Gram staining procedures, helping you differentiate bacterial types. The dye enhances visibility of epithelial cells and is valuable in histopathology for examining tissue sections.
Methylene Blue illuminates bacterial identities and tissue architecture, making microscopic worlds visible to the scientific eye.
You can also use it in cell viability studies to quantify live cells by evaluating which ones retain the color after staining.
Required Materials and Equipment for Methylene Blue Staining
A successful Methylene Blue staining procedure depends on having the right materials at hand. Before you begin staining your lab samples, gather all necessary equipment to guarantee a smooth workflow.
You’ll need Methylene Blue dye solution (0.1% to 1% concentration), which is an effective dye that stains viable cells with remarkable clarity.
- Sterilized glassware including petri dishes, microscope slides, and cover slips to prevent contamination
- Pipettes or droppers for precise application of the staining solution
- Microscope with appropriate magnification for examining cellular details
- Protective equipment (gloves and goggles) for safe handling of chemicals
Don’t forget to prepare sterile distilled water for rinsing your samples after staining.
Having mounting media ready will help preserve your specimens for extended observation periods.
Preparing Your Laboratory Samples for Staining
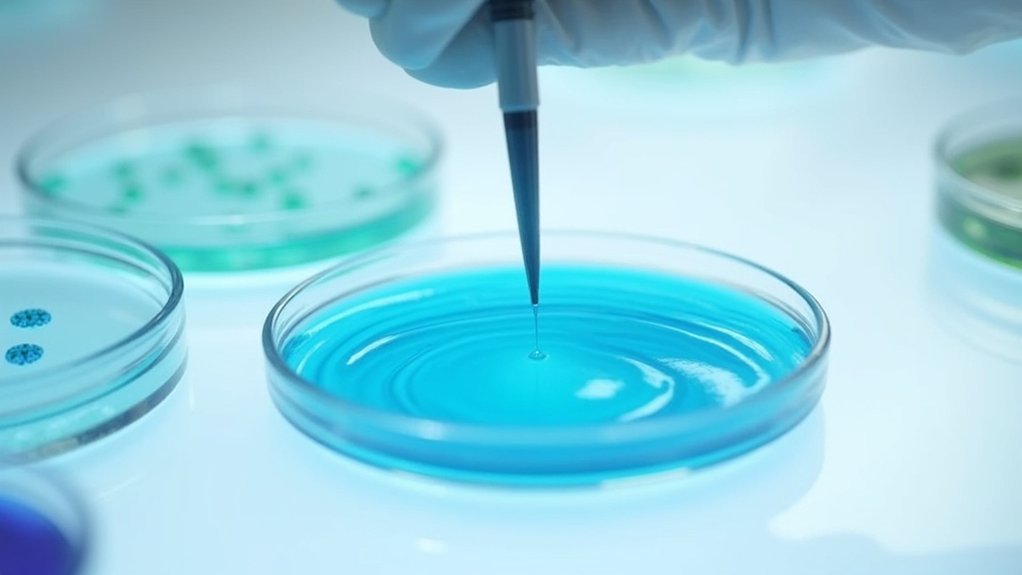
Proper preparation of your lab samples requires reliable equipment including clean glass slides, sterile pipettes, and appropriate fixatives to preserve specimen integrity.
You’ll need to handle your biological specimens carefully, transferring them gently to slides while maintaining their structural characteristics.
Always position your sample centrally on the slide and allow it to air dry completely before proceeding with the Methylene Blue staining protocol.
Sample Preparation Equipment
The cornerstone of successful sample staining begins with properly assembled equipment.
You’ll need to gather all necessary tools before working with your cells to guarantee the staining process proceeds without interruption. Proper preparation prevents contamination and assures consistent results when examining cellular structures under the microscope.
- Methylene Blue solution (0.1% to 1%, depending on your specific cell type)
- Sterilized glass slides and coverslips for mounting your samples
- Clean, calibrated pipettes for precise solution application
- Labeling materials to properly identify each sample
Always sterilize your equipment thoroughly before beginning. This prevents unwanted microorganisms from interfering with your staining results.
Remember to let your cell samples dry completely before applying the stain—this enhances dye uptake and improves visualization of cellular components.
Specimen Handling Techniques
Before applying any dye, you’ll need to master fundamental specimen handling techniques that greatly impact your staining outcomes. Always label your samples clearly with sample type, collection date, and other identifying information to prevent mix-ups when Methylene Blue is used to stain multiple specimens.
Maintain sterile conditions throughout the process by using clean equipment and proper technique. Cut or section your specimens appropriately to guarantee the dye penetrates evenly. Different sample types require specific preparation—some may need fixing before you introduce the stain.
Keep your workspace organized and clean to minimize contamination risks and guarantee efficient workflow.
These precautions might seem basic, but they’re critical to achieving reliable, high-quality staining results that yield accurate microscopic observations.
Step-by-Step Methylene Blue Staining Procedure
Five critical steps comprise the methylene blue staining process, beginning with thorough preparation. First, prepare your Methylene Blue solution at the recommended concentration and sterilize all equipment to prevent contamination.
Next, immerse your sample in the solution for 1-5 minutes, adjusting time based on sample type and desired intensity.
Immerse specimens precisely 1-5 minutes; timing varies by material and desired stain depth.
After staining, thoroughly rinse with distilled water to remove excess dye and minimize background staining. If needed, apply iodine to fix the dye, forming a complex that enhances visualization of specific cellular structures.
Finally, examine your stained specimen under a microscope at appropriate magnification.
- Sterile conditions guarantee accurate, contamination-free results
- Solution concentration affects staining intensity and specificity
- Proper rinsing technique dramatically improves visibility of cellular details
- Compare with control samples to validate your observations
Optimizing Staining Techniques for Different Cell Types
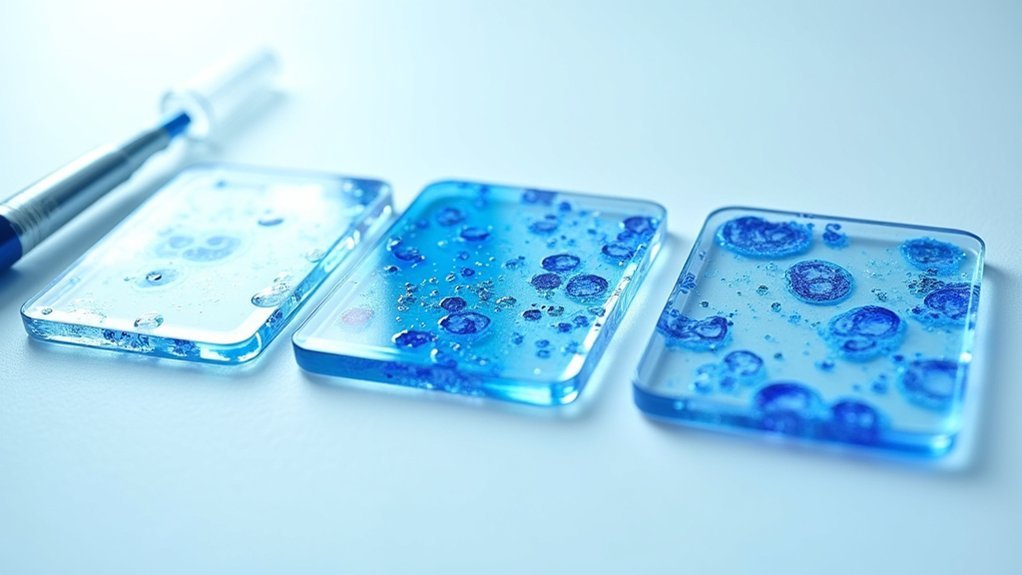
When staining mammalian cells, you’ll need higher concentrations of Methylene Blue (0.5-1%) and longer exposure times (3-5 minutes) compared to bacterial cells, which require only 0.1% solution for 30-60 seconds.
You can enhance visibility by adjusting your rinse technique—gentle buffer washes for delicate mammalian cells versus more thorough washing for bacterial samples.
For improved differentiation between cellular structures, try counterstaining with iodine as a fixative agent or adjust the pH of your Methylene Blue solution to highlight specific cellular components.
Mammalian Versus Bacterial Cells
The fundamental differences between mammalian and bacterial cells greatly impact your staining approach with Methylene Blue.
Mammalian cells display more uniform staining patterns due to their larger size and higher nucleic acid content, while bacterial cells often require protocol adjustments for ideal visibility.
- For mammalian cells, limit staining to 1-5 minutes to prevent excessive background staining.
- When working with gram-positive bacteria, expect deeper blue coloration due to Methylene Blue’s strong affinity for peptidoglycan layers.
- Bacterial samples may benefit from longer staining times to enhance dye uptake.
- Adjust Methylene Blue concentration and rinsing steps based on cell type—lower concentrations for mammalian cells and potentially higher ones for bacterial specimens.
Concentration Timing Effects
Achieving ideal staining results depends greatly on balancing both concentration and timing variables for your specific cell sample type.
For most applications, you’ll want to work within the 0.1% to 1% Methylene Blue concentration range, adjusting higher for denser samples that require enhanced visibility.
Timing is equally important—delicate structures stain effectively with brief 1-5 minute immersions, while thicker samples may need 10-20 minutes for proper penetration.
When performing viability assessments, limit staining to approximately 5 minutes to prevent dye uptake by viable cells.
Remember that pH conditions affect staining quality; slightly acidic environments (pH 6-7) typically produce better visualization of cellular components.
Always conduct preliminary tests with your specific cell type, as bacterial and eukaryotic samples often require different concentration-timing combinations for best results.
Counterstaining Enhancement Methods
Three primary approaches can dramatically improve your counterstaining results when working with Methylene Blue. By implementing strategic techniques, you’ll achieve better visualization of cell morphology and more accurate cell viability assessments.
Consider combining Methylene Blue with iodine to stabilize dye binding, enhancing contrast against background components.
- Adjust Methylene Blue concentration based on cell type—use lower concentrations for delicate cells and higher for robust structures.
- Implement sequential staining with Methylene Blue followed by Eosin Y or Safranin for distinct color contrasts between cellular components.
- Verify proper sample fixation before applying staining techniques to improve dye retention in complex tissues.
- Apply decolorizers like ethanol or acetone after initial staining to refine visibility of specific cells while reducing background noise.
Microscope Settings for Viewing Methylene Blue Stained Samples
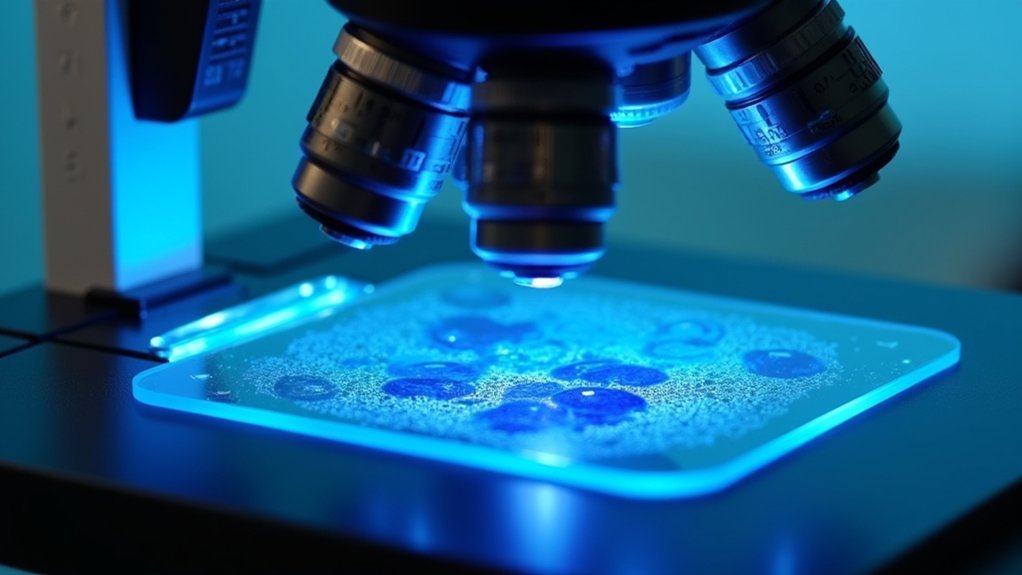
Proper microscope configuration is essential when examining Methylene Blue stained specimens. You’ll need a light microscope with a 100x oil immersion objective to achieve ideal resolution and detail visualization of cellular structures.
Set your light intensity to moderate levels to prevent the methylene blue from bleaching while maintaining sufficient illumination to observe the blue-colored cellular components.
Maintain moderate illumination to preserve methylene blue staining while ensuring optimal visualization of cellular structures.
Adjust the diaphragm carefully to control light transmission through your sample, which enhances contrast between stained cells and background.
Always use brightfield microscopy settings, as they enhance the visibility of methylene blue stain against cellular components.
Pay special attention to focusing, as improperly calibrated microscopes can create artifacts with this stain, potentially leading to misinterpretation of cellular morphology.
Capturing Clear Images of Stained Specimens
When capturing clear images of stained specimens, you’ll need to optimize both your microscope setup and camera settings to properly document the cellular details revealed by Methylene Blue.
Using a brightfield or phase-contrast microscope provides the ideal illumination to enhance the blue-stained structures and create the necessary contrast for visualization.
- Adjust your camera’s exposure time and gain carefully to prevent overexposure that can wash out the distinctive blue coloration of the methylene blue stain.
- Use higher magnification (40x or 100x objectives) to resolve fine cellular details and structural differences between stained components.
- Take multiple images at different focal planes when methylene blue staining creates depth in your specimen.
- Consider image stacking software to combine these focal planes, creating a thorough view that highlights differential dye retention across cell structures.
Troubleshooting Common Staining Problems
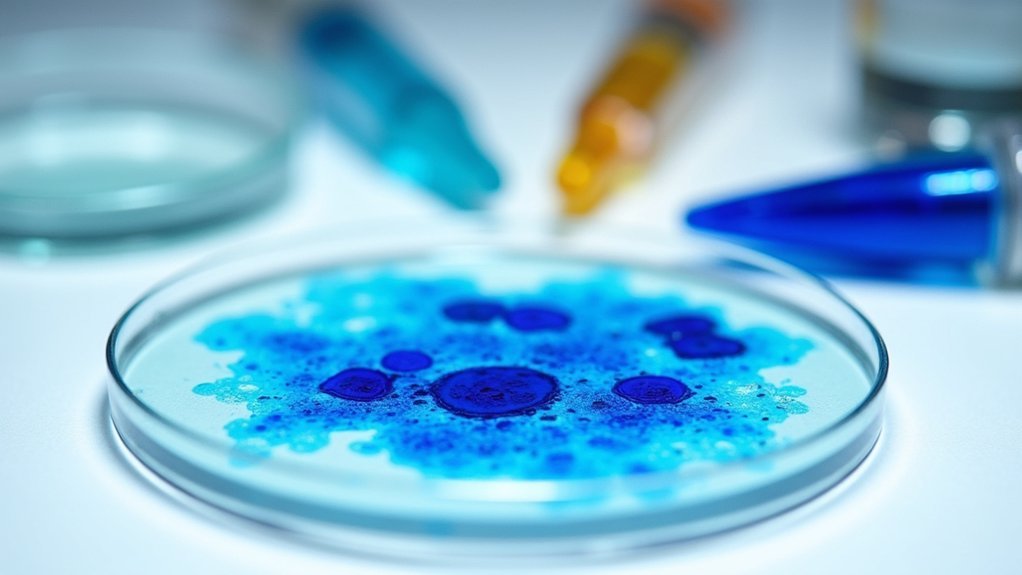
Even with the most careful technique and high-quality imaging equipment, you’ll likely encounter staining challenges that can compromise your results.
Pay close attention to your Methylene Blue concentration—too dilute or concentrated solutions lead to inconsistent staining patterns.
The precise concentration of Methylene Blue is critical—deviations produce unreliable results that can undermine your entire microscopy workflow.
If you notice background staining obscuring your specimen details, extend your rinsing time after applying the stain to remove excess dye.
When samples don’t retain the stain well, try adjusting your staining duration or applying a fixative to enhance dye binding to cellular structures.
When cell type differentiation appears unclear, verify your sample preparation protocols and consider using a complementary counterstain to improve contrast.
Always document your staining procedures meticulously—recording concentration, timing, and outcomes will help you identify patterns and troubleshoot recurring issues in future experiments.
Advanced Applications of Methylene Blue in Research Settings
Beyond its basic diagnostic uses, methylene blue has emerged as a powerhouse tool across diverse research applications.
When you’re conducting advanced laboratory work, this versatile dye offers sophisticated capabilities beyond basic fuchsin or traditional stains.
- Northern Blotting: Utilize methylene blue to identify RNA sequences and visualize gene expression levels with remarkable precision.
- Gram Staining: Pair with basic fuchsin in Grams staining protocols to differentiate bacteria based on cell wall composition.
- Viability Assessment: Apply to living cells to evaluate microbial viability, particularly useful for yeast cultures.
- Therapeutic Research: Employ in cutting-edge studies on neurodegenerative diseases and photodynamic cancer therapies.
These applications demonstrate methylene blue’s evolution from simple counterstain to critical research component, offering you enhanced analytical capabilities for complex biological investigations.
Frequently Asked Questions
How to Use Methylene Blue for Staining?
To use methylene blue for staining, you’ll need to prepare the solution, immerse your sample, rinse with distilled water, observe under microscope, and document findings comparing stained samples with controls.
Why Do You Need to Stain the Specimen With Methylene Blue?
You need to stain with methylene blue because it makes cellular structures more visible. It helps you distinguish live from dead cells, identify bacterial types, and detect abnormalities in tissue samples you’re examining.
How Do You Stain a Blood Smear With New Methylene Blue?
To stain a blood smear with New Methylene Blue, you’ll need to air-dry your smear, immerse it in 0.1-0.2% dye for 2-5 minutes, rinse gently with distilled water, and let it dry completely before microscopic examination.
What Is the Protocol for Methylene Blue?
You’ll first prepare a Methylene Blue solution at the recommended concentration. Then immerse your sample for 5-10 minutes, rinse with distilled water, mount for microscopic examination, and document your findings comparing with controls.
In Summary
You’ve now mastered the basics of methylene blue staining! With practice, you’ll develop the perfect technique for your specific samples. Remember to adjust staining times based on your specimen type, maintain proper safety protocols, and experiment with concentration levels. Don’t forget to document your methods for reproducibility. This simple but powerful technique will serve you well in countless laboratory applications.



Leave a Reply