To bracket exposures in microscopy, keep your tungsten-halogen lamp at 8.5-9 volts while adjusting your camera’s shutter speed. Use 1/3 f-stop increments for transparency film or whole f-stops for print film. For digital systems, utilize built-in bracketing functions. Adjust your approach based on specimen type—translucent specimens need smaller increments, while opaque ones require wider variations. The techniques below will expand your ability to capture perfect microscopy images regardless of challenging lighting conditions.
Understanding Exposure Challenges in Microscopy
While standard photography follows predictable exposure patterns, microscopy presents unique challenges that can confound even experienced photographers. As you work with varying magnifications and numerical apertures, you’ll notice these factors greatly impact your exposure times.
Microscopy defies conventional photographic wisdom, requiring mastery of magnification factors that dramatically alter exposure calculations.
When exposures exceed 1/2 second, reciprocity failure occurs, causing shadow detail loss and requiring longer development times to compensate. Overexposure shifts intensity values rightward, increasing film density, while underexposure does the opposite, compromising image quality.
For high-contrast specimens, bracketing exposures is crucial—capturing multiple frames at different exposure lengths helps you determine ideal exposure settings.
You’ll need to maintain consistent illumination settings throughout this process, as variations can drastically alter your results. This methodical approach guarantees you’ll capture the full range of details in your microscopic subjects.
Setting Up Your Microscope for Exposure Bracketing
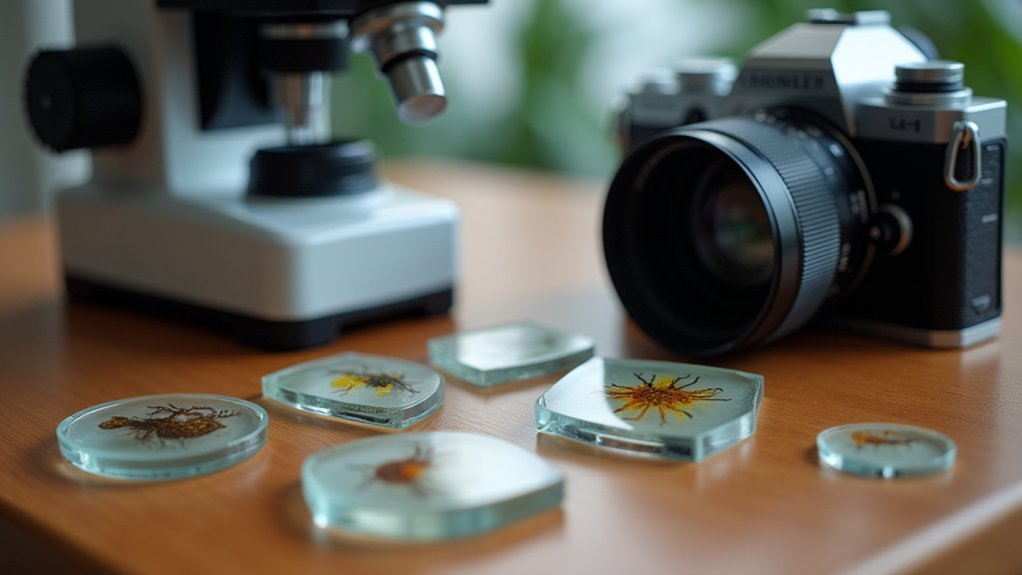
Before beginning the exposure bracketing process, you’ll need to properly configure your microscope system to guarantee consistent and reliable results. The foundation of successful microscope photography lies in maintaining stable exposure conditions throughout your bracketing sequence.
- Set your tungsten-halogen lamp voltage consistently between 8.5-9 volts to assure uniform illumination across all test frames.
- Utilize your camera’s full range of shutter speeds while keeping illumination constant to properly evaluate exposure variations.
- Adjust bracketing increments appropriately: 1/3 f-stop for color transparency film and whole f-stop increments for print film.
- Remember to repeat your exposure calculations whenever you change objectives or make other significant adjustments to your optical system.
This methodical approach to exposure bracketing will dramatically improve your microscope photography results, especially with challenging specimens that require precise exposure control.
Step-by-Step Guide to Manual Bracketing Techniques
Once you’ve established the proper microscope setup, executing manual bracketing techniques requires methodical precision and attention to detail.
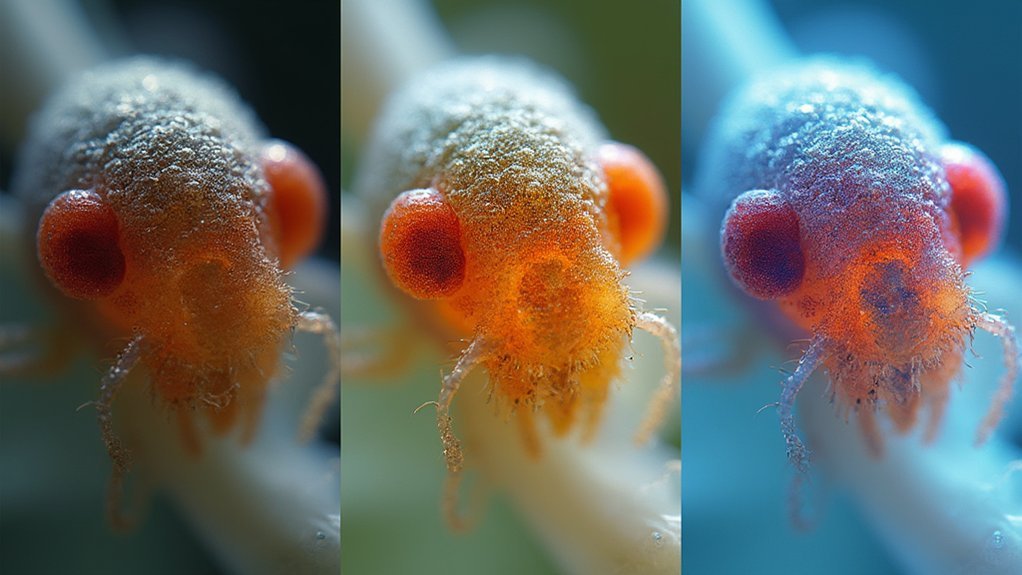
Begin by maintaining consistent illumination while systematically varying your camera’s shutter speeds. For transparency film, use 1/3 f-stop increments; for print film, use whole f-stop increments.
Capture a series of images with varying exposure times, creating a thorough range of brightness levels. If you’re using sheet film, apply incremental time intervals to create different exposure zones on a single sheet.
After processing, evaluate your results on a light table using a loupe to examine each frame’s clarity and detail.
Look for the ideal exposure that best reveals your specimen’s features. This methodical approach guarantees you’ll identify the best exposure settings for your microscope photography, eliminating guesswork from your imaging workflow.
Automating the Bracketing Process With Digital Microscope Cameras
Unlike manual bracketing methods, today’s digital microscope cameras offer sophisticated automation features that streamline the exposure process considerably.
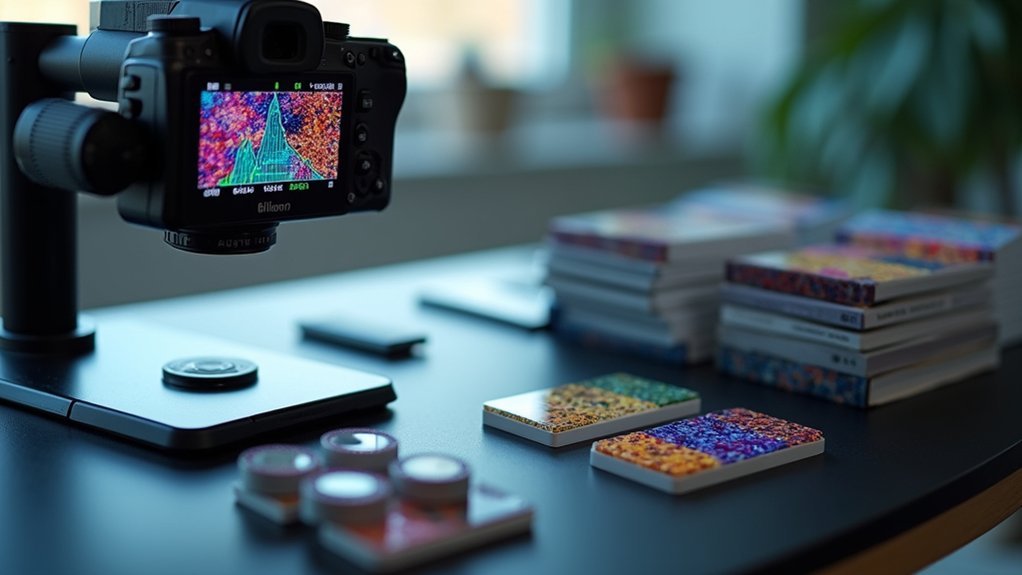
Most modern systems include built-in exposure bracketing functions that capture multiple images across different exposure levels automatically, saving you significant setup time.
When using automated bracketing with your microscope cameras, you’ll benefit from:
- Adjustable bracketing increments (1/3 to full f-stops) for precise contrast adjustment
- Customizable exposure duration and intensity settings to match specimen characteristics
- Consistent image quality regardless of magnification or lighting conditions
- Integrated software tools that analyze exposure differences to help identify the ideal shot
You can fine-tune these automated processes based on your specimen’s unique properties, ensuring you’ll capture the perfect exposure even with challenging samples under variable illumination.
Analyzing and Selecting the Optimal Exposure From Your Bracket Series

After completing your bracketed exposure series, you’ll need to carefully evaluate each image to determine which one best represents your specimen.
Place your bracketed images on a light table to compare density and contrast in both highlights and shadows. Use a loupe to inspect each frame for sharpness and detail.
When selecting the ideal exposure, look for balanced clarity where both dark and light areas retain essential information.
Pay attention to how different exposure settings affect the visibility of fine structures. Document your findings, noting which settings produced the best results for your specific specimen type.
This documentation creates a valuable reference guide for future sessions, improving your efficiency and consistency over time.
With practice, you’ll quickly develop an eye for the perfect exposure balance.
Advanced Bracketing Strategies for Different Specimen Types
When photographing translucent specimens, you’ll need to bracket in smaller increments than with opaque samples, which typically require wider exposure variations to capture surface details.
For living subjects that move, consider HDR bracketing techniques that minimize exposure time while maximizing dynamic range through rapid sequential captures at 1/3 f-stop differences.
Z-stack bracketing expands traditional exposure bracketing by capturing multiple focal planes at various exposure levels, allowing you to combine ideal focus and exposure in post-processing.
Translucent vs. Opaque Specimens
The fundamental contrast between translucent and opaque specimens demands distinct bracketing approaches in microscope photography. For translucent samples, use incremental 1/3 f-stop adjustments to capture light passing through delicate structures, while opaque specimens require whole f-stop increments to handle higher contrast regions.
- Apply spot metering on translucent specimens to isolate specific areas, enhancing internal structures without overexposure.
- Set higher illumination intensity for opaque specimens to penetrate dense surfaces.
- Consider numerical aperture when bracketing, as magnification affects light transmission.
- Recalibrate exposure settings across different imaging conditions for consistent results.
When bracketing exposures, remember that translucent specimens reveal subtleties of transmitted light, while opaque specimens require stronger exposure adjustments to prevent detail loss in dense areas.
HDR for Living Subjects
Living organisms under microscope illumination present unique challenges that HDR techniques can elegantly resolve. When you bracket exposures of active specimens, aim for 1/3 f-stop increments to capture the full tonal range while maintaining specimen integrity.
Maintain consistent illumination throughout your bracketing sequence to prevent color temperature shifts that could compromise image accuracy. For specimens with significant contrast variations, use your microscope’s spot meter feature to identify critical details that require targeted exposure adjustments. This prevents loss of information in particularly bright or dark areas.
After capturing your bracketed series, employ post-processing software to merge these exposures into a single high dynamic range image. This HDR imaging approach reveals structural details that would otherwise be lost, providing a thorough visual record of your living subject’s complete morphology.
Z-Stack Bracketing Techniques
As microscopic specimens often contain structures at varying depths, z-stack bracketing emerges as an essential technique for achieving thorough focus throughout three-dimensional samples.
When capturing images at different focal depths, maintain consistent illumination using tungsten-halogen bulbs at 8.5-9 volts to guarantee uniform brightness across all layers.
- Adjust exposure time in 1/3 f-stop increments to fine-tune brightness at each focal depth
- Recalibrate settings when switching objectives, as magnification affects light intensity
- Create a reference table of exposure times for different objectives to enhance accuracy
- Use specialized software to merge captured images, combining the sharpest features from each layer
This z-stack approach delivers superior clarity and depth of field, revealing intricate specimen details that single-plane imaging can’t capture.
Frequently Asked Questions
How Does a Photographer Bracket Exposures?
You’ll bracket exposures by taking multiple photos of the same subject at different exposure settings, typically varying shutter speeds while keeping aperture constant, then selecting the best image with ideal lighting and detail.
How to Set up Exposure Bracketing?
You’ll need to determine your ideal exposure range first, then set incremental adjustments (1/3 stops for transparency film, whole stops for print film) while keeping illumination constant throughout your bracketing sequence.
How Many Stops Are Needed for Exposure Bracketing?
For exposure bracketing, you’ll typically need 3-5 stops: 1/3 stops for transparency film and whole stops for print film. This range helps you capture both underexposed and overexposed images to find the ideal exposure.
Is Exposure Bracketing Worth It?
Yes, exposure bracketing is worth it. You’ll capture ideal detail in both highlights and shadows, especially with high-contrast specimens. It’s your insurance policy against missing the perfect exposure in challenging lighting conditions.
In Summary
Exposure bracketing is your key to perfect microscope images. You’ll find it’s worth the extra effort as you produce higher quality documentation of your specimens. Whether you’re using manual techniques or automated solutions, the principles remain the same. Master this skill, and you’ll overcome even the most challenging lighting conditions, ensuring your scientific observations are captured with ideal clarity and detail.


Leave a Reply