
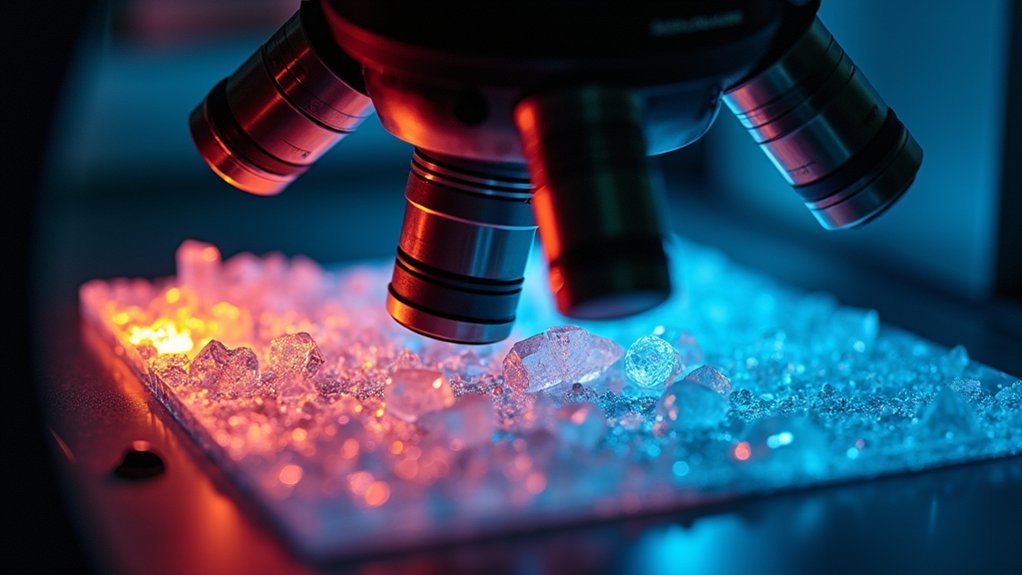
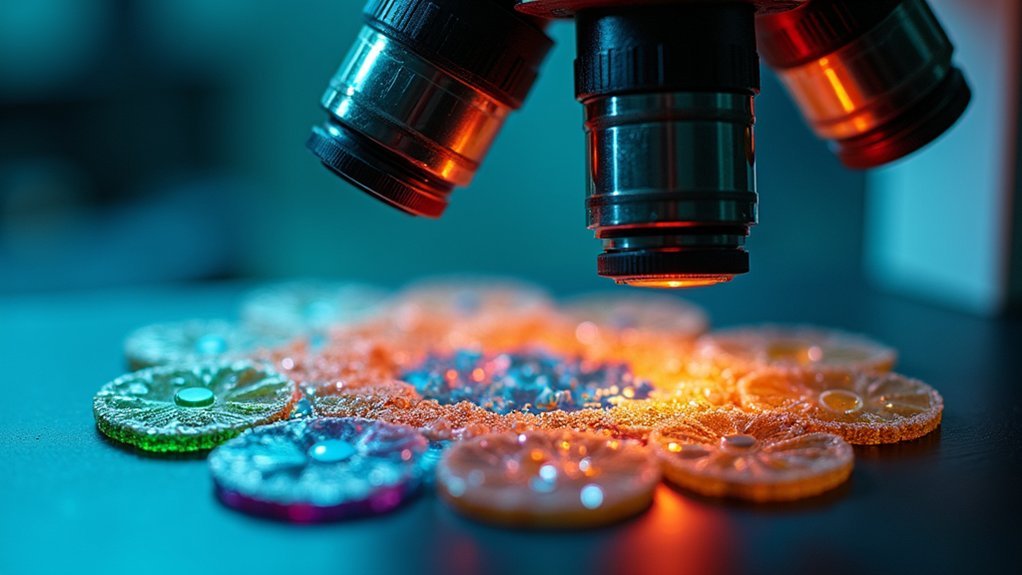
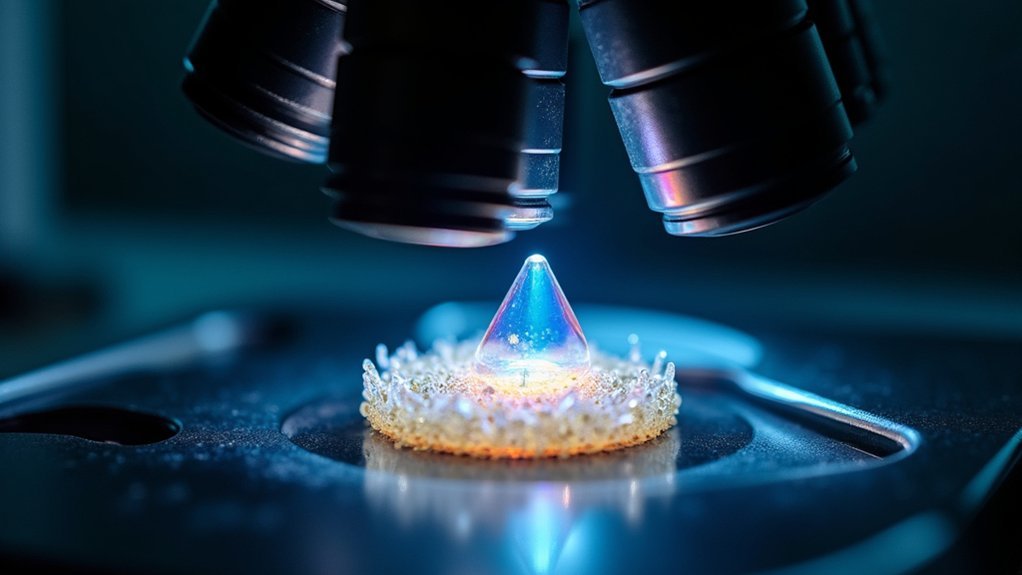
Essential lighting techniques for polarized microscopy photography include Köhler illumination, precise polarizer-analyzer adjustments, cross-polarization for stress visualization, oblique lighting for textured specimens, compensator plates for color manipulation, controlled light intensity, dark field polarization, reflected light for opaque samples, circular polarization to eliminate extinction patterns, and calibrated substage condenser positioning. Master these approaches to reveal hidden birefringent structures and capture stunning interference colors that might otherwise remain invisible in your microscopic subjects.
10 Lighting Techniques for Polarized Microscope Photography
While many photographers focus exclusively on camera settings, proper illumination serves as the foundation for exceptional polarized microscope photography. Implementing Köhler illumination maximizes light intensity and guarantees even illumination across your specimens.
Proper illumination, not just camera settings, creates the foundation for truly remarkable polarized microscopy results.
When working with thin sections, you’ll need to adjust your transmitted light carefully—close the aperture diaphragm to 15%-20% of your objective’s numerical aperture to maintain contrast while preserving resolution. This balance is vital for revealing detailed structures through birefringence.
Your Polarized Light Microscope requires regular calibration of the substage condenser to achieve the best light cone angle.
Don’t hesitate to experiment with different light sources to enhance structural details in transparent specimens. By making these precise adjustments, you’ll minimize glare and greatly improve image clarity and depth of field.
Köhler Illumination for Enhanced Birefringence Contrast
Since proper illumination forms the backbone of polarized microscopy, mastering Köhler illumination is essential for revealing the subtle birefringent properties of your specimens. This technique guarantees even light distribution across your sample, greatly enhancing the visibility of birefringent features.
To achieve ideal Köhler illumination, start by focusing your specimen, then adjust your substage condenser height until the field diaphragm’s edges appear sharp.
Once properly focused, open the diaphragm until it’s just outside your field of view. This minimizes unwanted glare while maximizing contrast—critical when you’re analyzing materials under polarized light microscopy.
The precision afforded by proper Köhler alignment allows you to observe even the most delicate differences in birefringence, leading to more accurate interpretations of your specimen’s optical properties and better photomicrographs of your polarized light studies.
Adjusting Polarizer-Analyzer Angles for Optimal Color Effects
When working with cross-polarization, you’ll find that precise adjustment of the angle between polarizer and analyzer dramatically affects the colors and contrast in your specimen.
To achieve maximum birefringence visualization, position your filters at 90 degrees to each other, creating the darkest background against which birefringent structures will brilliantly shine.
You can fine-tune the analyzer rotation for selective color enhancement, revealing subtle optical properties and structural details that would otherwise remain invisible under standard microscopy conditions.
Cross-Polarization Fundamentals
Although mastering cross-polarization techniques requires practice, understanding the fundamental principles will dramatically improve your microscope photography results.
Cross-polarization involves positioning your polarizer and analyzer at 90° to each other, creating a “crossed” configuration where only light altered by birefringent specimens passes through. Your second polarizer (analyzer) acts as a filter that reveals stunning interference colors invisible to the naked eye.
To achieve ideal results:
- Experiment with slight variations from the perfect 90° crossed position to enhance specific interference colors in your specimen
- Rotate your specimen while maintaining crossed polarizers to observe how birefringence changes with orientation
- Consider adding compensators to quantify optical path differences and refine color effects
These adjustments will help you reveal intricate structural details through the vivid palette of polarized light.
Maximum Birefringence Settings
To achieve the most vibrant interference colors in polarized microscopy, you’ll need to master the precise adjustment of polarizer-analyzer angles. Start by setting your analyzer at 90° relative to the polarizer—this crossed-nicols position delivers ideal contrast for visualizing birefringence effects.
Fine-tune these angles while observing your specimen; even slight adjustments can dramatically enhance interference color visibility. A compensator can help you perfect this alignment, revealing subtle variations in birefringence that might otherwise go unnoticed.
Don’t limit yourself to a single viewing angle. Rotate your sample to discover unique birefringent patterns and textures, providing deeper insights into its optical properties.
Remember to calibrate your polarizer-analyzer setup regularly to maintain consistent, reproducible results in your microscope photography.
Selective Color Enhancement
Beyond the standard crossed-nicols position, selective manipulation of polarizer-analyzer angles reveals remarkable color enhancement capabilities in polarized microscopy. By experimenting with various angles between these optical elements, you’ll achieve ideal color saturation in your birefringent materials. This technique transforms ordinary specimens into vibrant, information-rich images.
When adjusting polarizer-analyzer angles, consider:
- Rotating the analyzer through 90° increments to disclose different color patterns corresponding to varying birefringence regions
- Testing specific angles that might expose distinctive color shifts unique to your specimen’s crystalline structure
- Incorporating compensators alongside your polarizer-analyzer setup for even more precise color manipulation
The ideal configuration depends on your specimen’s optical properties, making experimentation essential.
You’ll discover certain materials display their most informative color contrasts at specific angles—knowledge that enhances both scientific analysis and aesthetic quality.
Cross-Polarization Techniques for Stress Visualization

You’ll recognize characteristic strain patterns in different materials by observing their unique interference colors under cross-polarized light.
Adjust your polarizer-analyzer combination specifically for each material type—glass requires different filter settings than polymers or minerals to reveal ideal stress visualization.
Fine-tune your lighting intensity while maintaining the 90° angle between polarizers to capture the most detailed stress patterns without washing out subtle features.
Mastering Strain Patterns
When materials experience physical stress, they reveal fascinating optical properties that can be visualized through cross-polarization microscopy techniques. To master strain pattern observation, you’ll need to properly align two polarizers—one before and one after your specimen—to reveal the birefringence that stress creates within materials.
For ideal strain pattern visualization:
- Adjust the orientation of your polarizers to enhance specific patterns, rotating them until you achieve maximum contrast in the areas of interest.
- Use compensators like quartz wedges to quantify stress-induced retardation, providing precise measurements rather than just qualitative observations.
- Verify proper calibration of your microscope’s illumination path, as light intensity and angle directly affect how effectively birefringence appears.
With these techniques, you’ll transform complex stress distributions into readable, colorful patterns that provide critical insights into material properties.
Material-Specific Filter Adjustments
Different materials require specific polarization filter configurations to reveal their unique stress patterns effectively. When working with glass or plastics, you’ll need to adjust the alignment of your polarizers to target particular stress orientations. This makes internal defects more visible and stress distributions clearer.
For maximum contrast in birefringent materials, carefully rotate your analyzer until you highlight the specific features you’re investigating. You can enhance your results by incorporating compensators alongside cross-polarization techniques, which add optical path differences for more detailed stress analysis.
Remember that each material displays distinctive birefringence patterns under cross-polarized light. Understanding these material-specific responses is essential for correctly interpreting structural integrity and stress distribution in your specimens.
Tailor your filter adjustments accordingly to capture the most revealing imagery.
Oblique Illumination Methods for Textured Specimens
Sculptural relief and hidden textures spring to life through oblique illumination, a powerful technique for polarized microscope photography.
When examining birefringent materials, this approach dramatically enhances image contrast by directing light at an angle to your specimen. You’ll reveal internal structures that remain invisible under direct lighting as the angled illumination accentuates differences in refractive index.
For ideal results:
- Adjust your substage condenser’s aperture diaphragm to control the light angle and intensity
- Experiment with different angles of incidence to highlight specific textural features or grain boundaries
- Combine polarized filters with your oblique setup to reduce glare and further emphasize birefringent properties
Variable Light Intensity Control for Delicate Samples
When working with transparent specimens under polarized light, you’ll need to reduce light intensity to reveal subtle optical properties without washing out details.
You should carefully control illumination levels for heat-sensitive samples, as excessive brightness can cause thermal damage that alters crystalline structures or biological integrity.
Adjusting your light intensity becomes especially critical for specimens with varying birefringence sensitivity, where too much light can obscure the delicate interference colors that reveal structural information.
Dimming for Transparent Specimens
Transparent specimens under polarized light require careful illumination management to reveal their intricate details without introducing glare or causing damage.
When working with these delicate samples, you’ll need to master light intensity control to capture their full structural complexity.
- Start with lower light settings and gradually increase intensity while observing your specimen’s response to find the ideal exposure.
- Consider using a neutral density filter to reduce brightness while maintaining color fidelity, especially vital for sensitive biological samples.
- Regularly calibrate your light source to guarantee even illumination across the entire field of view.
Preventing Heat Damage
Delicate specimens can suffer irreversible damage if exposed to excessive heat during microscope photography, making variable light intensity control an essential technique in your imaging toolkit.
When working with heat-sensitive materials, always start with the lowest effective light setting and increase gradually only when necessary for proper visibility.
Incorporate a dimmer or adjustable light source to maintain precise control over illumination during your microscopy sessions. This prevents overheating that could alter your specimen’s structure or cause degradation.
Implement Köhler illumination to evenly distribute light across your sample while minimizing heat concentration.
Monitor your specimen’s temperature during extended observation periods, especially with particularly sensitive samples.
Adapting to Birefringence Sensitivity
Birefringent specimens present unique challenges that extend beyond mere heat sensitivity. When light reflected from these delicate samples reaches your microscope, you’ll need precise illumination control to capture their optical properties without causing damage.
According to Microscopy U, adjusting the substage condenser height is essential for optimizing the light path while minimizing excessive illumination.
For best results with birefringent specimens:
- Implement dimmable lighting or neutral density filters to control intensity while preserving subtle optical effects
- Establish proper Köhler illumination to guarantee even distribution across your field of view
- Regularly calibrate your light source and polarizing elements to maintain consistent, reproducible imaging conditions
These adjustments will help you capture the intricate birefringence patterns in delicate samples while protecting their structural integrity during extended observation sessions.
Compensator Plates for Advanced Color Manipulation

When you’re aiming for precise control over image contrast and color in polarized microscopy, compensator plates become indispensable tools in your optical arsenal.
These quartz or mica plates introduce specific optical path differences that dramatically enhance details in birefringent specimens, revealing structures otherwise invisible.
You’ll find both fixed and variable compensators available for your photography needs. Fixed types provide predetermined retardation values, while variable options let you fine-tune during observation.
By adjusting the thickness and orientation of these plates, you can manipulate interference colors to highlight particular features of your specimen.
For stunning microscope photography, try combining compensator plates with your polarizing setup to visualize stress patterns and identify minerals based on their unique birefringence characteristics.
This technique transforms ordinary transparent samples into vibrant, information-rich images worthy of publication.
Dark Field Polarization for Edge Enhancement
Edges of specimens spring to life with remarkable clarity when you combine dark field illumination with polarized light microscopy. This powerful technique reveals small, low-contrast structures that would remain hidden under standard brightfield conditions.
When you’re examining birefringent materials, dark field polarization highlights their structural details by creating striking edge contrast against a dark background.
To achieve ideal results in your microscope photography:
- Adjust your dark field condenser carefully to allow only scattered light from your specimen to reach the objective
- Fine-tune the aperture diaphragm to control light incidence and eliminate unwanted glare
- Apply this method to biological specimens like fibers and tissues to reveal orientation-dependent features
You’ll find this technique particularly valuable when photographing specimens whose edges contain essential diagnostic information that standard polarization might miss.
Reflected Light Polarization for Opaque Specimens
Unlike transparent specimens that allow light to pass through, opaque materials require specialized illumination techniques to reveal their microscopic details. Reflected light polarization becomes essential for examining these specimens, as it enables light to bounce off the surface rather than transmit through it.
You’ll achieve superior results by positioning your light source at Brewster’s angle, where polarization reaches its maximum effect. By incorporating a polarizing filter with your microscope, you’ll uncover surface features and textures that remain invisible under standard lighting conditions.
Adjust the orientation of both polarizer and analyzer to enhance contrast and detail. This technique proves particularly valuable in mineralogy, where you can identify different mineral types and assess their physical properties by analyzing their distinctive reflected light characteristics.
Circular Polarization to Eliminate Extinction Patterns
While reflected light techniques reveal opaque specimen details, another challenge in polarized microscopy involves extinction patterns—those dark areas that obscure critical features during rotation.
Extinction patterns create frustrating blind spots, hiding essential specimen features during critical moments of microscopic examination.
You’ll find circular polarization particularly effective for addressing this issue in polarized light microscopy, especially when examining birefringent materials.
By implementing circular polarization in your setup, you’ll experience:
- Clearer visualization of fine details that would otherwise disappear during sample rotation
- More uniform illumination across your specimens, enhancing image consistency
- Reduced effects of orientation and strain, revealing structures hidden under linear polarization
This technique works by rotating the polarization direction, allowing you to view samples from multiple angles without losing contrast.
It’s especially valuable when imaging biological specimens where subtle birefringence characteristics might otherwise remain hidden.
Frequently Asked Questions
What Is the Polarized Light Microscope Technique?
You’re using polarizers to filter light into a plane before and after specimens, revealing birefringent materials’ structure. This technique highlights optical anisotropy in crystalline samples through distinctive interference patterns and color contrasts.
What Are the Four Techniques for Obtaining Polarized Light?
You’ll obtain polarized light through four main techniques: transmission using polarizing filters, reflection from surfaces like glass, scattering (especially Rayleigh scattering in the atmosphere), and birefringence when light passes through anisotropic materials.
What Kind of Light Does a Polarizing Light Microscope Use?
Your polarizing light microscope uses white light from halogen or LED sources that’s passed through a polarizer. This light is then modified by the analyzer after interacting with your birefringent specimen to enhance contrast.
What Is the Most Common Technique for Polarizing Light?
The most common technique for polarizing light is using polarizing filters. You’ll place two filters—a polarizer before your specimen and an analyzer after it—to align light waves into a single vibration plane.
In Summary
You’ve now mastered ten powerful lighting techniques that’ll transform your polarized microscope photography. By experimenting with Köhler illumination, adjusting polarizer angles, and utilizing compensator plates, you’re equipped to capture stunning birefringent specimens with enhanced contrast and vibrant colors. Don’t forget to try circular polarization to eliminate those pesky extinction patterns. Your microscopic images will showcase scientific detail with artistic flair that’ll impress both colleagues and viewers alike.


Leave a Reply