To photograph clear specimens effectively, you’ll need specialized lighting techniques. Try backlighting with diffusion panels to reveal intricate features, or dark-field illumination to make transparent objects stand out against dark backgrounds. Cross-polarization exposes internal stresses, while oblique lighting at 15-30° angles highlights surface textures. For biological specimens, position LED lights beneath the stage and consider color gels to enhance visibility. These approaches transform nearly invisible structures into detailed subjects worth exploring.
Lighting Methods Revealed: Photographing Clear Research Specimens
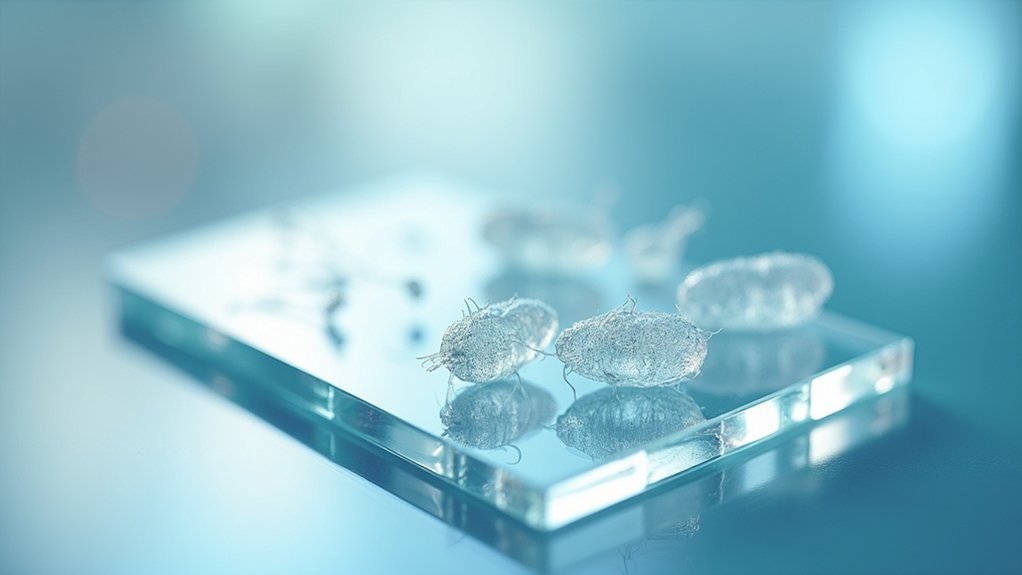
When working with clear research specimens, capturing their subtle details demands specialized lighting techniques.
You’ll find broad, soft backlighting essential for revealing intricate features while minimizing distracting reflections. Position your specimen on a P95 acrylic matte surface to create an effective neutral base that enhances both back and surface lighting.
Control overhead softlight intensity carefully to improve contrast and readability of engravings—these subtle adjustments make previously invisible details suddenly apparent.
Careful calibration of overhead illumination reveals hidden engravings, transforming imperceptible details into clearly defined features.
Strategic placement of reflector cards helps define edges and creates clear separation between your transparent specimen and the background.
Success comes from understanding the optical properties at play—refraction and reflection fundamentally affect how light interacts with your specimen.
Dark-Field Illumination: Enhancing Transparent Structures
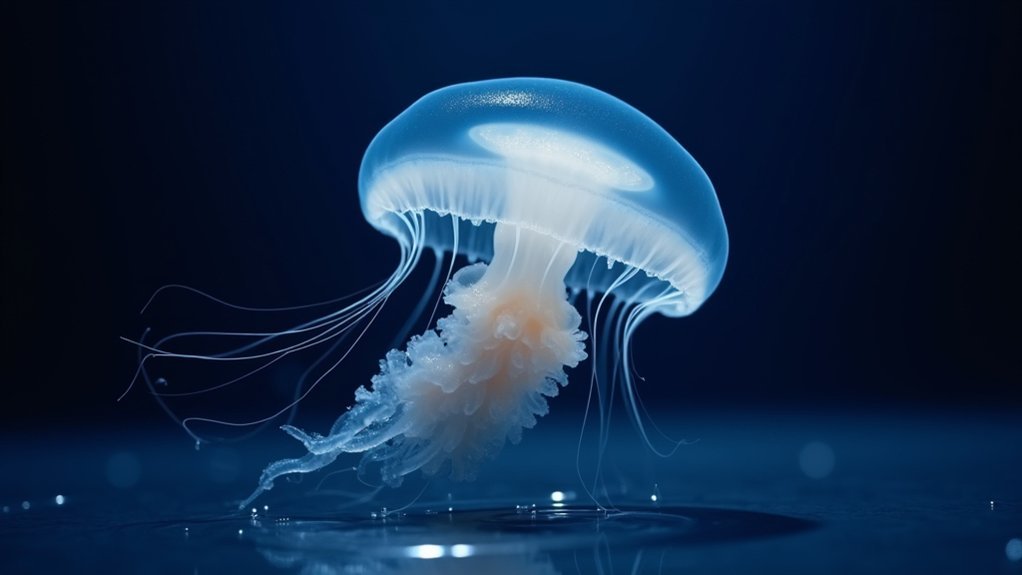
Although standard lighting methods often fail with transparent specimens, dark-field illumination transforms nearly invisible structures into brilliantly detailed subjects.
You’ll see transparent objects stand out against a dark background as light scatters off their edges, revealing intricate details that would otherwise remain hidden.
This technique excels when you’re examining live cells or fine details in glass and crystals. Instead of viewing specimens against a flat, neutral surface, dark-field illumination creates striking contrast that emphasizes morphological features.
You can even simulate this effect at home using a dime as a stop and adding an appropriate filter. Without direct light hitting your specimen, subtle structural properties become apparent.
When you’re struggling to distinguish delicate features in transparent materials, dark-field illumination offers the visibility breakthrough you need.
Cross-Polarization Techniques for Stress Visualization
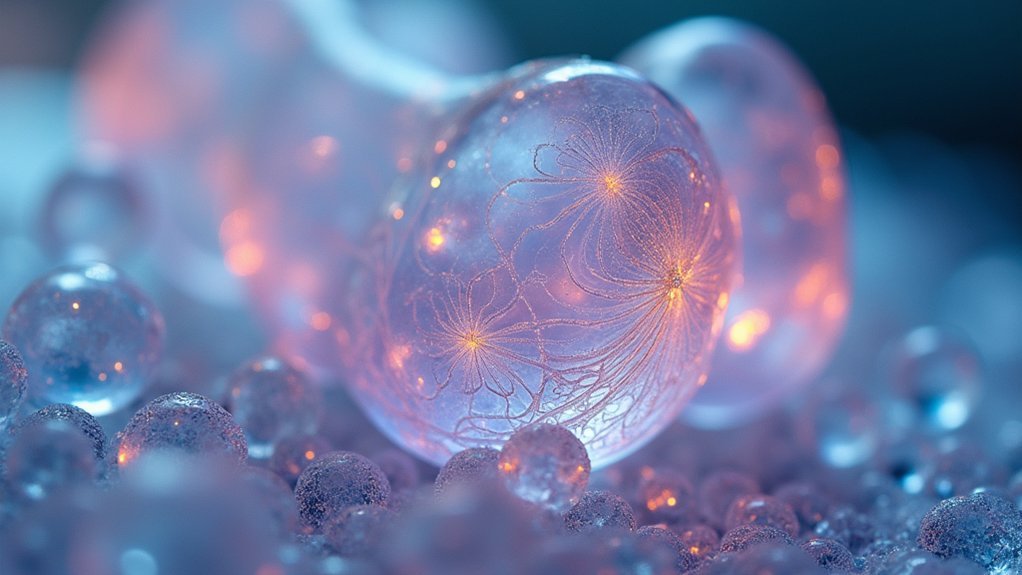
While traditional photography captures only surface details, cross-polarization techniques reveal the hidden internal stresses within transparent materials.
By placing one polarizing filter on your light source and a second filter at a perpendicular angle on your camera lens, you’ll transform invisible stress patterns into vibrant, colorful displays within birefringent specimens like plastics and crystals.
The simple magic of crossed polarizers unveils a hidden world of color within seemingly ordinary transparent materials.
For ideal results:
- Position your specimen between the polarizing filters, ensuring even lighting across the entire subject.
- Rotate the analyzing filter to adjust contrast and enhance visibility of stress lines.
- Experiment with different angles to bring out specific stress patterns and create dramatic color variations.
This method not only produces stunning visual documentation but provides valuable analytical information about structural integrity and potential defects in transparent research specimens.
Backlighting Strategies for Defining Glass and Plastic Edges
To achieve clear definition of glass and plastic specimen edges, you’ll want to place a diffusion panel between your light source and the object, softening harsh illumination while maintaining edge visibility.
You can enhance the three-dimensionality of your specimens by creating gradient background effects, which provide depth and visual interest to your research photographs.
These gradient backgrounds work particularly well when you’re adjusting the distance between your diffusion material and light source, allowing you to control the shift from bright to darker areas around your specimen.
Diffusion Panel Techniques
When backlighting transparent specimens, diffusion panels serve as essential tools for revealing otherwise invisible details in glass and plastic research objects.
By placing these panels between your light source and specimen, you’ll create diffused light that softens harsh reflections while enhancing edge visibility and structural features.
Experiment with panel placement to achieve ideal results:
- Distance adjustment – Moving the panel closer to or farther from your specimen controls light intensity and spread, allowing precise definition of delicate features.
- Halo effect creation – Position panels to generate a subtle glow around specimens, emphasizing shape contours and making engravings more visible.
- Combined lighting – Pair diffusion panels with soft backlights for maximum contrast, revealing intricate internal structures that might otherwise remain hidden.
Gradient Background Effects
Clear specimens often disappear against uniform backgrounds, but gradient backgrounds transform these invisible objects into clearly defined forms. When you position a soft backlight behind a white-to-grey gradient, you’ll create subtle contrast that accentuates edges and reveals intricate details in transparent materials.
You can achieve striking gradient background effects using just one light source behind your setup. This backlighting illuminates contours and makes engravings more visible while minimizing distracting reflections.
For even better results, add a polarizing filter to reduce glare and enhance edge definition.
Don’t hesitate to experiment with different lighting angles against your gradient backdrop—this approach highlights dimensionality and craftsmanship in your specimens, turning previously invisible objects into clearly articulated scientific subjects worthy of detailed examination.
Oblique Lighting to Reveal Surface Textures

Oblique lighting, when properly positioned at low angles to your specimen, creates dramatic shadows that reveal otherwise hidden surface textures and details.
You’ll achieve the best results by experimenting with various light placement angles—typically 15-30 degrees from horizontal—while using reflectors or black cards to shape the light and enhance edge definition.
These shadow patterns not only highlight the three-dimensionality of transparent or semi-transparent specimens, but also make minute surface features like engravings and markings visually prominent in your research photography.
Oblique Lighting to Reveal Surface Textures
The strategic positioning of light at low angles can transform an ordinary specimen photograph into a detailed topographical map of its surface.
When you’re working with transparent or clear specimens, oblique lighting becomes essential for revealing impressions and textures that would otherwise remain invisible under direct illumination.
To maximize the effectiveness of oblique lighting:
- Position your light source at a 15-30° angle relative to the specimen surface.
- Adjust distance between light and subject to control shadow intensity and definition.
- Rotate the specimen or move the light to highlight different surface characteristics.
Angle Placement Techniques
Precisely how you position your light source determines what details emerge in specimen photography. When using oblique lighting, you’ll need to experiment with different angles to maximize surface detail visibility. Start with one light source at a very low angle (15-20°) and adjust as needed.
| Angle | Effect | Best For |
|---|---|---|
| 10-15° | Dramatic shadows, high contrast | Deep engravings, coarse textures |
| 20-30° | Balanced shadows, good detail | Tool marks, medium textures |
| 35-45° | Subtle relief, less contrast | Fine scratches, slight variations |
| 50-60° | Minimal shadowing, soft detail | Very delicate surface features |
You can further enhance results by positioning reflectors opposite your light source. This technique fills shadows while maintaining the dimensional quality that makes oblique lighting so effective for transparent specimens.
Shadow Enhancement Strategies
When implementing oblique lighting techniques, strategic shadow enhancement becomes essential for revealing otherwise invisible surface textures on transparent specimens. By positioning your light source at a low angle to your specimen, you’ll create shadows that highlight surface details, impressions, and tool marks that flat lighting would miss.
To maximize oblique lighting effectiveness:
- Experiment with various angles – adjust your light source position to control shadow intensity and direction for ideal texture visibility.
- Use reflector cards opposite your light source to fill harsh shadows while maintaining dimensional contrast.
- Vary light intensity when photographing engravings or subtle features – this brings dimensionality to transparent materials by enhancing shadow definition.
Fine-tuning these shadow enhancement strategies allows you to tailor illumination precisely to your specimen’s unique textural characteristics.
Diffusion Methods for Minimizing Unwanted Reflections

Although photographing transparent research specimens presents unique challenges, diffused lighting methods offer essential solutions for minimizing unwanted reflections. To diffuse the light effectively, place specimens on translucent surfaces like white acrylic, which enables backlighting without harsh reflections.
| Diffusion Method | Benefits |
|---|---|
| Light tent | Creates even light distribution around specimen |
| Softboxes | Reduces hotspots on clear surfaces |
| Frosted glass | Achieves ideal softness for detailed viewing |
| White acrylic base | Enables effective backlighting techniques |
| Diffusion fabric | Minimizes glare while maintaining detail |
You’ll find that combining backlighting with diffuse overhead illumination creates the perfect environment for capturing transparent specimens. Experiment with various diffusion materials to achieve the perfect balance of clarity and detail without distracting reflections.
Transmitted Light Approaches for Biological Specimens
Transparent biological specimens reveal their internal structures most dramatically when illuminated from below with transmitted light techniques. When you’re photographing cells, tissues, or thin plant sections, this approach transforms invisible details into clearly defined structures by passing light through your specimen rather than reflecting it off surfaces.
For ideal results with transmitted lighting techniques:
- Position high-output LED lights beneath your specimen stage to maximize contrast and reveal cellular organization.
- Experiment with light angles to create defining shadows that enhance structural edges.
- Combine transmitted light with phase contrast methods when working with extremely transparent specimens.
Employing Color Gels to Increase Contrast and Visibility
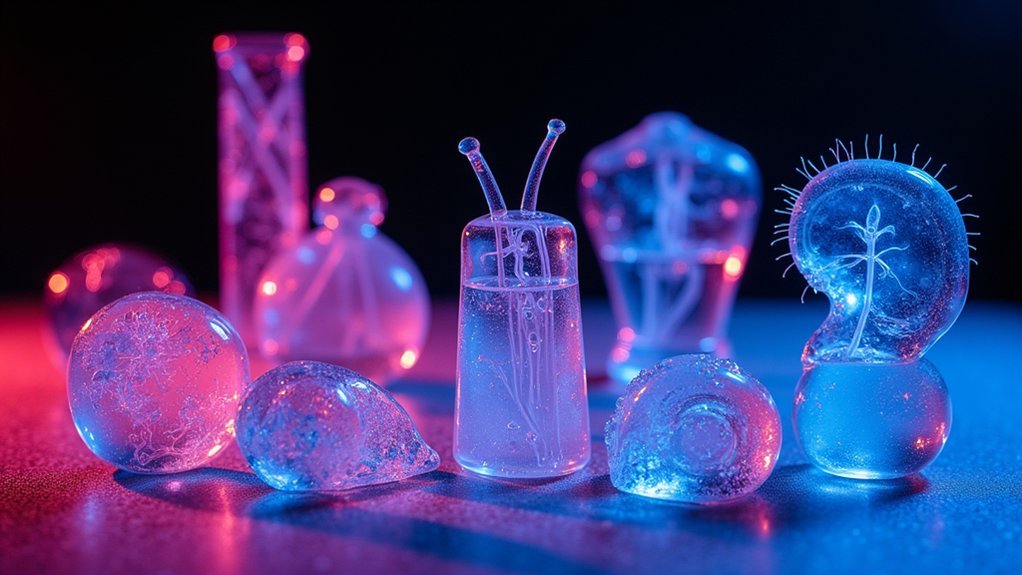
Why struggle with invisible details when color gels can transform your specimen photography? By placing colored gels over your light sources, you’ll dramatically enhance the visibility of transparent objects. The altered light spectrum interacts uniquely with clear materials, making previously invisible features suddenly apparent.
| Gel Color | Best For | Lighting Setup | Effect | Specimen Type |
|---|---|---|---|---|
| Red | Textures | Backlit | High contrast | Glass engravings |
| Blue | Edges | Side lighting | Definition | Crystalline structures |
| Amber | Internal details | Diffused | Warmth | Biological samples |
| Green | Surface features | Spotlight | Dimension | Preserved specimens |
| Purple | Layering | Cross-lighting | Depth | Multi-layer materials |
You’ll want to experiment with different color combinations and lighting angles. Select gels that complement your specimen’s natural properties without overwhelming them. The right gel and soft backlighting setup reveals intricate details invisible under standard illumination.
Frequently Asked Questions
What Are the Lighting Techniques Used in Forensic Photography?
You’ll use 45-degree lighting to enhance evidence visibility, direct reflective lighting for contrast, oblique lighting for impressions, diffused lighting for reflective surfaces, and transmitted lighting for transparent specimens in forensic photography.
What Are the 5 Major Types of Lighting Setups Used in Photography?
You’ll commonly use five major lighting setups in photography: broad lighting, short lighting, butterfly lighting, Rembrandt lighting, and loop lighting. Each creates distinct shadows and highlights to shape your subject’s features differently.
What Lighting Method Is Useful for Capturing Textures and Fine Details?
To capture textures and fine details, you’ll want to use oblique lighting. It casts shadows across surface contours, highlighting subtle textures that wouldn’t be visible with direct light. Polarizing filters also help reduce glare.
How Do You Photograph Clear Objects?
To photograph clear objects, you’ll need broad backlighting to illuminate engravings, overhead softlights with reflector cards for dimensionality, and a matte surface like P95 acrylic to reduce unwanted reflections and enhance visibility.
In Summary
You’ve now mastered several lighting techniques essential for transparent specimen photography. Whether you’re using dark-field illumination, cross-polarization, or strategic backlighting, you’ll find these methods transform invisible details into striking images. Don’t hesitate to experiment with oblique lighting, diffusion materials, and colored gels in your work. With practice, you’ll quickly develop intuition for which approach will best reveal your challenging transparent subjects.


Leave a Reply