For ideal phase contrast imaging, maintain sample thickness between 5-10 micrometers, use a No. 1.5 coverslip, and select mounting media with matching refractive indices. Control cell density at 70-80% confluency, eliminate air bubbles, and maintain proper hydration levels in live specimens. Apply coverslips with a gentle rocking motion to prevent artifacts, and use low-concentration stains for specific organelles. These fundamental techniques will dramatically enhance your microscopy results beyond what you’d expect.
Maintain Optimal Sample Thickness for Phase Contrast Imaging
When preparing specimens for phase contrast microscopy, controlling sample thickness is absolutely critical for clear, detailed imaging. You’ll want to keep your specimens between 5 to 10 micrometers thick, as thicker samples often appear distorted and compromise resolution.
Ensure uniform sample thickness across your viewing area to enhance contrast and prevent those pesky halos around high phase shift details that can mask important features.
A sample of inconsistent thickness fights against the very contrast your phase microscopy aims to achieve.
Use proper sample mounting techniques like thin films or slides with shallow wells to avoid excessive thickness.
Don’t forget to pair your samples with a 0.17 mm (No. 1.5) coverslip to maintain proper light path alignment and minimize optical artifacts.
Regularly calibrate microscope components, checking that the phase annulus aligns correctly with your sample thickness for ideal contrast imaging results.
Select the Right Mounting Medium for Enhanced Contrast
Selecting the appropriate mounting medium type dramatically impacts your phase contrast imaging success, with media like glycerol or immersion oil offering superior results when their refractive index closely matches your specimen.
You’ll need to carefully consider whether your medium is compatible with living cells if performing live cell imaging, as some options can compromise cell viability.
To prevent image quality issues, always check for and eliminate air bubbles in your mounting medium through gentle tapping or brief centrifugation before viewing your sample.
Type Matters Most
The mounting medium you choose can make or break your phase contrast imaging results. When selecting the right medium, focus on matching its refractive index to your specimen’s. This essential alignment minimizes optical distortions and maximizes the phase differences needed for clear visualization.
For live cell imaging, opt for aqueous mounting media. They’ll maintain proper hydration and physiological conditions, preserving cellular structures in their natural state.
Working with thicker specimens? Consider glycerol-based mounting media, which provide a refractive index closer to biological tissues, reducing light scattering and enhancing overall clarity.
Always avoid highly viscous or opaque media as they’ll impede light transmission through your sample.
Refractive Index Considerations
Successful phase contrast imaging depends heavily on the refractive index relationship between your specimen and mounting medium.
Choose a mounting medium with a refractive index that closely matches or slightly exceeds your specimen’s to minimize light scattering and enhance contrast levels in phase contrast microscopy.
Water, glycerol, and immersion oils are common options, each serving different refractive index requirements.
When you select a medium with a noticeably different refractive index than your specimen, you’ll introduce unwanted optical artifacts that diminish imaging results.
For ideal performance, regularly calibrate your phase rings and condenser specifically for your chosen mounting medium.
This adjustment guarantees proper light transmission and phase shift.
The right mounting medium isn’t just a carrier—it’s a critical component that determines whether subtle cellular structures become visible or remain obscured.
Air Bubble Prevention
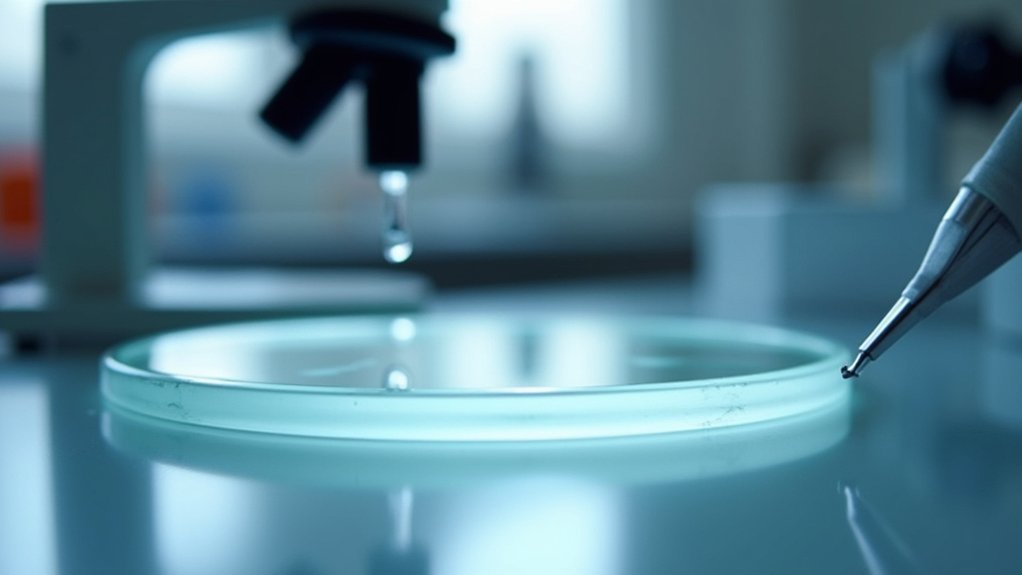
Air bubbles represent one of the most common obstacles in phase contrast microscopy, disrupting light paths and creating misleading artifacts. To minimize these issues, select a mounting medium with a refractive index similar to your specimen, enhancing optical clarity and contrast.
Choose media specifically formulated for phase contrast microscopy with low viscosity and good wetting properties. These characteristics promote even spreading and reduce air entrapment during sample preparation.
When applying your mounting medium, use a pipette to dispense it slowly at an angle, allowing it to flow gently under the specimen. This technique greatly reduces the chance of introducing unwanted air bubbles.
Always inspect your mounted sample thoroughly before observation to verify no air bubbles remain that could interfere with light passage and degrade image quality.
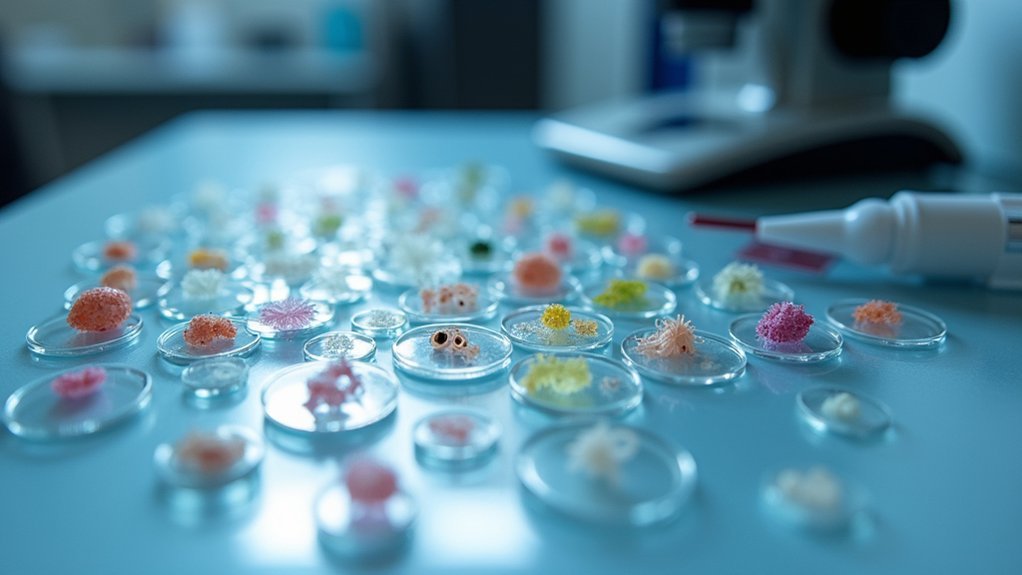
Master Cell Density Control in Live Specimens
Precise cell density stands as the cornerstone of successful phase contrast microscopy with live specimens.
You’ll achieve optimal results by plating cells at 1-5 x 10^5 cells/mL, ensuring even distribution while preventing overcrowding that can compromise image quality.
Aim for 70-80% confluency at imaging time to maximize visibility and minimize background interference.
A hemocytometer is your essential tool for accurate cell counting and precise dilution preparation.
Remember that different cell types have unique density requirements for clear visualization.
Each cell line demands its own specific plating density for optimal phase contrast visibility.
Take time to conduct preliminary experiments with your specific cells to determine their ideal density.
This proactive approach will greatly enhance the clarity of dynamic processes you’re observing and deliver consistently superior phase contrast images across your research.
Perfect Your Coverslip Technique for Artifact Reduction
Choosing the correct coverslip thickness (0.13-0.17 mm) for your objective lens is essential to prevent phase contrast distortion and image degradation.
You’ll need to establish a rigorous cleaning protocol to remove fingerprints and dust particles that create misleading optical artifacts in your observations.
When applying your coverslip, use a gentle rocking motion to push out air bubbles that would otherwise create halos and compromise your specimen’s visibility.
Proper Thickness Selection
The success of phase contrast microscopy hinges considerably on your coverslip technique. Select No. 1.5 coverslips (0.17 mm thick) to guarantee an ideal light path, minimizing distortion while enhancing clarity.
Your sample should maintain a uniform thickness between 10-20 micrometers—this range enables effective phase shifting without excessive light scattering.
Always choose coverslips slightly larger than your specimen area to prevent compression artifacts. Use mounting medium with a refractive index matching your coverslip (approximately 1.5) to reduce phase interference and improve image quality.
Don’t forget to regularly check the alignment of your condenser annulus and phase ring to effectively match your sample’s thickness. This vital step minimizes optical artefacts while maximizing contrast, ultimately delivering the crisp, detailed images that make phase contrast microscopy so valuable.
Eliminate Air Bubbles
Air bubbles represent one of the most common yet detrimental artifacts in phase contrast microscopy, often undermining even perfectly prepared specimens with appropriate thickness. To achieve ideal imaging clarity, you’ll need to perfect your coverslip application technique.
| Technique | Problem Solved | Impact on Imaging |
|---|---|---|
| Angled approach | Air entrapment | Prevents optical artifacts |
| Clean slide surface | Contaminant bubbles | Enhances specimen visibility |
| “Drop and tilt” method | Excess air | Improves mounting medium distribution |
| Gentle tapping | Existing bubbles | Salvages prepared slides |
| Matched coverslip thickness | Working distance issues | Enhances objective performance |
Cleaning Protocol Matters
While generating exceptional phase contrast images depends on many factors, proper coverslip cleanliness remains perhaps the most overlooked yet critical component of your specimen preparation routine.
Always select high-quality coverslips that are free of scratches to guarantee maximum optical clarity during microscopy.
Your cleaning protocol should include these essential steps:
- Thoroughly clean coverslips with ethanol or specialized cleaning solution to remove oils and residues that obstruct light transmission.
- Handle with gloves or forceps to prevent introducing skin oils that create unwanted background noise.
- Inspect coverslips before and after cleaning to verify they’re contaminant-free and suitable for imaging.
Regular replacement of worn coverslips dramatically reduces optical artifacts that compromise your results.
Achieve Proper Hydration Levels in Biological Samples

Maintaining ideal hydration levels in your biological samples represents one of the most critical factors for successful phase contrast microscopy. Always prepare your specimens in an isotonic solution to prevent osmotic stress that can distort cellular structures and compromise your imaging results.
Optimal hydration through isotonic preparation prevents cellular distortion, ensuring authentic phase contrast visualization of biological structures.
You’ll need to monitor hydration status throughout your observation sessions, as dehydration quickly leads to artifacts that reduce the clarity of phase contrast images. Use coverslips and specialized chambers that minimize evaporation during extended imaging periods.
For maximum cell integrity, select culture media specifically formulated for your cell type. This customized approach guarantees physiological relevance while enhancing the contrast between cellular components.
Your biological samples will maintain their natural state, providing you with accurate, artifact-free observations that truly represent in vivo conditions.
Implement Strategic Staining Methods for Phase Contrast
Phase contrast microscopy traditionally excels with unstained specimens, but strategic staining can greatly enhance your imaging capabilities without compromising sample integrity.
When implementing this approach for live-cell imaging, select compatible stains that won’t markedly alter the refractive index of your specimens to avoid unwanted artifacts.
For ideal imaging results with the phase contrast technique:
- Use low concentrations of dyes that target specific organelles to minimize interference with the phase contrast effect.
- Combine fluorescent dyes with phase contrast to gather additional information about cellular components while maintaining live-cell observation benefits.
- Regularly calibrate your phase contrast setup when using stains to prevent optical distortions.
Remember that even mild staining can considerably improve contrast while preserving the natural state of your biological samples.
Prepare Surfaces for Maximum Phase Difference Visibility
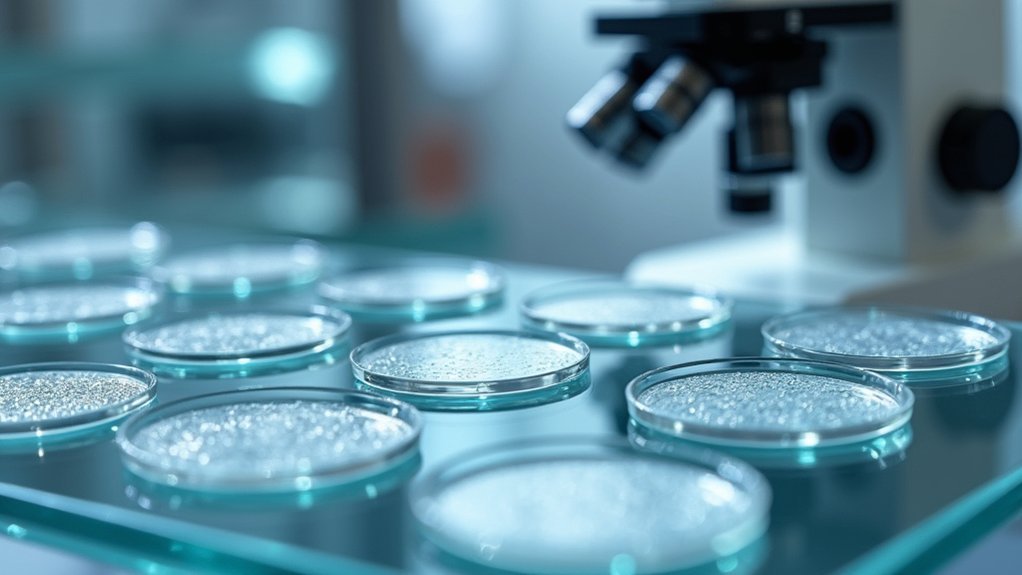
Creating ideal surfaces for phase contrast microscopy requires meticulous preparation to maximize visibility of phase differences. Keep your specimens extremely thin—under 10 micrometers—as thicker tissue diminishes contrast quality.
Use spotless glass slides and coverslips to guarantee peak light transmission without artifacts. Precise alignment between the phase annulus and phase ring in your objectives is vital; even slight misalignment dramatically reduces visibility of cellular details.
When using high-magnification objectives, apply immersion oil with matching optical properties to maintain consistent refractive index throughout your imaging system.
Secure your samples firmly to prevent unwanted sample movement during observation, as vibrations disrupt the delicate light paths essential for phase contrast visualization.
These preparation steps create the prime environment for your phase contrast microscope to reveal otherwise invisible structures.
Frequently Asked Questions
How to Prepare Sample for Phase Contrast Microscope?
You’ll need to prepare thin samples (under 10µm), avoid staining, and guarantee proper Köhler illumination. Match your condenser annulus to your objective and check phase ring alignment for ideal contrast.
How Do You Get a Good Image Under Phase Contrast Microscope?
You’ll get great phase contrast images by properly aligning the phase annulus with the objective ring, using Köhler illumination, selecting thin specimens, maintaining regular calibration, and experimenting with different magnification objectives for ideal detail.
How Can You Improve Contrast When Viewing a Specimen?
You can improve contrast by properly aligning your phase annulus with the condenser, setting up Köhler illumination correctly, using color filters, preparing thinner specimens, and adjusting the light intensity for ideal visualization.
What Type of Specimen Is Best for Phase Contrast Microscopy?
You’ll get the best results with transparent, colorless specimens like living cells and microorganisms. Thin samples with varied refractive indices work perfectly without requiring staining or fixing for excellent phase contrast visualization.
In Summary
You’ve now mastered the essential techniques for outstanding phase contrast microscopy. By controlling sample thickness, choosing appropriate mounting media, and perfecting your coverslip technique, you’ll consistently produce clearer images with minimal artifacts. Remember that proper hydration, strategic staining, and optimized cell density are equally vital. Apply these seven preparation tips, and you’ll transform your phase contrast imaging from ordinary to exceptional.


Leave a Reply