
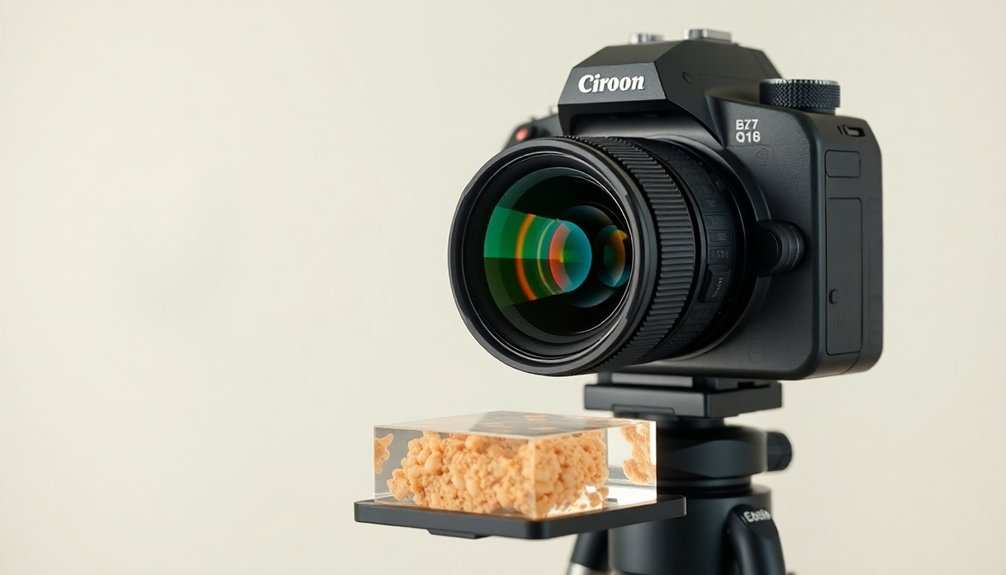
You'll need to verify 10 critical camera mount specifications for quality lab imaging: thread pitch, flange distance, sensor coverage, mechanical interface design, light path optimization, optical resolution, mount material durability, magnification capabilities, temperature tolerance, and environmental protection ratings. Each spec guarantees proper focus, stability, and image clarity in your laboratory setup. These technical details form the foundation for capturing precise, publication-worthy scientific images – and there's much more to explore about each one.
Thread Pitch and Diameter Specifications
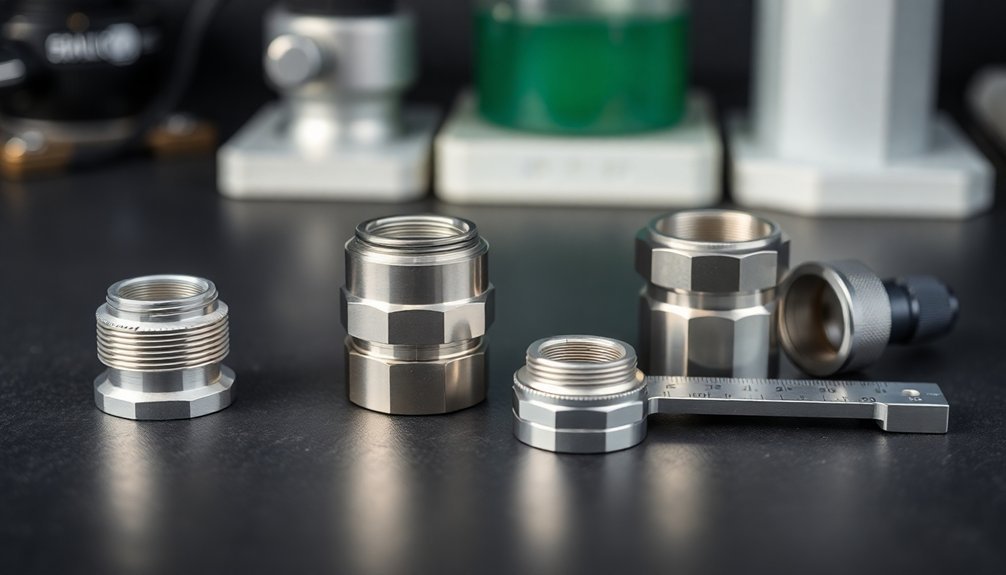
Five major thread specifications dominate camera mount designs in laboratory imaging.
When you're working with industrial cameras, you'll find the C-mount's 1-inch diameter and 32 threads per inch configuration particularly common. The CS-mount matches these thread specifications but offers a flange distance that's 5mm shorter than the C-mount, making it ideal for compact sensor setups.
For board-level applications, you'll encounter the S-mount's M12 thread with its 0.5mm pitch.
The T-mount provides cross-manufacturer compatibility through its 42mm diameter and 0.75mm thread pitch.
While most mounts rely on threading, Nikon's F-mount takes a different approach with its bayonet-style connection, maintaining a precise 46.5mm flange distance for ideal focusing.
Flange Focal Distance Requirements
When setting up laboratory imaging systems, understanding flange focal distance becomes essential for achieving sharp, well-focused images. This critical measurement from the mounting flange to the sensor plane guarantees your lenses focus light correctly onto the imaging sensor.
You'll find different camera mounts have specific flange focal distances – C-mount measures 17.526mm, while CS-mount is shorter at 12.5mm. If you don't match these distances properly, you'll end up with out-of-focus images and poor image quality.
The good news is you can use adaptors to bridge these differences. For example, a 5mm adaptor lets you use C-mount lenses on CS-mount cameras without compromising performance.
Remember to verify mount compatibility before purchasing equipment to avoid vignetting and maintain ideal image quality across your lab applications.
Sensor Coverage and Field of View
You'll need to carefully match your lens mount's diameter to your sensor size to guarantee complete coverage, as undersized mounts can create dark corners and vignetting in your lab images.
When selecting a mount system, consider that full-frame sensors require lenses with larger image circles than those needed for smaller formats like APS-C or Micro Four Thirds.
T-mount and C-mount systems offer different coverage capabilities, so you'll want to verify the lens's image circle specifications against your sensor dimensions to prevent edge light loss.
Matching Lens Mount Diameter
Matching the correct lens mount diameter to your camera's sensor is vital for achieving ideal image quality in laboratory settings.
You'll need to guarantee proper alignment between mount and sensor to prevent vignetting, where image edges appear dark or clipped. The flange focal distance also plays an important role in how effectively your lens projects light onto the sensor.
- C-mount's 25.5mm diameter and 17.526mm flange focal distance works well for standard lab sensors
- S-mount (M12 x 0.5) offers a compact option for smaller sensor applications
- Larger lens mount diameters provide wider FOV capabilities for extensive sample viewing
- Proper mount-to-sensor matching maximizes resolution and clarity in scientific imaging
Choose your mount specifications based on your specific imaging needs, considering that each mount type offers different advantages for various laboratory applications.
Preventing Edge Light Loss
Proper sensor coverage stands as a critical factor in preventing edge light loss and maintaining consistent image quality across your entire field of view.
To avoid vignetting and uneven illumination, you'll need to verify that your lens mount's flange focal distance matches your sensor size specifications.
You can minimize edge light loss by selecting lenses with image circles larger than your sensor size.
When choosing your setup, carefully consider the field of view relative to your sensor dimensions, as mismatched combinations often result in light clipping at the corners.
Don't forget to regularly check and calibrate your optical alignment to maintain ideal coverage.
Full-Frame Sensor Compatibility
Building on our discussion of edge light loss, full-frame sensors present specific compatibility requirements for lab imaging systems.
You'll need to carefully consider both sensor coverage and lens mount specifications to achieve ideal results.
- F-mount lenses, with their 46.5mm flange focal distance, provide reliable coverage for full-frame sensors and minimize vignetting risks.
- While C-mount lenses can work with full-frame sensors, you'll need proper adapters to compensate for their shorter 17.526mm flange focal distance.
- Your field of view calculations must account for the full 36mm x 24mm sensor dimensions to guarantee accurate image composition.
- The correct lens-to-sensor alignment is essential, as even slight misalignments can degrade image quality.
When selecting lenses for your lab setup, prioritize options that fully illuminate your sensor's area and maintain proper mounting distances for consistent, high-quality results.
Mechanical Mounting Interface Design
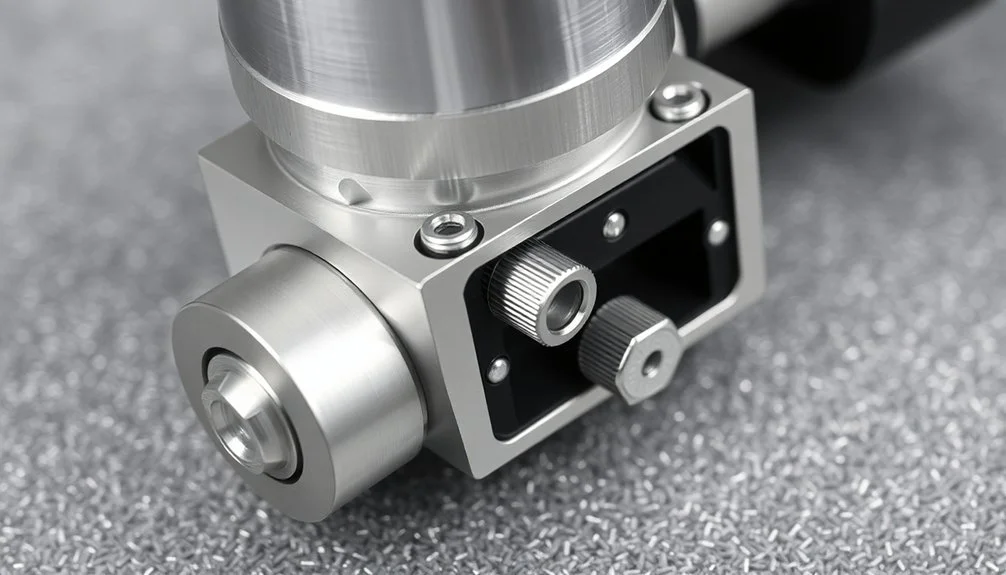
Since the quality of laboratory imaging depends heavily on camera stability, the mechanical mounting interface serves as a critical connection point between cameras and imaging devices.
You'll need to verify your mounting system adheres to specific thread specifications and flange distances, particularly when working with standard formats like C-mount configurations.
When designing your mechanical interface, pay close attention to the threading and locking mechanisms that secure your camera. The mount must maintain precise alignment while preventing any movement that could compromise image quality.
Precise mechanical alignment and robust locking mechanisms are essential foundations for achieving consistent, high-quality laboratory imaging results.
If you're using different lens types, you might need adapters to bridge incompatible mounts. Remember to check that your chosen mount prevents vignetting by properly positioning the lens to cover your entire sensor area.
This attention to mechanical details will help guarantee excellent imaging performance in your laboratory setup.
Light Path Optimization Standards
Light path efficiency stands at the core of successful laboratory imaging. When you're setting up camera mounts, proper light path optimization guarantees maximum image quality and minimizes light loss.
You'll need to align your optical components precisely to prevent vignetting and maintain consistent illumination across your sensor.
- Your flange focal distance must match exactly to avoid focus issues and maintain light intensity.
- Select relay lenses carefully as they'll affect your effective focal length and field of view.
- Confirm your camera mounts are properly aligned to prevent mechanical clipping at sensor edges.
- Choose the right mount type (C-mount or T-mount) based on your specific lab requirements.
Adapter-to-Camera Clearance Metrics
Proper adapter-to-camera clearance guarantees your imaging system operates at peak performance while preventing mechanical interference between components.
When setting up your camera system, you'll need to pay close attention to adapter-to-camera clearance metrics, particularly with different camera mount types like C-mount, which requires a specific flange focal distance of 17.526mm.
To achieve ideal light intake and prevent image degradation, you'll want to measure the total length of your adapter and lens combination. This makes certain you're maintaining proper clearance within your camera's specifications.
Measuring adapter-lens length ensures optimal clearance, protecting image quality and maintaining system performance within camera specifications.
If you don't maintain adequate clearance, you risk encountering issues like vignetting, shadow formation at image edges, and focus problems.
Remember that precise alignment is vital for high-resolution imaging, so always verify your measurements before finalizing your setup.
Optical Resolution Parameters
Beyond adapter clearance, understanding optical resolution parameters directly impacts your imaging results.
You'll need to guarantee your lens quality matches your sensor's capabilities to achieve the sharpest lab images. The modulation transfer function helps you measure how effectively your lens transfers detail to the sensor, while proper pixel size must follow the Nyquist theorem for accurate reproduction.
- Your lens resolution should match or exceed your sensor's pixel count to avoid wasting potential image detail.
- You'll want to check the modulation transfer function values when selecting lenses for your specific application.
- Pay attention to your sensor's pixel size – it needs to be half the size of the smallest detail you're trying to capture.
- Consider using compatible mounts that minimize optical aberrations and maintain precise alignment between components.
Mount Material and Durability Ratings
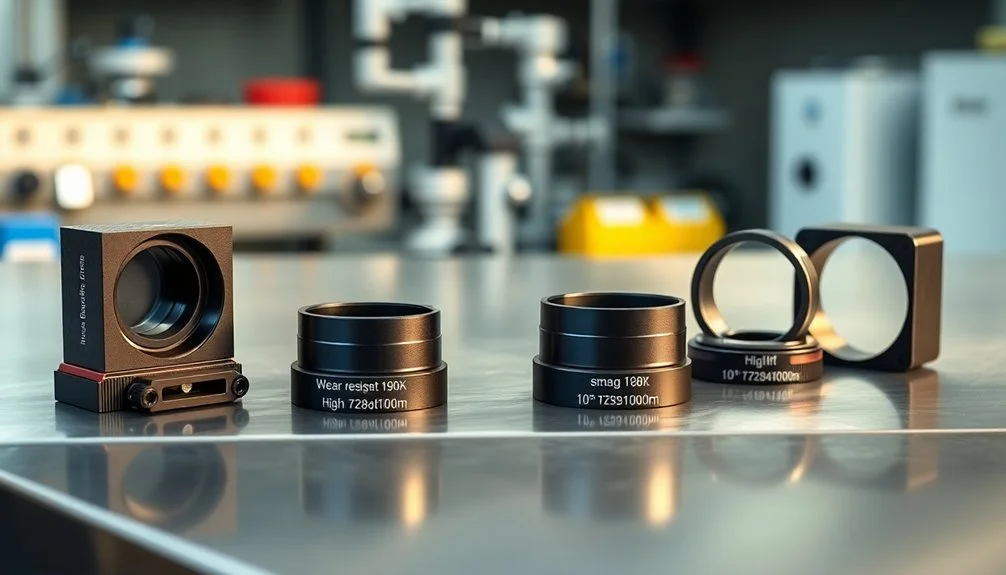
Selecting the right mount material and understanding durability ratings are essential factors for maintaining image quality in lab environments. You'll need to take into account mount materials like aluminum for lightweight applications or stainless steel when maximum strength is required. The threading precision of your mount directly impacts image stability and long-term reliability.
| Material Type | Environmental Resistance |
|---|---|
| Aluminum | Temperature resistant |
| Stainless Steel | Corrosion proof |
| Anodized Aluminum | Chemical resistant |
| Powder Coated Steel | Impact resistant |
| IP67 Rated | Water/dust proof |
When choosing your mount, evaluate the durability ratings against your lab's specific environmental factors. Look for mounts with IP67 ratings if you need protection against moisture and dust. Surface treatments like anodizing or powder coating will provide additional protection against chemical exposure and physical wear.
Image Magnification Capabilities
You'll need to understand your camera's CCD size to select the right magnification factor, as this directly determines which C-mount adapter will provide ideal sensor coverage for your lab imaging.
When working with a 2/3" CCD sensor, you'll want a 0.7x magnification adapter to guarantee proper image capture and detail preservation.
Your choice of lens adapter will affect the final magnification capabilities, so it's crucial to match these components carefully with your specific imaging requirements.
Magnification Range And Applications
Understanding magnification requirements is vital for achieving ideal lab imaging results. You'll need to match your magnification settings with your CCD camera size to guarantee optimal focus and image quality. A simple rule to follow is that your camera's chip size in inches should roughly correspond to your required magnification factor in your imaging systems.
- For detailed cellular work, you'll want higher magnification settings to capture microscopic structures clearly.
- When working with larger specimens, lower magnification ranges provide better overall field of view.
- C-mount adapters with relay lenses help achieve precise magnification requirements for your specific setup.
- Your objective's focal length combined with CCD dimensions determines the final image quality, so careful selection is imperative.
Proper magnification prevents common issues like vignetting while making sure your sensor captures sharp, well-defined images across its entire surface area.
Sensor Coverage Analysis
When matching a camera to your microscope setup, proper sensor coverage analysis guarantees peak image quality and magnification. You'll need to assess your CCD size to determine the appropriate magnification factor, ensuring your C-mount adapter can accommodate your requirements.
| Sensor Size | Required Magnification | Common Mount | Coverage Quality |
|---|---|---|---|
| 1/3" | 0.33x | C-mount | Full Frame |
| 1/2" | 0.50x | C-mount | Standard |
| 2/3" | 0.67x | C-mount | Wide Field |
| 1" | 1.00x | F-mount | Maximum |
Remember to check your flange focal distance to avoid focus issues. Poor sensor coverage can result in vignetting, where dark corners appear in your images. By selecting the right mount and magnification combination, you'll achieve ideal illumination across your entire sensor area, ensuring consistently clear laboratory images.
Lens Adaptor Impact
Lens adaptors play an essential role in determining your microscope's image magnification capabilities, acting as the critical link between your camera's sensor and the optical system.
Your choice of lens mount directly impacts how effectively you'll capture images, particularly when matching the camera's CCD size to the appropriate magnification factor.
For ideal performance, you'll need to take into account:
- The relationship between your camera's sensor size and the required C-mount adapter magnification
- The quality of relay lenses within the adaptor to maintain image resolution
- The potential for vignetting if you're using incorrect magnification settings
- The impact on light transmission through additional optical elements
When selecting your C-mount adapter, make certain it provides the correct magnification ratio for your sensor size.
For instance, if you're using a 2/3" CCD sensor, you'll need a 0.67x magnification to achieve proper image coverage.
Temperature and Environmental Tolerances
Since laboratory environments present unique challenges, camera mounts require specific temperature and environmental tolerances to maintain consistent performance. You'll need mounts that can handle temperature fluctuations from -20°C to 70°C while operating in humidity levels up to 80%. Protection against chemical agents requires anodized aluminum or stainless steel construction, ensuring long-term durability.
| Factor | Requirement | Protection |
|---|---|---|
| Temperature | -20°C to 70°C | Material stability |
| Humidity | Up to 80% RH | Corrosion prevention |
| Vibration | 10-500 Hz | Image stability |
| Particles | IP54 rating | Dust resistance |
Your mount's vibration and shock resistance should withstand frequencies between 10-500 Hz to maintain image quality. Don't forget to check the IP rating – you'll want at least IP54 for adequate protection in cleanroom or dusty environments.
Frequently Asked Questions
What Size Is the C-Mount on a Microscope?
You'll find that a microscope's C-mount has a standard diameter of 25.5 mm with 32 threads per inch, and it requires a flange focal distance of 17.526 mm for proper imaging functionality.
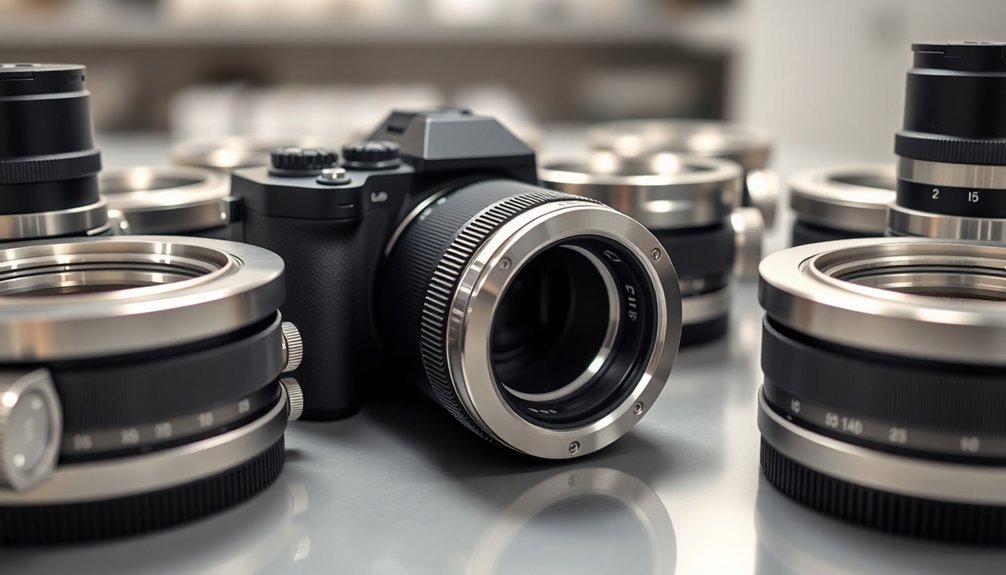
What Is the Standard Camera Lens Mount?
You'll find that there isn't just one standard camera lens mount. The most common types include C-mount, CS-mount, F-mount, and S-mount, each serving different purposes in photography and imaging applications.
What Is the Difference Between S Mount and C-Mount Cameras?
You'll find that S-mounts use M12 x 0.5mm threading for smaller cameras like webcams, while C-mounts have a 1-inch diameter with 32 threads per inch, commonly used in industrial and machine vision applications.
What Is the Difference Between C-Mount and F Mount Cameras?
You'll find C-mount uses a threaded 1-inch design with 17.526mm flange distance, while F-mount features Nikon's bayonet-style lock with 46.5mm flange distance. C-mount's common in industrial settings, F-mount in professional photography.
In Summary
You'll need these ten specifications for ideal lab imaging performance. By carefully considering thread specs, focal distances, sensor coverage, mounting design, light path, resolution, materials, magnification, and environmental factors, you're ensuring reliable and precise image capture. Don't overlook any of these critical elements when selecting or installing camera mounts – they're essential for maintaining scientific imaging standards in your laboratory setup.


Leave a Reply