Automated focus stacking transforms microscopy by combining multiple images at different focal depths into one ultra-sharp composite. You’ll eliminate hours of manual adjustments as specialized software and motorized stages capture and merge images automatically. This technology overcomes traditional depth-of-field limitations, producing unprecedented clarity for marine microorganisms and other complex specimens. With proper setup—including stable mounting and optimized lighting—you’ll achieve professional-quality results in minutes instead of hours. The following guide will help you implement this game-changing technology in your lab.
Understanding the Focus Stacking Revolution in Microscopy
While traditional microscopy has always struggled with depth of field limitations, focus stacking has emerged as a revolutionary solution that transforms how we visualize microscopic specimens.
You’ll notice immediate improvements in image clarity as this technique combines multiple shots at varying focus depths into one perfectly sharp composite.
When you examine specimens with complex topography, such as biological samples, you’re no longer forced to compromise on which areas remain clear.
Automated systems now handle the tedious process of capturing these multiple focal planes, freeing you to concentrate on analysis rather than adjustments.
The software intelligently aligns and merges these images, correcting any minor shifts that occur during capture, and delivering unprecedented depth of field in your microscopic imagery.
The Science Behind Automated Focus Stacking Technology
Because microscopic specimens exist in three dimensions, traditional imaging often fails to capture their full complexity in a single shot.
That’s where automated focus stacking technology steps in. This innovative approach uses sophisticated algorithms to control the focus ring automatically, capturing multiple images at different focal depths without manual adjustment.
The system works by methodically shifting through various focal planes of your specimen, taking precise images at each level. These images are then seamlessly combined through integrated software that analyzes and merges only the sharpest elements from each photograph.
By capturing images across focal planes and intelligently merging the sharpest elements, this technology creates unprecedented clarity in microscopic visualization.
You’ll notice the enhanced depth of field immediately—details that would be blurry in conventional microscopy appear crisp and clear.
What once required hours of painstaking focus adjustments now happens in minutes, revolutionizing microscopic imaging efficiency.
Setting Up Your Microscope for Optimal Stacking Results

Proper light positioning creates even illumination across your specimen, eliminating shadows that could interfere with the stacking algorithm’s ability to detect details.
You’ll need to secure your microscope stage firmly to prevent unwanted vibrations or shifts that would misalign your image sequence and ruin the stack.
Stabilizing the stage with additional weight or vibration-dampening materials can make a significant difference in the final quality of your focus-stacked microscope images.
Proper Light Positioning
Successful focus stacking begins with strategic light positioning on your microscope. Position your light source at a 45-degree angle to your specimen to minimize shadows while enhancing detail visibility in your stacked images.
For best outcomes with automated focus stacking:
- Use diffuse light or polarizing filters to reduce glare and guarantee even illumination across your specimen.
- Carefully adjust light intensity to avoid overexposure—balance highlighting texture without sacrificing contrast.
- Try different lighting setups like backlighting or transmitted light based on your specimen’s specific properties.
- Clean your microscope’s light source and lenses regularly to maximize light transmission and clarity.
The lighting choices you make directly impact the quality of your focus-stacked images, affecting how algorithms can merge your images into a single sharp composite.
Stage Stability Matters
When capturing multiple images for focus stacking, even the slightest movement can ruin your results. Place your microscope on a stable surface and consider using a vibration-dampening mat underneath for additional protection against environmental disturbances.
Before beginning your stacking session, check that all components—particularly the stage and objectives—are thoroughly tightened. A mechanical stage offers precise specimen movement, essential for achieving consistent focus across your stack.
| Stability Factor | Impact on Images | Solution |
|---|---|---|
| Surface Vibration | Blurred edges | Stable table |
| Loose Components | Misaligned stack | Tighten all parts |
| Manual Adjustments | Inconsistent spacing | Mechanical stage |
| Environmental Factors | Failed alignment | Dampening mat |
Most focus stacking software includes alignment tools that can compensate for minor shifts, but starting with stable equipment dramatically improves your final results.
Step-by-Step Guide to Implementing Automated Focus Systems
Setting up an automated focus stacking system requires careful planning and precise execution to achieve optimal results.
You’ll need to integrate hardware and software components that work together seamlessly to capture perfectly focused images at every depth level.
- Install your motorized stage and connect it to your microscope, ensuring it’s properly calibrated to make precise micrometer-level movements.
- Configure your imaging software to communicate with the focus motor, setting up the capture parameters including exposure and white balance.
- Determine the ideal step size for your specimen—smaller steps for fine details, larger steps for specimens with less depth variation.
- Run a test sequence with your chosen settings, then adjust the focus range and step size as needed for complete depth coverage.
Comparing Manual vs. Automated Stacking Methods for Specimen Imaging
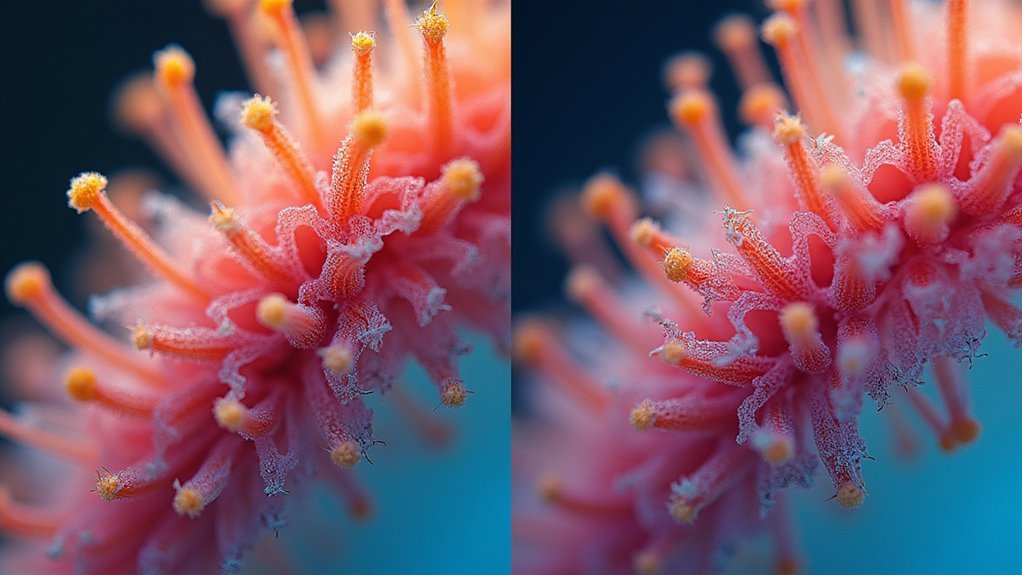
Although both methods aim to create sharp, fully-focused composite images, manual and automated focus stacking techniques differ dramatically in efficiency, precision, and final output quality.
When you’re manually stacking, you’ll need to adjust the focus ring and capture each image by hand, often introducing inconsistencies and errors that affect the final composite.
Automated systems streamline this process by controlling focus position with software, ensuring precise increments between shots. They integrate seamlessly with modern microscopes for rapid image capture and processing, greatly boosting your productivity.
You’ll notice automated stacking handles complex specimens with varying depths more effectively, quickly adjusting between layers for improved depth of field. The result? Sharper resolution as the software effectively selects the best-focused areas from each frame, capturing details you might miss with manual techniques.
Advanced Applications and Case Studies in Scientific Research
You’ll find remarkable applications of automated focus stacking in neurological tissue mapping, where researchers capture intricate neural networks at unprecedented resolution.
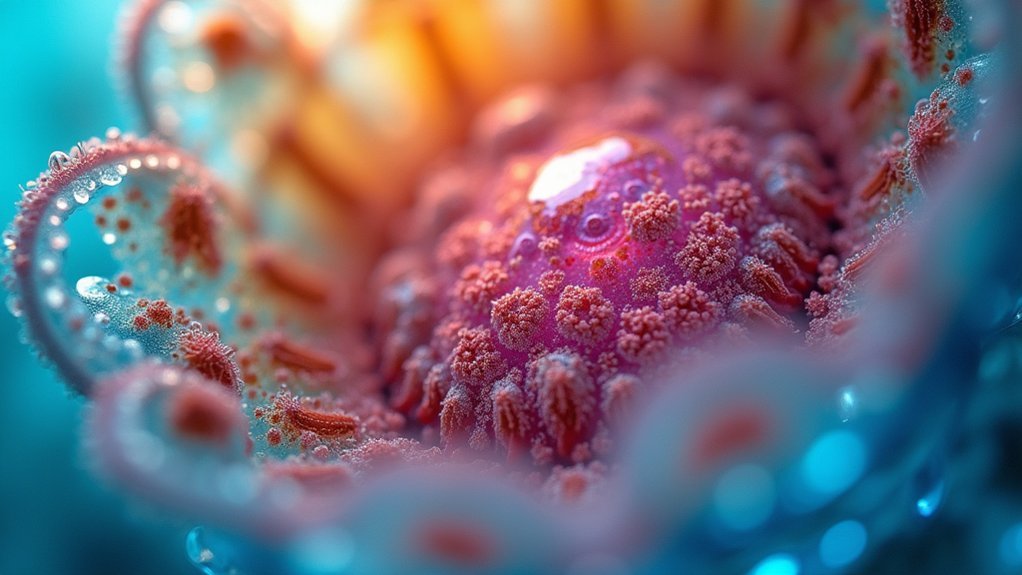
In marine microorganism visualization, this technology reveals complex structures of plankton and other microscopic sea life that would otherwise remain indistinct with conventional microscopy.
These case studies demonstrate how automated stacking has transformed scientific imaging, allowing researchers to document fine cellular details and taxonomic features critical for species identification and ecological research.
Neurological Tissue Mapping
Revolutionary advances in automated focus stacking have transformed the field of neurological tissue mapping.
You’ll find this technology vital for visualizing neural structures with unprecedented clarity, enabling researchers to track cellular changes in both healthy and diseased brains.
When examining neural tissue samples through automated focus stacking, you’ll benefit from:
- Enhanced resolution that reveals fine cellular structures and neural pathways previously hidden in conventional imaging
- Integration with machine learning algorithms for more accurate identification of specific neuronal populations
- Improved visualization of progressive degeneration in conditions like Alzheimer’s disease
- Clearer mapping of synaptic connections, essential for understanding brain function and disorders
This technology combines seamlessly with MRI and histological staining techniques, providing significant insights into neurodevelopmental conditions, neurodegeneration, and trauma effects on brain architecture.
Marine Microorganism Visualization
With their intricate structures and transparent features, marine microorganisms have long challenged researchers seeking to document their morphological details.
Automated focus stacking revolutionizes how you’ll visualize these specimens by combining multiple images captured at different focal planes. You’ll observe remarkable clarity of previously difficult-to-document structures like cilia, flagella, and cellular organelles.
Modern systems can rapidly acquire hundreds of sequential images, enabling high-throughput analysis across diverse species. This technique greatly improves identification and classification efforts, contributing to better understanding of marine biodiversity and ecosystem health.
The integration of specialized software with automated stacking systems has streamlined research workflows, minimizing manual intervention. You’ll find that these technological advancements allow for unprecedented detail in your microscopy studies while maintaining efficiency throughout the imaging process.
Frequently Asked Questions
What Is the Best Focus Stacking Software?
For the best focus stacking software, you’ll find Helicon Focus, Zerene Stacker, and Photoshop are top contenders. Your choice depends on your specific needs—Helicon for ease, Zerene for detail, Photoshop for integration.
What Is the Best Aperture for Macro Focus Stacking?
For macro focus stacking, you’ll get best results using apertures between f/5.6 and f8. This range balances ideal sharpness with minimal diffraction. F/5.8 is particularly effective, but don’t forget to maintain consistent settings throughout your series.
How to Focus Stack Without Tripod?
Without a tripod, you’ll need a stable surface, continuous shooting mode, and steady hands. Make small focus adjustments between shots and use stacking software that can align handheld images automatically.
How Many Shots Do You Need for Focus Stacking?
You’ll typically need 5-20 shots for focus stacking, depending on your subject’s depth. For macro photography, you might need 20+ images. Using smaller apertures can reduce the number of shots required.
In Summary
You’ve now entered a new era of microscopy where clearer images don’t require tedious manual adjustments. With automated focus stacking, you’ll capture every detail in perfect clarity while saving valuable research time. Whether you’re examining cellular structures or material samples, this technology transforms your workflow. Don’t hesitate to implement these systems—they’ll revolutionize your imaging results and open new possibilities for your scientific investigations.


Leave a Reply